Google Pixel Fold Outer Screen Replacement Guide
Duration: 45 minutes
Steps: 26 Steps
This repair guide was created by our awesome team at Salvation Repair and isn’t officially backed by anyone else. If you’re curious about our repair guides, just check them out here!
Dive into this guide to replace the outer screen in your Pixel Fold. Created by the experts at Salvation Repair, it’s your step-by-step path to success. If you need help, you can always schedule a repair.
Step 1

– Completely power down your phone and make sure to disconnect any cables. Let’s get started on this journey together!


Step 3


Keep your pick at a safe distance, or you might just end up giving your screen and its insides a little too much love!
When you’re getting ready to remove the screen, just slide your opening pick in as far as the border goes. Easy peasy!
Step 4


Got a screen that looks like it’s been through a battle? No worries! Slap on some clear packing tape to give that suction cup a grip. If you’re feeling a little daring, super strong tape could work like a charm too. And if you’re really in a bind, a tiny dab of super glue on that suction cup should do the trick to stick it to the screen.
Keep in mind, if your phone has seen better days, getting that edge ready might take some extra warmth. Just heat it up a bit more and give it another go. You’ve got this!
– Hey there, tech hero! Let’s tackle this baddy Screen together. Place a friendly suction cup right on the flat screen in the center at the bottom end. Now, give it some serious muscle power and lift that screen, making a space between it and the frame below. Welcome to wedgie-land! 🚀 Now, slide that trusty opening pick in the freshly formed gap and let’s keep going on this exciting adventure!
Step 5


– Gently glide that opening pick along the bottom edge to break free the sticky adhesive holding things together.
– Keep that trusty opening pick in the bottom right corner for a moment before moving on.

Step 7


– Give that opening pick a little twist around the bottom right corner to break free from the adhesive’s grip!
Step 8


– Pop in a fresh opening pick at the bottom right corner.
– Gently slide that pick up towards the top right corner to break free the adhesive.
– Keep that pick in place at the top right corner while you get ready for the next step.

Step 10


– Swing that opening pick around the top right corner to break its adhesive bond. You’ve got this!
Step 11


– Let’s get this party started! Slide your opening pick into the top right corner.
– Now, gently slide the opening pick towards the top left corner to separate the adhesive. Think of it like a gentle dance!

Step 13


The sharp corner is super delicate! So, bring on the heat and handle it with care during this step. You’ve got this!
– Keep that pick nice and flat against the screen, like a ninja blending in.
– Now, give that pick a little spin around the top left corner. We’re gonna loosen up that glue like it’s a party!
Step 14


– Alrighty, let’s slide into home plate with our trusty opening pick! Toss it into the top left corner, just chillin’. Now, keeping things loose, slide that bad boy down to the bottom left, and watch the adhesive peel away. Piece of cake!
Step 15


That sharp corner is a little sensitive, so be careful and use a bit of heat to help you out. You’ll do great!
– Position your pick so it’s as flat as a pancake against the screen.
– Twist that opening pick around the bottom left corner to peel away the adhesive like a pro.


Step 18


– Sneak an opening pick under the right edge of the screen, close to the top right corner.
– Slide that pick under the screen as far as you can go without losing your grip.
Step 19


Handle this step with care; screen breakage danger is high! Take your time, and heat things up more if needed 😎
If the adhesive isn’t giving up without a fight, try turning up the heat a bit more or slide that pick in from a different angle for a fresh start.
– Gently wiggle the opening pick back and forth to break free that stubborn adhesive.
Step 20


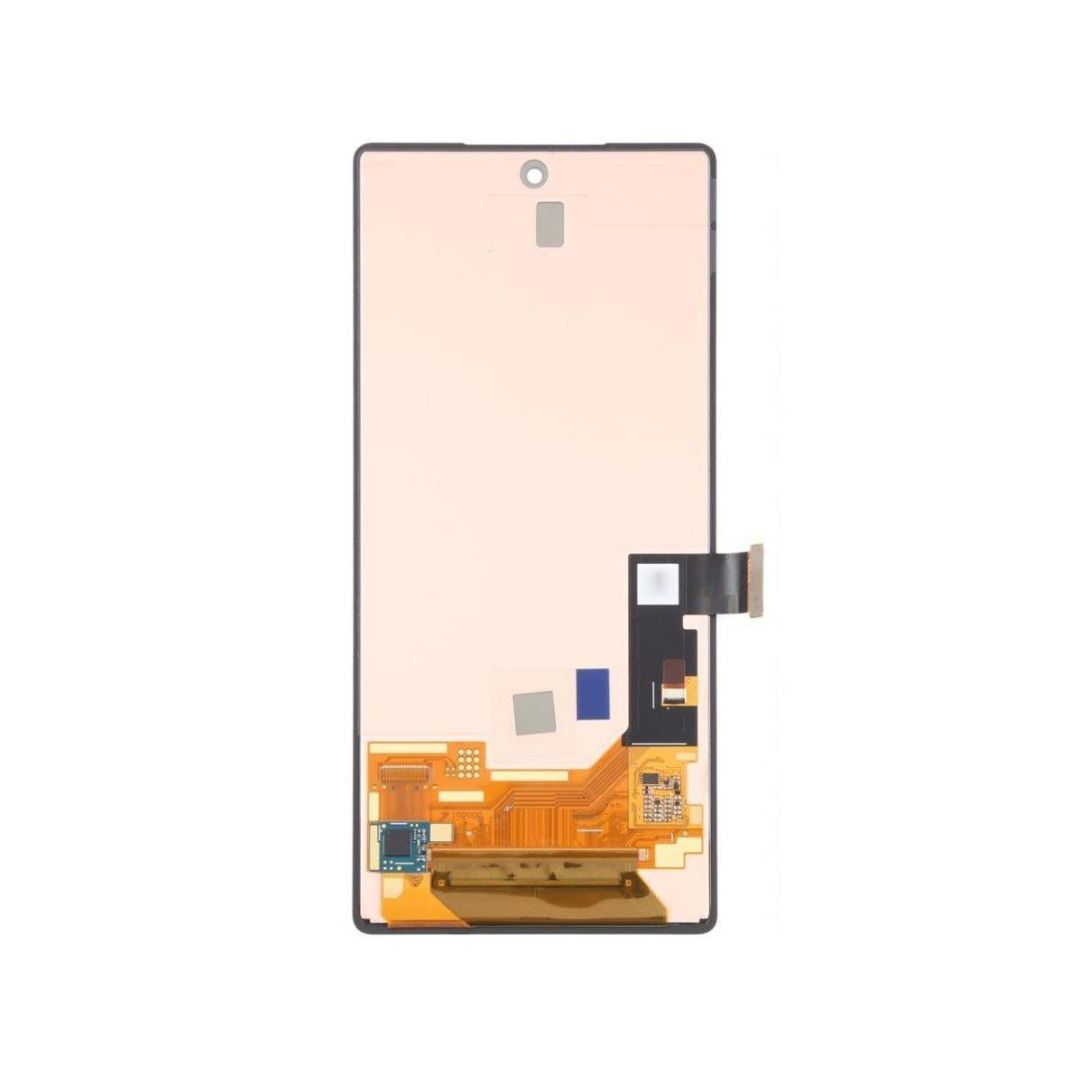
Hold up! Don’t go pulling the screen off just yet. It’s still hooked up to the phone with a little cable, so we gotta be careful. We don’t want to cause any trouble, right?
Now that we’ve reached this stage, the screen should be popping free from the frame! If you feel any stubborn buddy hanging on around the edges, no worries—grab your trusty opening pick and gently nudge away any of that pesky adhesive that’s still holding on.
Step 21

Alright, so you gotta keep track of all those screws, cuz putting ’em back where they came from is key. It’s like a puzzle, but with tiny metal things.
Yeah, the Pixel Fold uses some fancy Torx Plus screws, but you can use your regular Torx bits. Just use the same size or one size bigger (T3 Torx or T4 bits with 3IP Torx Plus screws). And remember, steady pressure is your friend. No stripping allowed!
– Let’s show off your DIY skills and tackle this fun project! Unleash the hexagon-obsessed Torx Plus 3IP screwdriver and gently remove those snug five 2.5 mm‑long bottom screws like a pro. You’re almost there!
Step 22


– Grab your trusty tweezers or just use your fingers to pop off that bottom bracket. You’ve got this!
– When it’s time to put everything back together, just make sure the bottom bracket is snugly in its two alignment pegs before you tighten it down. You’ve got this, and if you ever need a hand, feel free to schedule a repair.
Tools Used

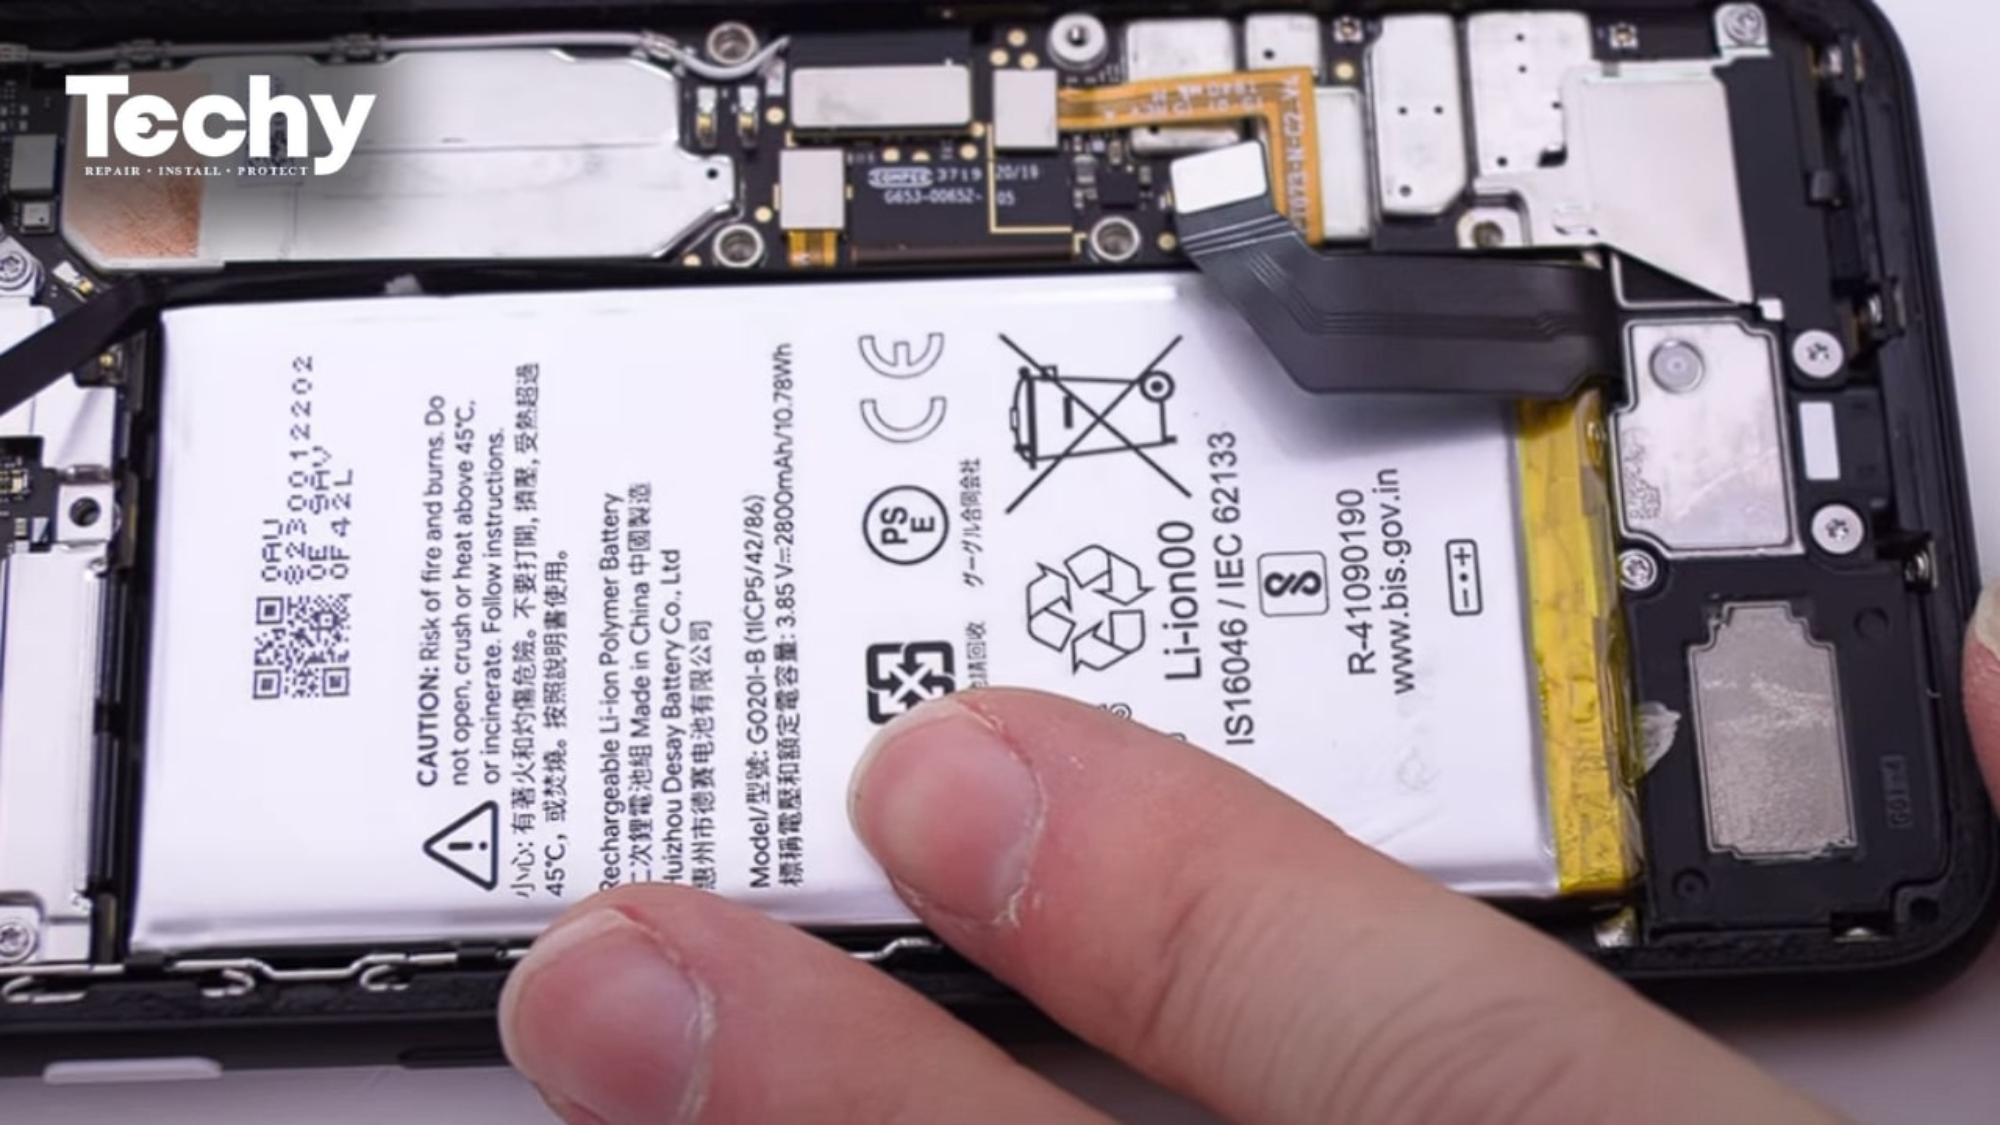
Step 23


– Grab the flat end of a spudger and gently pry up to disconnect that flip battery press connector. Easy peasy!
– When you’re ready to reattach connectors like this little guy, just line it up nicely and press down on one side until you hear that satisfying click. Then, do the same on the other side. Remember, no pressing in the middle! If it looks off, it could bend those pins and we definitely don’t want that. Keep it all straight for a happy device!
Tools Used

Step 24


Hey, don’t go poking around with that spudger just anywhere! Stick to the plan to avoid any accidental damage to the logic board’s delicate parts. If you need help, you can always schedule a repair.
– Slip the edge of a spudger tool beneath the short side of the screen press connector that’s facing the bottom of your phone.
– Gently pry upwards to detach the screen press connector from its position.
Tools Used

Step 26


If your top right adhesive is still stuck like glue, you can reuse it. No need to buy new stuff!