Google Pixel Slate Speaker Replacement
Duration: 45 minutes
Steps: 9 Steps
Ready to give your device a little tune-up? Let’s dive into the steps to remove the speaker from your device with confidence. Before you start, make sure you’re comfortable wielding a screwdriver like a pro. To replace the speaker and put everything back together, simply reverse the steps. You got this!
Step 1


– Position the Slate so the screen is chillin’ face up.
– Grab your opening tool and gently pry the screen away from the main body—it’s all about finesse here.
– Use a suction cup to lift the screen off the device with care. Slow and steady wins this race!
Tools Used

Step 2


– Alright, time to free those flat-wires! Carefully detach the three connectors from the screen—no yanking, just a smooth unplug.
– Now for the grand reveal: gently lift and separate the screen from the device body. Slow and steady wins the race!
Step 3

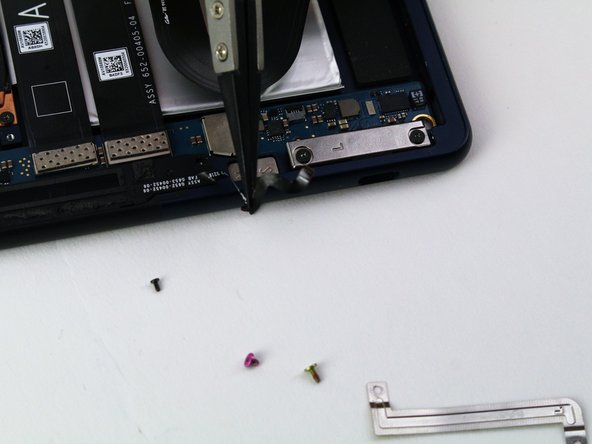
There are two speakers, one on either side of the Pixel Slate, and this guide is handy for fixing up either one. Let’s get to it!
– Grab your trusty T2 Torx screwdriver and unscrew that yellow 2mm screw holding down the thin metal plate.
– Swap it out for the T3 Torx screwdriver—time to tackle the pink 3mm screw. Get it out of there!
– Now, lift off the thin metal plate and set it aside. Look at that—you’re making progress!
Tools Used


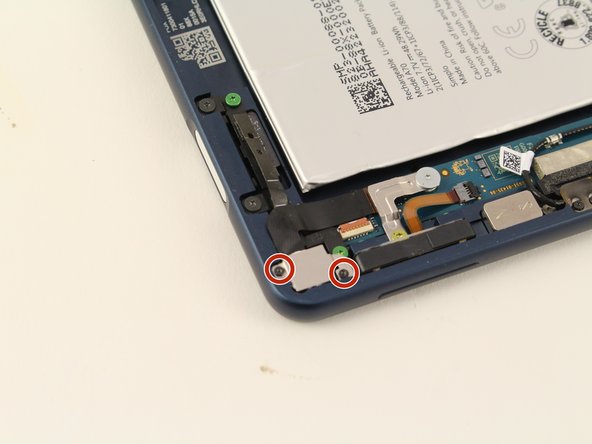
Step 4

– Grab your trusty T2 Torx screwdriver and gently unscrew those two black 2mm screws holding the speaker in place. Easy does it!
Tools Used
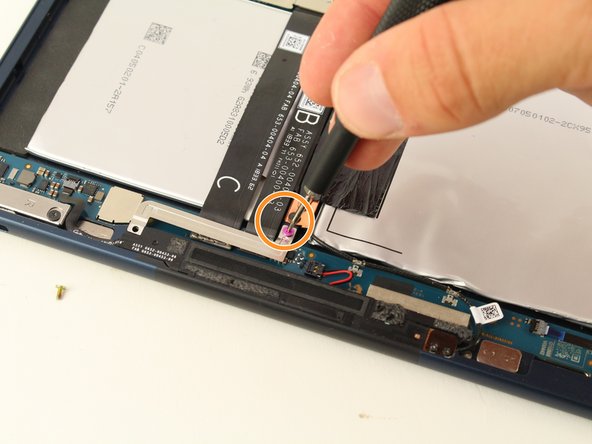
Step 5

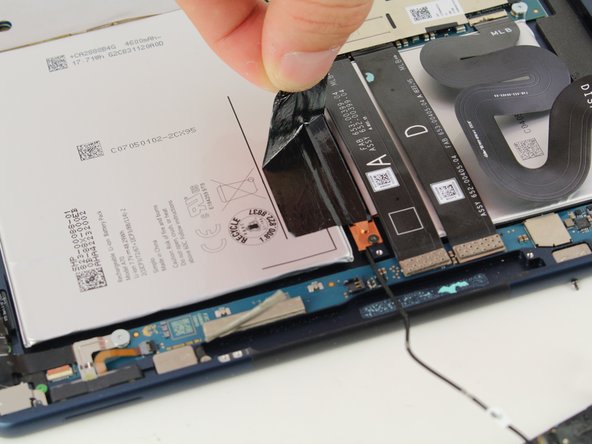
Take it easy when pulling out that plug! Too much tugging can mess up those delicate wires, so show them some love and care.
You’ve got a red wire and a black wire happily connected to the black plug. Don’t worry, it’s a team effort!
Now, gently lift that black plug upwards like you’re giving it a friendly little hug. You got this!
– Time to get hands-on! Use those trusty Nylon-Tipped Tweezers to gently pull out the black plug.
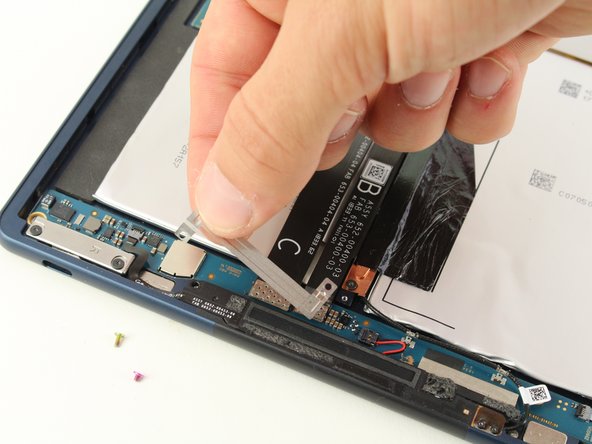
Step 6

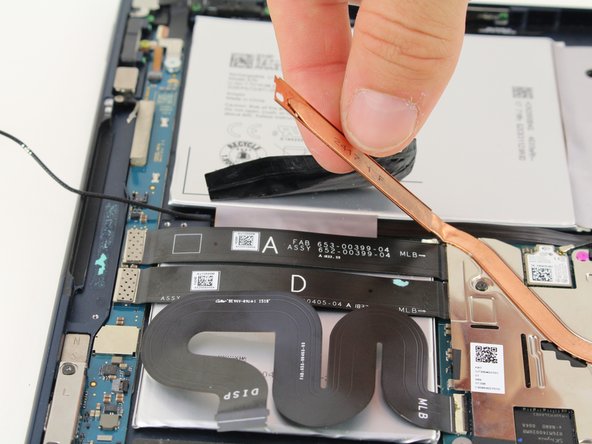
– Grab those Nylon-Tipped Tweezers and gently unplug the black tape-like connection to the speaker. You’ve got this!
Step 7

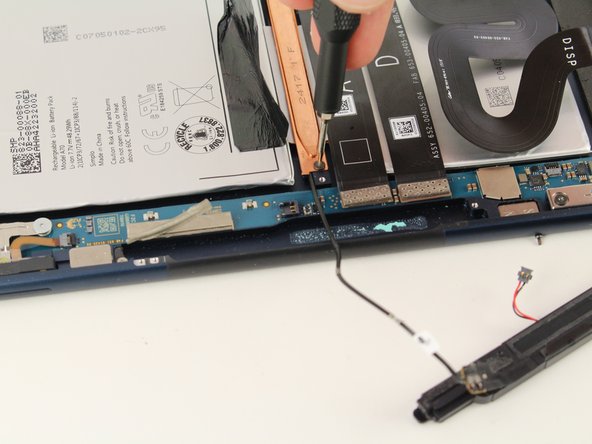
– Unplug that speaker wire from the motherboard gently.
– Carefully peel away those pesky adhesive strips securing the speaker wire.
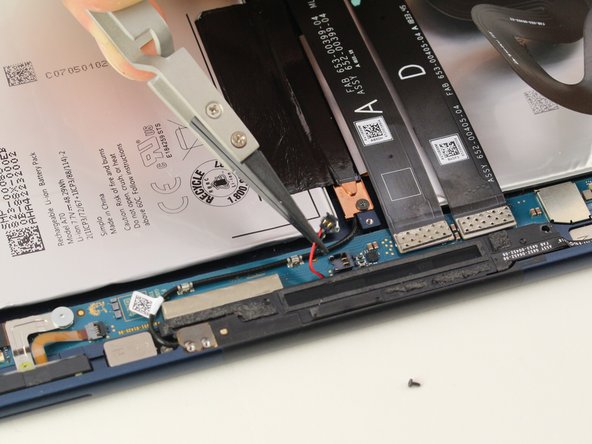
Step 8

– Grab your T2 Torx screwdriver and let’s get to work! Start by unscrewing the teeny 2mm black screw that’s holding the brass plate in place. Easy peasy!
– Once that pesky screw is out of the way, gently pull back the brass plate. You’ve got this!
Tools Used
Step 9

– Time to set that speaker free! Carefully remove it from the device.
Success!