Google Pixelbook Display Replacement
Duration: 45 minutes
Steps: 14 Steps
The display on the Google Pixelbook is glued in pretty tightly with strong adhesive, so a bit of patience is key. Gently prying it away from the case might require some extra effort. To make things easier, try warming things up a bit with a hairdryer or an iOpener—this can soften the adhesive and help you get it loose without a fuss. If you need help, you can always schedule a repair.
Step 1


– Grab your trusty opening tools or a metal spudger and gently pry off the rubber covers from the back of your Pixelbook.
– Peel away the linings completely until the back panel is bare and ready for the next step.
Tools Used


Step 2


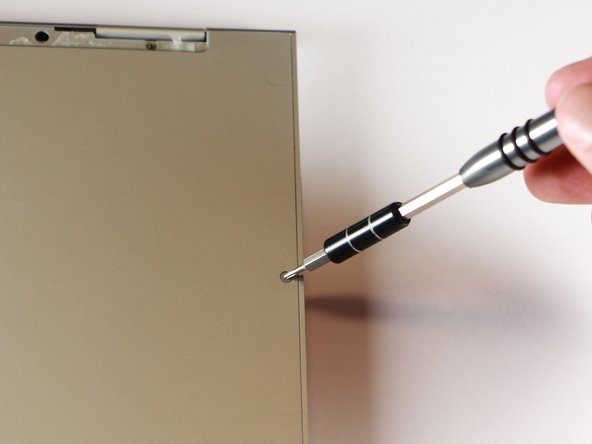
– Grab your T3 Torx screwdriver and take out the two yellow 2.0mm screws.
Tools Used

Step 3


– Time to get down to business! Go ahead and unscrew those seventeen 3.0mm T5 Torx screws from the bottom panel. You’ve got this!
Step 4
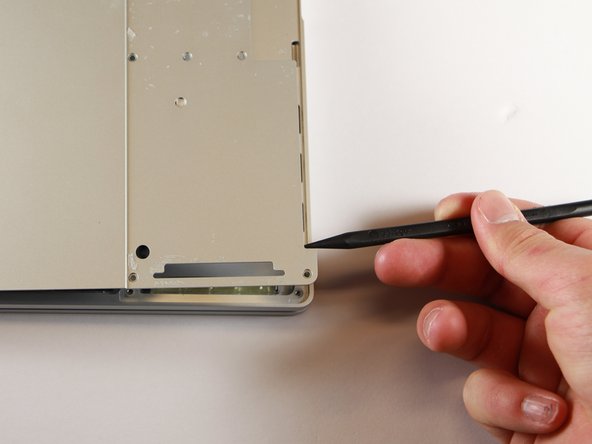

– Grab your trusty nylon spudger and gently work it into the edge of the Pixelbook until you can lift it up with your fingers. You’ve got this!
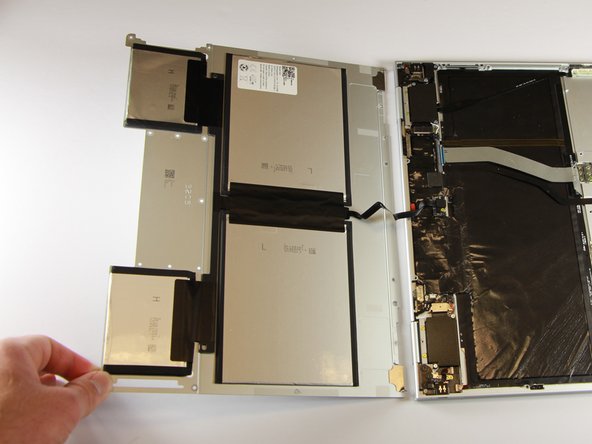
– Once you’ve got that edge up, swing open the back panel all the way and lay it flat. Now, take a good look at the inside of your computer—it’s all right there for you to see!
Tools Used
Step 5

– Grab your T3 Torx screwdriver and unscrew the yellow 2.0mm screw from the middle of the panel by turning it counterclockwise. If you need help, you can always schedule a repair.
Tools Used
Step 6


– Pop off the tiny black cover by gently prying it up with your spudger. Easy does it!
Tools Used
Step 7

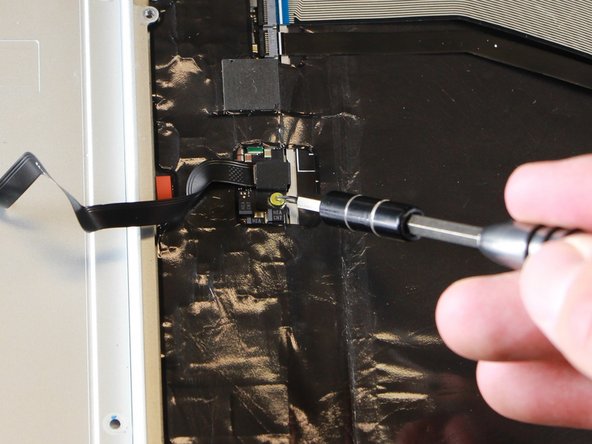
– Gently unplug the flat, black cable from the main board by using a spudger to pry it out of its socket, or carefully pull it free with your fingers.
– And just like that, your back panel is now free from the main component. If you need a hand, you can always schedule a repair.
Tools Used
Step 8

– Grab an iSclack or suction cup and gently lift the corner of the display from the case. Take your time, we got this!
Tools Used

Step 9
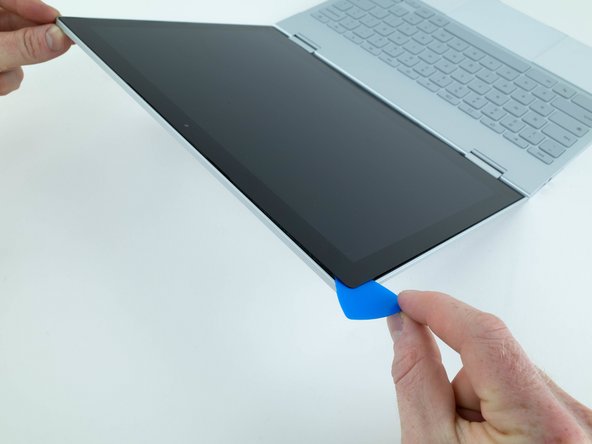

– Slip an opening pick into the crack between the screen and the case.
– Do the same thing on the other side to keep the magic going.
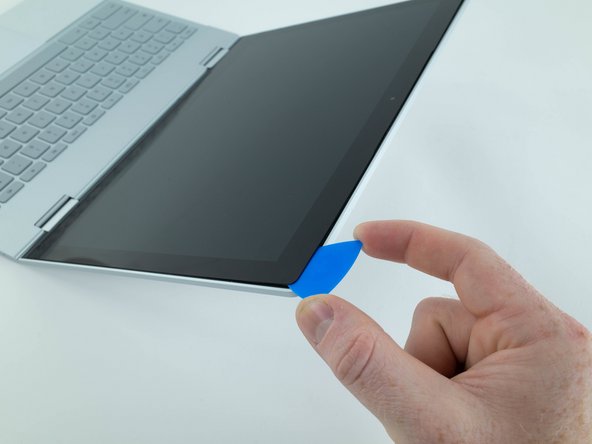
Step 10

Don’t go all the way and remove the display just yet—those ribbon cables are still hanging on, connecting it to the case!
– Grab your trusty opening pick and gently wiggle it under the display. Take your time and lift it slowly until it pops right off!
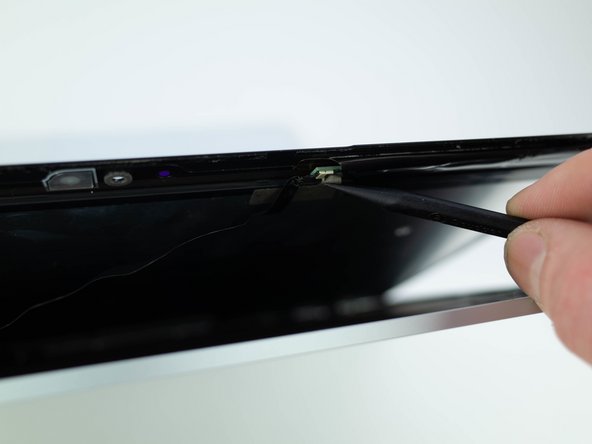
Step 11

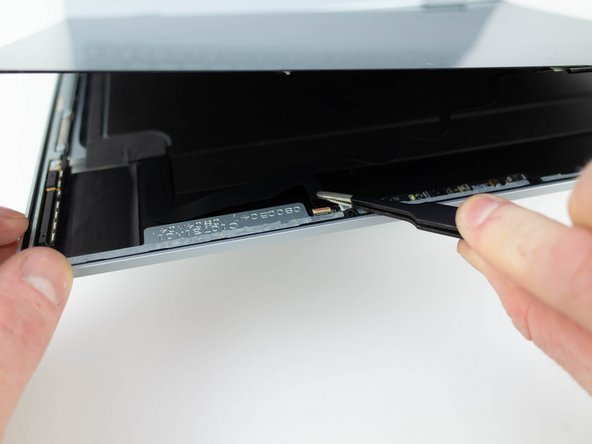
– Grab your spudger and use the pointy end to gently lift the little locking flap on the ZIF connector. Be careful, it’s a delicate move!
– Now, carefully disconnect the display ribbon cable from the socket. A little wiggle, and it should come free!
Tools Used
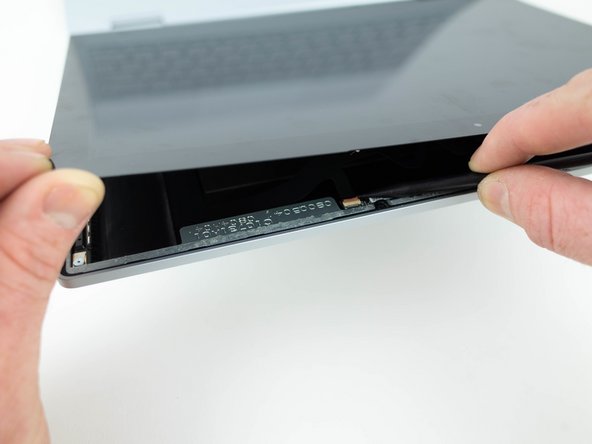
Step 12

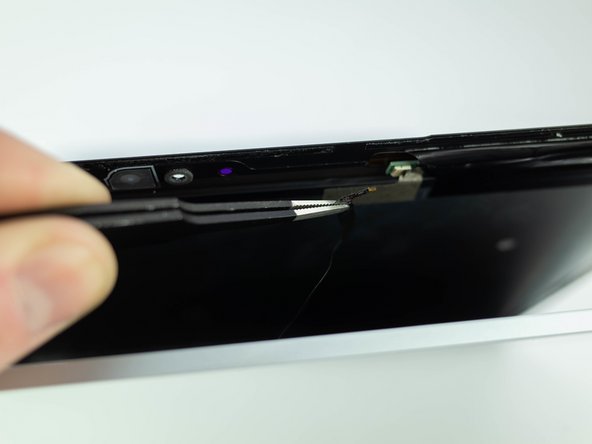
– Take the pointed end of a spudger and gently lift up the small locking flap on the ZIF connector.
– Carefully unplug the display ribbon cable from its socket.
Tools Used
Step 13

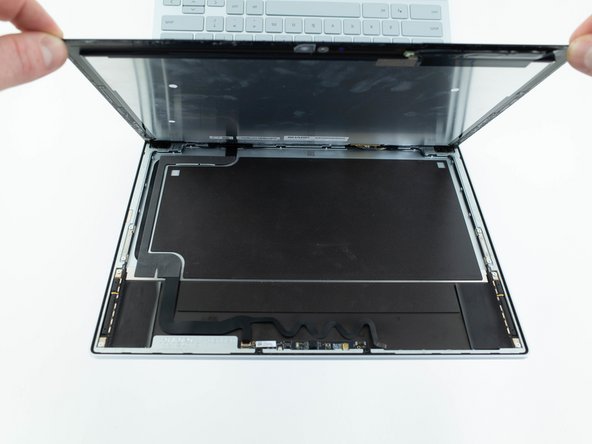
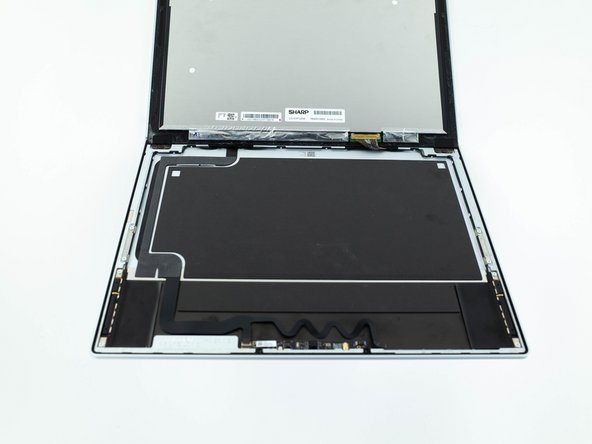
– Gently flip the display and rest it flat on the keyboard, ready to move to the next step.
Step 14


– To get your device back together, just reverse the steps you followed to take it apart – easy peasy!
– If you need help, you can always schedule a repair
Success!