Google Pixelbook Left Charging Port Replacement
Duration: 45 minutes
Steps: 15 Steps
Ready to get your hands a little dirty? This guide will walk you through swapping out the left charging port on your Pixelbook—perfect for when your battery just won’t budge past 2%. Let’s get you powered up again!
Step 1


– Grab your trusty opening tools or a metal spudger, and gently pry off the rubber covers from the back of your device. Take it slow, it’s not a race!
– Peel off the linings completely, revealing the bare back of your device. The clean look is worth the effort!
Tools Used


Step 2


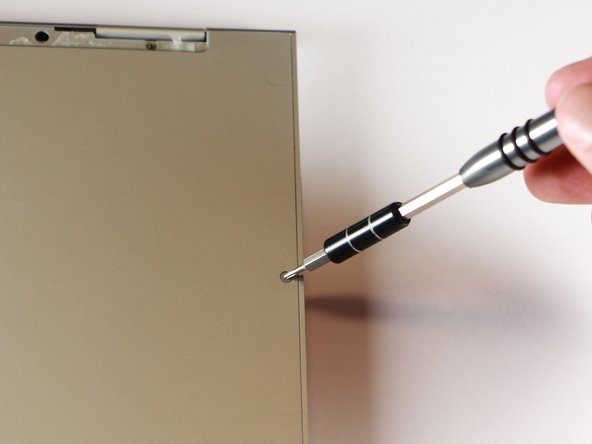
– Grab your T3 Torx screwdriver and gently unscrew those two yellow 2.0mm screws. You’ve got this!
Tools Used

Step 3


– Let’s get those seventeen 3.0mm T5 Torx screws out from the bottom panel. You’ve got this!
Step 4
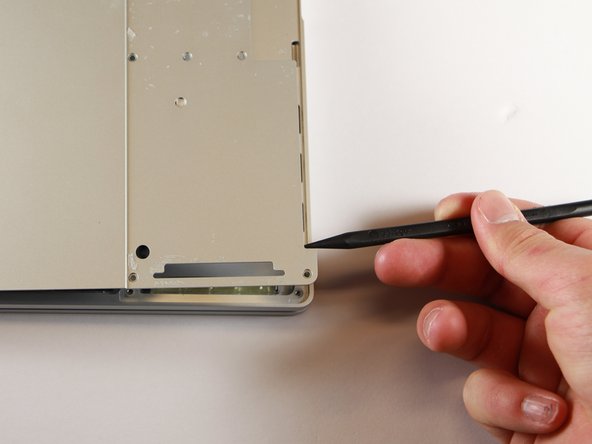

– Take your nylon spudger and gently pop up the edge of your Pixelbook until you can get a good grip with your fingers.
– Swing the back panel open all the way and lay it flat so you have a full view of the inside of your computer.
Tools Used
Step 5

– Grab your T3 Torx driver and spin out the yellow 2.0mm screw sitting in the middle of the panel—lefty loosey, as always!
Tools Used
Step 6


– Gently coax the small, black casing off its resting place using your trusty spudger. You’ve got this!
Tools Used
Step 7

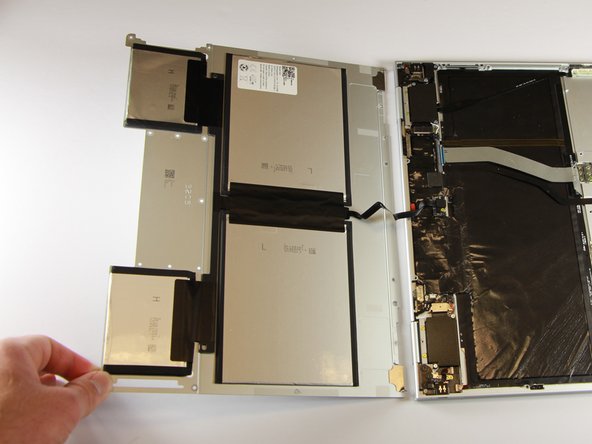
– Let’s free that flat, black cord from the main component! Grab a spudger and gently nudge it out of its cozy slot, or if you’re feeling adventurous, use your hand to carefully pull it out.
– Awesome! Your back panel is now liberated from the main component.
Tools Used
Step 8

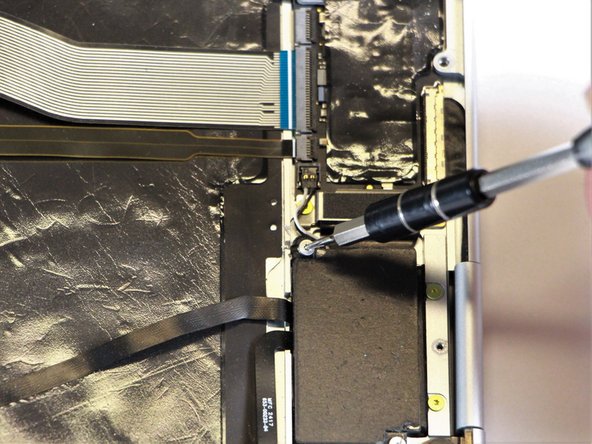
– Grab your T3 Torx screwdriver and carefully unscrew the pair of 3.0mm silver screws from the slender black component by turning counterclockwise. Take your time, and if you need a hand, you can always schedule a repair.
Tools Used
Step 9

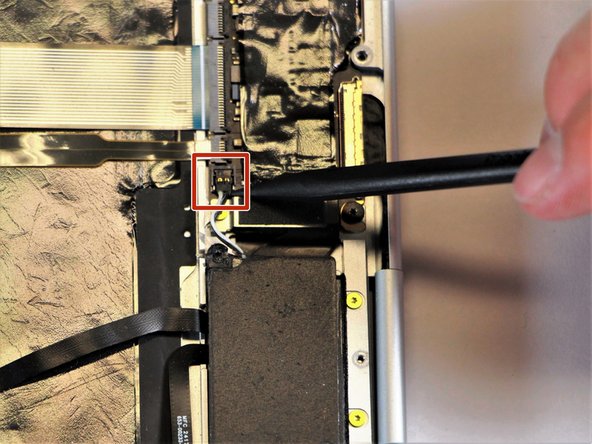
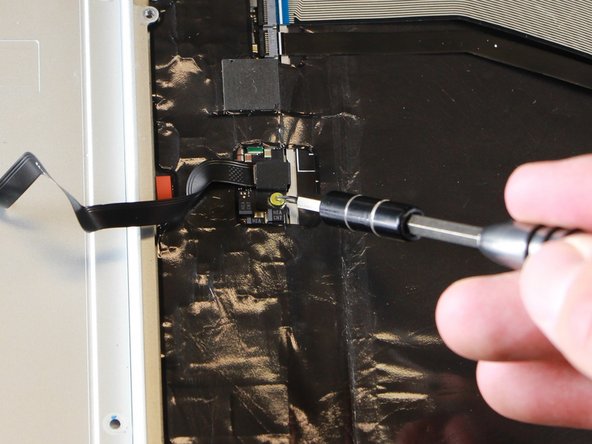
– Gently unplug the slender black and white cable from the motherboard. Just take your trusty spudger and give that connector a little nudge to pop it free. You’ve got this!
Tools Used
Step 10

This picture shows the bottom screw hanging out in the black box, but it’s time for yours to say goodbye!
– Gently lift the thin, black component out of the laptop using your fingers. It’s like peeling a sticker—just a smooth, careful pull!
Step 11

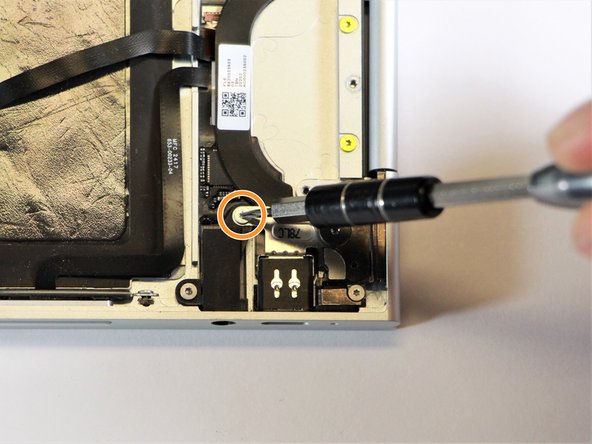
– Take that shiny 2.0mm gold screw out by twisting it counterclockwise with your trusty T3 Torx screwdriver. Easy peasy!
Tools Used
Step 12

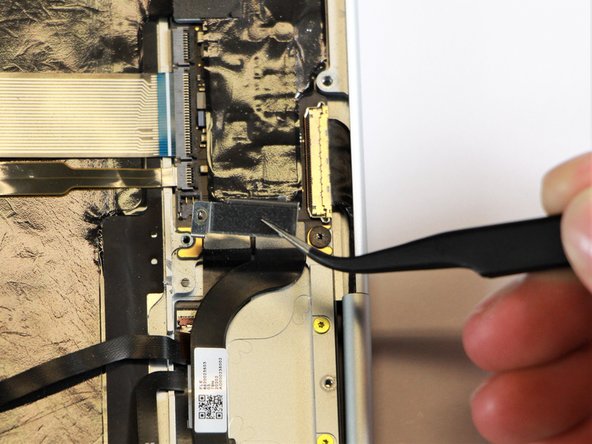
– Grab those needle-nose tweezers and gently lift the silver casing up and out of the computer. Take your time and don’t rush—patience is key here!
Tools Used

Step 13

– Use a T5 Torx screwdriver to carefully unscrew the three 3.0mm black screws on the right side. Turn them counterclockwise—it’s like unlocking a secret door, but for screws!
– Next, grab a T3 Torx screwdriver and remove the silver 2.0mm screw on the left side. Turn it counterclockwise and voila, it’s out!
Tools Used

Step 14

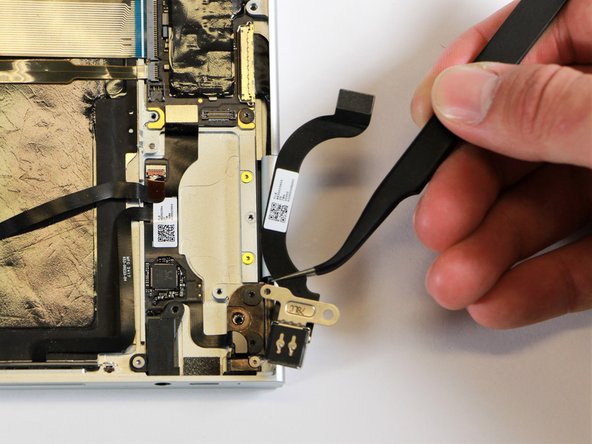
– Grab your trusty spudger and carefully lift the thin black ribbon cable off the device. It’s a delicate job, so take it slow and steady!
Tools Used
Step 15

– Now, just retrace your steps in reverse, and your device should be as good as new!
– If you run into any trouble along the way, don’t hesitate to schedule a repair.
Tools Used
Success!