Google Pixelbook Motherboard Replacement
Duration: 45 minutes
Steps: 30 Steps
In this guide, you’ll learn how to safely remove the motherboard of your Pixelbook when things like the motherboard, RAM, storage, or processor are causing trouble. We’ve got you covered with clear, easy-to-follow steps—just take it one step at a time and you’ll have it fixed in no time. If you need help, you can always schedule a repair.
Step 1


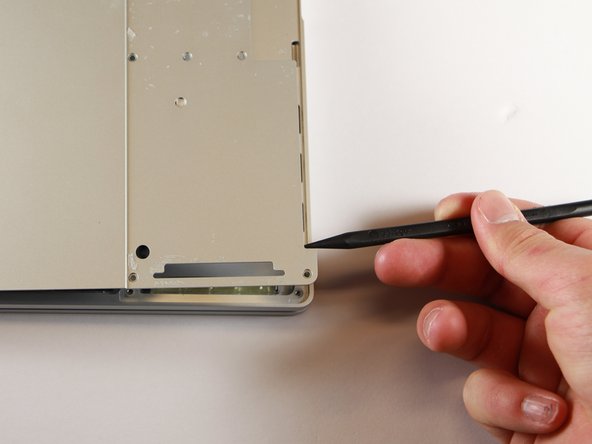
– Grab your trusty opening tools or a metal spudger and gently pry off those rubber covers from the back of your Pixelbook. It’s like peeling a banana, but for your tech!
– Once you’ve started, peel off the linings completely until the back of your Pixelbook is looking nice and clean, ready for the next step!
Tools Used


Step 2


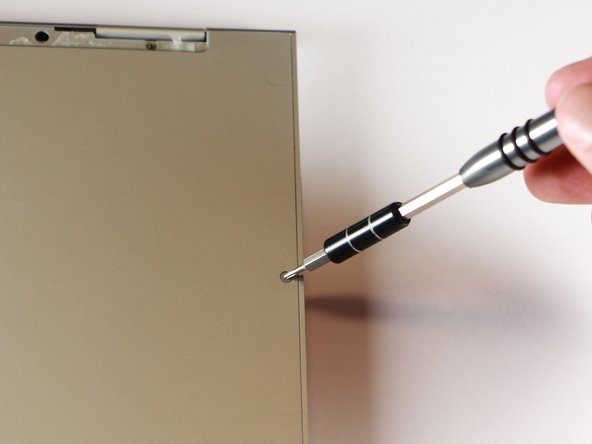
– Grab your T3 Torx screwdriver and carefully remove the two yellow 2.0mm screws. Take your time, we’re almost there!
Tools Used

Step 3


– Unscrew the seventeen 3.0mm T5 Torx screws from the bottom panel. Get ready, you’re almost there!
Step 4
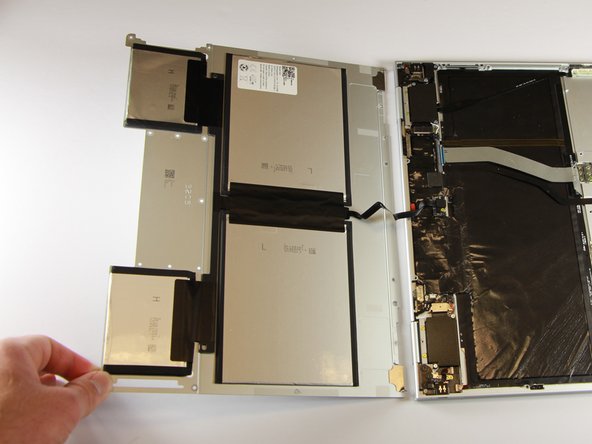

– Grab the nylon spudger and gently pry around the edge of the Pixelbook until you can get a good grip with your fingers.
– Flip the back panel open all the way and lay it flat, so you have a clear view of the entire interior of the device.
Tools Used
Step 5

– Grab your T3 Torx screwdriver and carefully unscrew the yellow 2.0mm screw from the middle of the panel by turning it counterclockwise. If you get stuck or need a hand, you can always schedule a repair.
Tools Used
Step 6


– Gently pry off the small black casing with your trusty spudger, lifting it free from its cozy spot.
Tools Used
Step 7

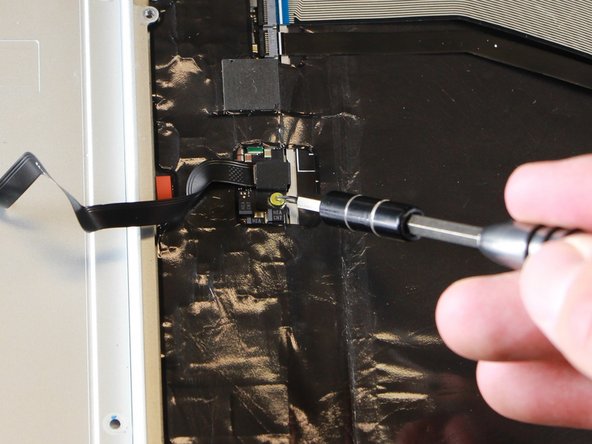
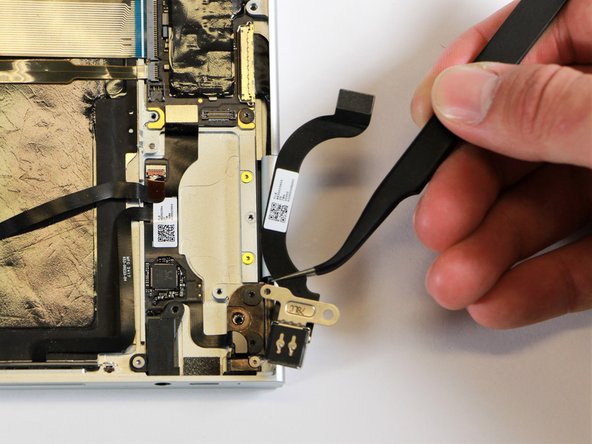
– Gently disconnect the flat, black cord from the main component. Use a spudger to nudge it out of the slot, or if you’re feeling extra careful, just use your fingers to carefully pull it free.
– With that, your back panel is officially separated from the main component!
Tools Used
Step 8

– Grab your T3 Torx screwdriver and get ready to work. Carefully unscrew the two 3.0mm silver screws from the sleek black component by turning them counterclockwise. No rush, just a gentle twist, and you’ll have them out in no time!
Tools Used
Step 9

– Gently lift the tiny, black-and-white cable connector from the motherboard using the spudger, snapping it free with a light prying motion. Need a hand? You can always schedule a repair if things get tricky.
Tools Used
Step 10

In this photo, you’ll see the bottom screw still in place inside the black box. But, no worries—yours should already be out by now. Let’s keep moving!
– Gently grip the slim black piece and lift it straight up and out of the laptop using your fingers. Easy does it!
Step 11

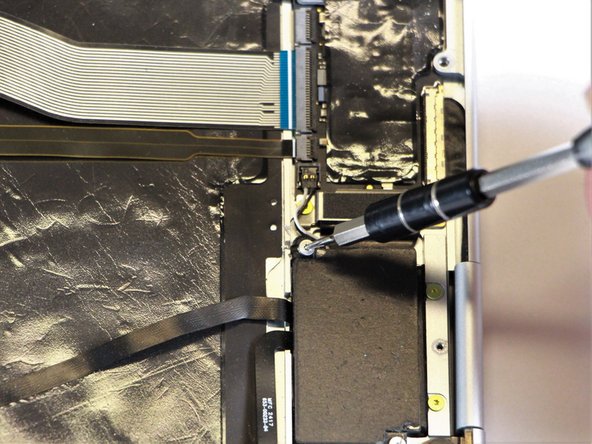
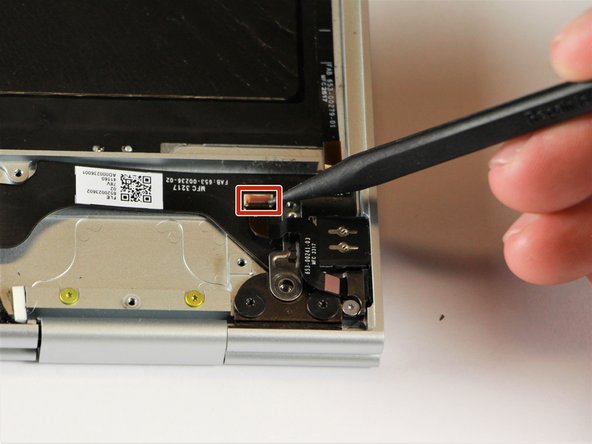
– Use a T3 Torx screwdriver to turn the shiny 2.0mm corner screw counterclockwise and remove it. Keep at it until it’s free—you’re on your way to the next step! If you need help, you can always schedule a repair.
Tools Used
Step 12

– Grab your needle-nose tweezers and gently lift that silver casing out of the computer, like you’re opening a secret compartment. Easy does it!
Tools Used

Step 13

– Using a T5 Torx screwdriver, carefully unscrew the three 3.0mm black screws on the right side by turning them to the left. You’ve got this!
– Grab your T3 Torx screwdriver and gently turn the silver 2.0mm screw on the left side counterclockwise to remove it. Easy peasy!
Tools Used

Step 14

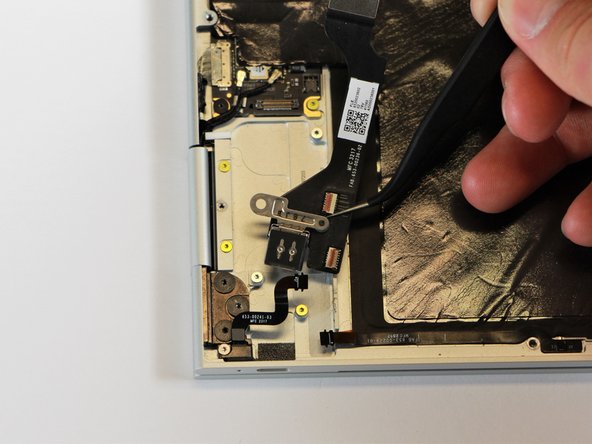
– Take your spudger and gently pop up the skinny black ribbon cable—it should lift right off the board.
Tools Used
Step 15

– Grab some trusty needle-nose tweezers and gently lift the charging port out of the Pixelbook. Take your time and work carefully to avoid any damage. If you need help along the way, you can always schedule a repair.
Tools Used
Step 16


– Grab your trusty T5 Torx screwdriver and twist those three 2.0mm black screws counterclockwise to free the sound card. Easy does it!
– Now, switch to a T3 Torx screwdriver and turn that 3.0mm gold screw counterclockwise to remove it. You’ve got this!
Tools Used
Step 17

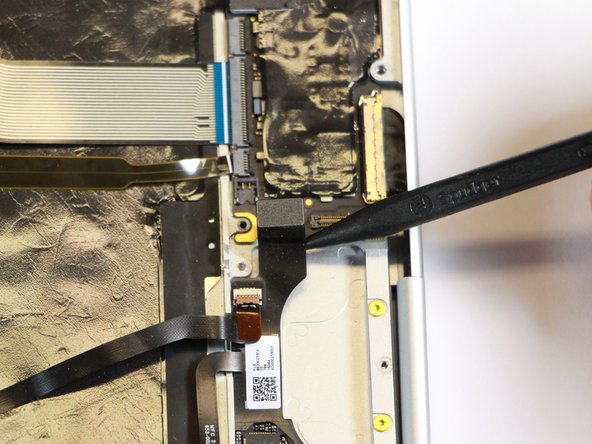
– Use your spudger to gently pry up the thin black and red cable from the motherboard connector. A little snap, and it should pop right out.
Tools Used
Step 18

– Grab your T3 Torx screwdriver and give that yellow 2.0mm screw a counterclockwise twist to remove it. Nice and easy – you’ve got this!
Tools Used
Step 19
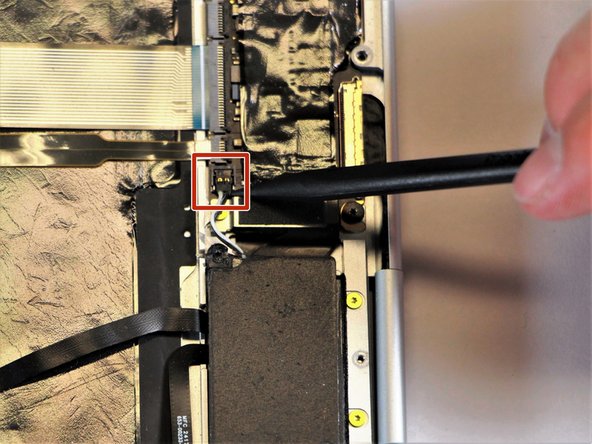
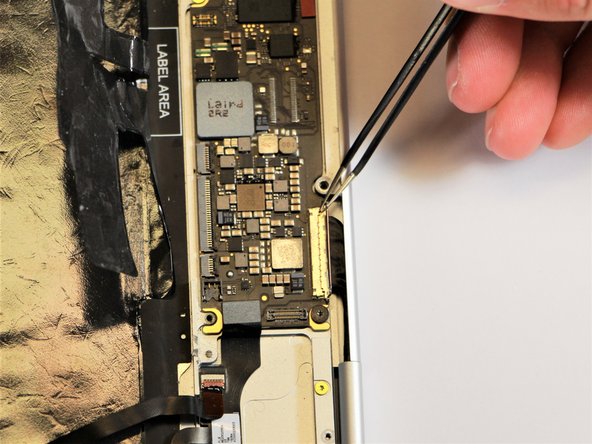
– Gently lift the small red component using your spudger, just like a pro! Take your time and make sure it comes off without a fuss.
Tools Used
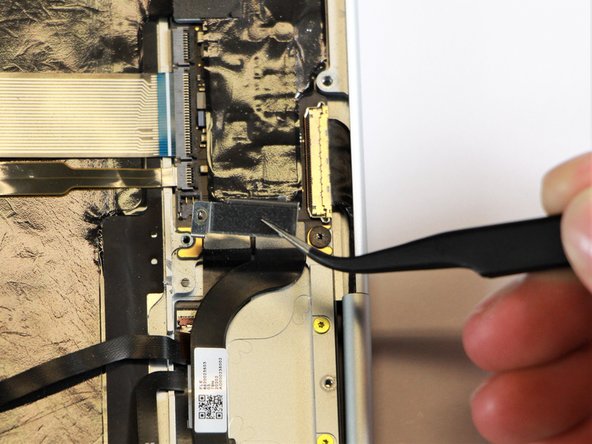
Step 20

– Use your spudger to gently lift up the thin, black metal component and disconnect it. Easy peasy!
Tools Used
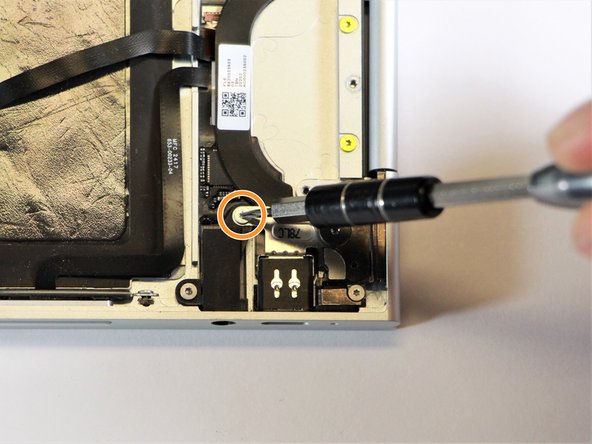
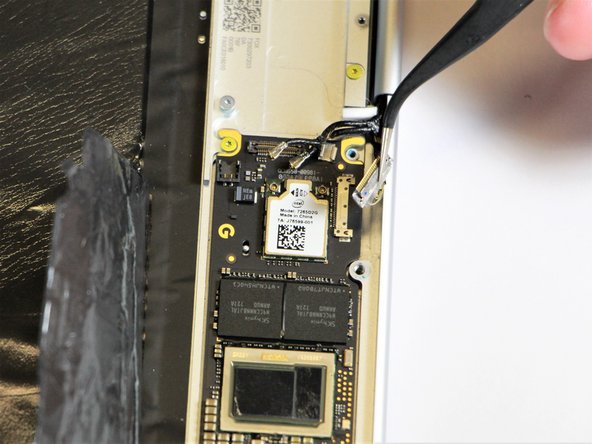
Step 21

– Gently lift the right charging port off the device using tweezers, carefully separating it from the rest of the components. If you need help, you can always schedule a repair.
Tools Used
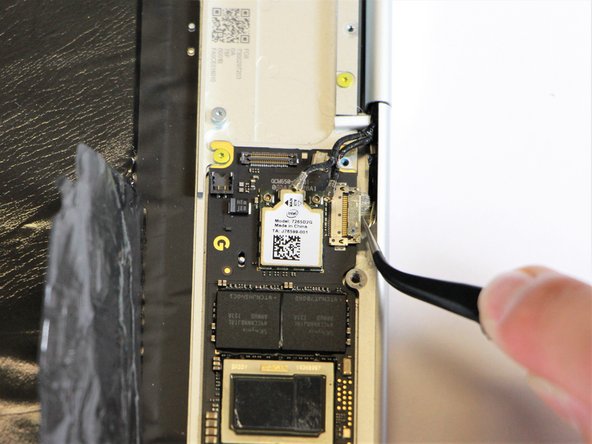
Step 22

– Gently disconnect the flat, black ribbon cable from the motherboard by using a spudger to carefully lift it out of the socket, or by carefully pulling it upward with your fingers. If you need help, you can always schedule a repair.
Tools Used
Step 23


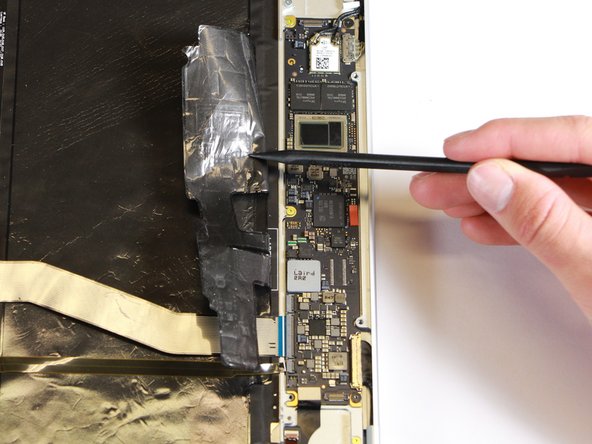
– Gently peel back the plastic covering on the motherboard using the nylon spudger. Take your time, and don’t rush!
Tools Used
Step 24
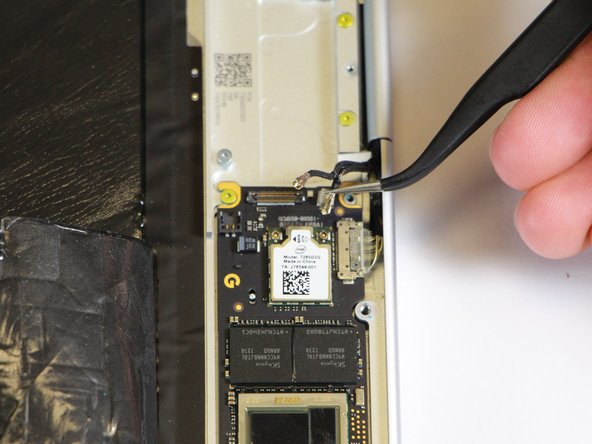

– Gently lift the two black cables off the motherboard by using your needle-nose tweezers to pull the connectors upwards. A little tug and they should pop right off!
Tools Used
Step 25

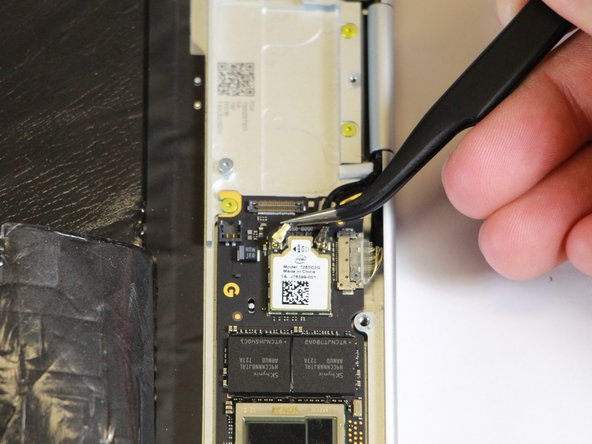
– Unplug the flat ribbon cable from the motherboard by gently easing it out of the socket with your fingers—or grab a pair of tweezers for a little extra precision. Easy does it!
Tools Used
Step 26

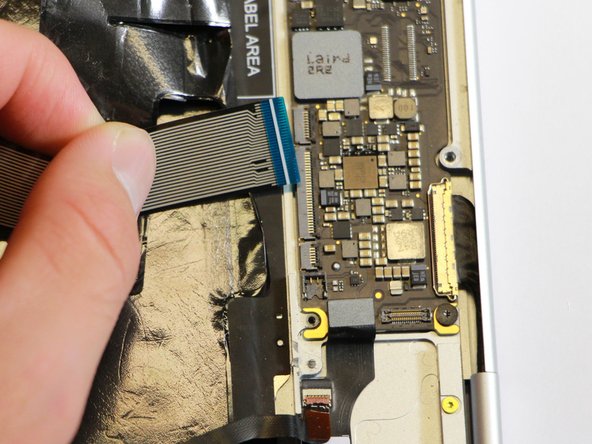
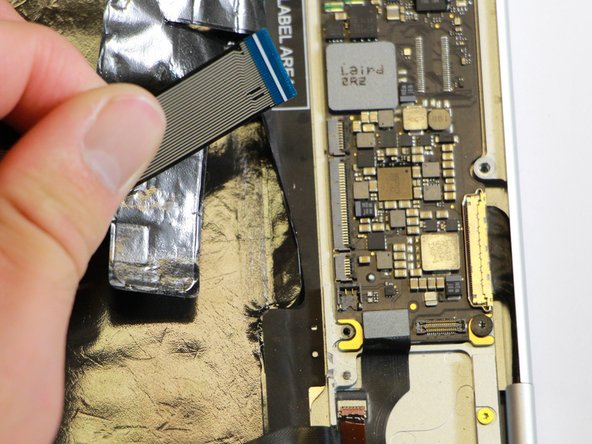
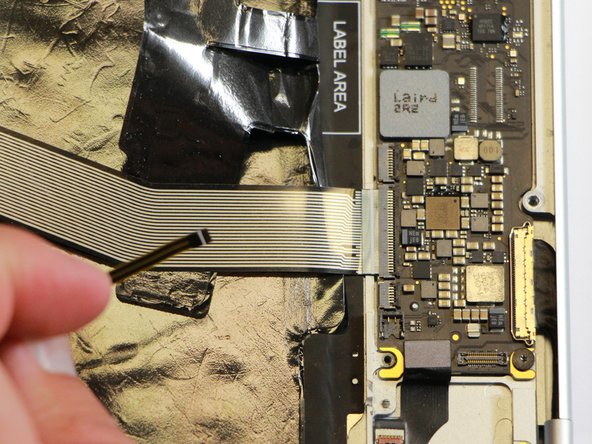
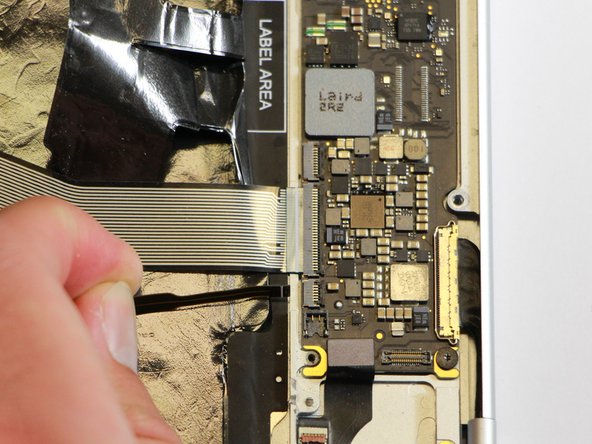
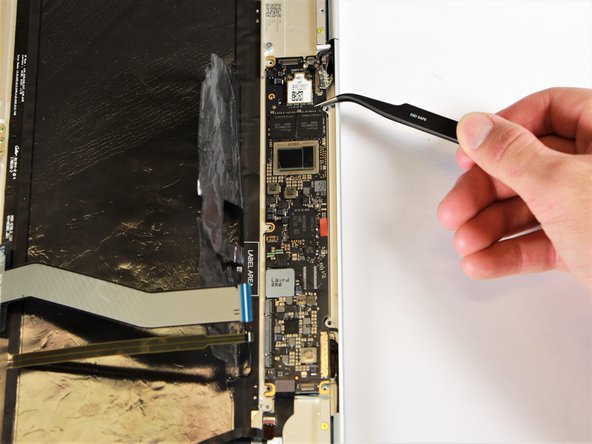
– Gently remove the large flat ribbon cable from the motherboard. You can either pull it out carefully with your hand or, if you prefer, use a pair of tweezers to get a good grip and gently pull it free. Just take your time and be gentle – no need to rush!
Tools Used
Step 27
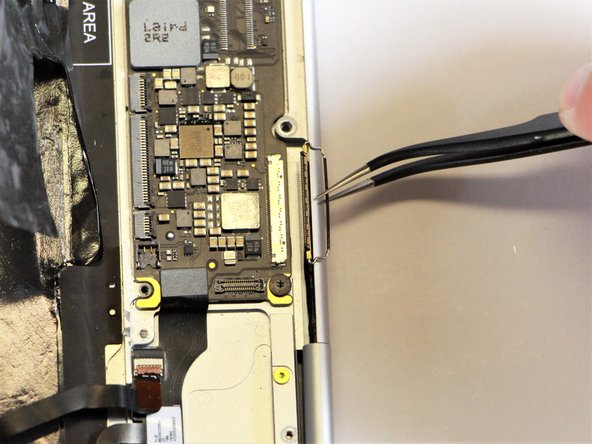

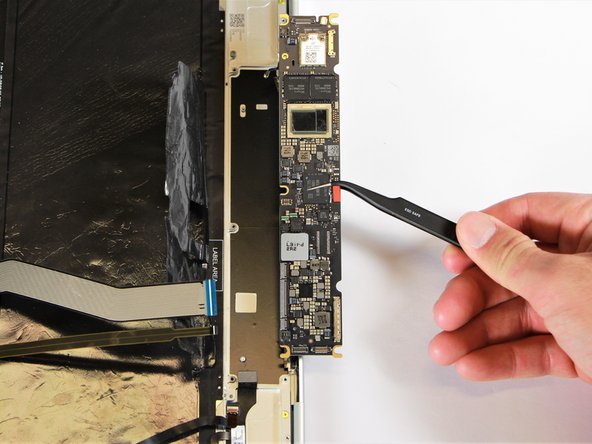
– Grab your trusty needle-nose tweezers and gently lift the motherboard connector latch – a little careful tug is all it takes!
– Now, using the same tweezers, ease the large flat cable off the motherboard by gently pulling on the latch. No rush, just a smooth, steady move.
Tools Used
Step 28

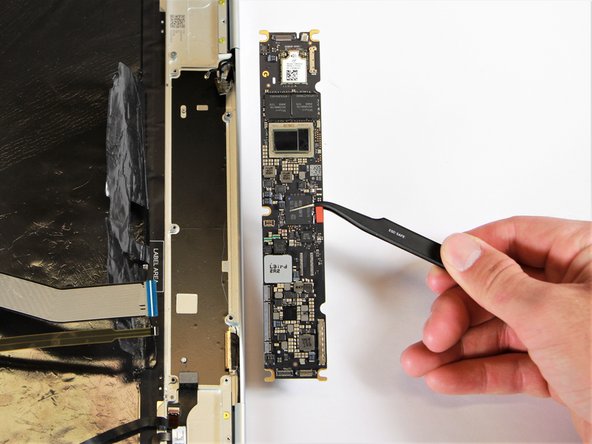
– Time to disconnect that flat cable from the motherboard! Grab those needle-nose tweezers and gently wiggle the connector out of its cozy little slot. You’ve got this!
Tools Used
Step 29
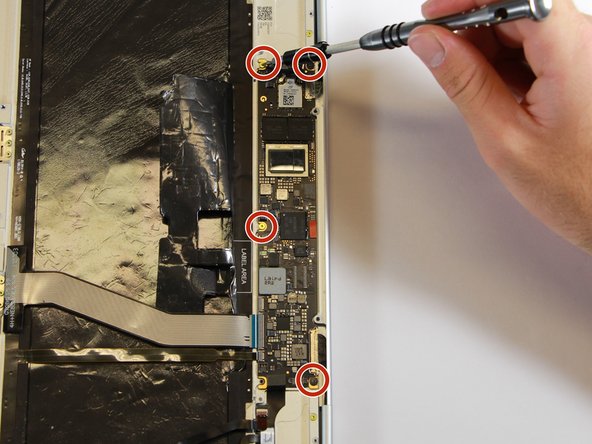

– Grab your T3 Torx screwdriver and carefully twist those gold 3.0mm screws and the sleek black, flat 2.0mm screws out of the motherboard, turning counterclockwise. Keep it steady, and remember – you’ve got this!
Tools Used
Step 30
– Gently lift the motherboard out of the laptop using the needle-nose tweezers, taking care not to damage any surrounding components. If you need help, you can always schedule a repair.
Tools Used
Success!