Google Pixelbook Right Charging Port Replacement
Duration: 45 minutes
Steps: 13 Steps
In this guide, we’ll show you how to swap out that finicky right charging port on your Pixelbook. Say goodbye to charging headaches and get back to powering up like a pro.
Step 1


– Grab your trusty opening tools or a metal spudger and gently pry off the rubber covers from the back of your device. Easy, right?
– Peel away the linings completely until the back of your device is looking nice and bare. Almost there!
Tools Used


Step 2


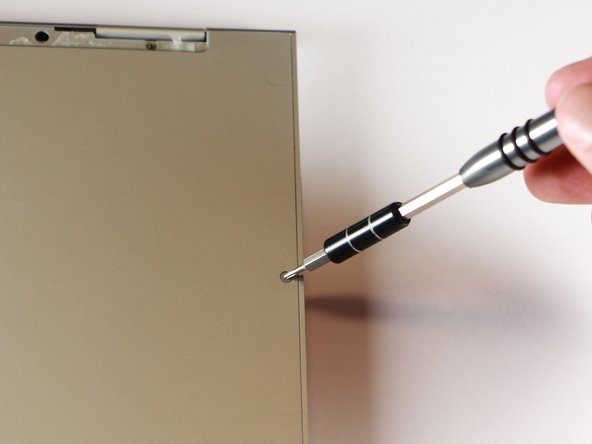
– Grab your trusty T3 Torx screwdriver and remove the two yellow 2.0mm screws. You’ll be one step closer to getting things back in action!
Tools Used

Step 3


– Start by unscrewing the seventeen 3.0mm T5 Torx screws from the bottom panel. They’re all waiting to be freed, so show them who’s boss!
Step 4
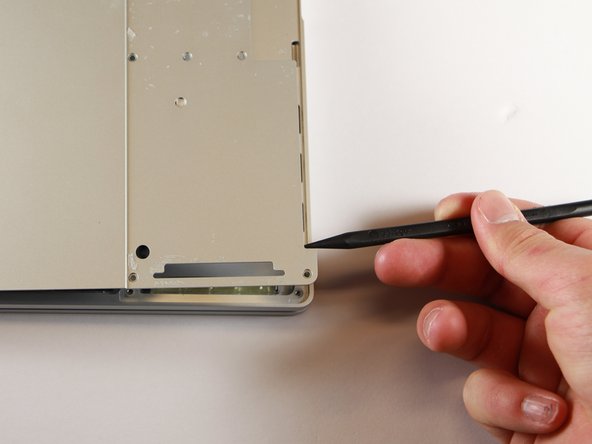

– Grab your trusty nylon spudger and gently lift the edge of your Pixelbook until you can get a good grip with your fingers. It’s a small move, but it makes all the difference!
– Now, fully open the back panel and lay it flat. You’ll have a clear view of the whole inside, like a backstage pass to the inner workings of your device.
Tools Used
Step 5

– Grab your T3 Torx screwdriver and twist out the yellow 2.0mm screw right in the middle of the panel—just turn it counterclockwise and let that screw take a break.
Tools Used
Step 6


– Gently pry the small, black casing loose from its home using your trusty spudger. It’s time to set it free!
Tools Used
Step 7

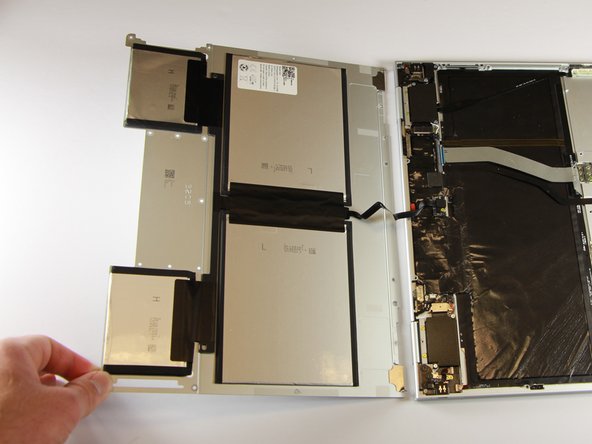
– Gently disconnect the flat, black cord from the main component. You can either use a spudger to nudge it out of the slot or carefully pull it with your hand. Just be sure to do it slowly, so nothing gets damaged!
– And voilà! Your back panel is now separated from the main component, ready for the next step.
Tools Used
Step 8


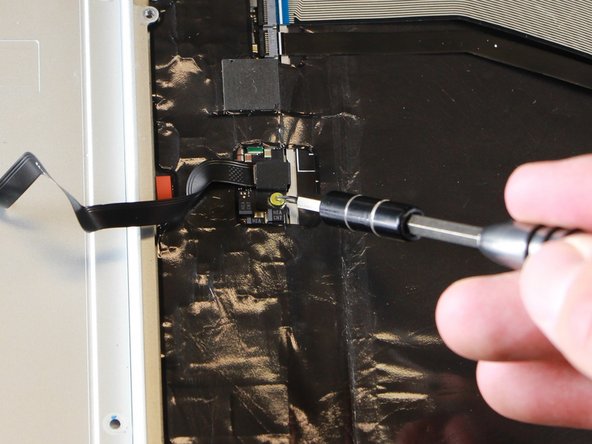
– Grab your trusty T5 Torx screwdriver and unscrew those three 2.0mm black screws from the sound card by turning them counterclockwise. Easy does it!
– Now, switch to your T3 Torx screwdriver and carefully remove that gold 3.0mm screw by turning it counterclockwise. You’re almost there!
Tools Used

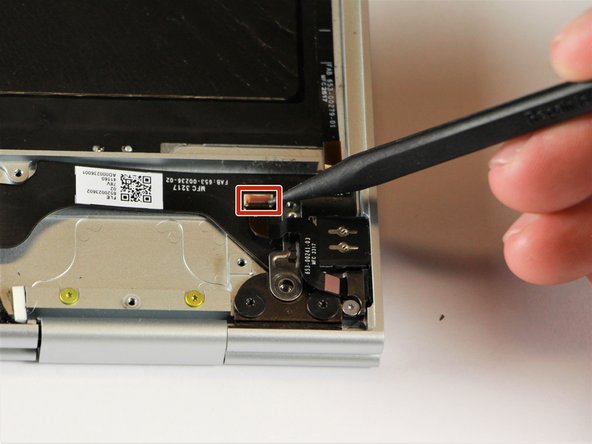
Step 9

– Grab your spudger and gently pry up the connector for the thin black and red cord from the motherboard. It should snap out easily when you nudge it upwards. No need to rush—just take it slow and steady!
Tools Used
Step 10

– Grab your trusty T3 Torx screwdriver and gently turn the yellow 2.0mm screw counterclockwise to remove it. Take it slow, no need to rush!
Tools Used
Step 11
– Gently lift the small red component using your spudger tool. It should come up with a little nudge, no need to force it.
Tools Used
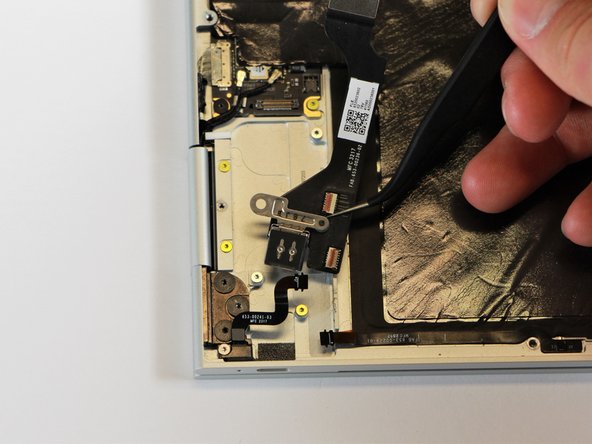
Step 12

– Grab your spudger and gently lift the metal part of the thin black component. It should pop right off, no sweat!
Tools Used
Step 13

– Grab your trusty tweezers and carefully lift the right charging port out of the computer. It’s a simple move – just be gentle and take your time.
Tools Used

Success!