Google Pixelbook Touchpad Replacement
Duration: 45 minutes
Steps: 10 Steps
Before you jump into swapping your touchpad, double-check the troubleshooting guide—it’ll help you be sure the touchpad really is the troublemaker. Heads up: you’ll be working with some delicate ribbon connectors in this process, so take your time and handle everything with care!
Step 1


– Grab your opening tool or a trusty metal spudger and gently pop those rubber covers off the back of your Pixelbook. Take your time—no need to rush.
– Peel away the linings until the back is looking nice and bare, ready for the next step!
Tools Used


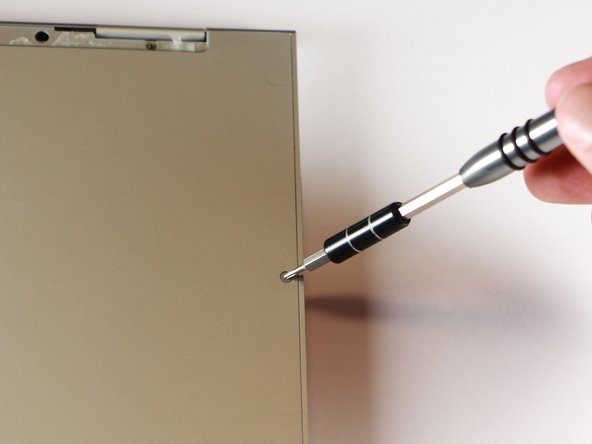
Step 2


– Grab your T3 Torx screwdriver and carefully take out the pair of yellow 2.0mm screws. You’re making steady progress—keep it up!
Tools Used

Step 3


– Unscrew the seventeen 3.0mm T5 Torx screws from the bottom panel. Take your time and keep track of them—they can be sneaky little guys!
Step 4
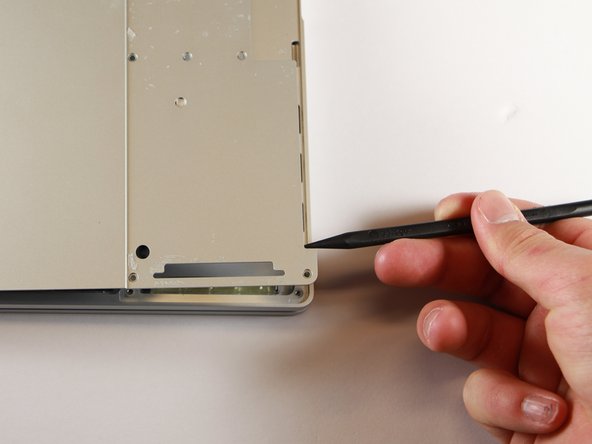

– Grab your trusty nylon spudger and gently pop up the edge of your Pixelbook until you’ve got enough grip to use your fingers.
– Flip the back panel all the way open and lay it flat like a book, so the whole inside is on display.
Tools Used
Step 5

– Grab your T3 Torx screwdriver and take out that yellow 2.0mm screw right in the center of the panel by turning it counterclockwise. Easy peasy!
Tools Used
Step 6


– Pop off that little black cover by gently prying it up with your spudger.
Tools Used
Step 7

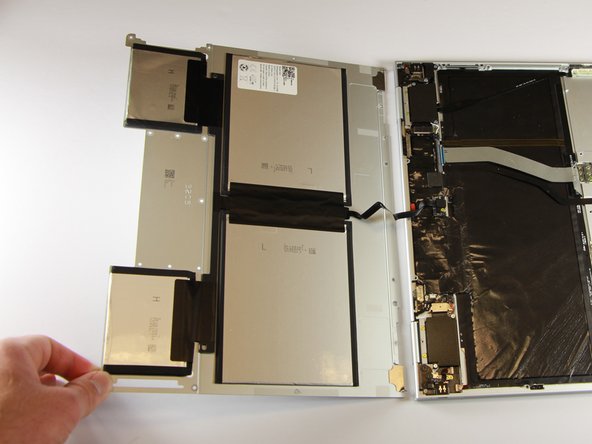
– Gently unplug the flat, black cable from the main board—either nudge it out with a spudger or pull it free with your fingers. No need to muscle it, just a little patience and finesse!
– Congrats! The back panel is now separated from the main section.
Tools Used
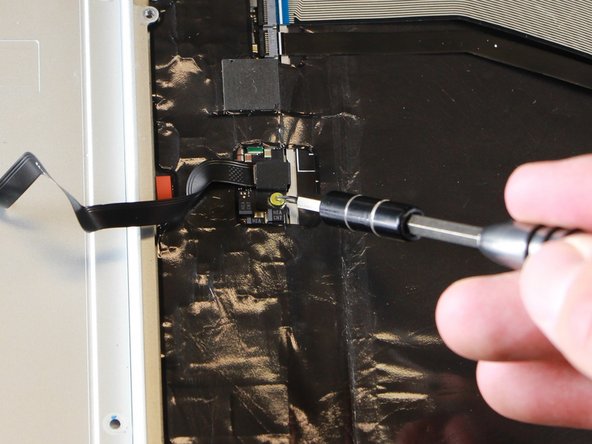
Step 8
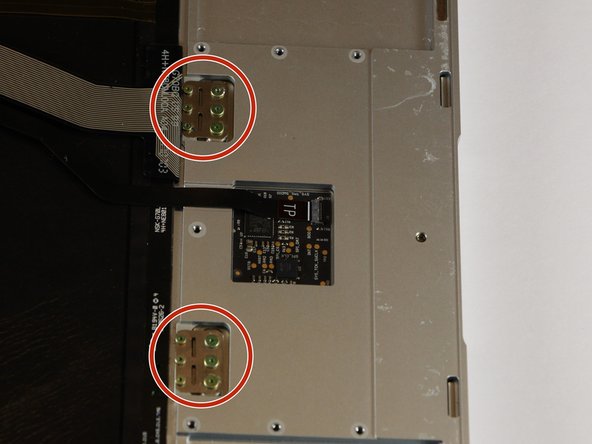

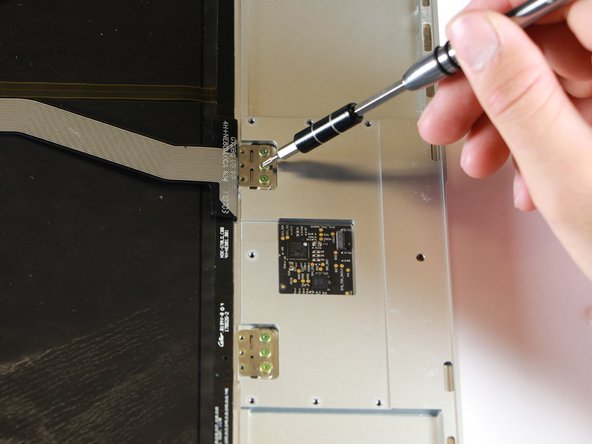
– With the back panel out of your way, grab your T3 Torx screwdriver and loosen up both the 2.0mm and the chunkier 3.0mm gold screws holding the touchpad. Keep track of those screws—they like to wander off!
Tools Used
Step 9


– Carefully grab the ribbon connector with tweezers or your fingers and gently lift it up and out. Just take your time and stay steady – no rush!
Step 10
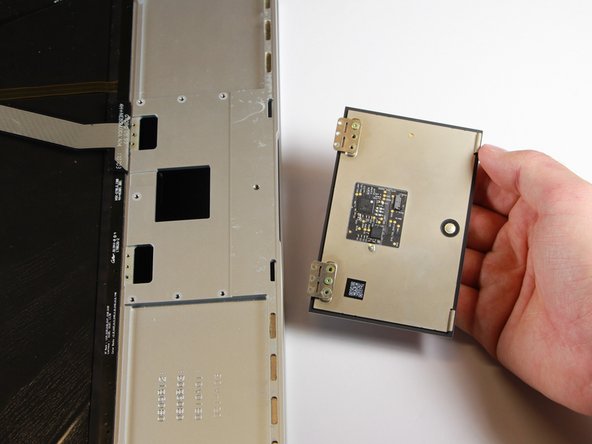

– Grab that nylon spudger and gently insert the tip into the little hole near the edge of the laptop. Give it a little push, and the touchpad will start making its way out of the laptop.
– As the metal plates with screws start to lift up, get ready to catch the touchpad before it falls free. Gently remove it and you’re done!
Tools Used
Success!