Guide to Replace Google Pixel 2 XL Front Camera
Duration: 45 min.
Steps: 13 Steps
In this repair guide, we show you how to replace the defective front-facing camera of your Google Pixel 2 XL. You need this repair if the front camera isn’t working, your pictures are blurry, or the camera doesn’t focus.If your selfies are blurry, you can’t select the selfie camera in the photo app, or your pics have pixel errors, replacing the front-facing camera of your Pixel 2 XL could help.The repair is difficult, because the screen is glued. So you should only do this repair, if you feel ready to remove the screen without breaking it.You will also need an adhesive frame to close the display properly after opening the device.
Step 1
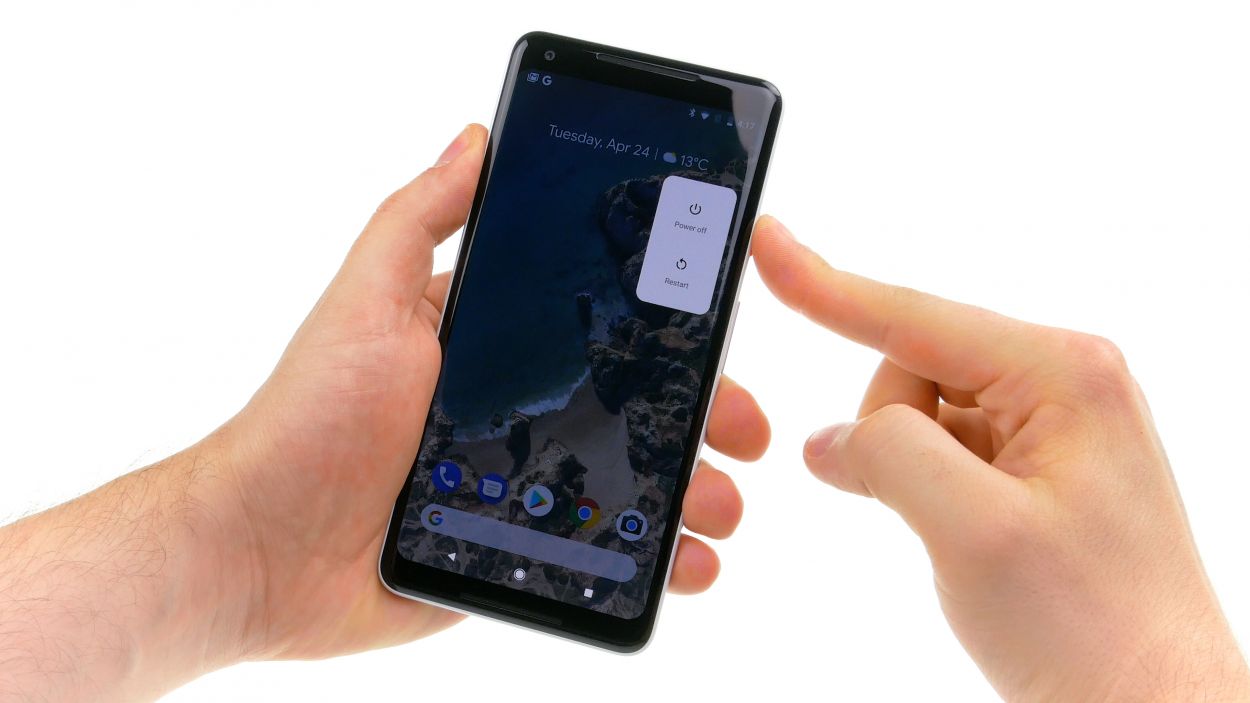
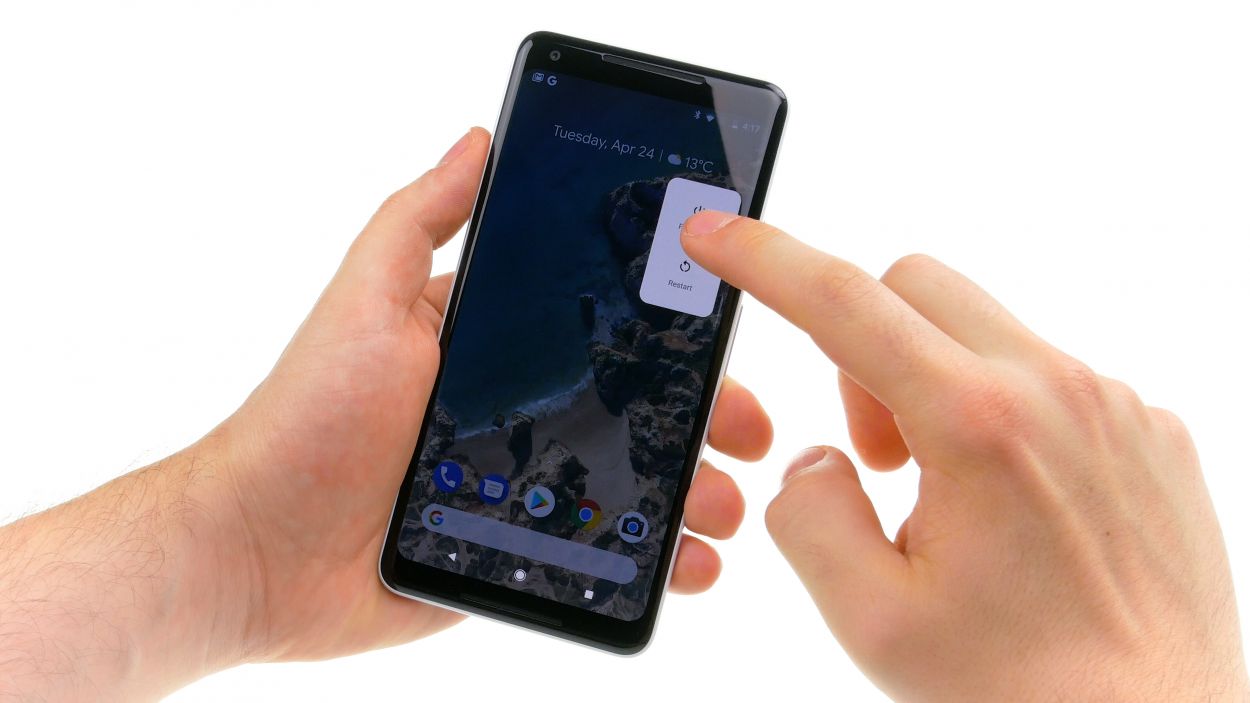
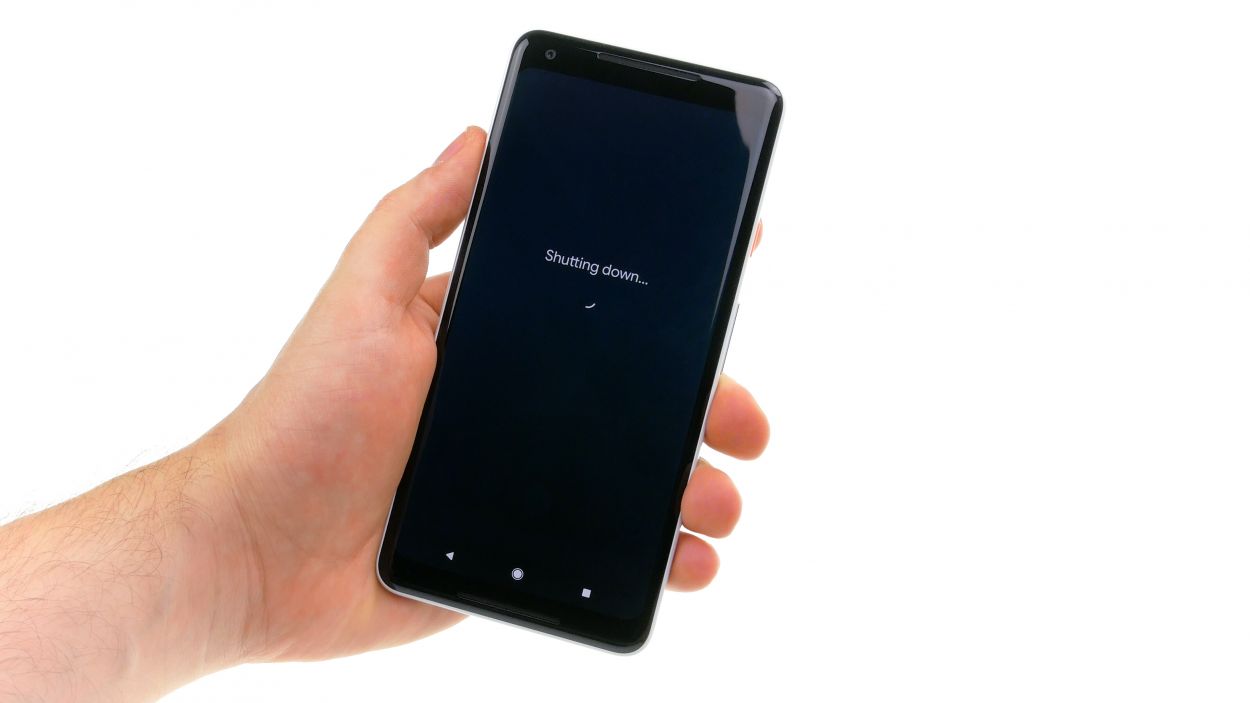
– Press and hold the standby button until you see the “Power off” option pop up.
– Tap it again to confirm, then kick back and let your device take a little snooze.
Step 2
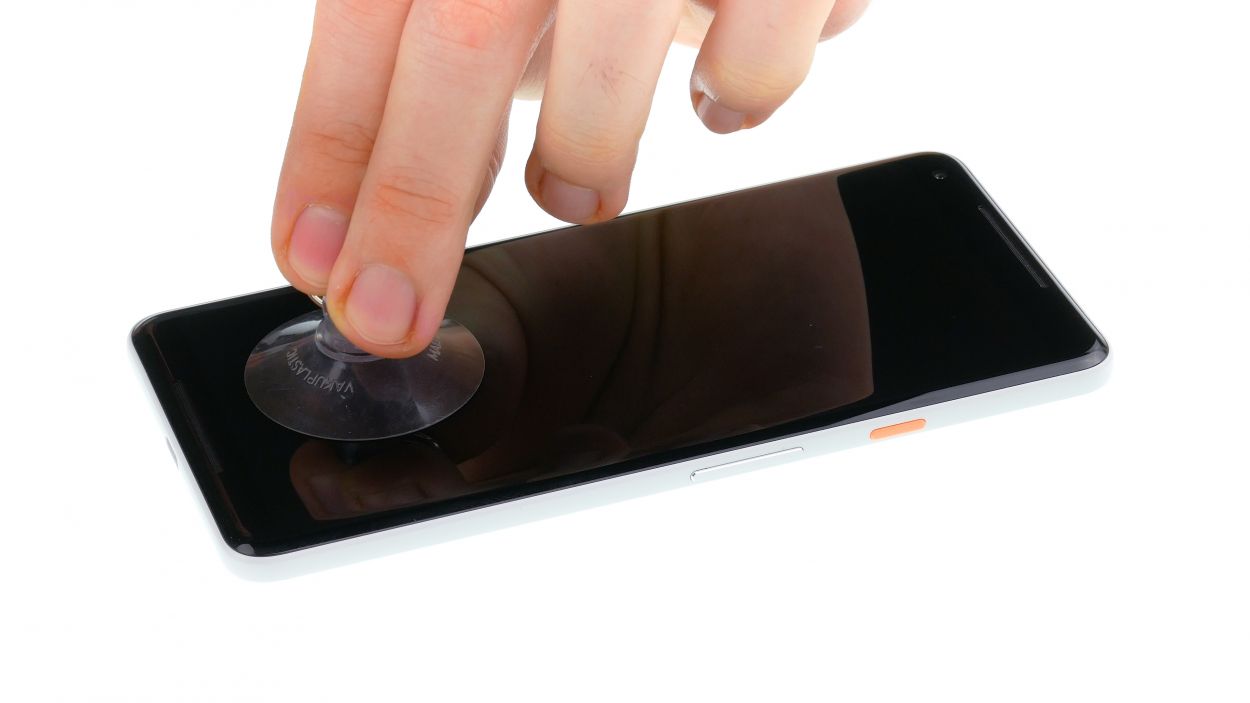

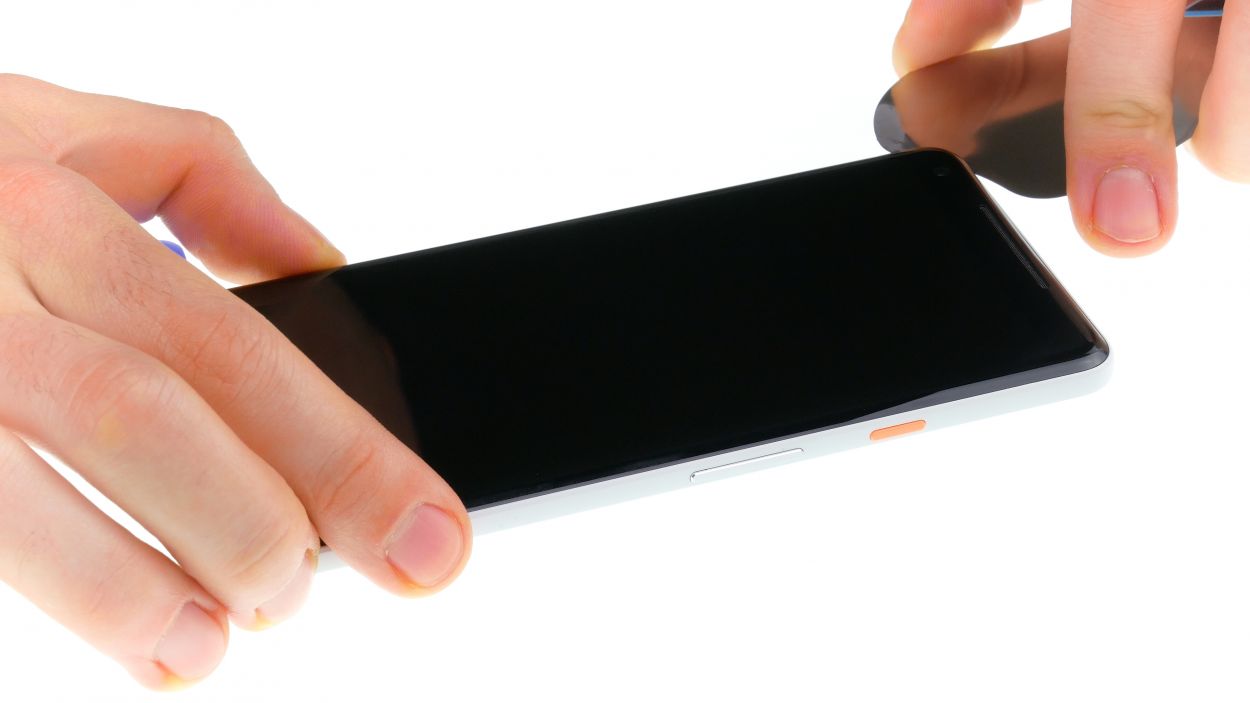
– Start by warming up the glue around the edges with a hot air tool until it reaches about 60°C. Give it another go and heat the display just enough so it’s almost too hot to touch.
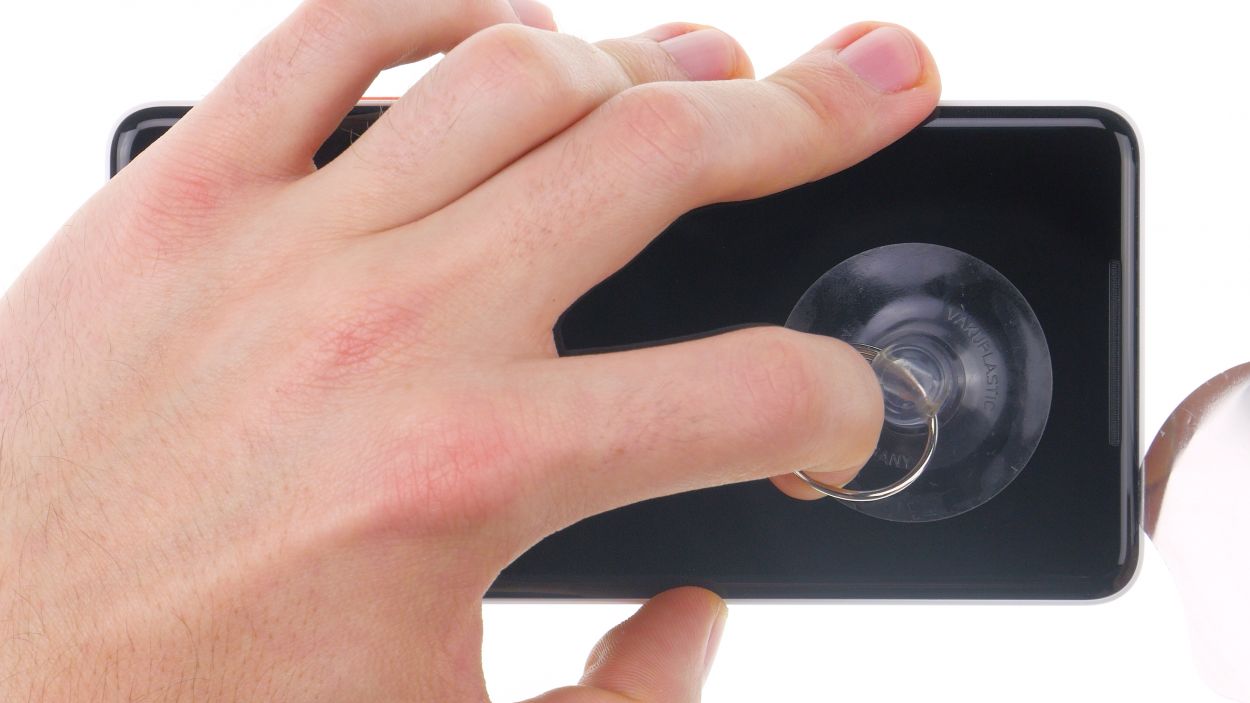
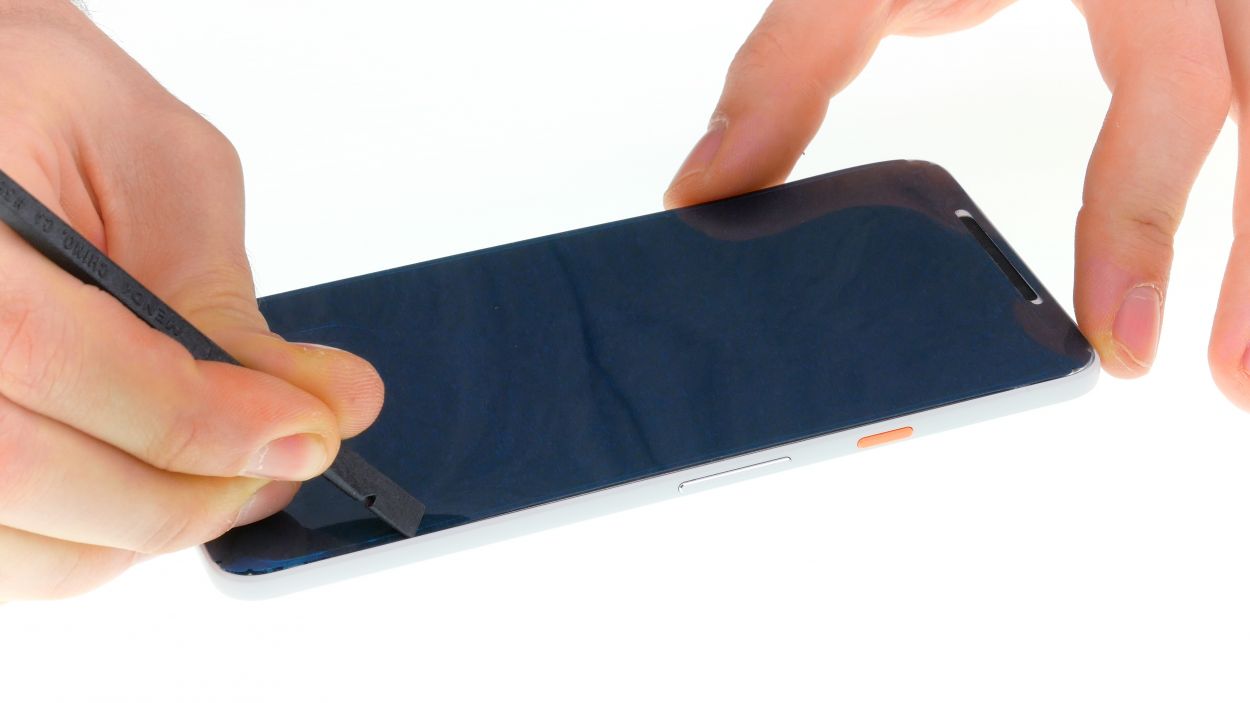
– Next, grab a suction cup and place it at the bottom of the display, right over the USB connector, then give it a gentle pull.
– Now, take a super thin, flat tool and slide it between the display and the frame, moving it around the edge to pop one corner of the display loose.
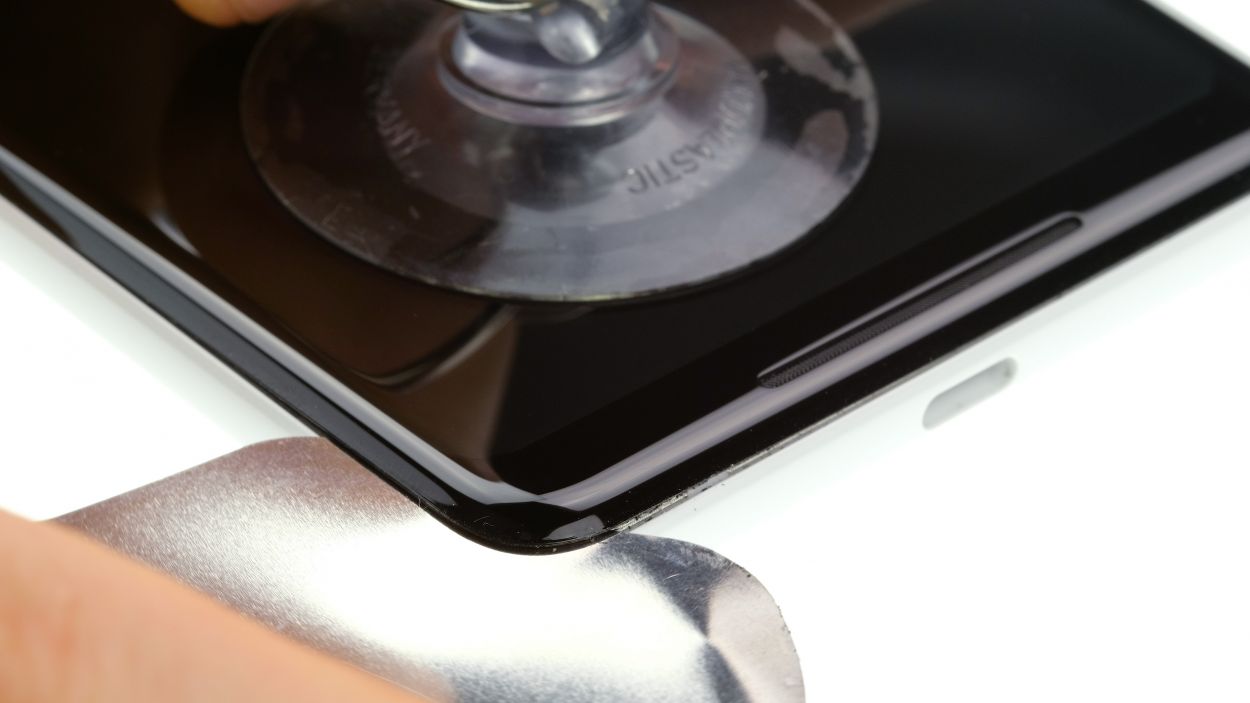
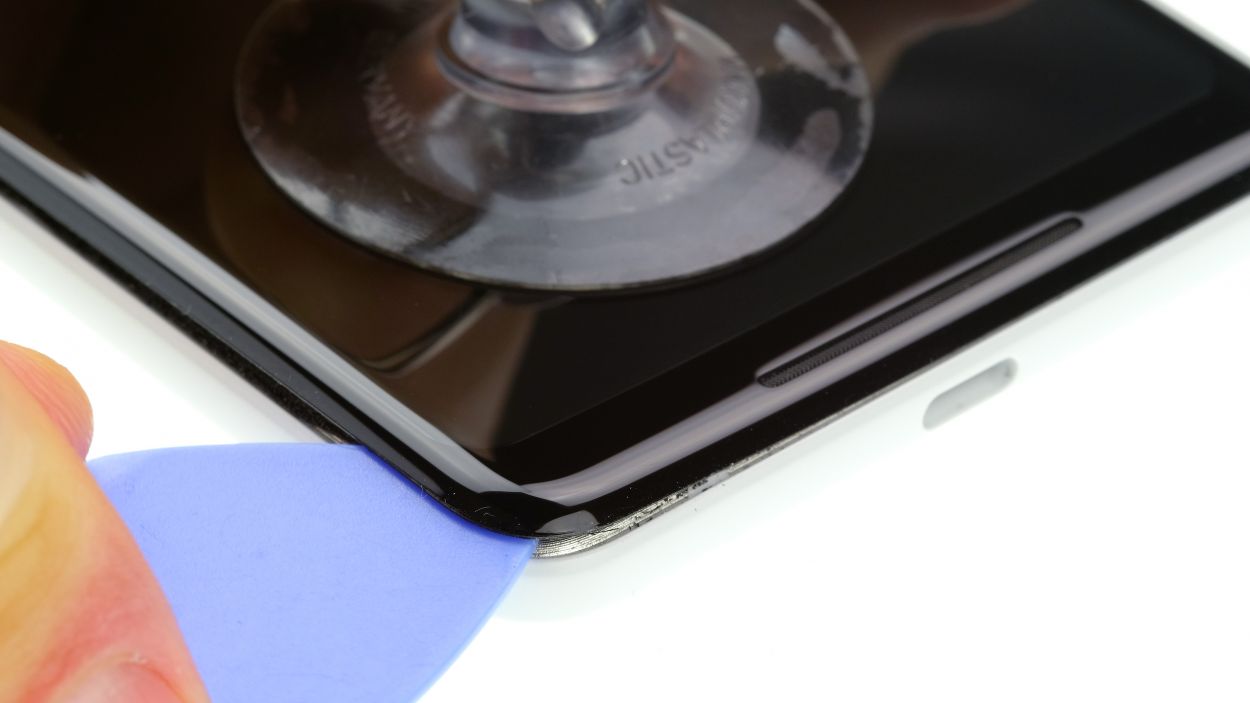
– Slide a pick in between the frame and the display. Feel free to use additional picks to help detach the display all the way around. Just remember, no tool should go deeper than 5 mm!
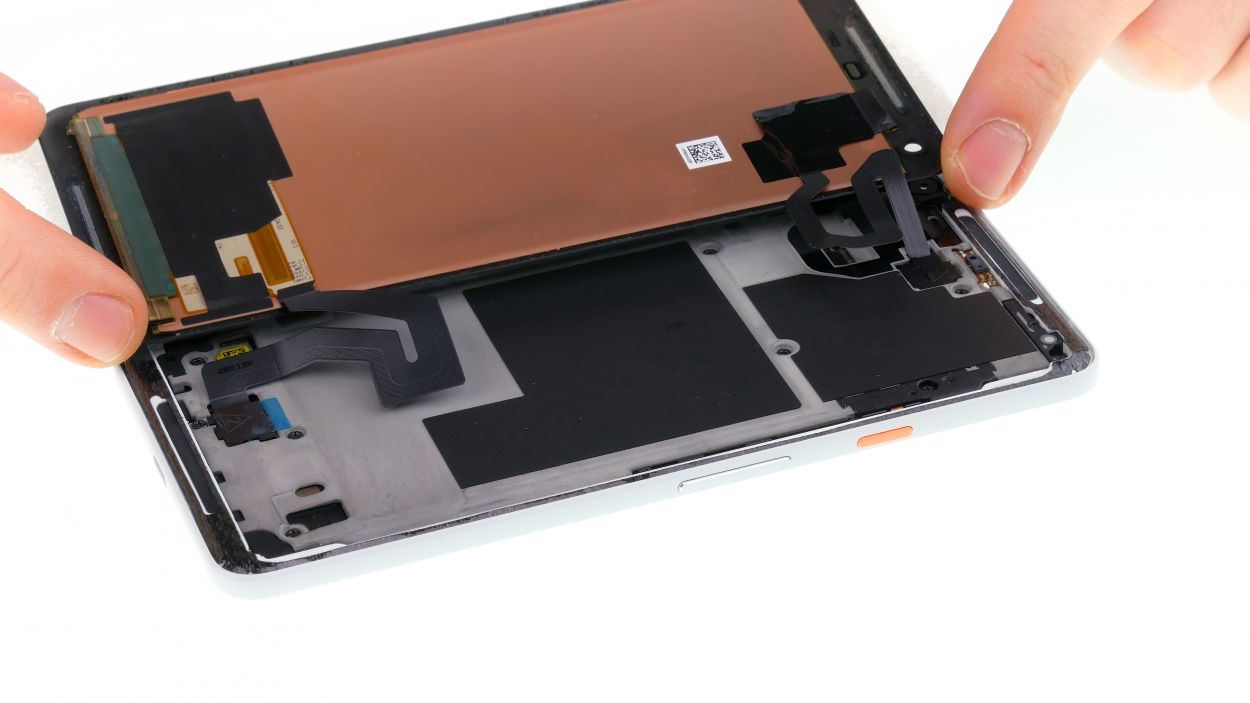
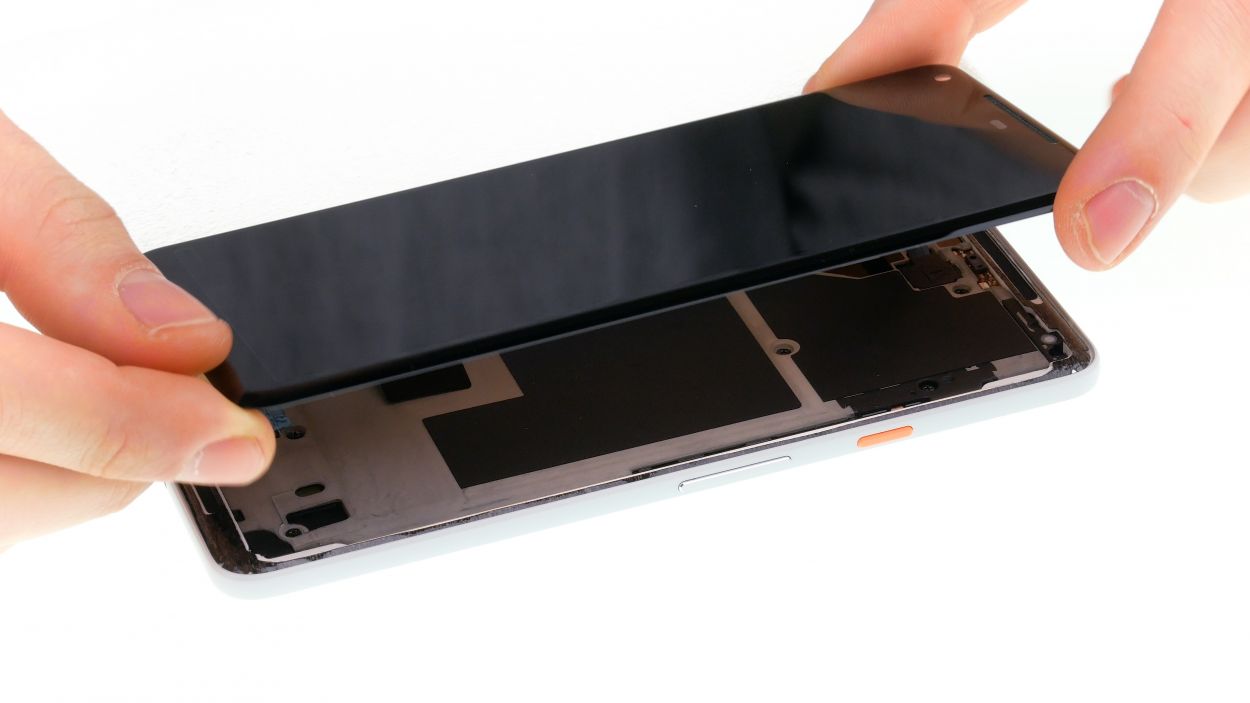
– Once the glue is free all around, you can carefully lift the display off. Gently fold it back towards the top (just like in the picture), but watch out for those two flex cables still attached!
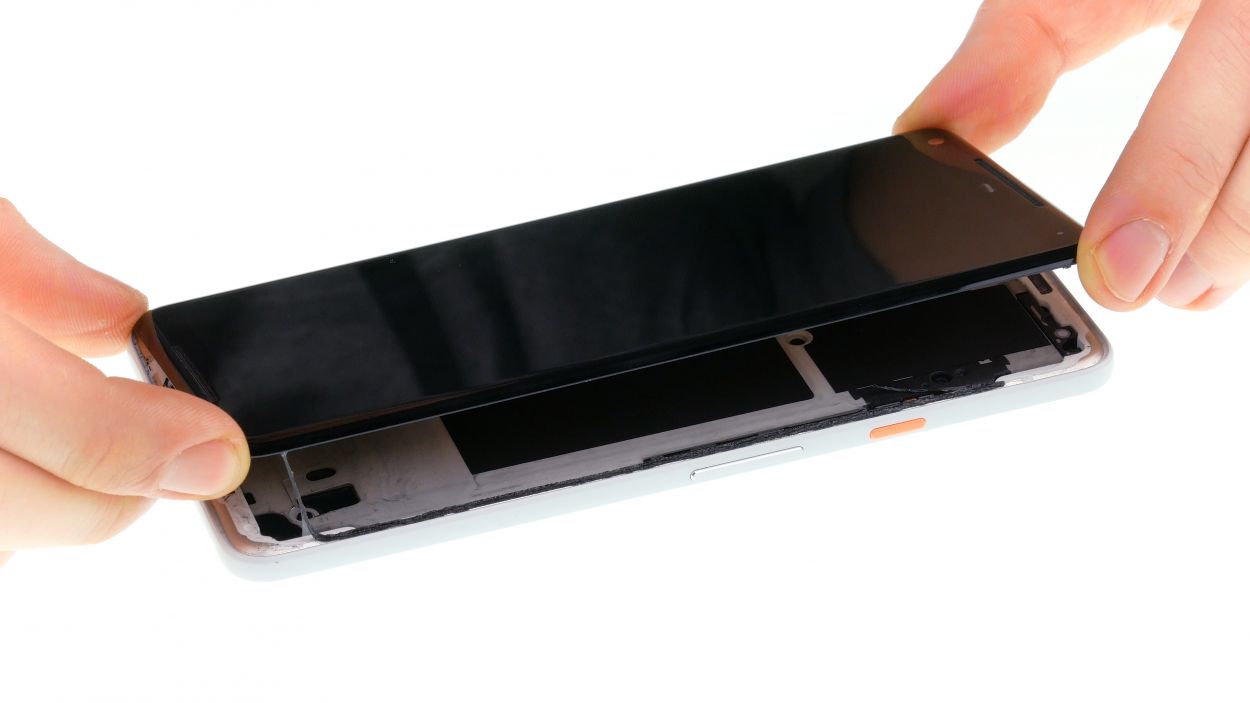
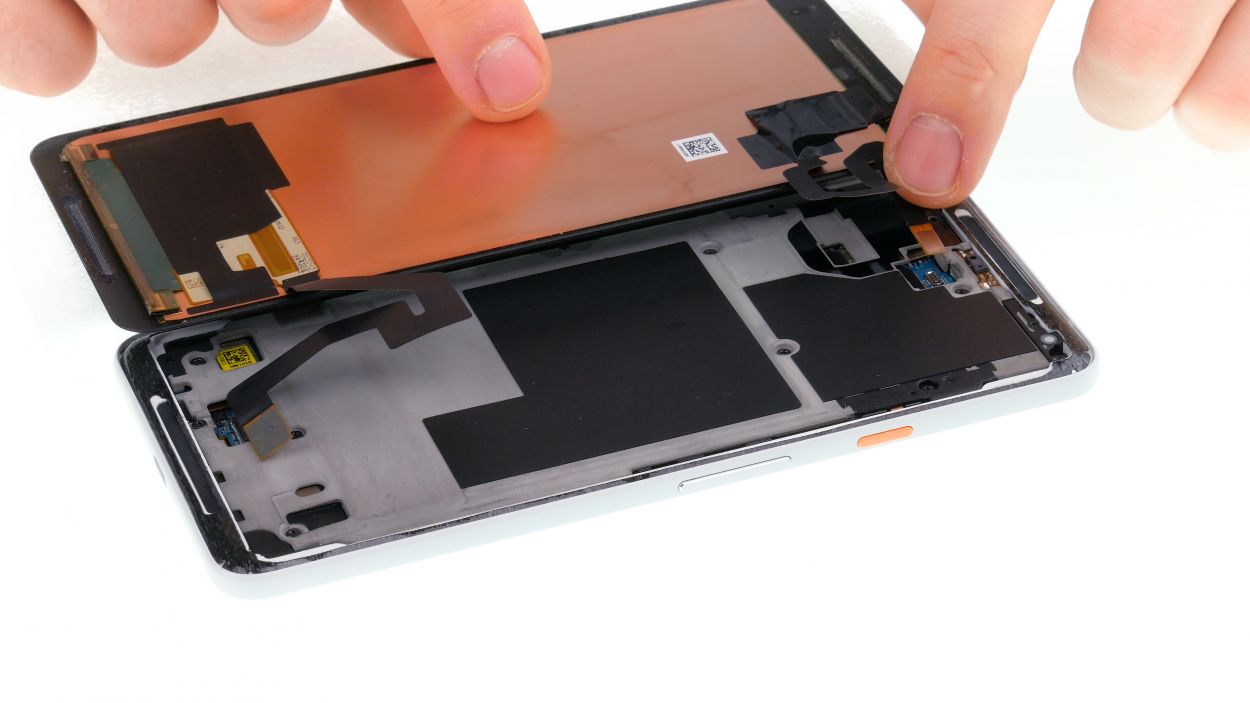
Step 3
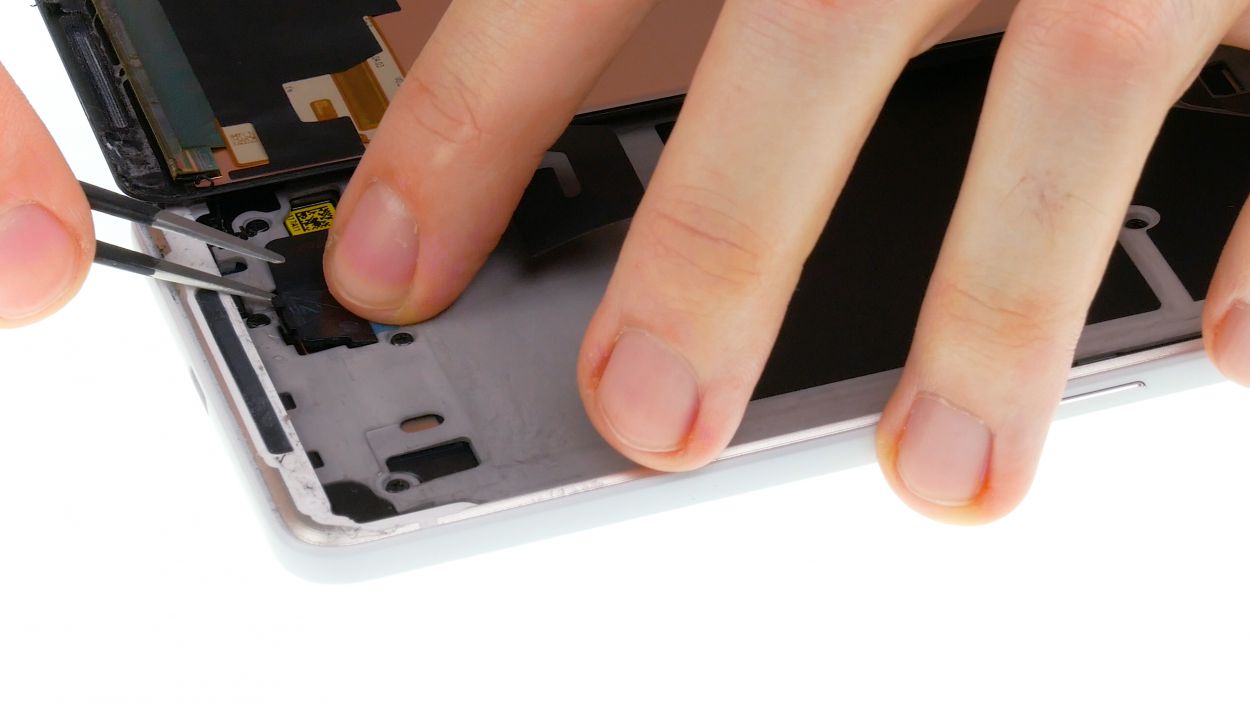

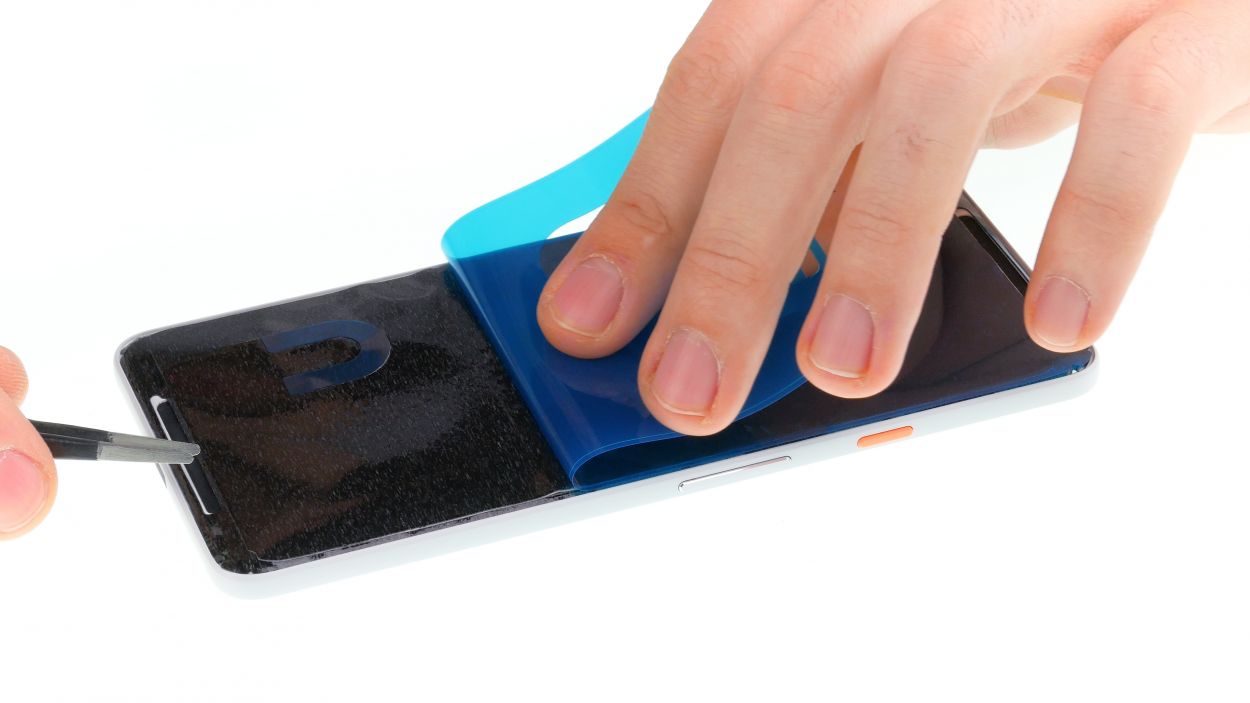
Be very careful with the lower contact. Next to the connector, there are components on the circuit board that can easily be damaged.
– Under the screen there are two very delicate flex cables. Fold up the display carefully, so you don’t strain them.
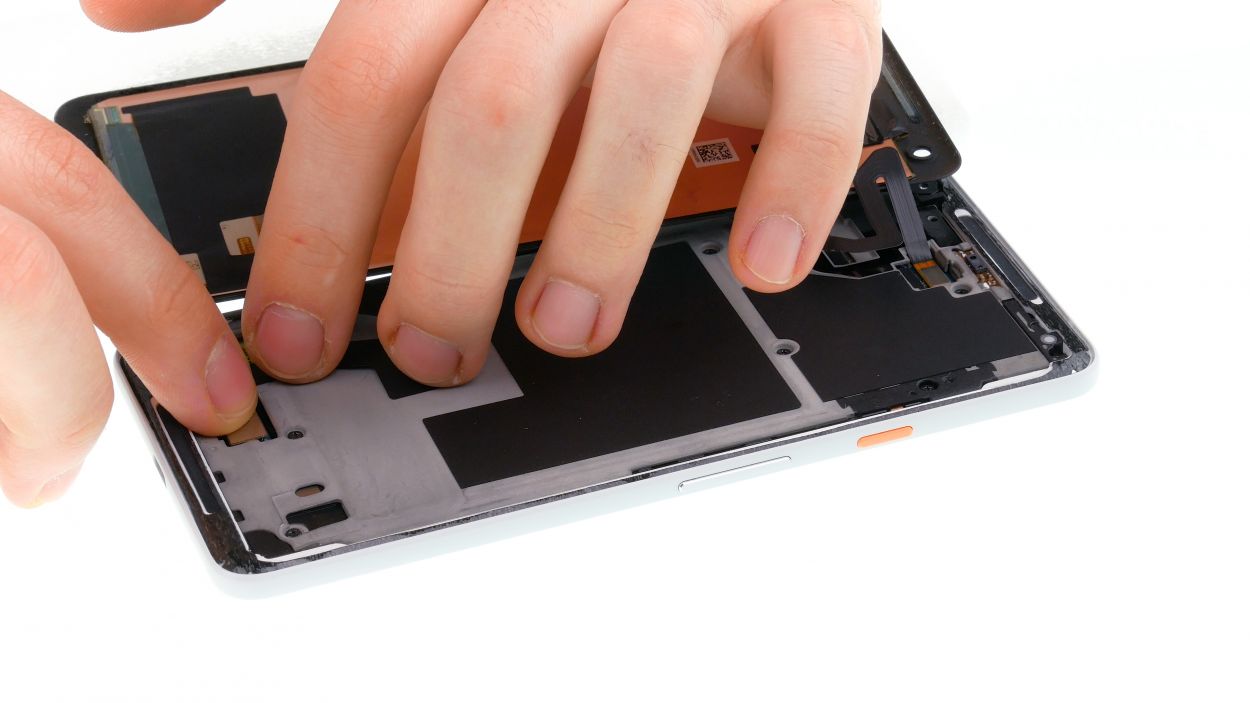
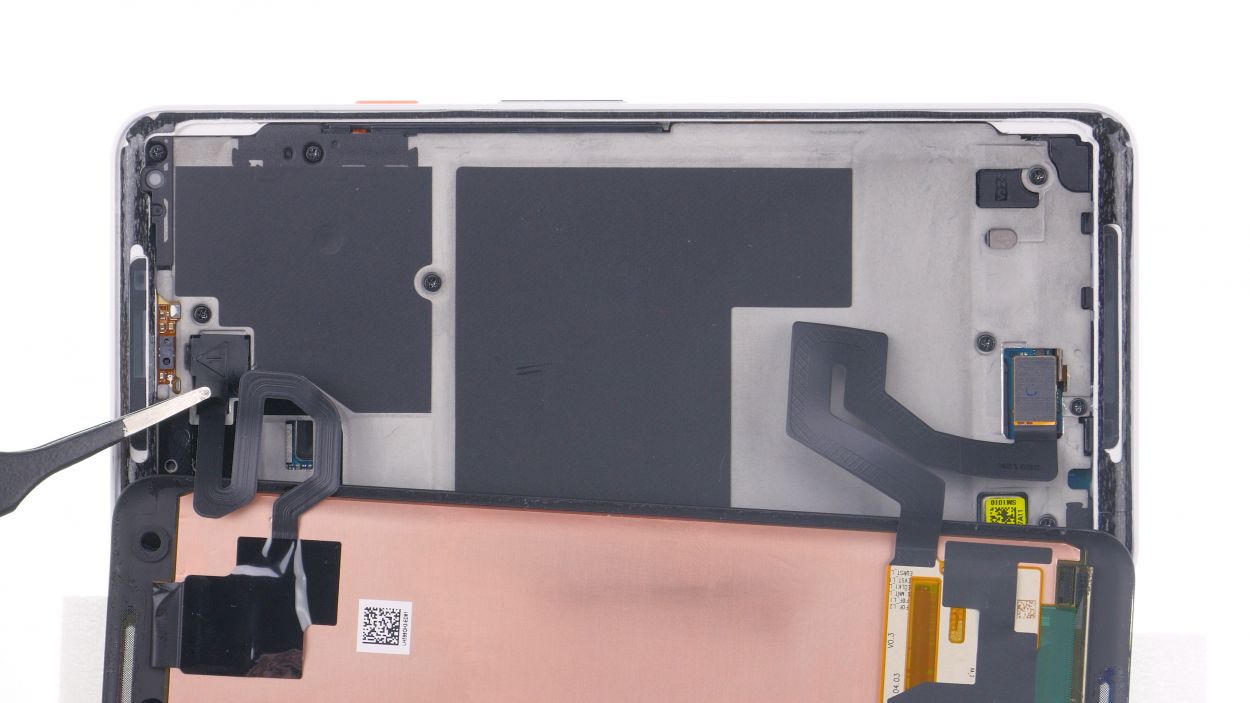
– Remove the plastic cover marked with “1” by sliding a flat tool into the gap and prying it out.
– Then remove cover no. 2. It has a small tape strip that you also need to detach.
– Unplug both connectors using a spudger.
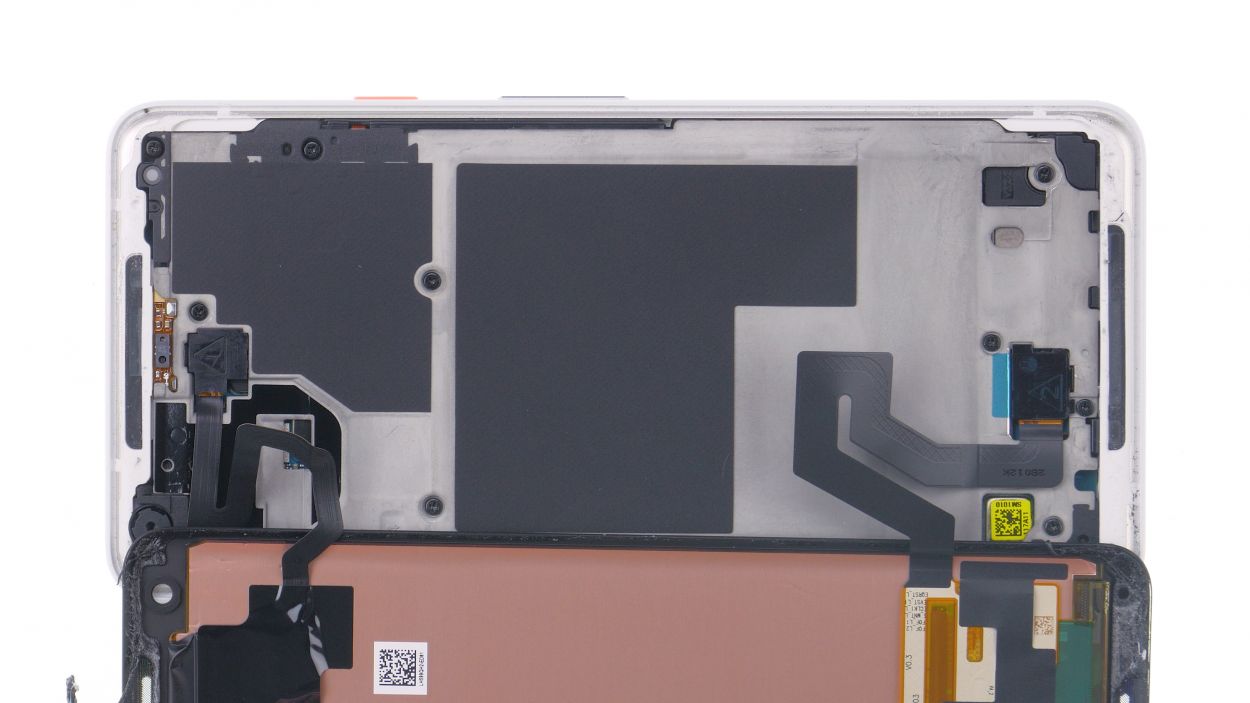
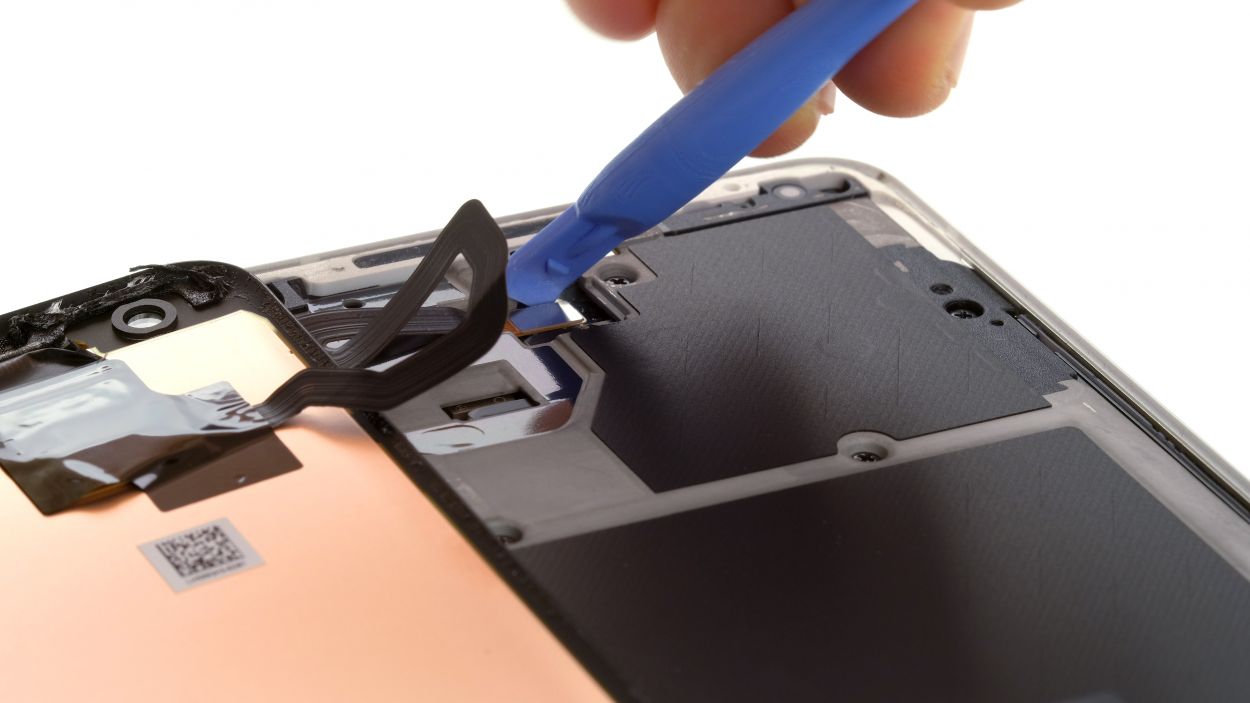
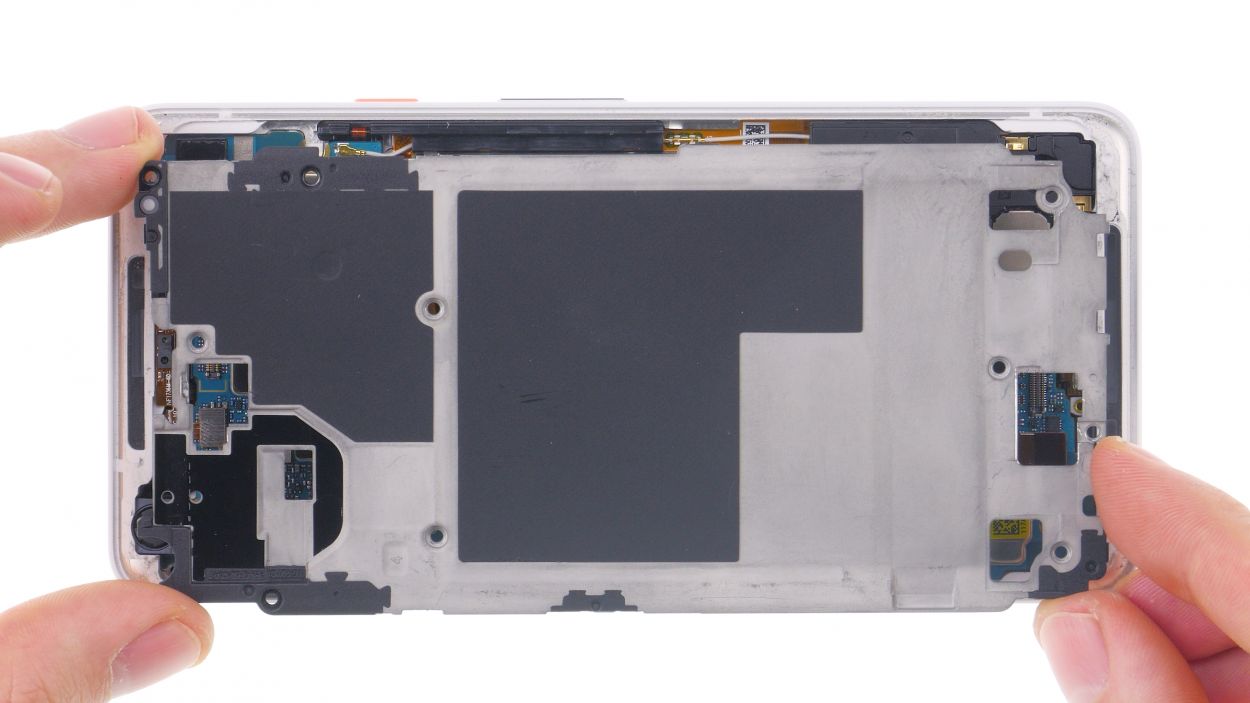
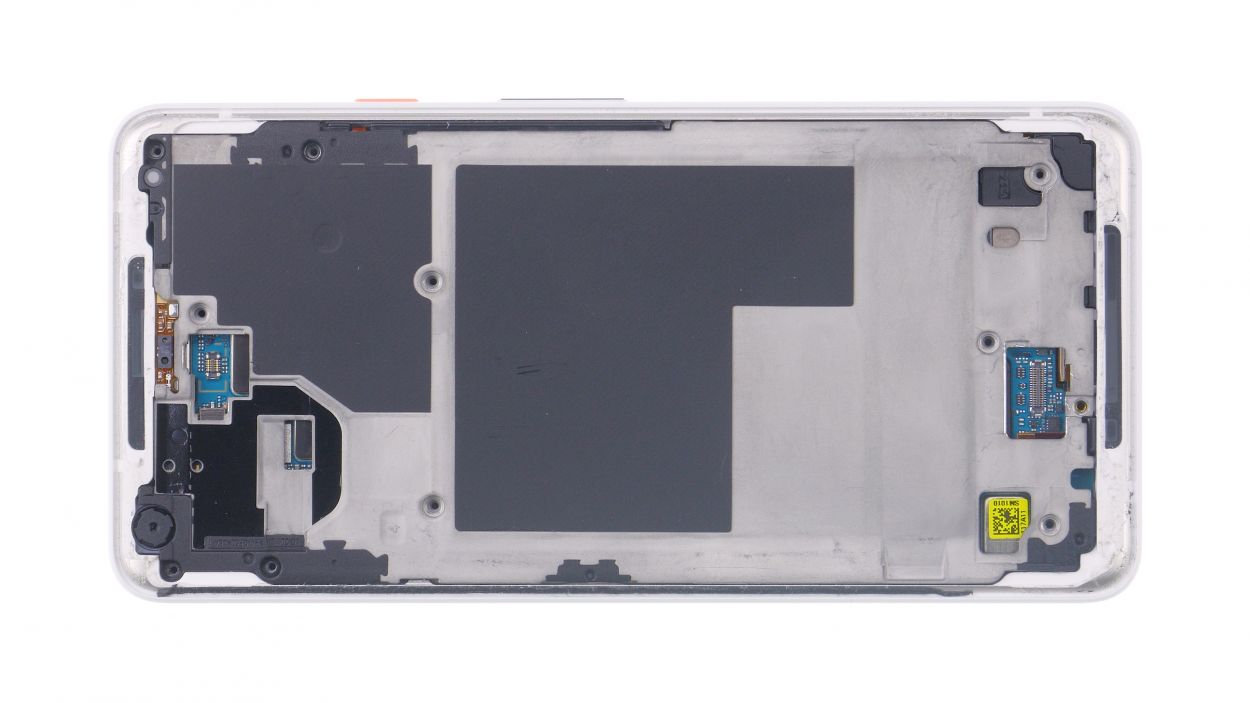
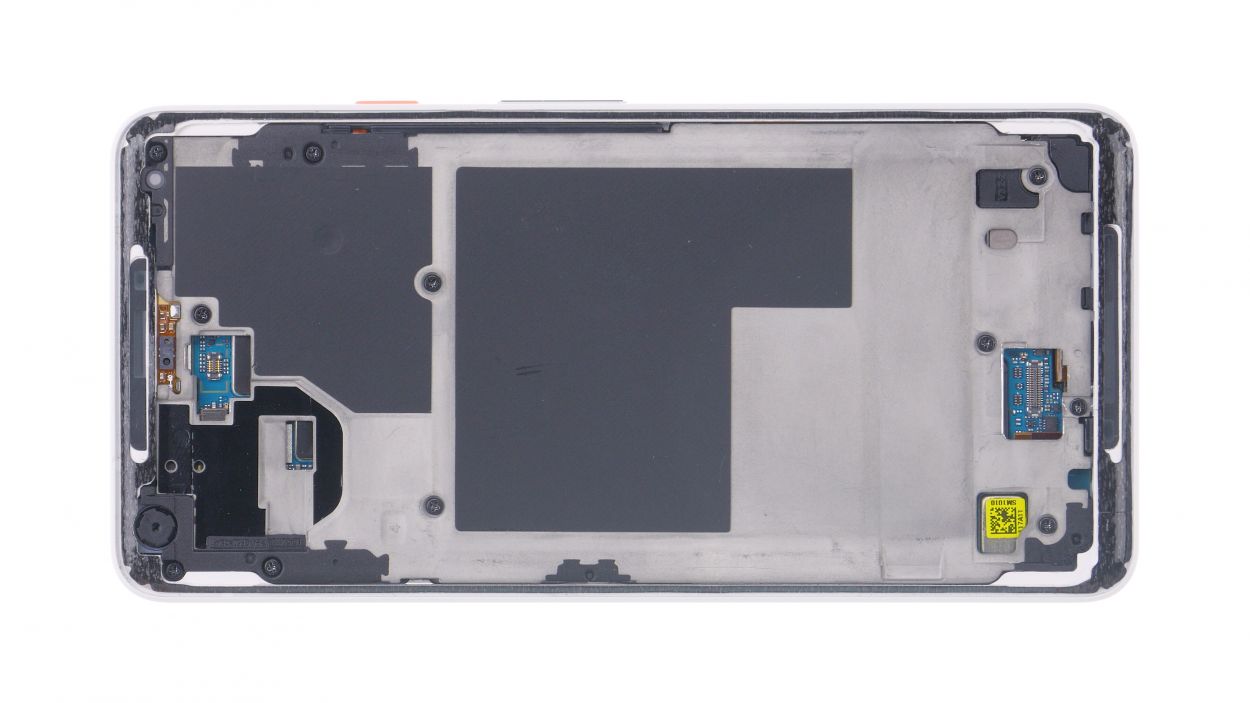
Step 4
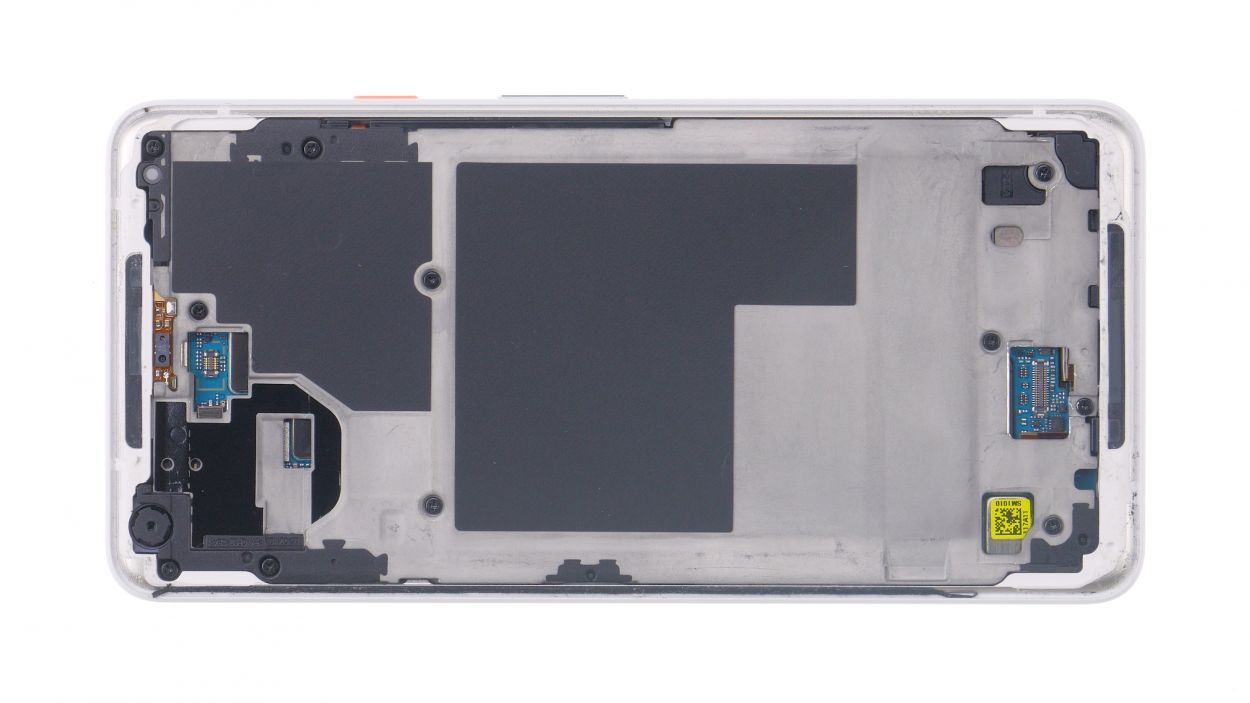
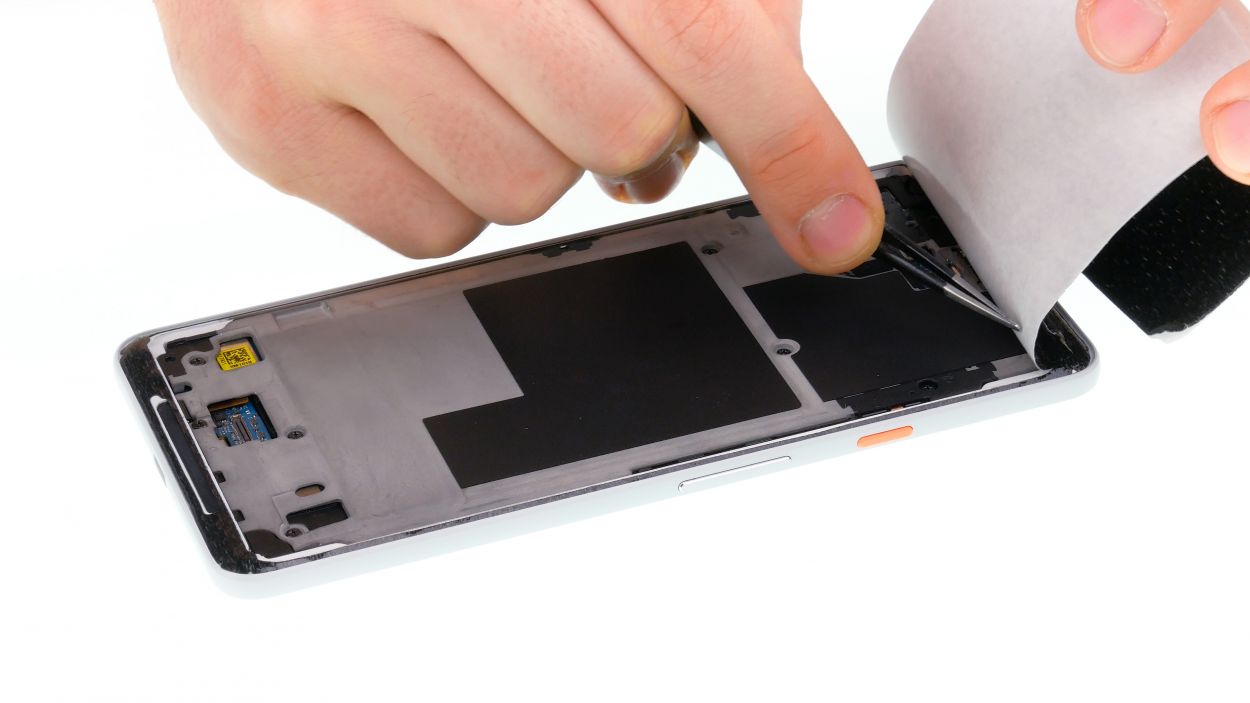
11 × 2.7 mm Phillips
– First up, grab a screwdriver and take out all the screws, making sure to keep them in one spot. They’re all the same size, so no worries about mixing them up!
– Next, slide a flat plastic tool into that little slot at the bottom right of the image. You’ve got this!
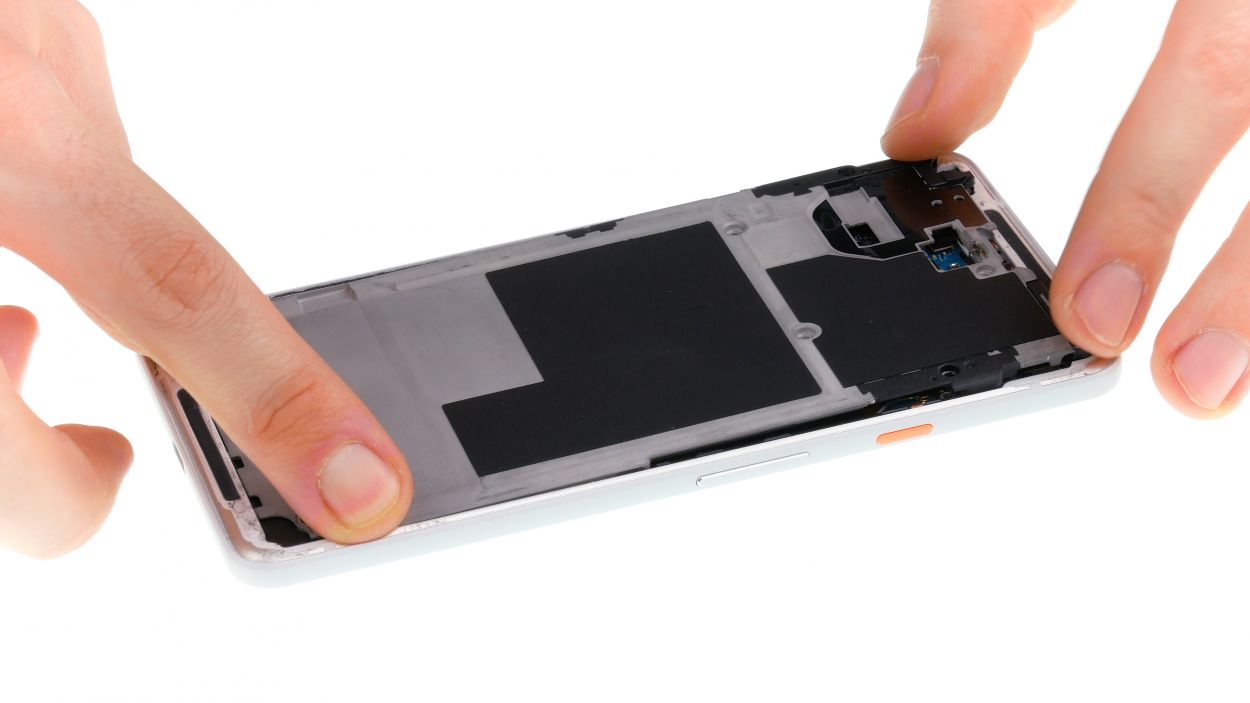
– Now, gently run the tool all the way around the device and pop off the midframe. You’ll feel those clips letting go, and that’s your cue!
– Once all the clips are free, you can easily lift off the midframe. You’re doing great!
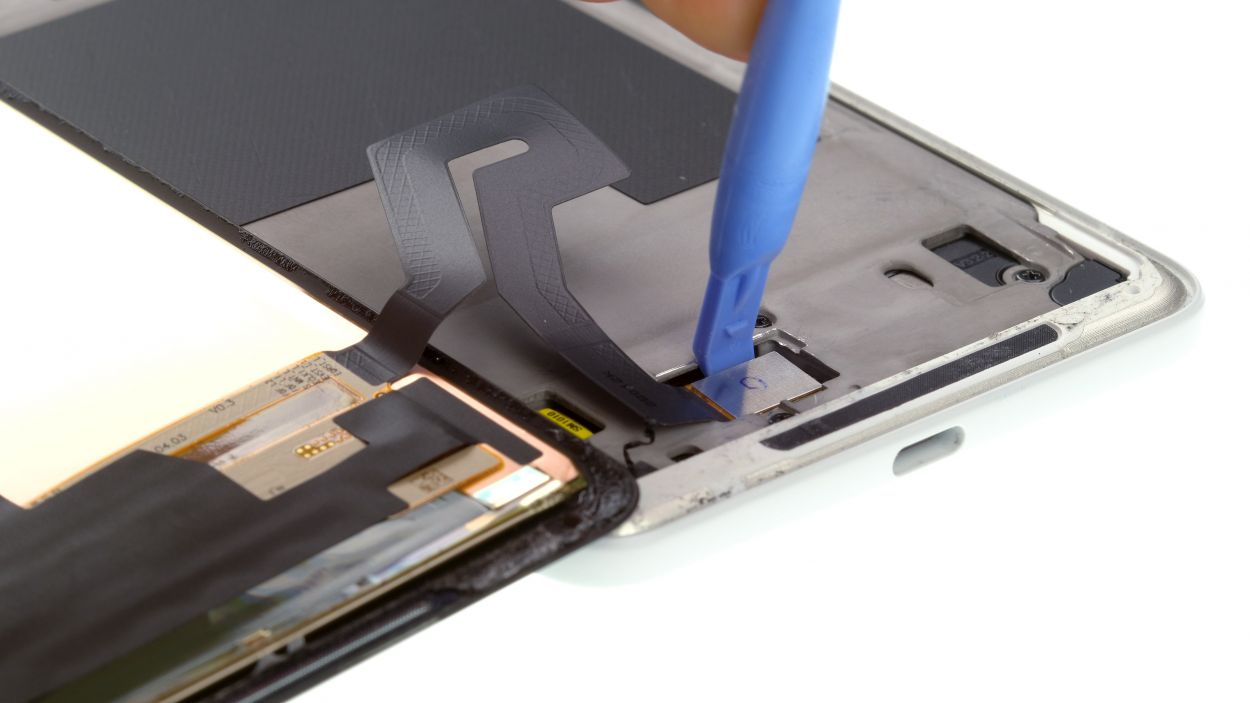
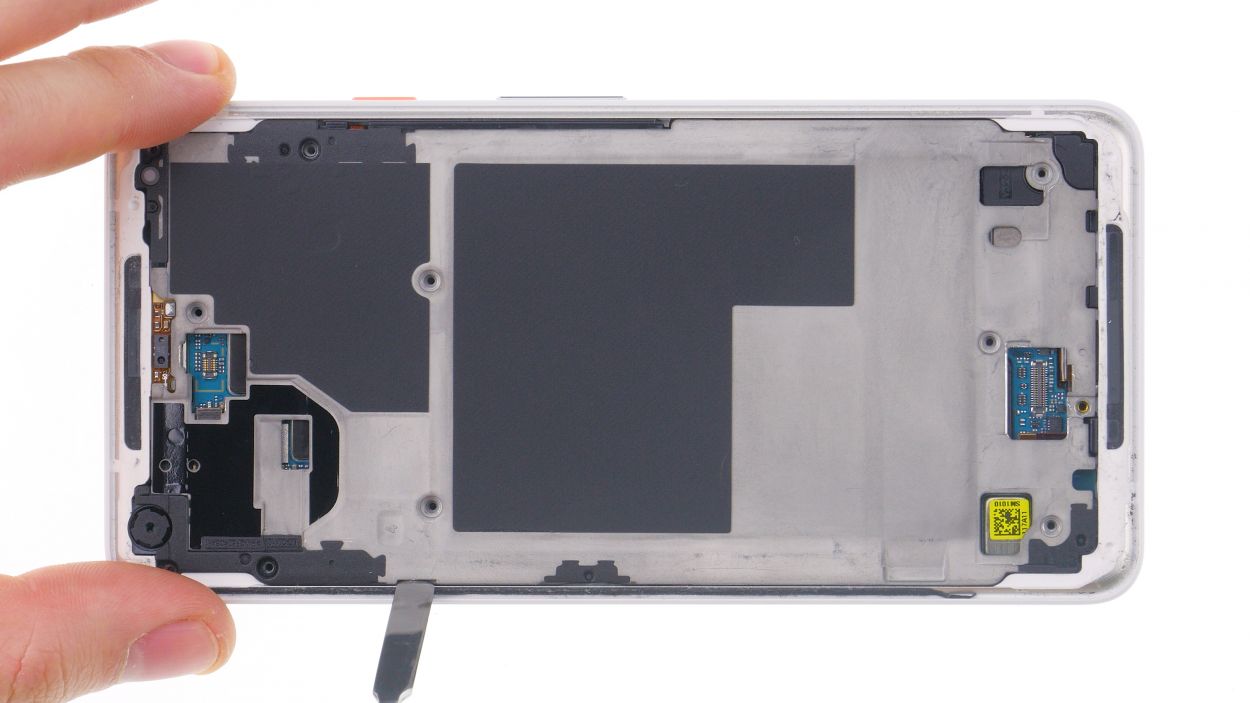
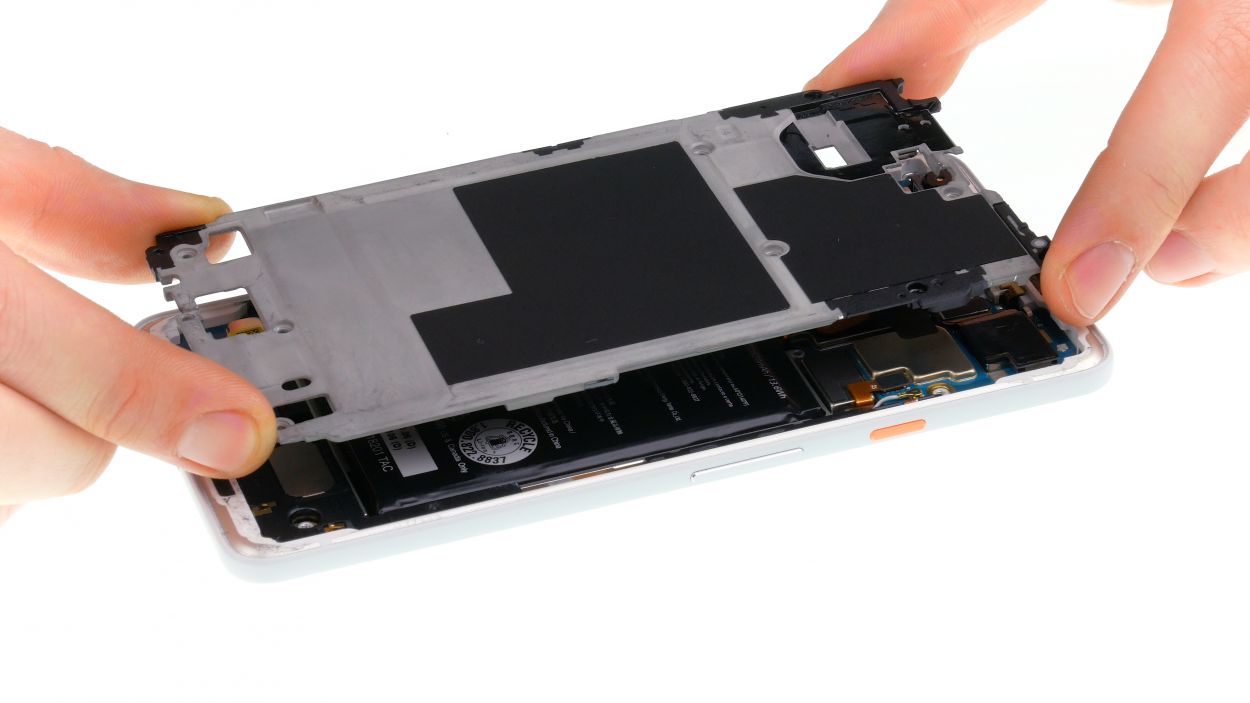
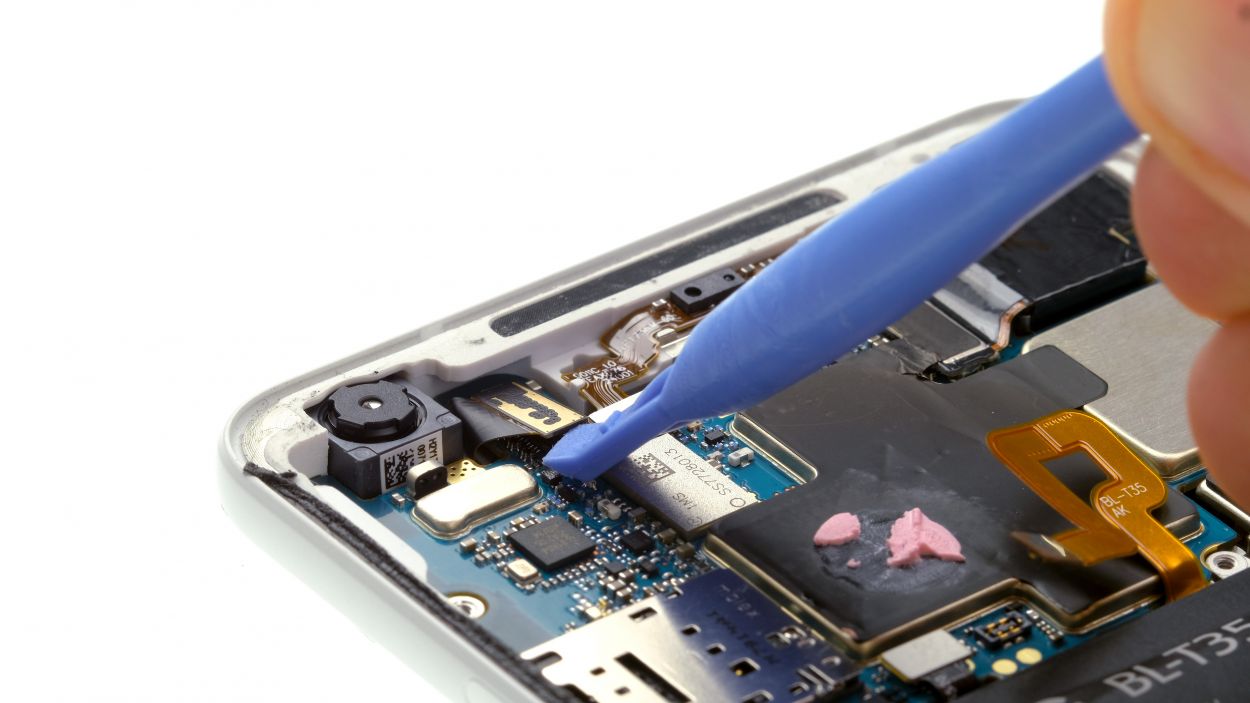
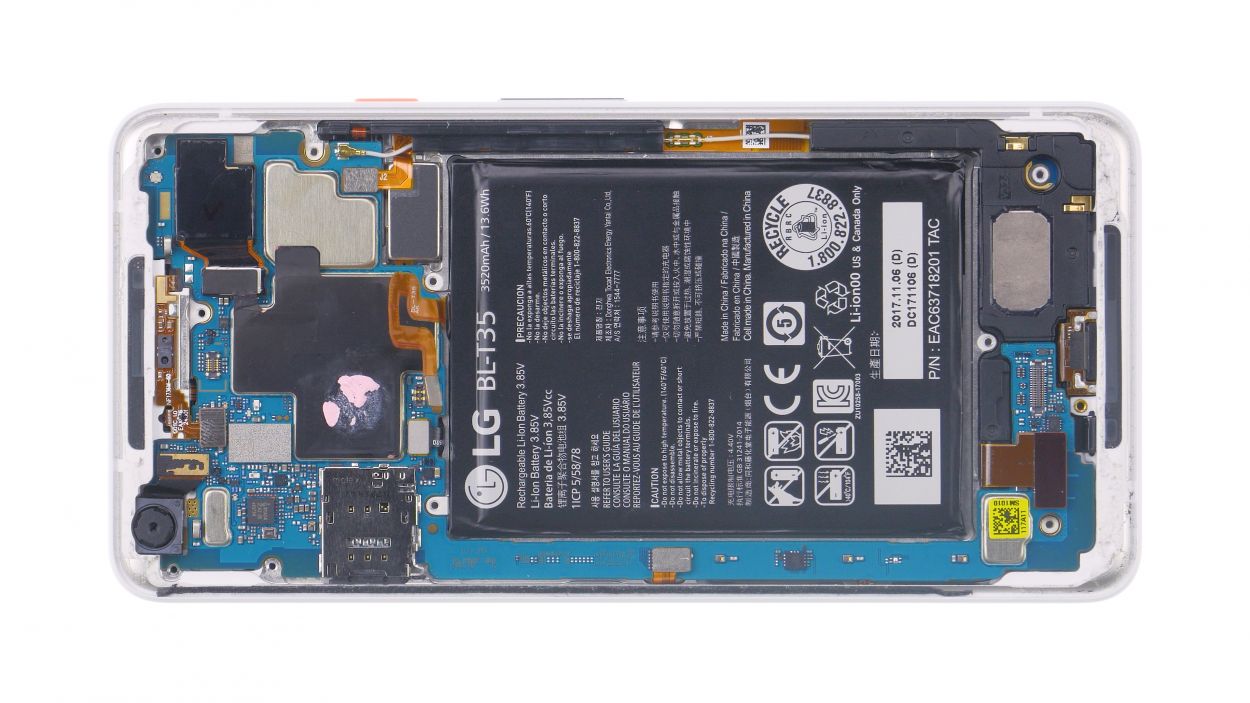
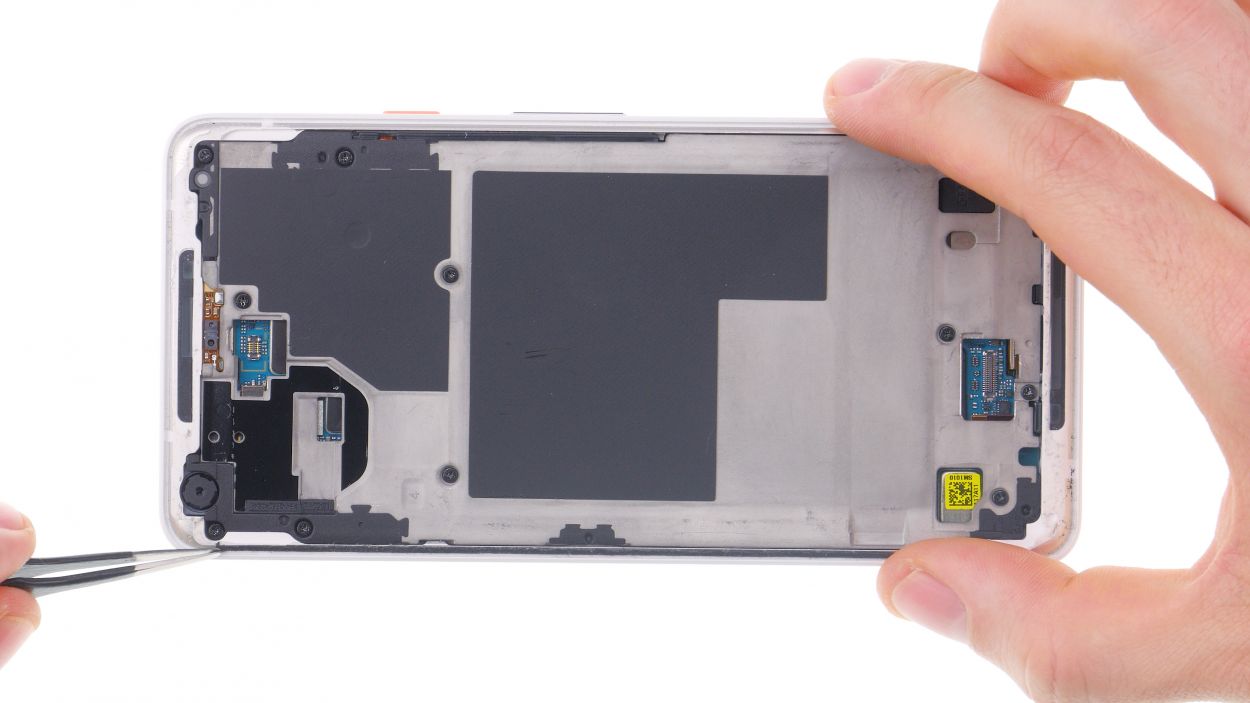
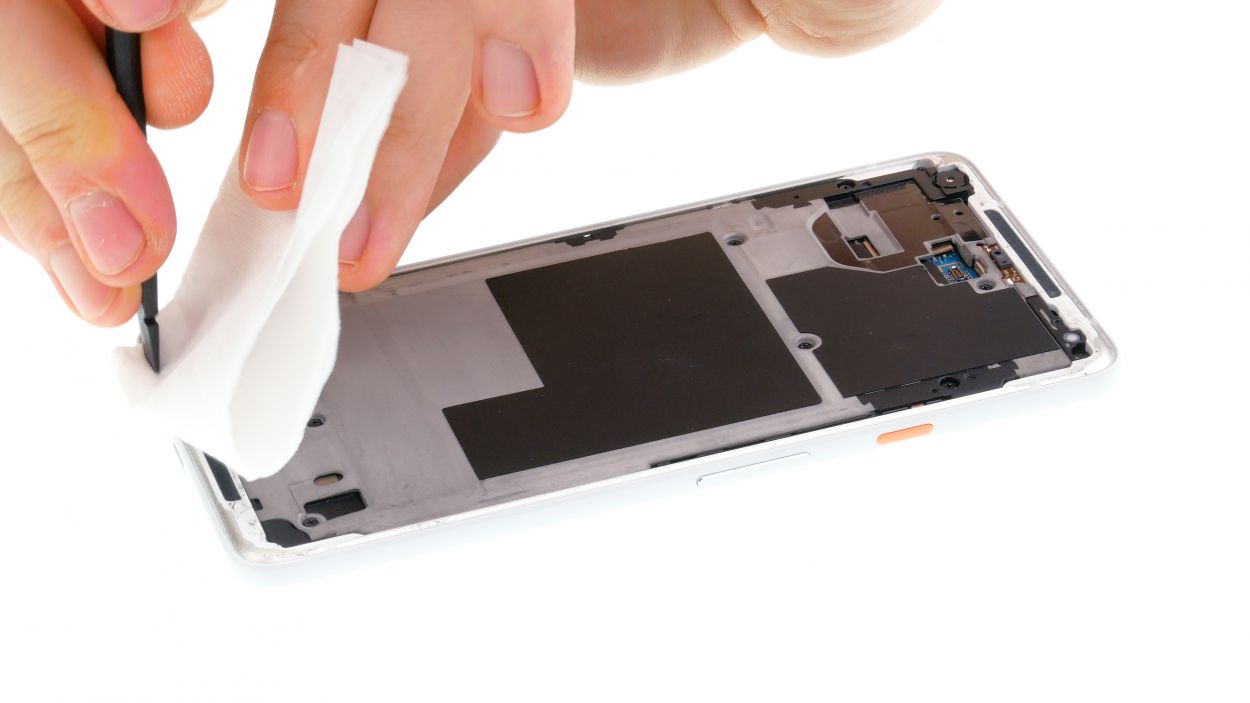
Step 5
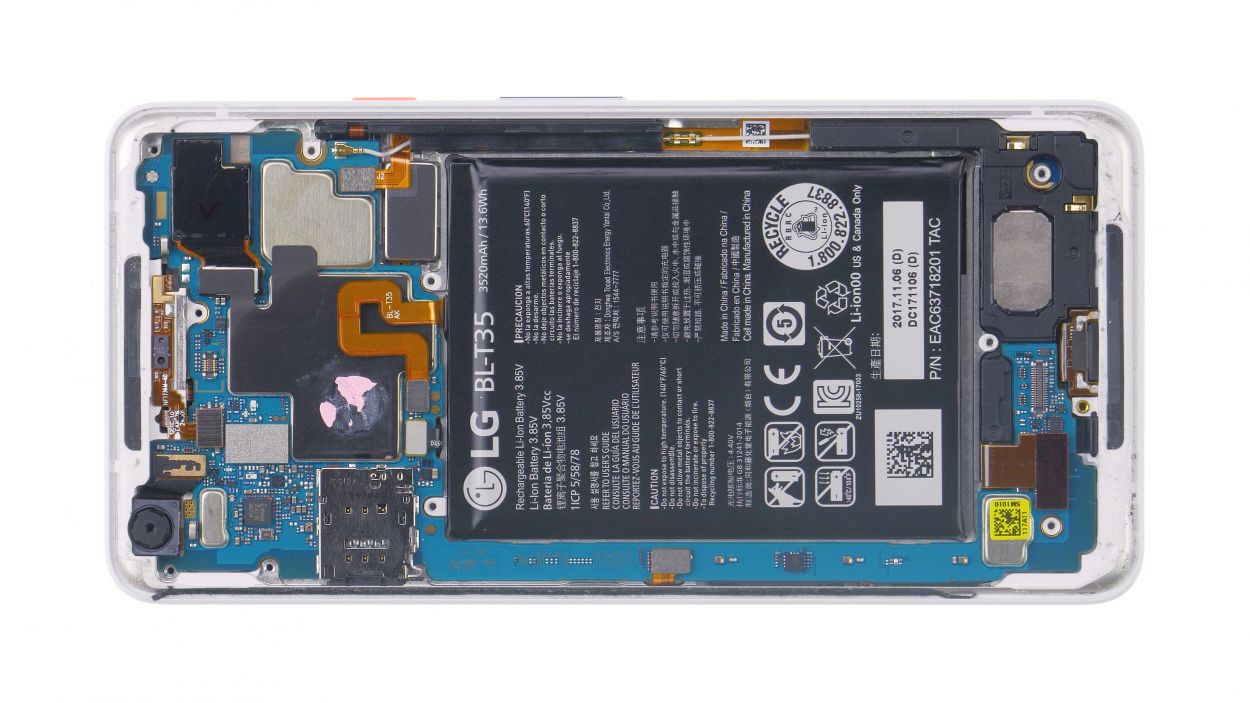
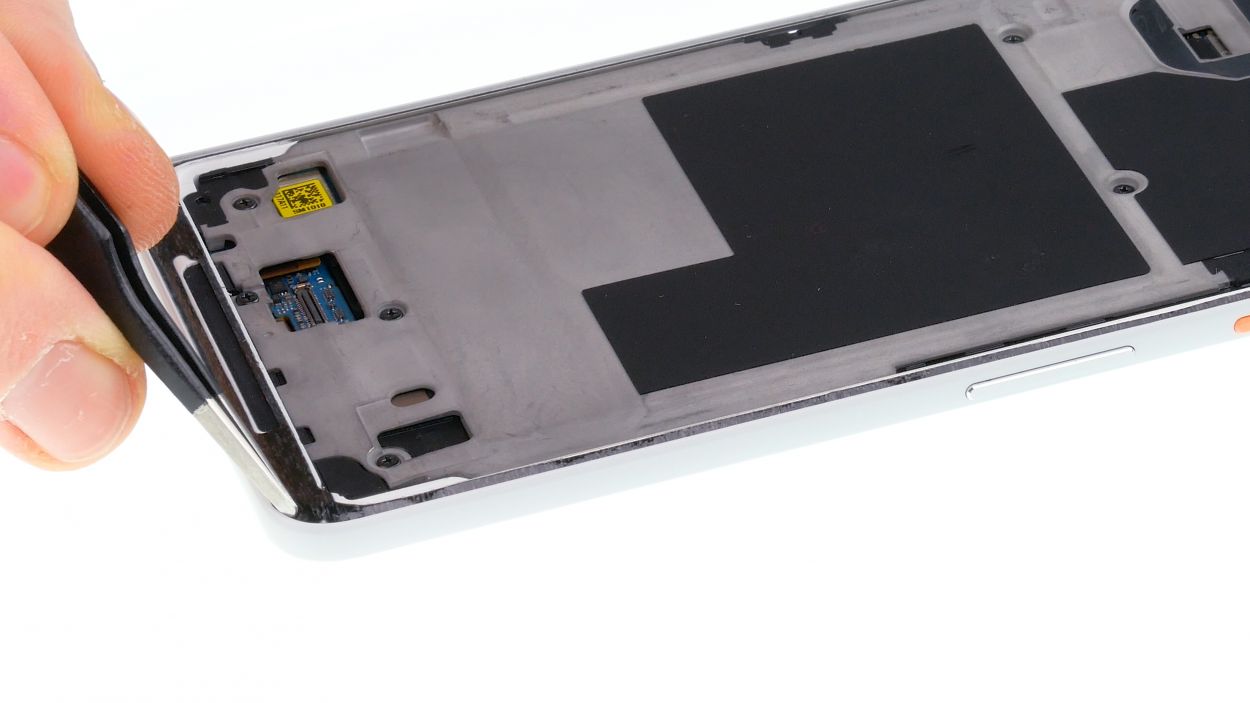
Use plastic tools for all the electrical parts, metal can scratch the contacts and cause a short circuit. Remember, plastic is fantastic for electrical parts! If you need to fix the problem, we can schedule a repair
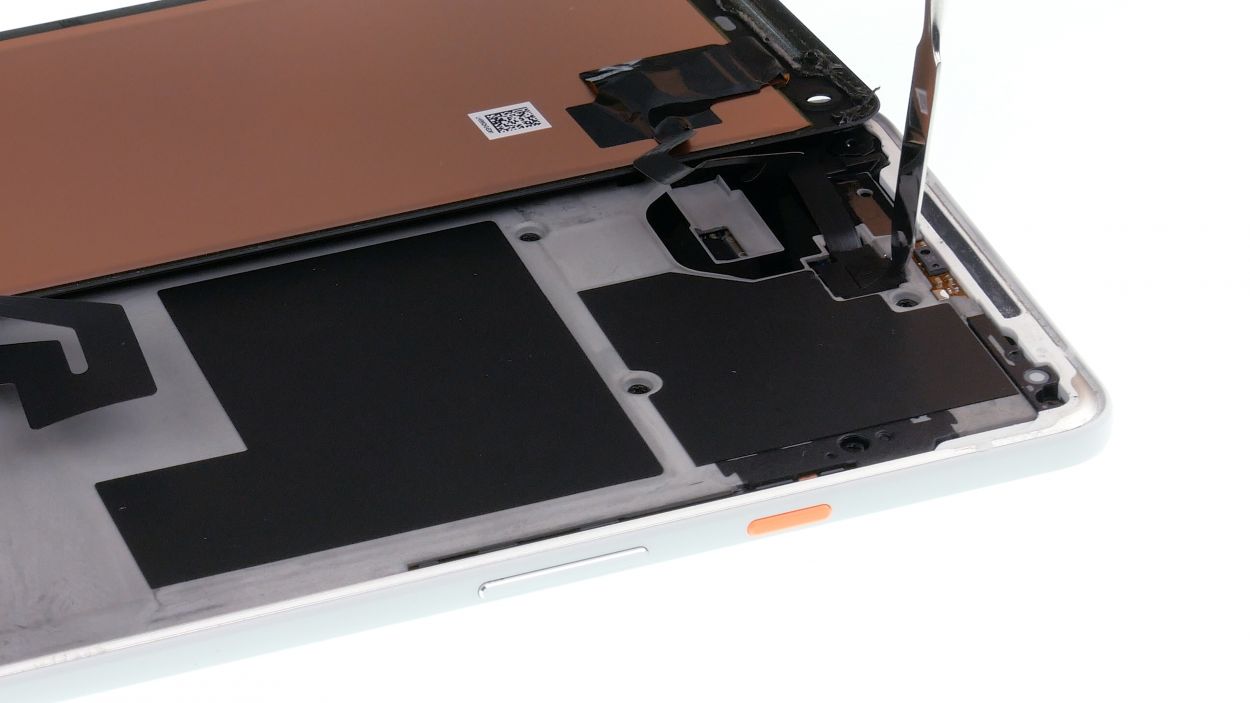
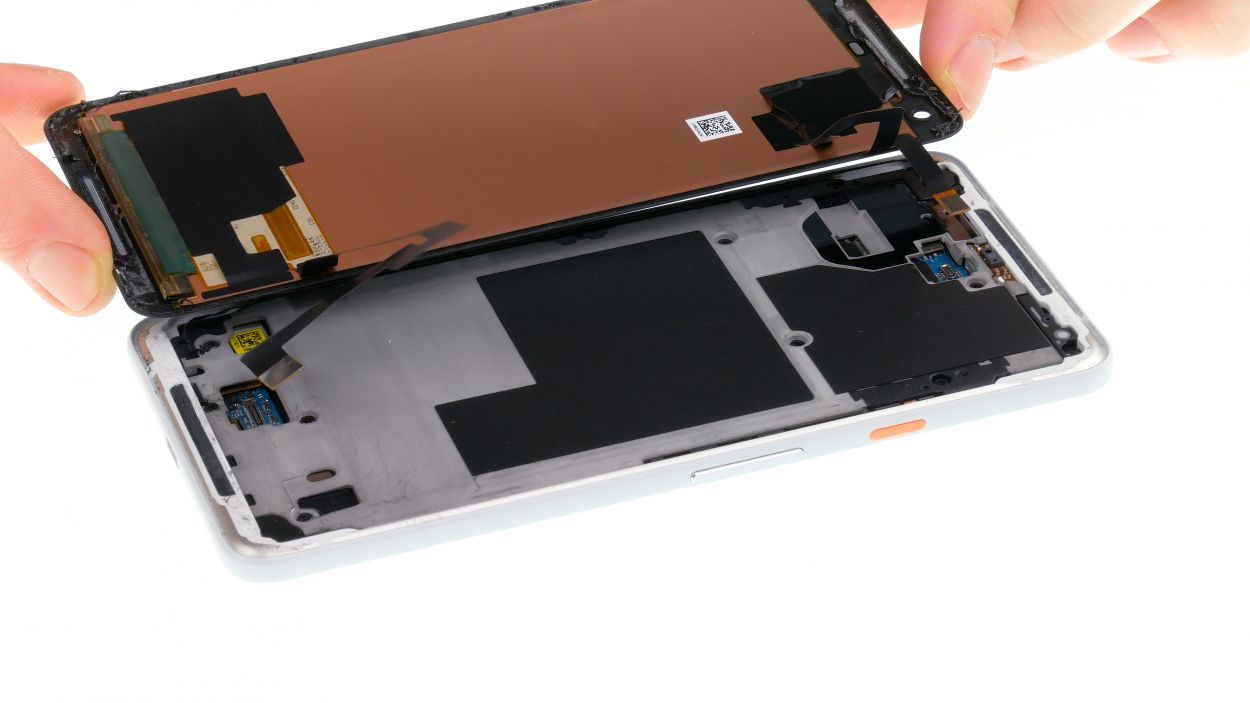
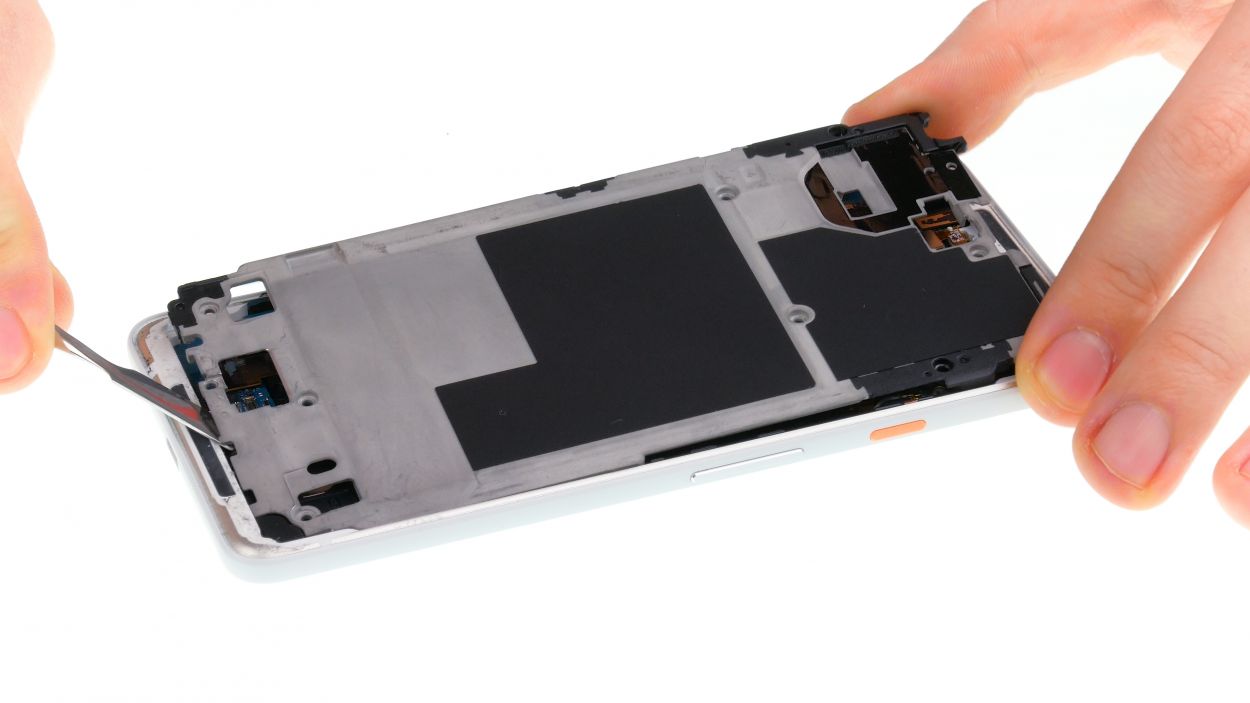
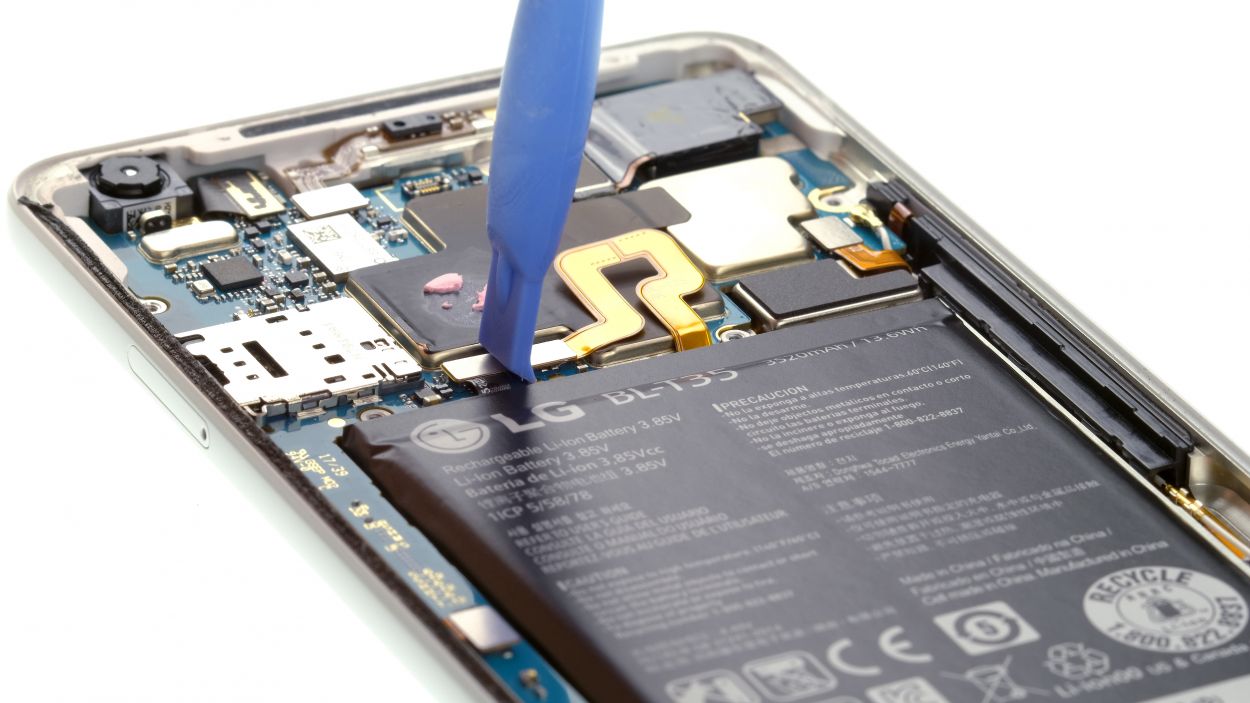
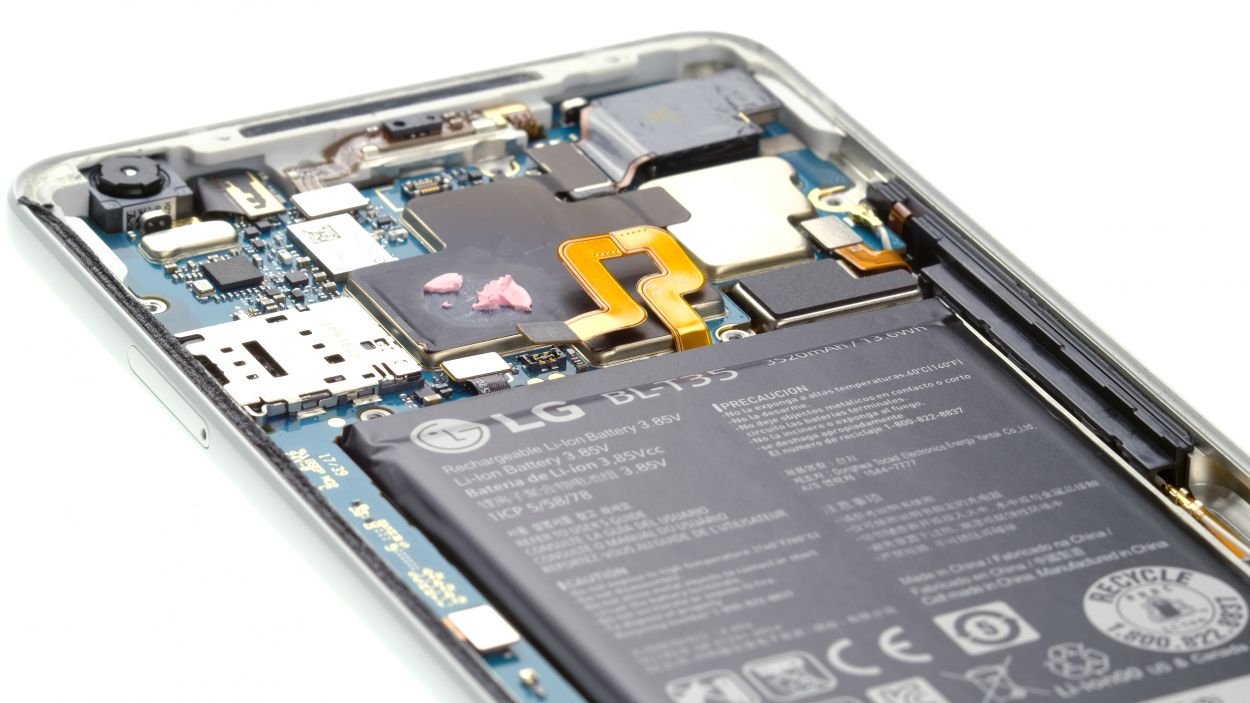
Step 6
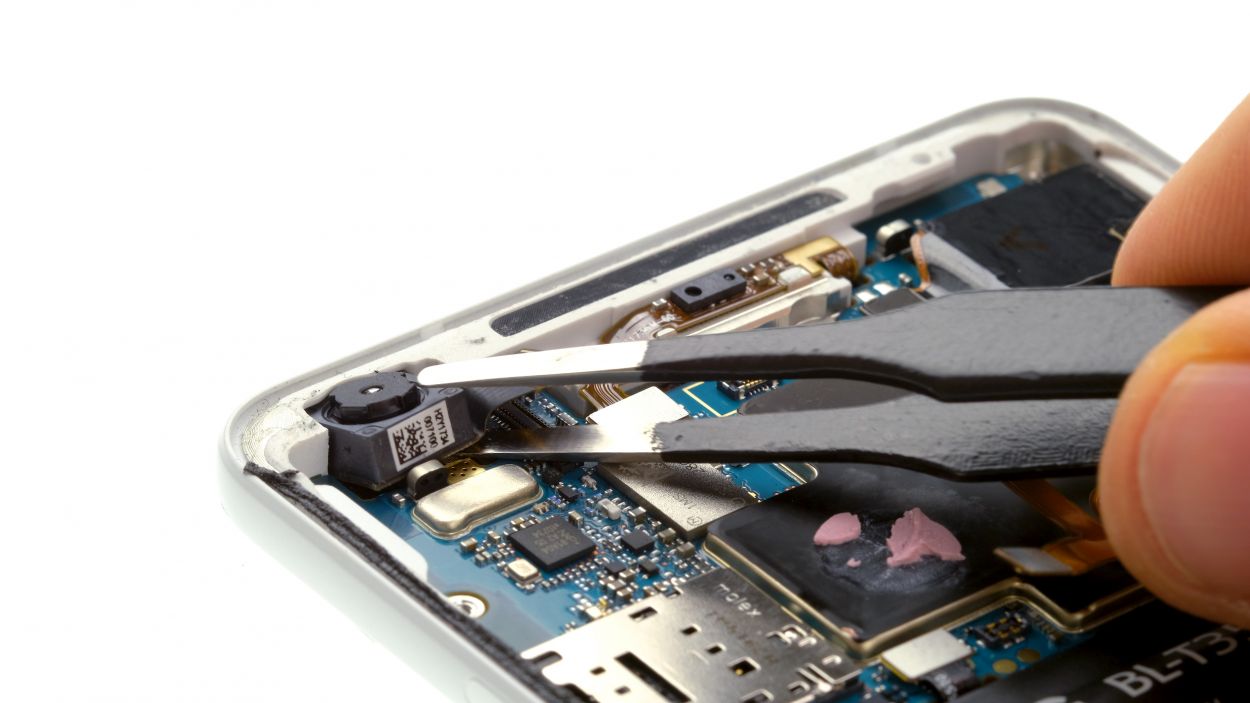
The camera clicks right into place! Just a friendly reminder to handle the mainboard with care—let’s keep it safe and sound!
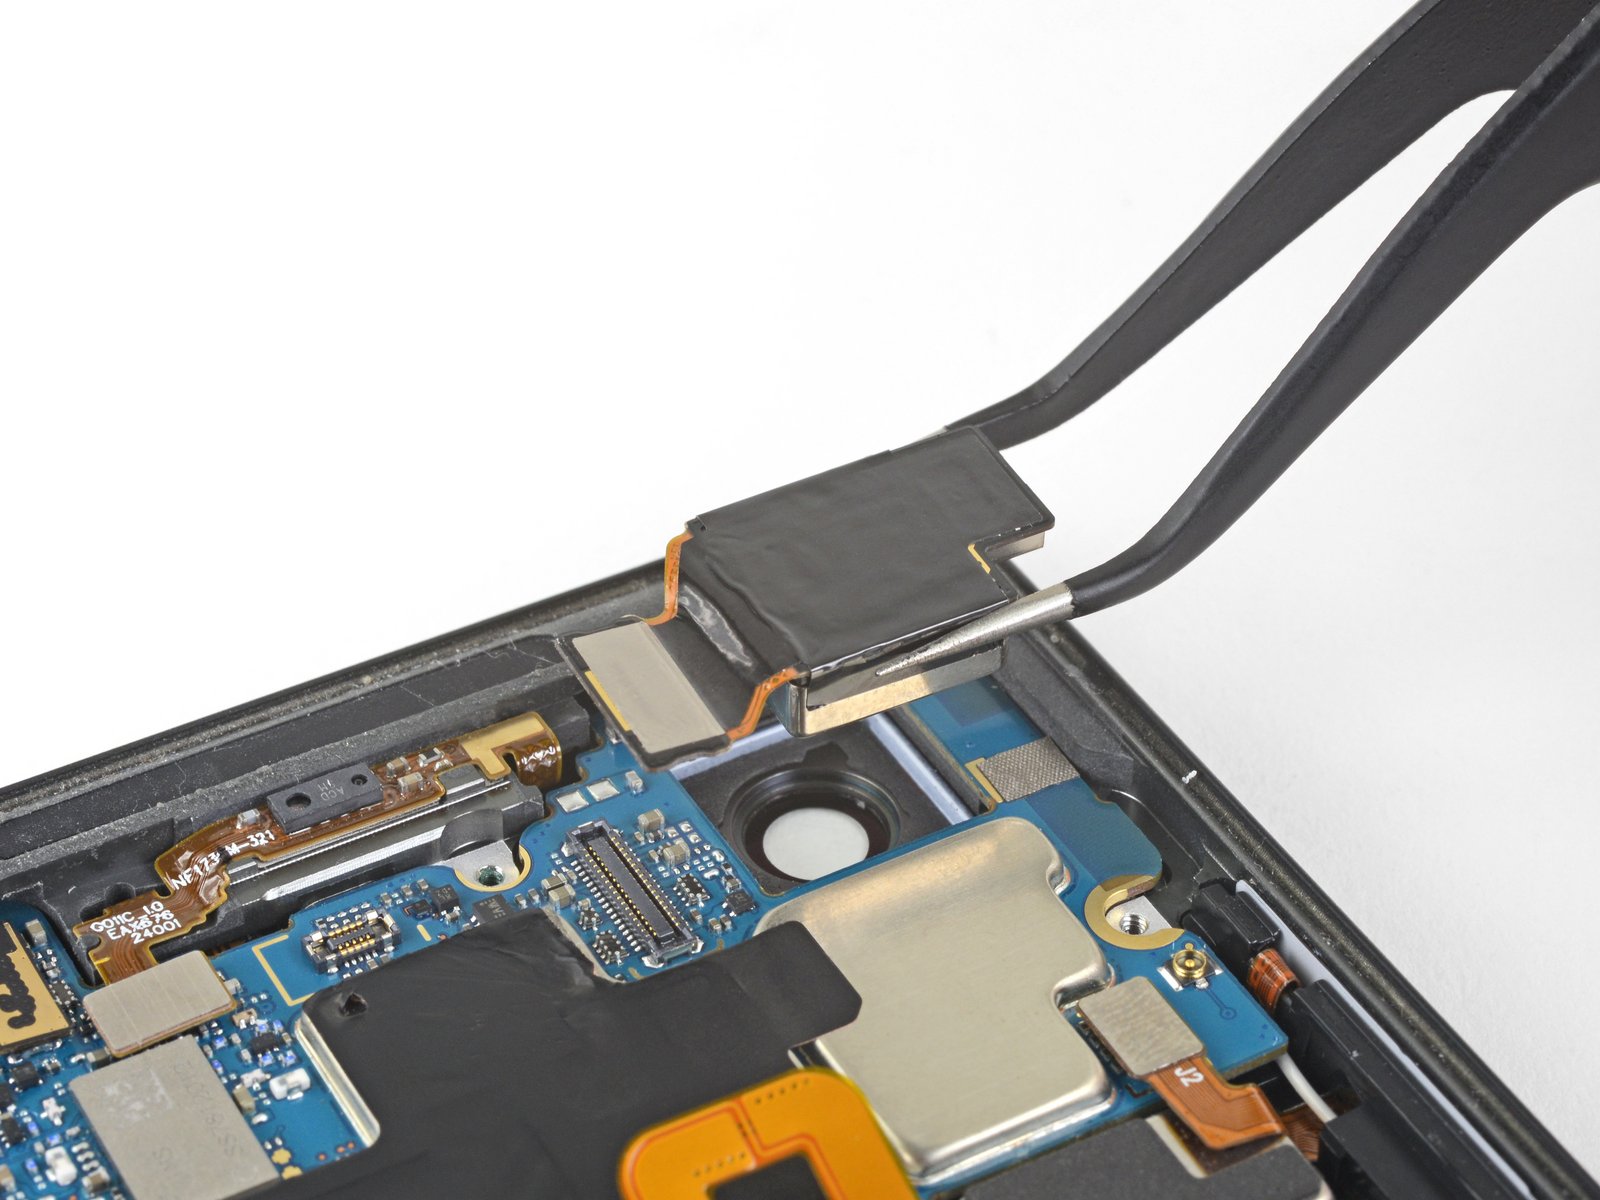
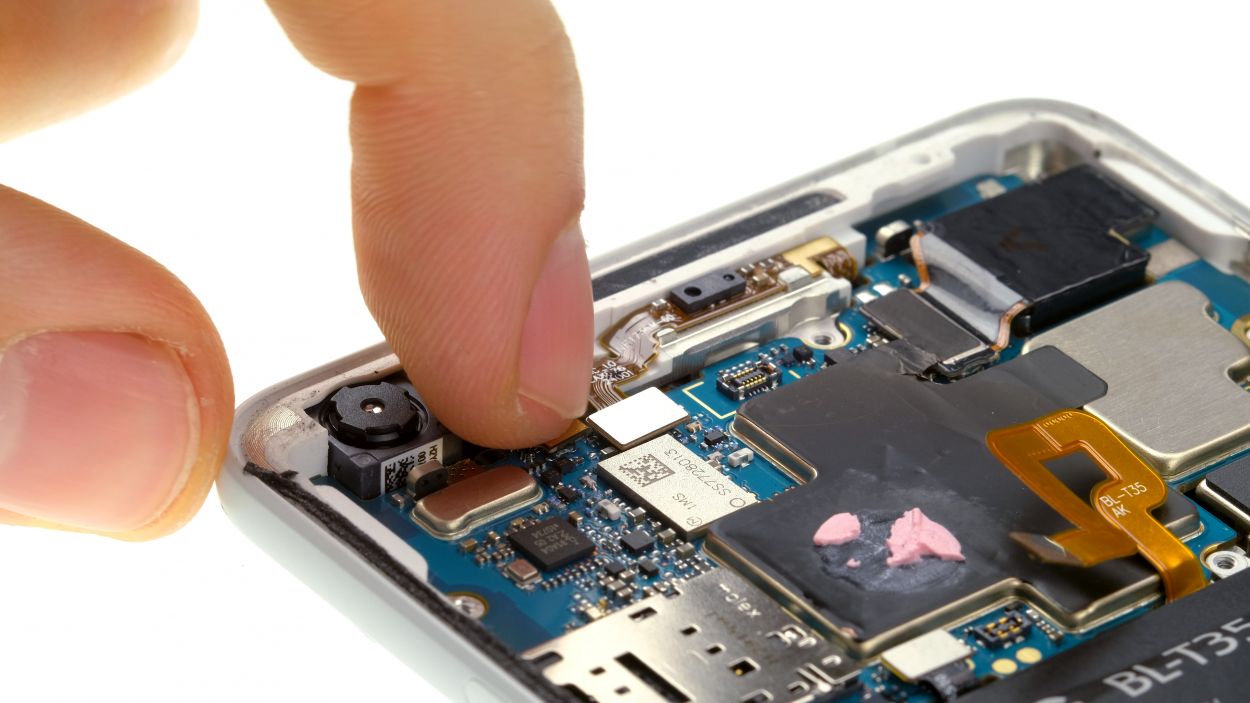
– Disconnect the front camera’s connector and pry it out of the device.
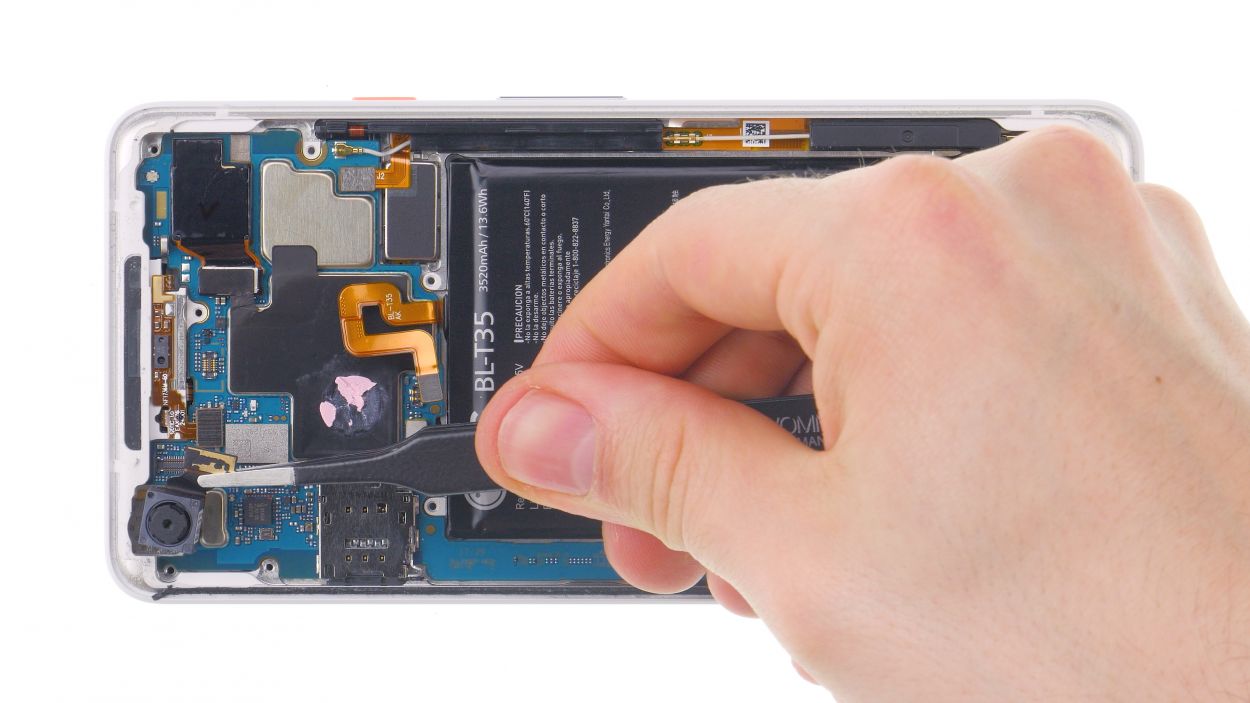
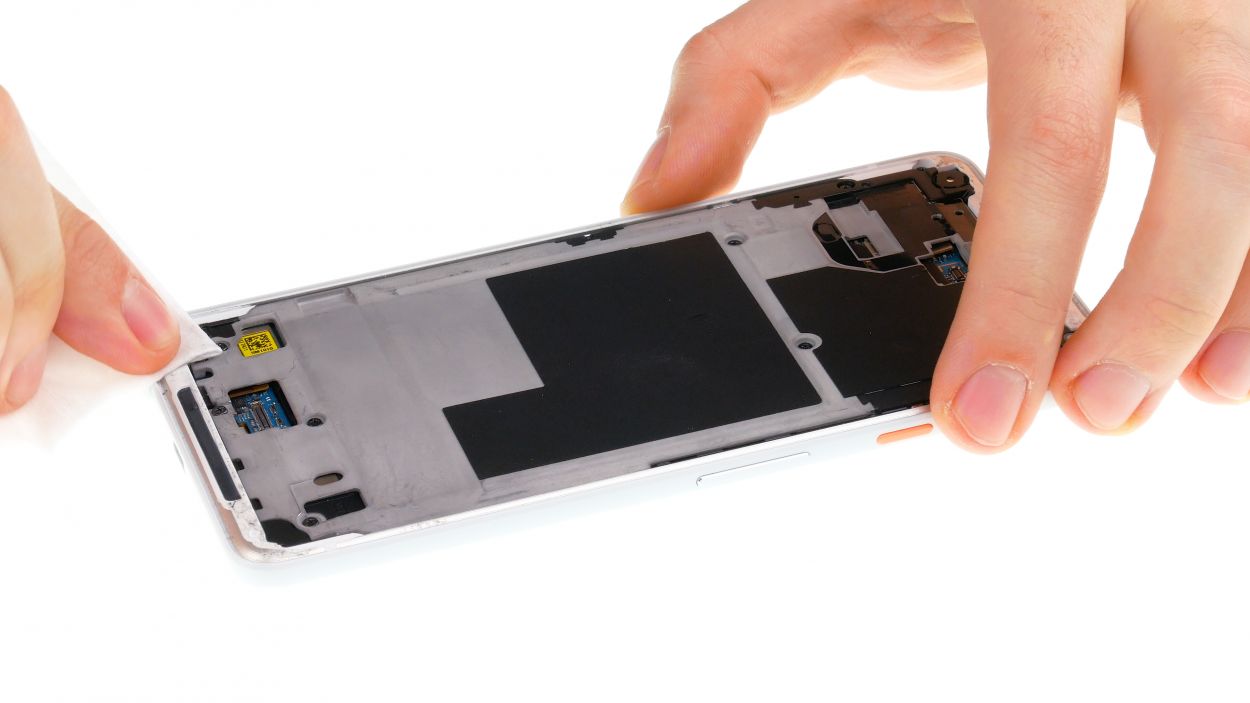
Step 7

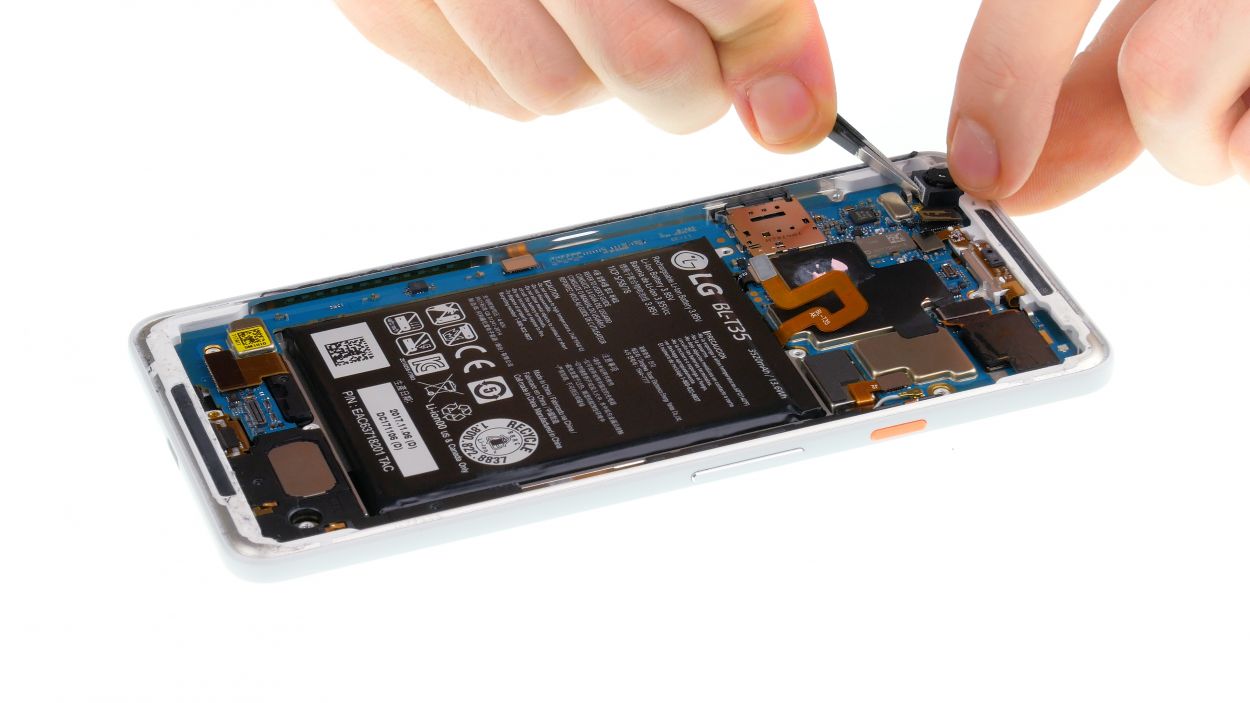
– Gently pop the front camera into its cozy little spot and give it a friendly press until it clicks snugly in place.
– Now, let’s get that connector where it belongs—just align it and press it down onto the socket with care!
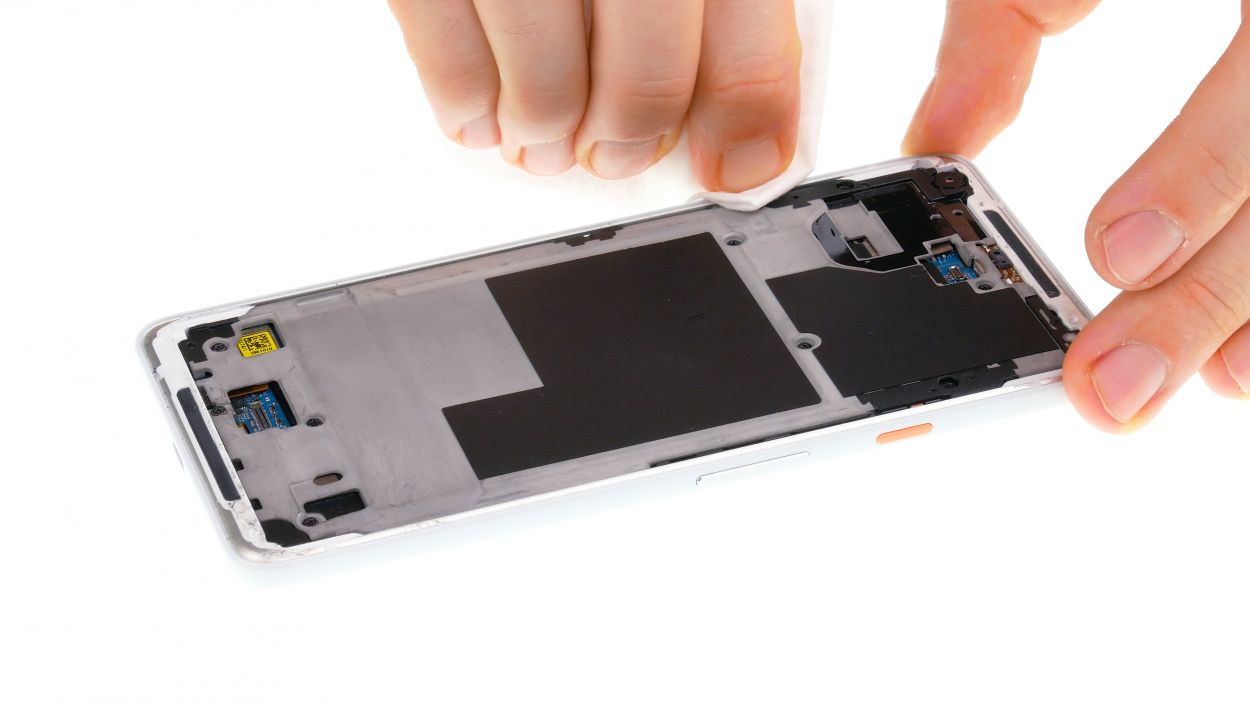
Step 9
11 × 2.7 mm Phillips
– Pop that midframe right into the device and give it a gentle press to secure it snugly.
– Next up, grab those trusty Phillips screws of the same length and tighten them all down.
Step 10
Be careful not to hurt yourself or use gloves.
– Gently clear away all shards of glass with care.
Step 11
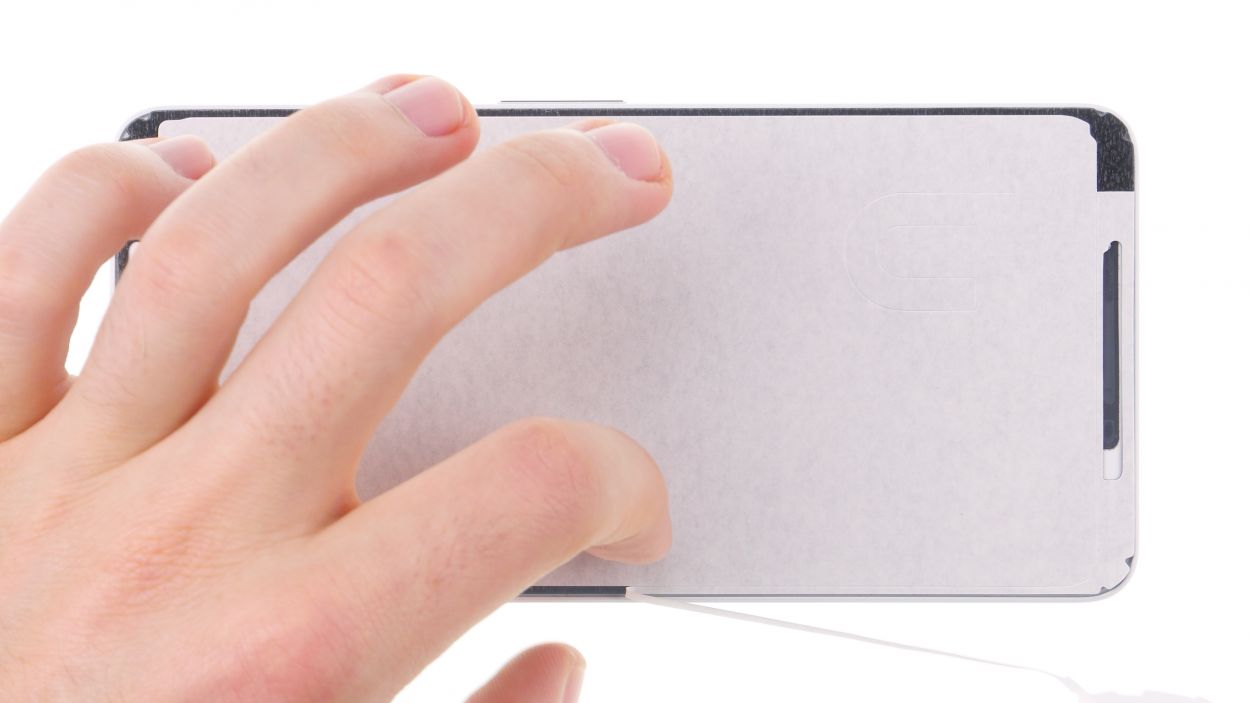
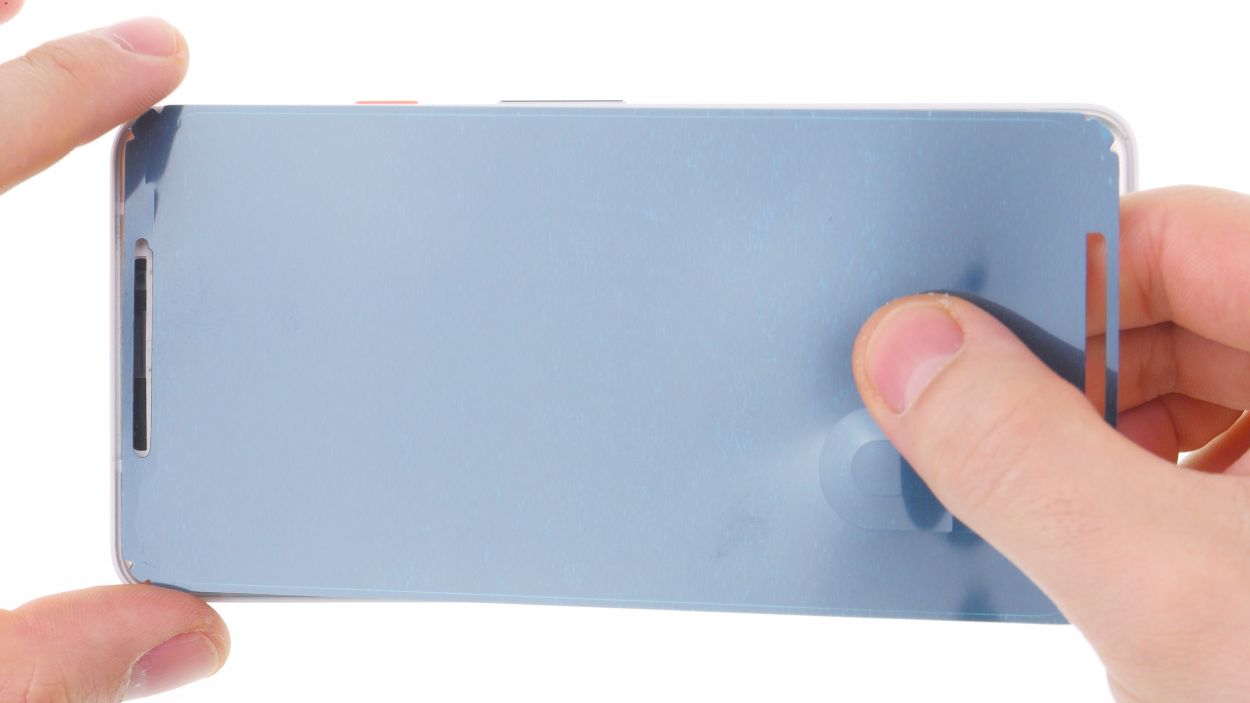
– First, slap that frame sticker on the display with the backing film still on to check the alignment.
– The hole for the front camera will show you which way the adhesive frame should face.
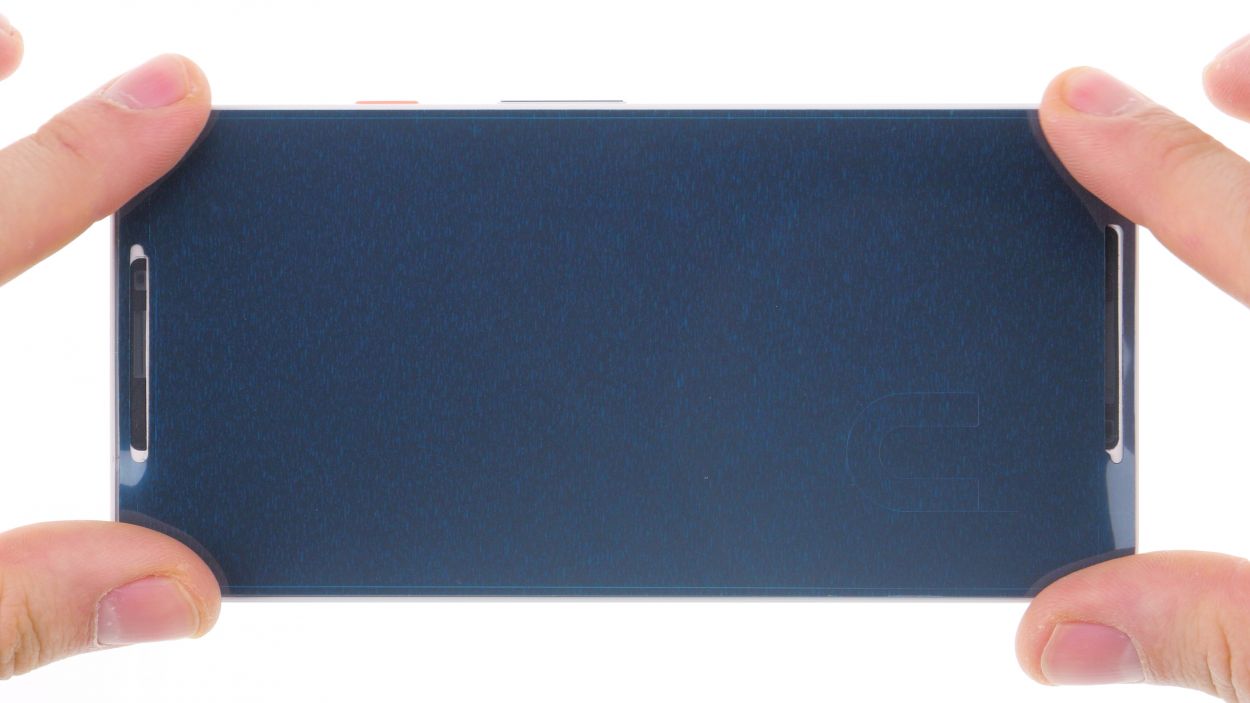
– Then, peel off the outer backing film and stick on the frame sticker. Make sure the blue film is facing up.
Take your time with the adhesive frame; it’s super thin and can get a bit clingy! Approach it with a gentle touch, and remember: slow and steady wins the race!
When you’re popping open the display, make sure to grab a new adhesive frame to seal it back up. It’s a good idea to have one ready before you dive into the repair. If you need help, you can always schedule a repair.
Step 12

Display connector
– Hook up those display connectors. Gently press the contact onto the motherboard connection until you hear that satisfying click.
– Snap those two plastic covers back in place and press them down. Don’t forget to stick the tape on the second plastic cover.
Step 13
The adhesive needs a bit of time to set. You can warm up the screen slightly and sandwich it between two books to help the glue stick better. Just be careful not to damage the screen! If you need help, you can always schedule a repair.


