
Hitachi KC30 Radio Alarm Clock Teardown
Duration: 45 minutes
Steps: 8 Steps
Step 1


Heads up: the two screws up front are a bit shorter and skinnier than the others.
– Flip the clock over to get started.
– Unscrew those 6 screws, and you’re halfway there!
Step 2


Hold on tight! Don’t try to pull apart the cover just yet—both the speaker and the motherboard are still hanging out connected. Patience is key here. If you need help, you can always schedule a repair.
– Grab your trusty pry tool and gently work the cover loose.
– Start from the back and ease it open toward the clock display.
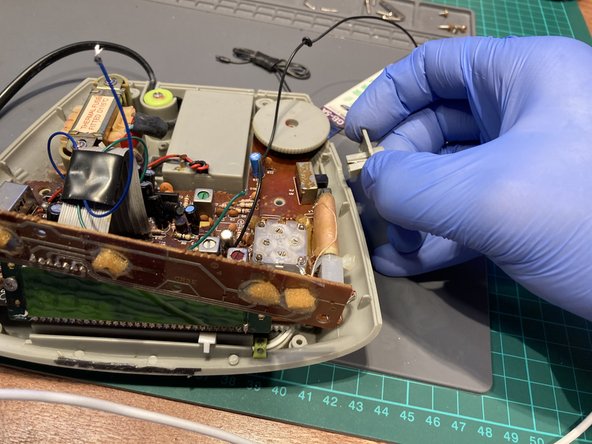
Step 3


– Carefully detach the speaker connections by de-soldering them.
– Unscrew the button panel from the top cover with ease.
– Gently pry out the button panel from the cover.
Step 4


– To start, locate the ALARM ON/OFF button on your device. Carefully remove or disconnect it to disable the alarm feature. If you run into any snags or need extra hands, you can always schedule a repair for expert assistance.
Step 5

– Gently pull off the FM/AM selector knob—don’t worry, it pops right off!
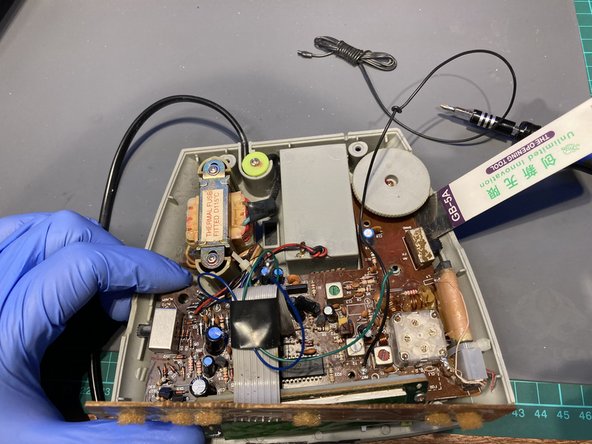
Step 6


– Loosen up those transformer screws—don’t be shy, give them a good twist.
– Gently lift the transformer straight out of its socket, like you’re pulling the winning ticket from a hat.
Step 7

– Unscrew the motherboard from the base—don’t forget where you put those tiny screws!
– Carefully lift one side of the motherboard and gently pry the other side free from the base. Take your time and don’t rush this part.
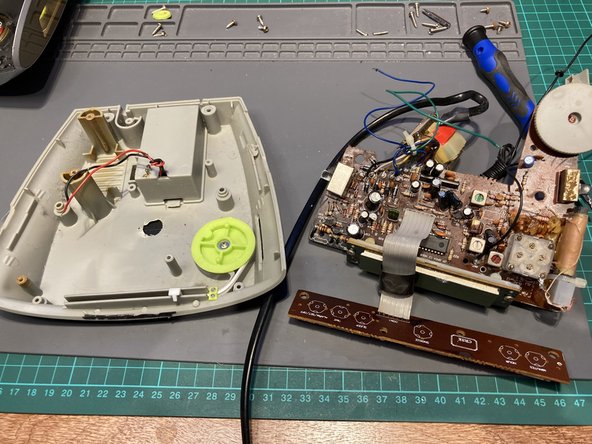
Step 8


Keep in mind the labels and wire colors as you work—it’s easy to get mixed up! Double-checking these details ensures everything connects correctly and saves you time down the line. If you need a hand, you can always schedule a repair.
– To fully take it apart, you’ll want to de-solder the transformer.
– …and don’t forget to tackle the button (control) board!
Success!