How to Apply New Bottom Speaker Adhesive in Your Google Pixel Fold
Duration: 45 minutes
Steps: 4 Steps
This repair guide has been crafted by our awesome team at Salvation Repair and hasn’t gotten a thumbs up from anyone else. If you’re curious about what we do, check out more of our delightful repair guides here.
Get ready to breathe new life into your Pixel Fold! This step-by-step guide will walk you through replacing the bottom speaker adhesive. If you haven’t already, be sure to check out our guide on removing the bottom speaker. We’ve got you covered with this easy-to-follow repair guide from Salvation Repair. Follow along and you’ll be rocking your favorite tunes in no time. If you need help, you can always schedule a repair.
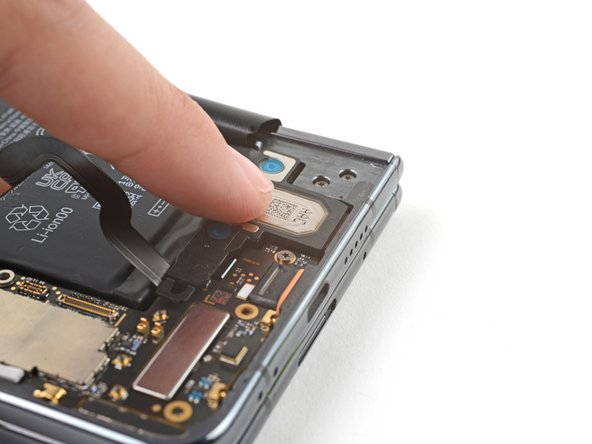
Step 1

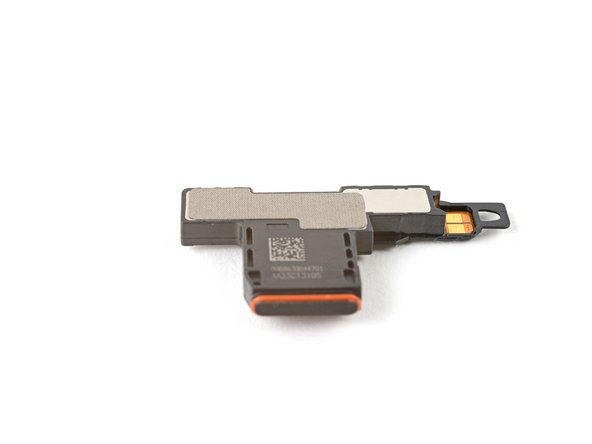
– Grab some tweezers or use those nimble fingers of yours to gently peel away the adhesive strip from the bottom speaker. You’re doing great!
Tools Used

Step 2


– Carefully remove the new adhesive strip from its backing and stick the sticky side onto the bottom speaker.
– Grab a spudger or just use your fingers to press the adhesive down firmly, making sure it seals up nicely.
Tools Used

Step 3

– Grab those trusty tweezers or just use your fingers to gently pull off the tab and reveal the top layer of adhesive. You’ve got this!
Tools Used
Step 4
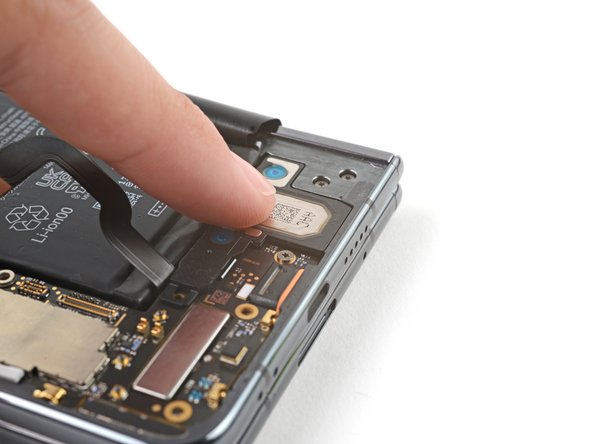

– Time to get that speaker in place! Insert it into its cozy little home in the frame at a shallow angle.
– Gently push the speaker towards the bottom edge of your phone until it’s sitting pretty and flat in the frame.
– Give the speaker a little press to make sure it’s sealed in nice and tight with that adhesive.
Success!