How to Apply Screen Adhesive in Your Microsoft Surface Pro 11
Duration: 45 minutes
Steps: 12 Steps
Once you’ve wrapped up your repair, take a moment to double-check everything! If everything looks good, you’re all set to go. But if you’re feeling unsure or hit a tricky bump along the way, no worries—just schedule a repair and we’ll help you out.
Ready to seal things up and give your Surface Pro 11 a fresh new screen adhesive? Follow this guide after you’ve wrapped up your repair and are about to attach the screen. If you’re after the screen replacement guide, just click here.
Step 1

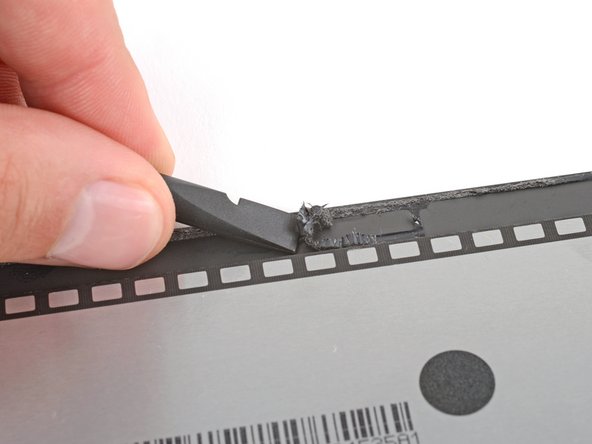
Go easy with the spudger—gentle pressure is your friend! Double-check there’s nothing lurking under the screen as you work.
– Grab a spudger and your fingers (or tweezers) and go on a mission to lift away all the leftover screen adhesive from the frame’s edge.
– Tweeze and spudge those speaker meshes right off the frame—don’t leave any behind.
– If you’re planning to keep your screen, give it some love by removing any old adhesive around its border too.


Step 2

Go slow and pay attention to detail here. Making sure the frame is spotless means your new adhesive will stick better and stay put.
– Grab a lint-free cloth (or hey, a coffee filter works too!) and some high-concentration (>90%) isopropyl alcohol. Give that frame a nice, thorough clean where you just removed the old screen adhesive. You’ll want it spotless!
– If you’re planning on reusing the screen, don’t skip this step—give its edges a good clean as well. You’ll thank yourself later!
Tools Used

Step 3
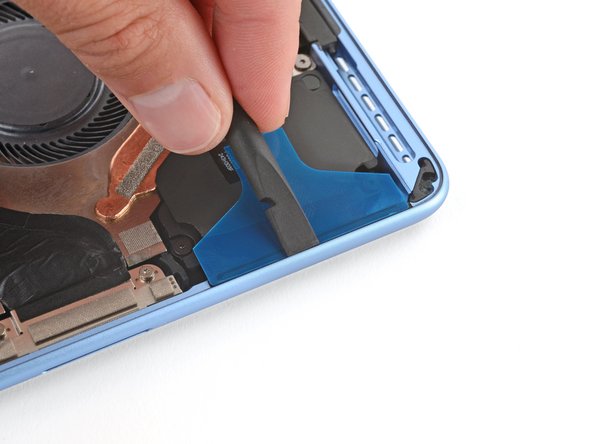

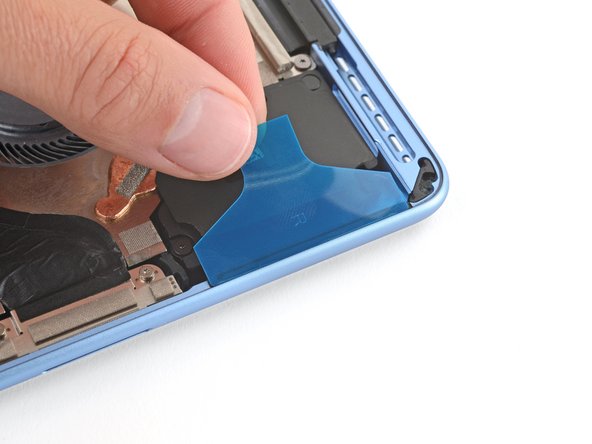
Your speaker meshes are marked L and R. Double-check they’re on the right sides, and make sure the colored, thicker liner is facing inward—not out where it can show off.
– Grab the larger, clear liner from one of the speaker meshes and gently position it onto the frame. It should fit snugly in place.
– Now, take the flat end of a spudger and press down firmly on the adhesive to make sure it’s sticking to the frame.
– Leave the colorful liner for now—don’t worry, we’ll take care of that in a later step.
– Repeat these steps for the other speaker mesh and you’re all set!
Tools Used
Step 4

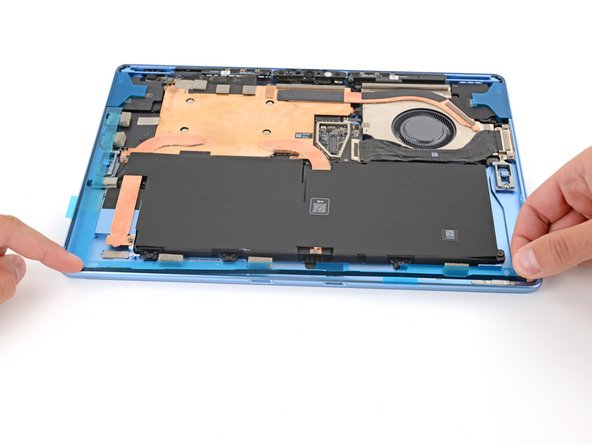
The top strip is packed with cutouts for all the cameras and sensors. Pretty busy up there, but it’s all necessary for those features to work!
– Before you start sticking down any screen adhesives, take a second to make sure each strip is lined up the right way on the frame—the big, clear liner goes face-down, and the colored liners should be facing in. Use the cutouts and notches as your cheat sheet to match every piece to its perfect spot around the edges.
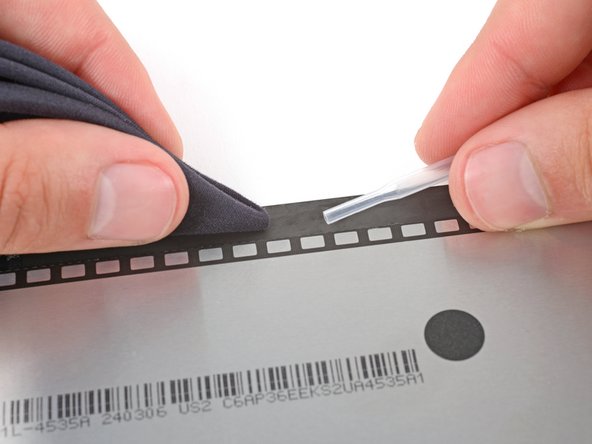
Step 5

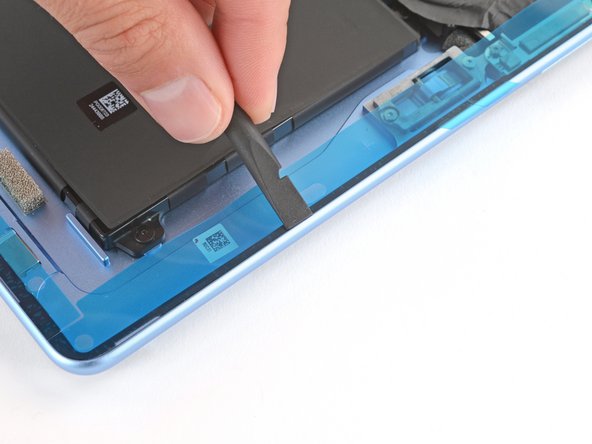
Take it easy, but stay sharp! Once that adhesive sticks to the frame, it’s in for the long haul. If it’s not quite right, you’ll have to grab a fresh strip and start over.
– Peel off the larger, clear liner from one of the adhesive strips.
– Align the strip with the frame and use your finger to secure one end in place.
– Once one end is in place, gently press down on the strip with your finger as you lay it along the frame.
– Grab the flat end of your spudger and press down firmly on the strip to ensure it sticks to the frame.
– Hold off on removing the other colored liner for now—it’ll be dealt with later.
– Repeat the steps for the other adhesive strips and you’re good to go!
Tools Used
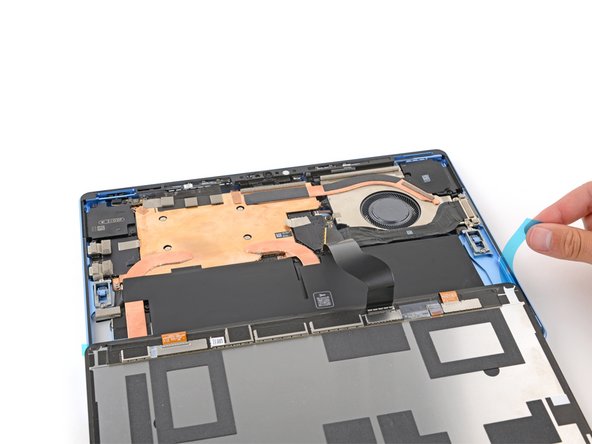
Step 6
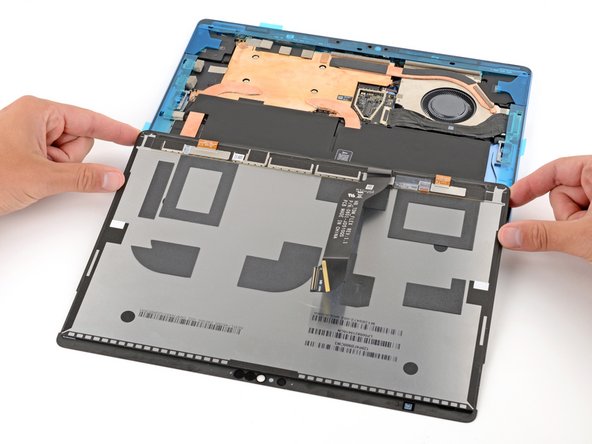

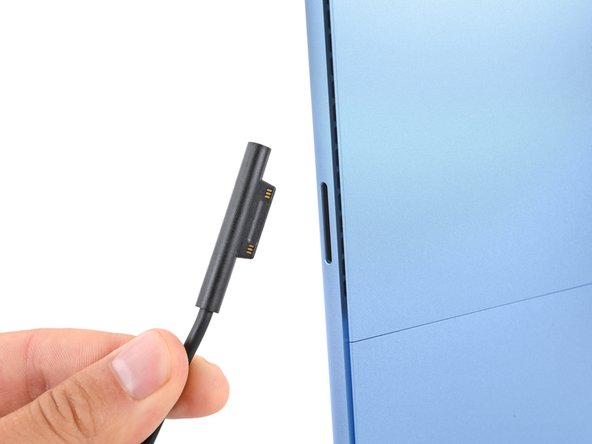
– With the screen facing down, gently position the edge of the screen, where the cable is, over the bottom edge of the device frame. Let’s get this show on the road!
Step 7

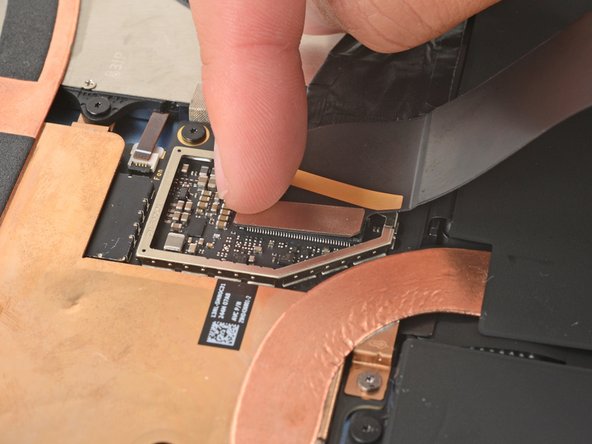

Don’t force the connector into place—if it’s giving you a hard time, just wiggle it a bit and try again. Patience is key, and if you need a hand, you can always schedule a repair.
– Line up the screen cable press connector with its socket and gently press down with your fingertip—first on one short side, then the other—until it clicks securely into place. If you need help, you can always schedule a repair.
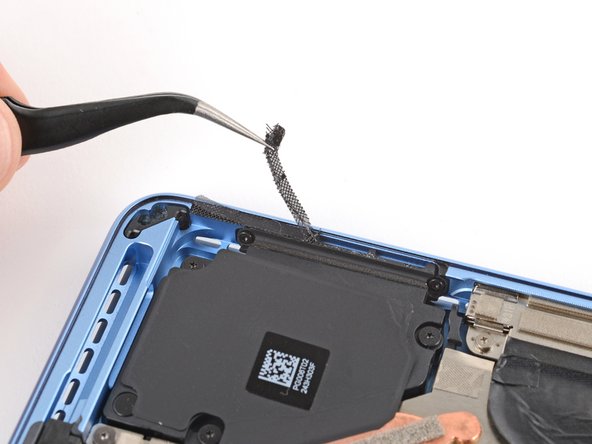
Step 8


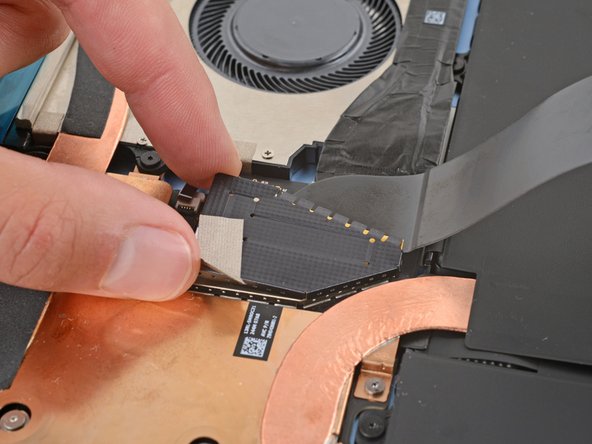
– Set the screen cable shield in its spot and give it a good press all around the edges—it should click right into place.
Step 9

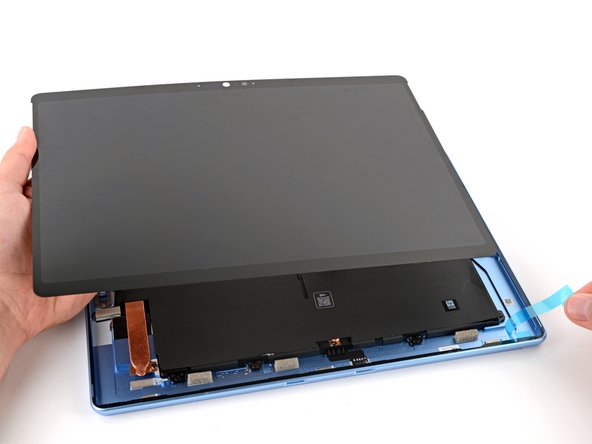
– Peel off any remaining adhesive liners, keeping the screen gently hovered above your device as needed. Take your time, and don’t rush this part.
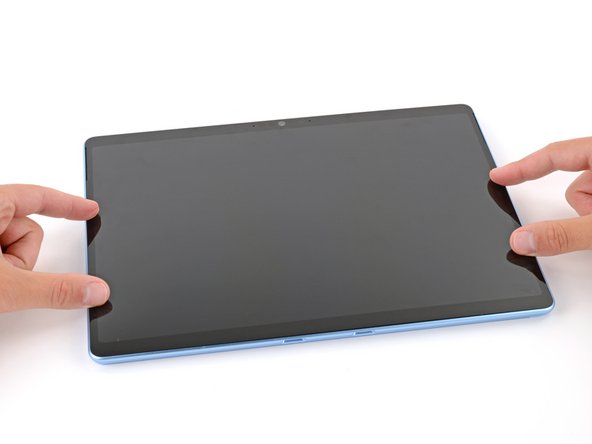
Step 10


– Line up the bottom edge of the screen with the frame’s lip to get it properly oriented.
– Once it’s aligned at the bottom, gently lay the screen down onto the frame and you’re all set.
Step 11
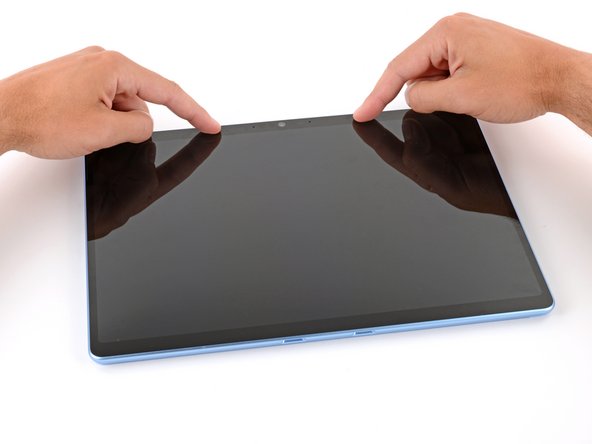

– Press down gently around the whole edge of the screen to snug it into the frame. Think of it like tucking in a cozy blanket!
– Give the edges a quick check to make sure they’re perfectly aligned with the frame—no gaps allowed! Everything should sit flush and smooth.
Step 12

If you’ve got a display bonding frame handy, pop it onto your device before moving ahead.
A little pressure goes a long way here—it’ll help that adhesive stick tight and keep your screen locked in place.
– You made it! Your repair is complete, and you should be proud of yourself for taking the DIY route.
– Now, don’t forget to responsibly recycle your e-waste with an R2 or e-Stewards certified recycler.
– If things didn’t quite go as planned, don’t worry – you can try some basic troubleshooting or reach out to our community at Salvation Repair for some expert advice. And if you’re really stuck, you can always schedule a repair.
–
Tools Used

Success!