How To Clean the Ports on Your Device Brand Device Manufacturer
Duration: 45 minutes
Steps: 16 Steps
Hey there! Just a friendly reminder: make sure to keep all your tools organized and ready to go. It’ll make the whole process smoother and a lot more fun! If you hit a snag, don’t hesitate to reach out for help. You can always schedule a repair if you need a hand!
Get ready to spruce up the ports on your beloved gadget! If your device isn’t recognizing that cool USB flash drive you just plugged in, it might be time for a little cleaning action. Don’t worry, the steps are pretty straightforward: start by blasting some air, then give it a gentle brush, and finish off with a cotton swab dipped in isopropyl alcohol. While the cleaning steps are similar for each port type, each has its own little quirks, so make sure to check the specific instructions for the port you’re tackling. You’ll find that the tools needed are likely lying around your house, but if you want to make it even easier, we offer a Precision Cleaning Kit filled with handy brushes and picks. If you need help, you can always schedule a repair.
Step 1


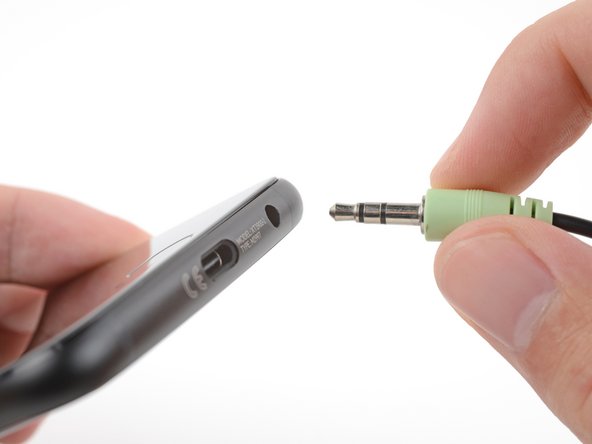
– Grab a flashlight and give your port a good look to check for any pesky blockages hanging around.
– Check out the links below to jump straight to the steps for your specific type of port:
Tools Used

Step 2


Avoid blowing into your USB-C port with your mouth, as the moisture from your breath might just throw a wrench in the works and mess up those precious contacts.
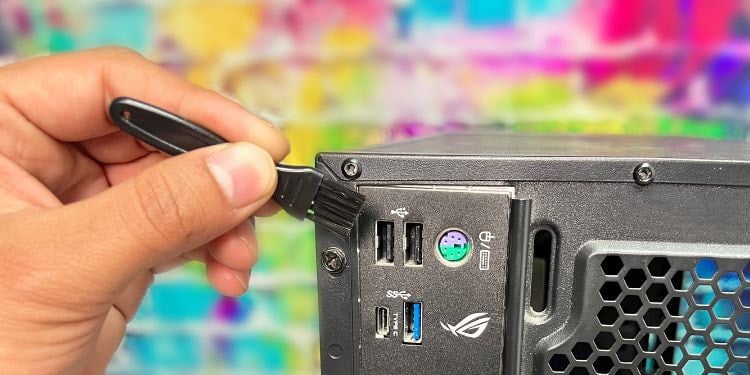
– Take the tip of your trusty dust blower or the nozzle of some compressed air and gently insert it into one corner of the port.
– Give it a few friendly puffs of air to help clear out any pesky debris.
– Now, plug in your device and see if it springs back to life and if the connector is snugly seated.
– If your device isn’t dancing to the tune or feels a bit loose, unplug it and give the blowing another go.
– Still not working its magic after a few rounds? No worries, just move on to the next step!
Tools Used


Step 3


Avoid using metal tools to clean the USB-C port; they can cause damage. Stick to gentle methods for a safer clean!
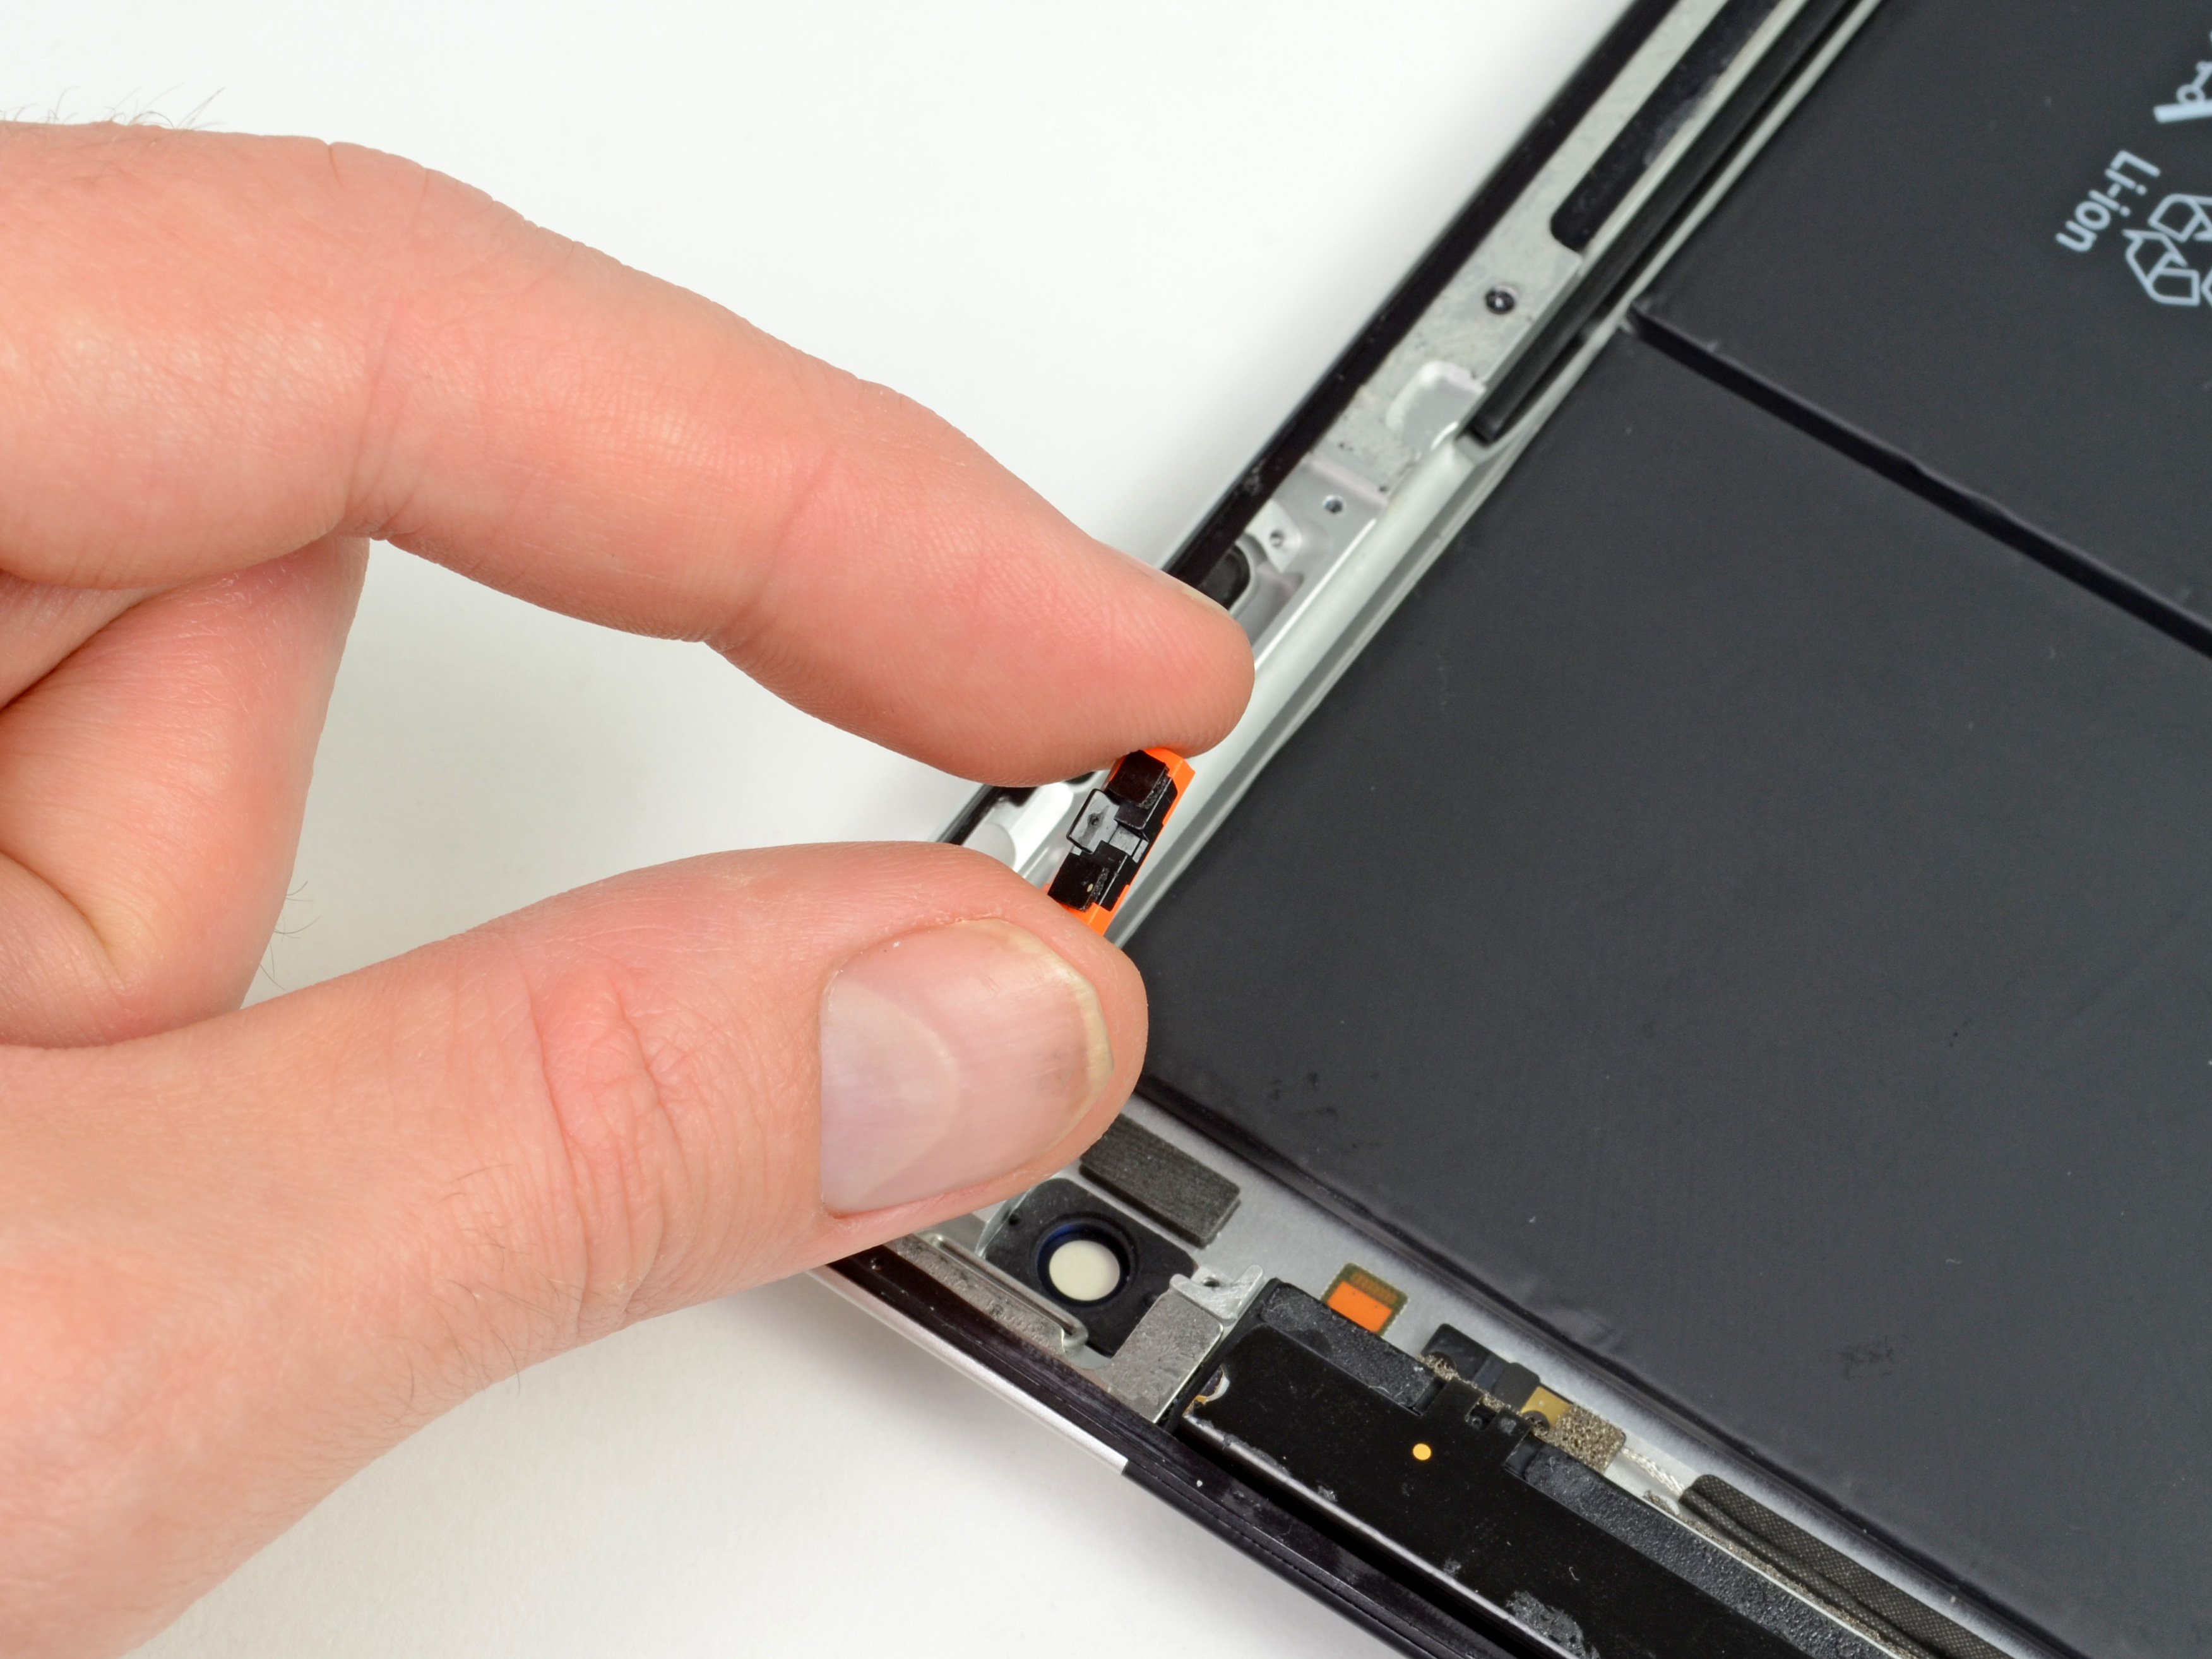
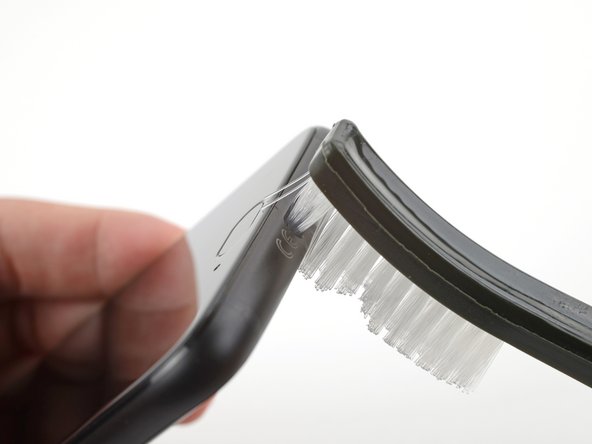
– Grab a brush, like a dry toothbrush, and gently slide it into the port. Make sure those bristles wrap around the middle contact pad (you know, the black tab chilling in the center).
– With a light touch, swirl the brush in tiny circles to help loosen any pesky debris that’s decided to settle in.
– Pull out the brush and give it a good blow using a dust blower or some compressed air to clear out any lingering bits.
– If there’s still some stubborn gunk hanging on, pop the brush back in and give it a little spin to let those bristles scoop out the unwanted visitors.
– Plug in your device and see if it’s back in action. If it’s still being shy, feel free to move on to the next step.
Tools Used
Step 4
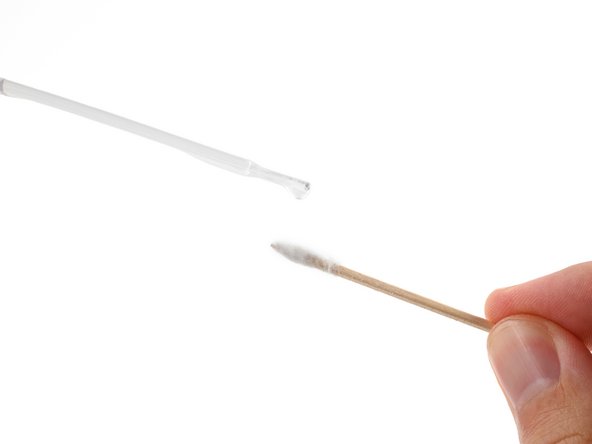


– Get ready to create your very own custom cotton swab! It’s easier than it sounds.
– Drizzle a few drops of super-concentrated isopropyl alcohol (over 90% is the magic number) onto your cotton swab.
– Gently slide your tool between the center contact pad and the edge of the USB-C port.
– Give that tool a little shimmy along the edge of the port to get it nice and clean.
– Take a breather and let the isopropyl alcohol evaporate for a few minutes before plugging in your device and giving it a test run.
Step 5

Avoid using your mouth to blow into the audio port; the moisture from your breath could potentially harm the contacts. Keep it dry and safe!
– Gently slide the tip of a dust blower or the nozzle of some compressed air into one end of the port. We’re just getting started!
– Give it a few friendly puffs of air to clear out any pesky dust bunnies.
– Now, plug in your device and see if it springs to life and the connector is snug as a bug.
– If your device is still playing hard to get or isn’t sitting right, unplug it and give that blowing another go.
– Still no luck? No worries! Just repeat the air-blowing dance a few more times and then we’ll move on to the next step.
Tools Used
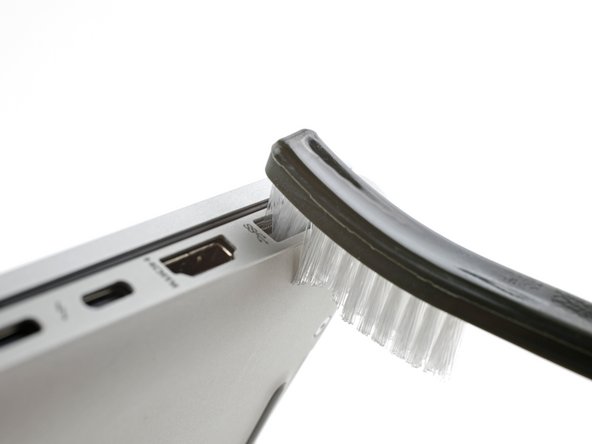
Step 6


Avoid using metal tools to clean the audio port, as they might cause some unwanted damage.
– Grab a brush, like a dry toothbrush, and gently pop it into the audio port.
– Twist that brush in small circles to break up any pesky clumps of debris.
– Take the brush out and give a blast with a dust blower or some compressed air to clear out the mess.
– If there’s still some stubborn debris hanging on, reinsert the brush and give it a little twirl to scoop it out.
– Plug your device back in and see if it’s good to go. If it’s still not working, don’t fret—just move on to the next step.
Tools Used
Step 7


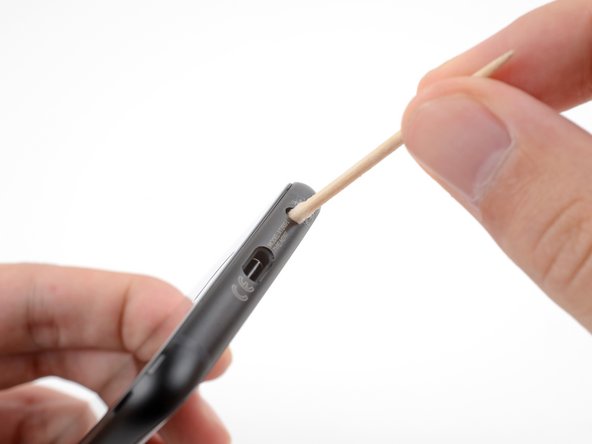
– Get ready to craft your own custom cotton swab!
– Drop a few splashes of super-concentrated isopropyl alcohol (over 90%) onto that cotton.
– Gently slide your tool into the audio port.
– Give that tool a little twist and turn to work its magic and clean the port.
– Take a breather for a few minutes while the isopropyl alcohol evaporates, then plug in your device and give it a test run!
Step 8


Avoid using your mouth to blow into the USB-A port—your breath’s moisture could mess with the contacts. Keep it dry and happy!
– Grab your trusty dust blower or the nozzle of that compressed air can, and gently insert it into one end of the port.
– Give it a few light puffs of air to clear out any stubborn debris.
– Now, plug in your device to see if it’s feeling better and if the connector is snug as a bug.
– If your device is still being a little stubborn or not seating right, unplug it and give that blowing technique another go.
– Should your device still be playing hard to get after a few rounds, let’s move on to the next step.
Tools Used
Step 9

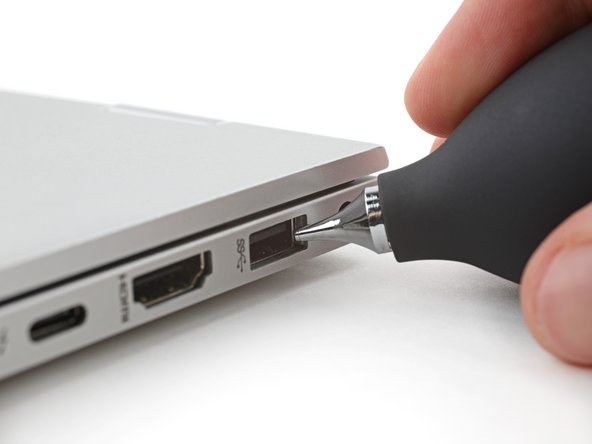
Avoid using metal tools to clean out the USB-A port; they can cause some serious damage. Keep it safe and sound!
– Grab a brush head, like a trusty dry toothbrush, and gently slide it into the port.
– With a little finesse, move the brush back and forth to loosen up any stubborn debris.
– Now, take out the brush and give your device a blast with a dust blower or some compressed air to clear out the mess.
– If you encounter any stubborn bits, reinsert the brush and give it a little twist to let those bristles scoop out the trouble.
– Plug your device back in and see if it’s back to life. If it’s still playing hard to get, just keep on rolling to the next step.
Tools Used
Step 10


– Let’s whip up a custom cotton swab, shall we?
– Drop a few splashes of super-strength isopropyl alcohol (over 90%) onto that cotton.
– Now, gently slide your tool into the USB-A port.
– Wiggle that tool back and forth to give the port a nice clean-up.
– Hang tight for a few minutes while the isopropyl alcohol does its thing and evaporates before plugging your device back in to give it a test run.
Step 11


Avoid using your mouth to blow into the HDMI port; the moisture from your breath could harm the contacts.
– Gently slide the tip of a dust blower or the nozzle of some compressed air into one end of the port.
– Give it a few friendly puffs of air to clear out any pesky dust.
– Plug your device back in and see if it’s alive and kicking, making sure the connector is snug as a bug.
– If your device is still playing hard to get or isn’t snug, unplug it and let’s give that blowing another go.
– Still no luck? Don’t worry! Just keep at it and if it’s still being stubborn after a few tries, let’s move on to the next step.
Tools Used
Step 12


Avoid using metal tools to clean the HDMI port; you wouldn’t want to risk giving it a bad day!
– Grab a brush, like a trusty dry toothbrush, and gently insert its head into the port, ensuring the bristles cozy up around the central contact pad (that’s the black tab in the middle of the HDMI port).
– With a gentle touch, twirl the brush in small circles to dislodge any stubborn clumps of debris.
– Take out the brush and give it a little help with a dust blower or some compressed air to blast away any lingering bits.
– If you find some debris still hanging on, reinsert the brush and give it a spin to let the bristles work their magic and scoop out the pesky bits.
– Now, plug in your device and see if it’s back in action. If it’s still playing hard to get, don’t fret—just move on to the next step!
Tools Used
Step 13

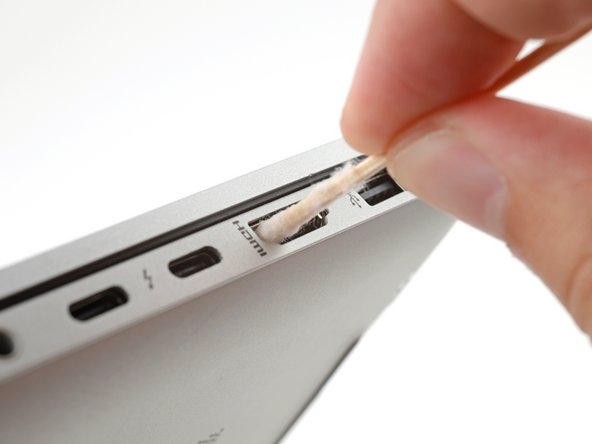

– Get ready to create your very own custom cotton swab!
– Drop a few splashes of super-strength isopropyl alcohol (over 90%) onto that cotton.
– Gently slide your tool between the middle contact pad and the edge of the HDMI port.
– Give your tool a little dance along the port’s edge to give it a good clean.
– Let the isopropyl alcohol do its thing and evaporate for a few minutes before you plug in your device and give it a test run.
Step 14


Avoid using your mouth to puff air into your charging port; the moisture from your breath could put a damper on the contacts.
– Gently slide the tip of a dust blower or the nozzle of some compressed air into one end of the port.
– Give it a few friendly puffs of air to clear out any pesky dust.
– Plug your device in to see if it springs back to life and if the connector is snug as a bug.
– If your device is still playing hard to get or not fitting in right, unplug it and give that blowing another go.
– If it’s still not cooperating after a few rounds, don’t fret—just move on to the next step!
Tools Used
Step 15


Steer clear of using metal tools to clean the charging port; you don’t want to risk causing any damage. Keep it safe and sound!
– Grab a brush head, like an old dry toothbrush, and gently pop it into the charging port.
– Give it a little twist in tiny circles to shake loose any stubborn gunk.
– Pull the brush out and give it a good blast with a dust blower or some compressed air to send that debris flying.
– If you find any pesky bits still hanging around, just pop the brush back in and twist it around to scoop them out.
– Now, plug in your device and see if it’s back in action. If it’s still playing hard to get, don’t worry—just move on to the next step!
Tools Used
Step 16


– Let’s whip up a custom cotton swab! It’s super easy.
– Dab a few drops of strong isopropyl alcohol (90% or more) onto the cotton.
– Gently slide your tool into the charging port.
– Give the tool a little spin around the edges of the port to give it a good clean.
– Sit tight for a few minutes and let that isopropyl alcohol do its thing and evaporate before you plug in your device and give it a test run.