How to Clean Your iPhone Lightning Port DIY Guide
Duration: 45 minutes
Steps: 5 Steps
Hey there! Just a friendly reminder: If things get tricky or you feel a bit lost, it’s totally okay to ask for help! You can always schedule a repair with the pros at Salvation Repair. They’ve got your back!
Get ready to spruce up your iPhone’s charging port (generation 14 and below), also known as the ‘Lightning port.’ If your iPhone is playing hard to get with charging—either charging only sometimes or not at all—it’s likely that a little dust and debris have moved in, preventing your charger from making a snug connection. A quick clean could do the trick! This guide is packed with handy tools you probably already have at home, but if you’re looking for a little extra help, our Precision Cleaning Kit features some nifty brushes and picks to simplify your cleaning adventure. And remember, if you need help, you can always schedule a repair.
Step 1


– Grab a flashlight and shine it into your charging port to check for any big blockages hanging out in there.
– Keep following the guide step by step as you clean your port thoroughly. If you’re feeling adventurous, you can also click the links below to jump straight to a specific cleaning method:
– After each cleaning session, take a moment to reinspect the charging port for any sneaky blockages or spots you might have missed.
Tools Used

Step 2


Avoid blowing into the charging port, as the moisture from your breath may harm the contacts.
– Aim the tip of your trusty dust blower or the nozzle of your compressed air at a corner of that charging port.
– Give it a few puffs of air to clear out any pesky debris from the charging port.
– Plug in your iPhone and see if it’s charging and if the charger fits snugly.
– If your iPhone isn’t charging or doesn’t sit properly, unplug it and give the blowing another go.
– Still not getting a charge or a proper fit after a few tries? No worries, just move on to the next step!
Tools Used


Step 3


Avoid using metal tools to clean the port; they might just turn your port into a sad little mess.
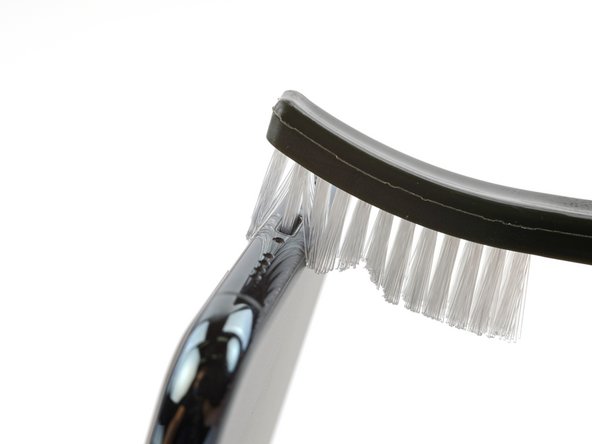
– So, let’s get those charging ports feeling all sparkly clean and ready for action! First, slide that toothbrush head into the port, but remember – just a delicate dab of pressure, not a brute force. Give it a gentle twirl, working in those circular motions to brush away any fluff and dust. Next, take a break and give it a nice blast with some compressed air or a dust blower to say goodbye to any stragglers. Feeling brave? Shove that brush back in there and watch it do its magic – those hairs will scoop up the last little bits and pieces. Once you’re all done, plug your device back in and test out the charging superpowers. If you’re still dealing with a not-so-nice port, don’t worry – you’ve got the power to schedule a repair and save the day! 👏
Tools Used
Step 4


– Get ready to create your very own custom cotton swab!
– Drizzle a few drops of super-strong isopropyl alcohol (over 90% concentration) onto that cotton.
– Gently place your tool into the charging port.
– Give your tool a little shimmy back and forth in the charging port to give it a good clean.
– Let the isopropyl alcohol do its thing and evaporate for a few minutes before plugging in your iPhone to check if it’s working like a champ.
Step 5

– First things first, plug in your iPhone and see if it’s getting its much-needed charge!
– Ready to replace that charging port? Head over to this page, locate your iPhone’s model, and follow the specific charging port guide for all the details you need. And remember, if you need help, you can always schedule a repair.


