
How to DIY Replace Your Google Pixel 9 Pro Fold Back Cover: Step-by-Step Guide
Duration: 45 minutes
Steps: 27 Steps
This repair guide was created by Salvation Repair pros and is designed to make your DIY adventure fun and easy. For more cool guides, check this out.
Hey there, tech friends! Ever felt like your device needs some TLC? Fear not, for this guide is here to be your trusty sidekick! We teamed up with the awesome folks at Salvation Repair to bring you an easy-to-follow step-by-step guide on swapping out the back cover on your Google Pixel 9 Pro Fold. Who knows, maybe you’ll even discover a hidden superpower while you’re at it! And if you’re feeling a bit stuck, remember that our pals at Salvation Repair are always ready to lend a helping hand. Just click here to schedule a repair and get back to being the tech whiz you always knew you could be!
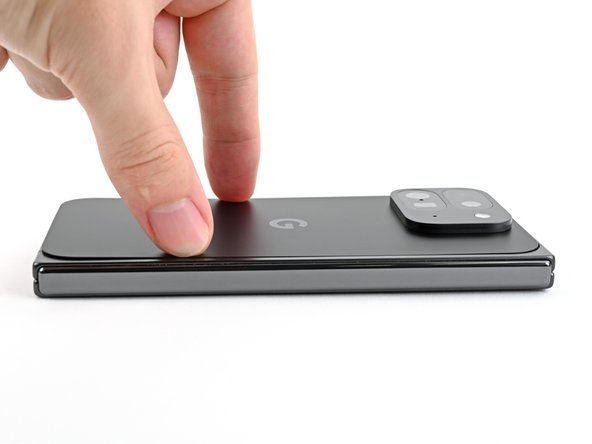
Step 2
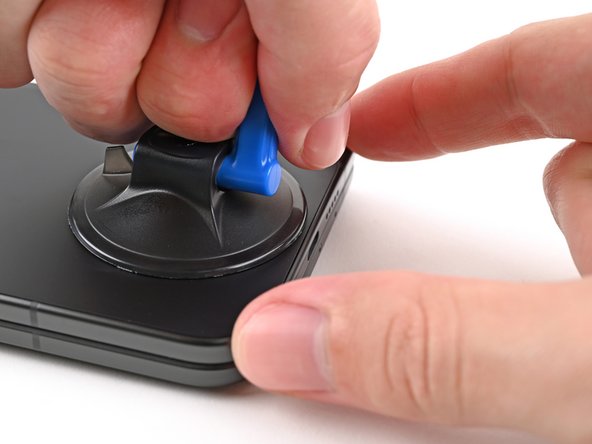


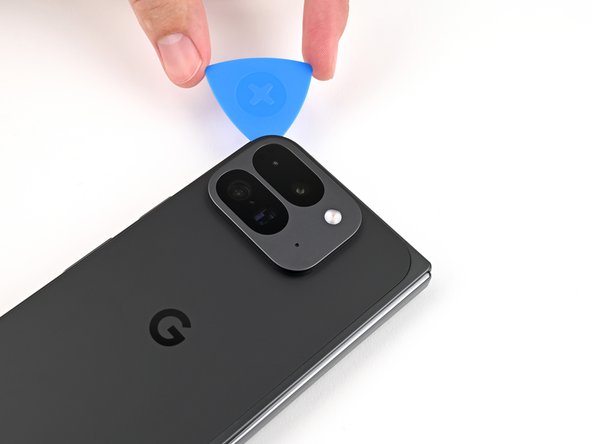
If your back cover is looking like a spiderweb, slap on some clear packing tape to help the suction cup stick. No packing tape? No problem—grab some heavy-duty tape and skip the suction cup altogether. Still no luck? A dab of superglue on the suction cup and the cracked cover should do the trick. If you’re feeling stuck, you can always schedule a repair for some extra help.
– Stick that suction cup right on the back cover, aiming for the center of the bottom edge.
– Hold your phone steady with one hand, and give that suction cup a confident, smooth pull to pop a gap between the back cover and the frame.
– Slide your opening pick into that fresh gap you just created. Nice work!
Step 3

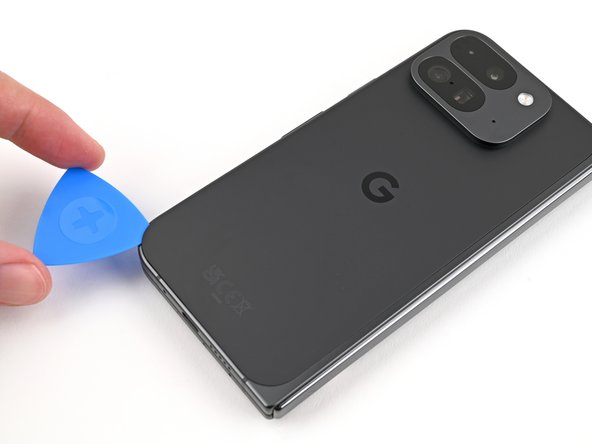
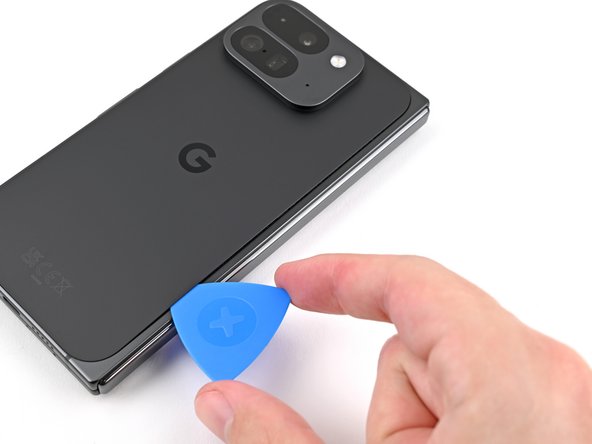
In the next couple of steps, remember to keep your opening pick no deeper than 3 mm—let’s avoid a showdown with those metal springs around the frame!
For an optional step, feel free to measure and mark your opening pick at 3 mm to get a visual cue of the length.
– Detach the suction handle from the back cover like a pro!
– Gently maneuver the opening pick around the bottom left corner and slide it up the left edge of the back cover to break that adhesive seal.
Tools Used

Step 4

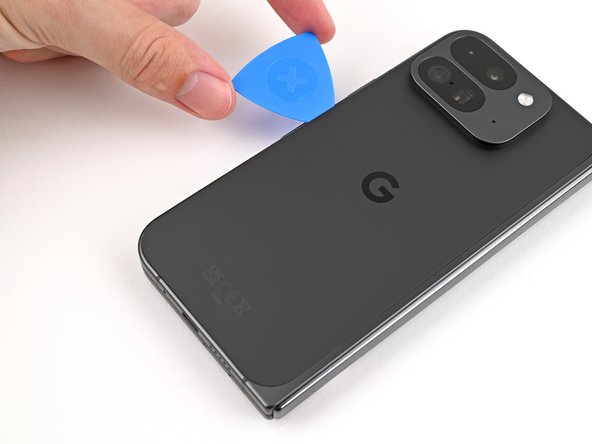
– Keep that pick sliding smoothly around the top left corner and glide it across the top edge of the back cover like a pro!
Step 5
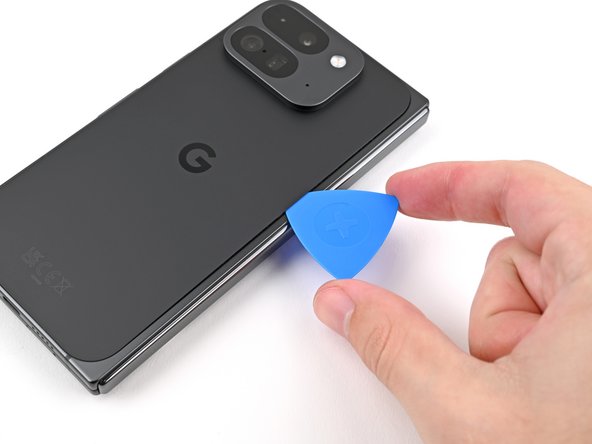

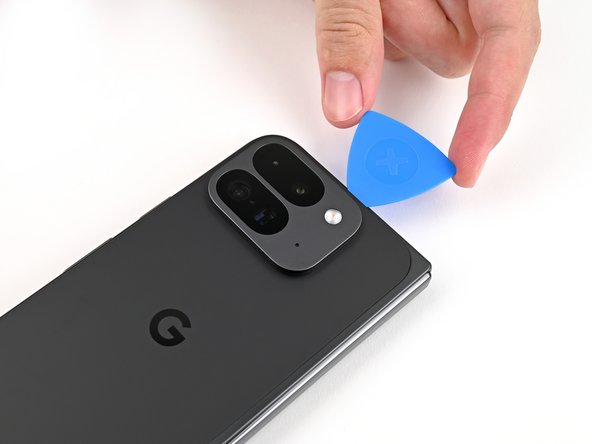
The adhesive on the right edge of the back cover is a bit more stubborn than the rest. To break it free, make sure to slide your opening pick in at least 4 mm. You’ve got this!
– Time for some pickin’ and grinnin’! Slide that pick down the right edge and around the bottom right corner to separate any remaining adhesive. Almost there, you rockstar repair folks!
Step 6
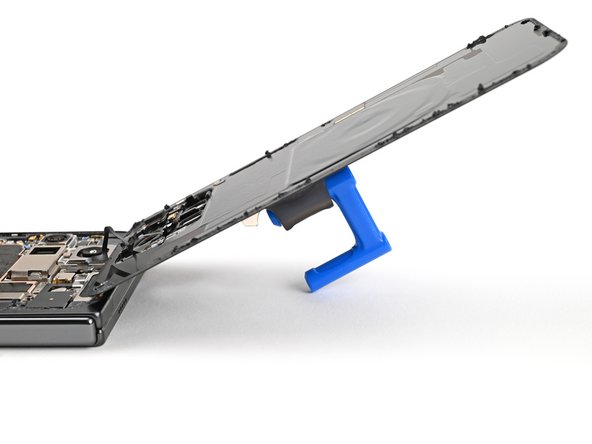

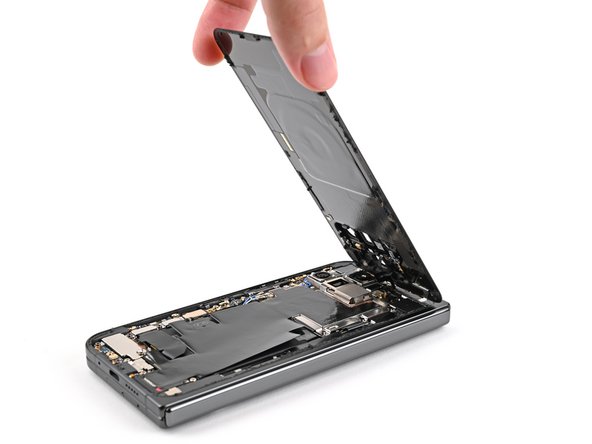
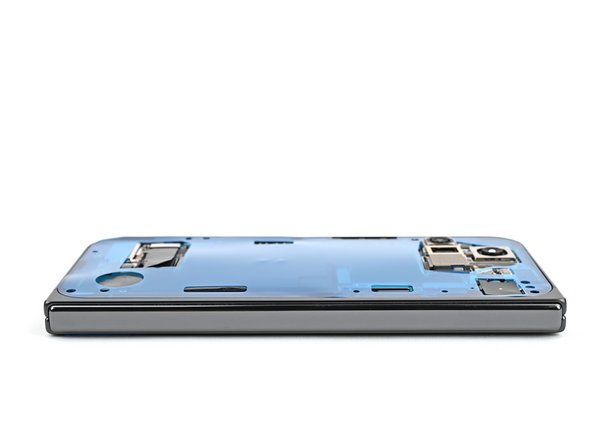
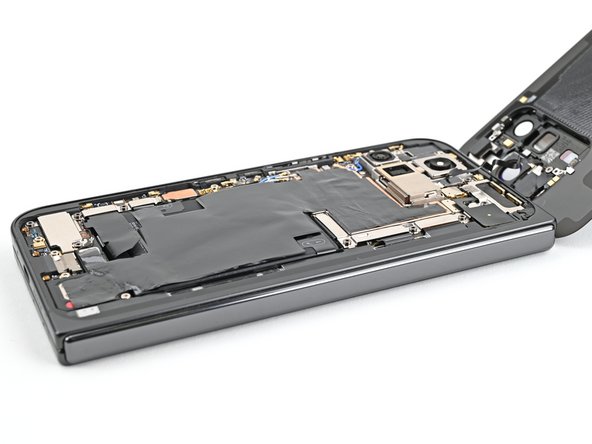
Hold your horses! Don’t go yanking off that back cover just yet—it’s still hanging out with the phone via a cable.
Now that the back cover is free from the frame, if you encounter any stubborn spots hanging on, don’t fret! Just grab an opening pick and gently work around the edges to loosen any remaining adhesive. You’ve got this!
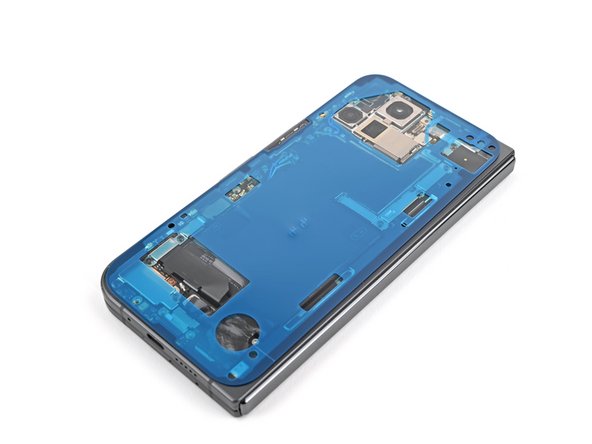
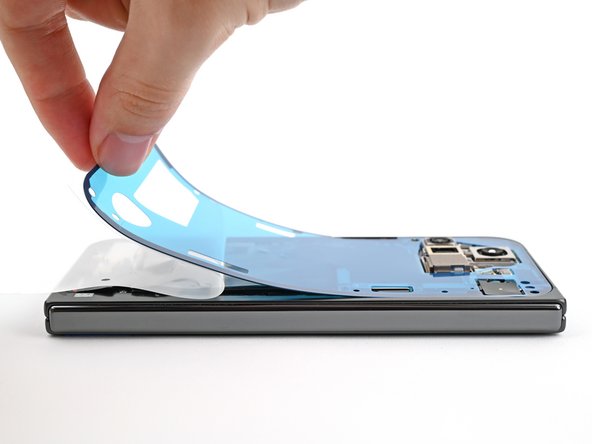
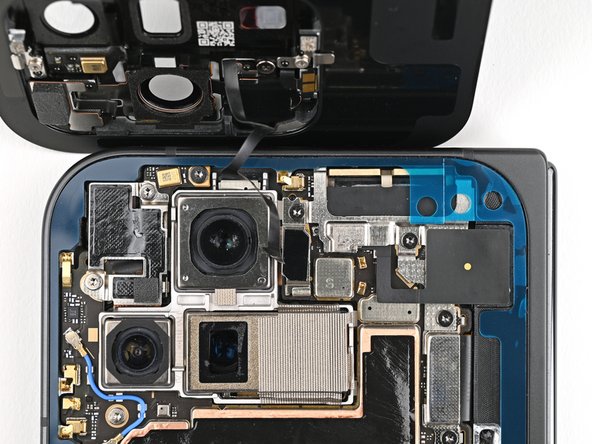
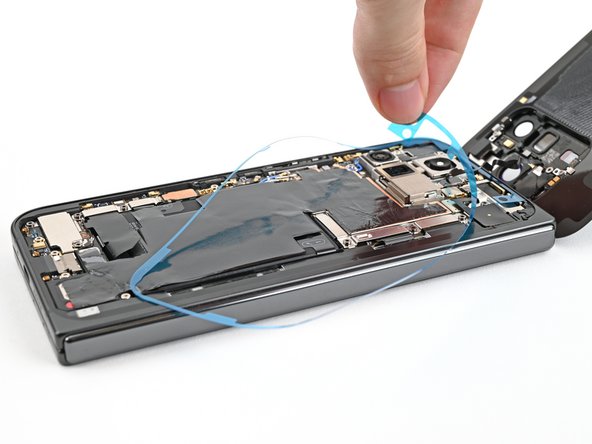
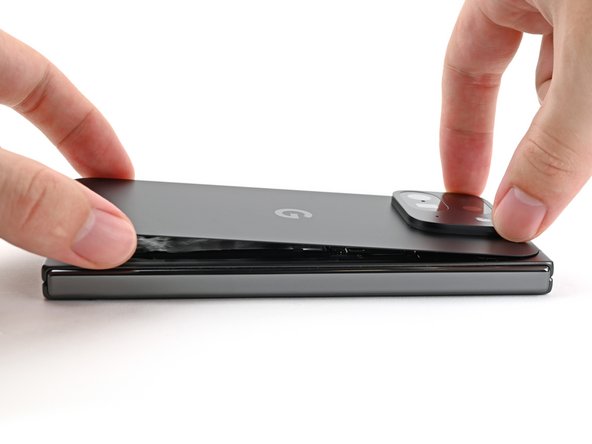
– Gently lift the lower edge of the back cover and swing it over the top edge of your device like you’re flipping a pancake!
– Now, keep that back cover propped up with your trusty suction handle or a solid, clean object—just be sure the cable is cozy and not under any tension.
Tools Used
Step 7

As you go through this repair, keep track of each screw and make sure it goes back exactly where it came from.
The Pixel 9 Pro Fold uses Torx Plus screws, but standard Torx bits work just fine. Use the same size or one size larger (T3 or T4 Torx bits with 3IP Torx Plus screws) and apply steady, downward force to avoid stripping.
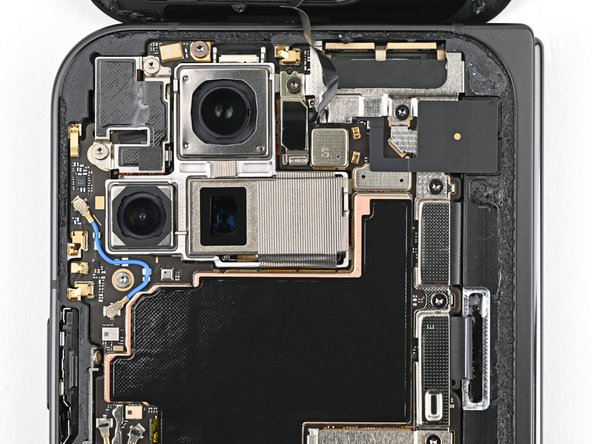
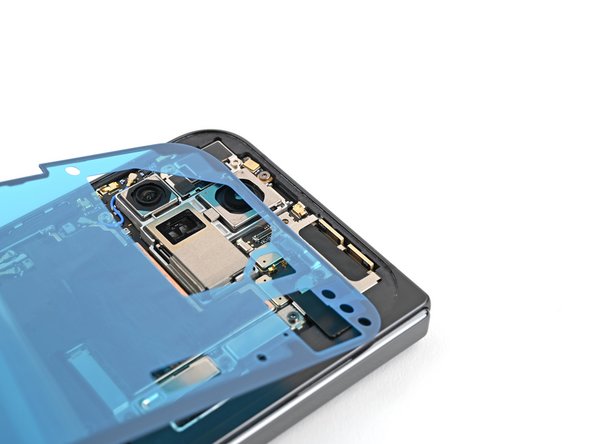
– Grab your trusty Torx Plus 3IP driver and unscrew that 3.0 mm screw holding the top bracket in place. It’s a quick twist to freedom!


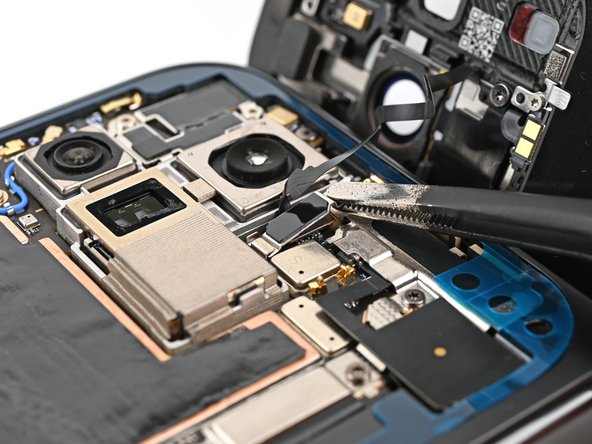
Step 9

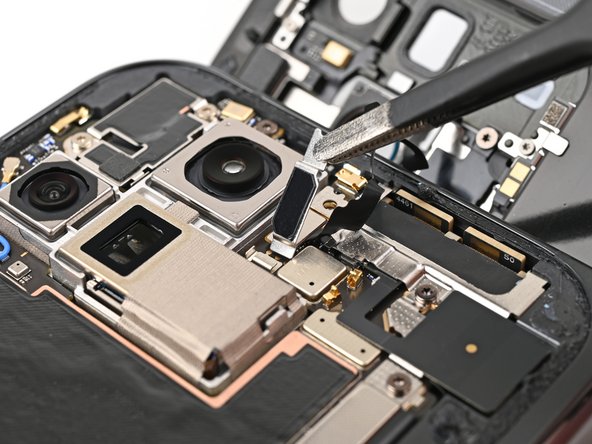
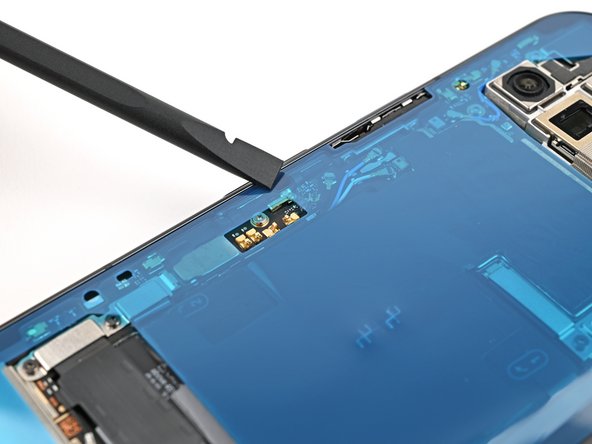
Keep your spudger where it belongs! If you wander off the path, you might accidentally unseat some delicate components. Let’s avoid that adventure!
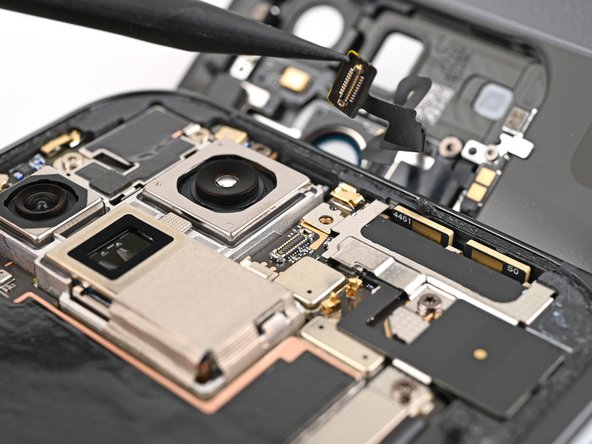
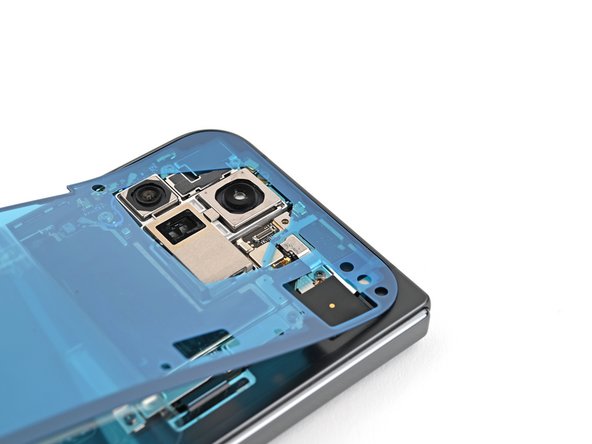
– Slide your spudger under the bottom edge of the back cover cable connector—gentle does it!
– Carefully lift and disconnect the back cover cable. You’ve got this!
Tools Used


Step 11

– Alright, you’ve successfully taken apart your device! Now let’s put it back together like a puzzle. Follow these steps, and you’ll be back in business in no time!
Step 12

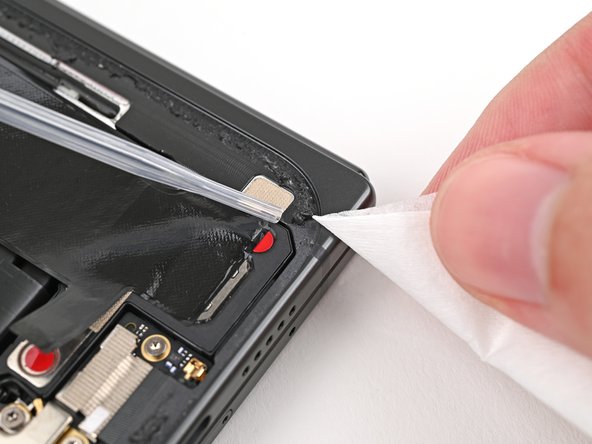
– Gently pry off the old back cover adhesive using a spudger or your trusty fingers.
– Wipe away any sticky residue with isopropyl alcohol (90% or higher) and a coffee filter or microfiber cloth for a clean finish.
Tools Used
Step 13
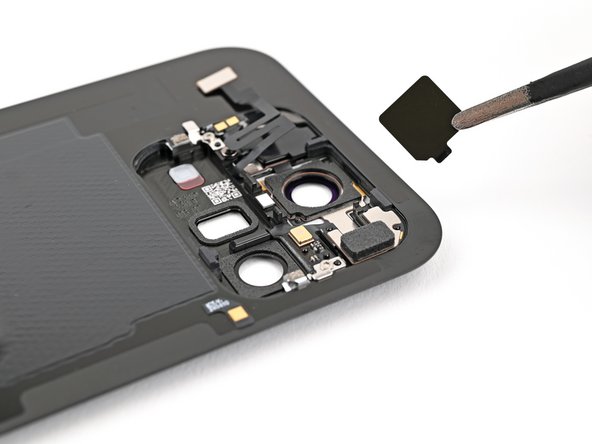

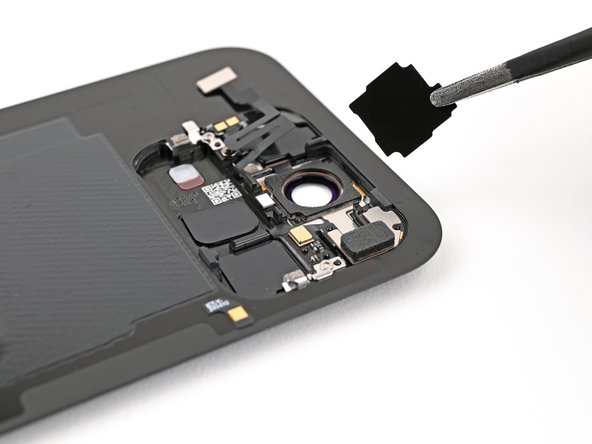
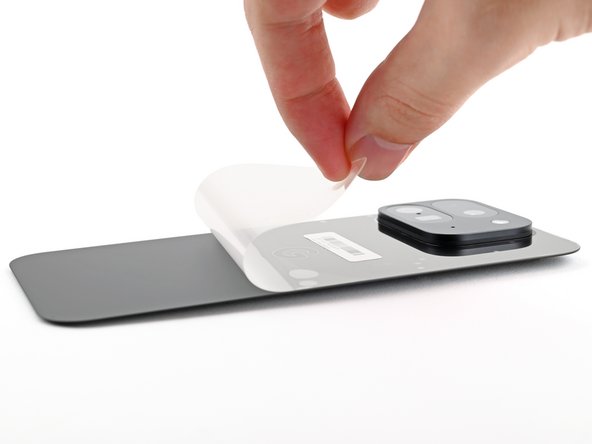
Alright, cool cats and kittens! If you’re snazzy enough to rock a brand new back cover, then buckle up for the next two steps. If you’re feeling chill and ain’t replacing the back cover, then just kick back and relax – those steps are for you, but not for you, you know?
– Grab some tweezers or use your fingers to gently pop out those three rear camera liners hiding inside your brand new back cover. You’ve got this!
Tools Used


Step 16

Take it slow here—precision is key! Make sure the adhesive lands in the right spot. If you need help, you can always schedule a repair.
– Gently peel the top half of the new adhesive strip from its liner, keeping it folded like a pro.
– Line up the top half of the adhesive with the frame, using the corners as your trusty guides.
– Carefully place the adhesive onto the frame, and you’re golden! If you hit a snag, you can always schedule a repair.


Step 18

– As you carefully peel off the remaining clear liner, gently position the rest of the adhesive around the edges of the phone, making sure it sticks just right.

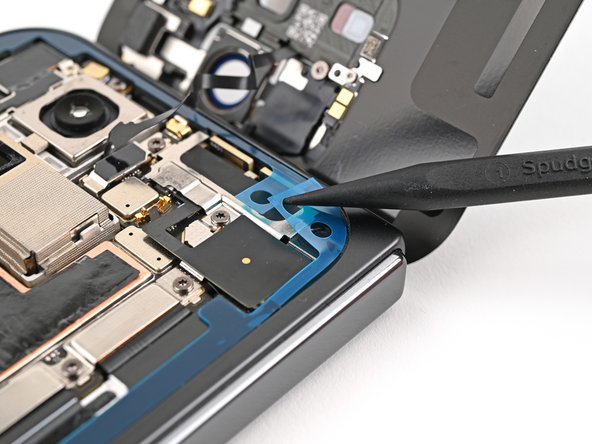
Step 20


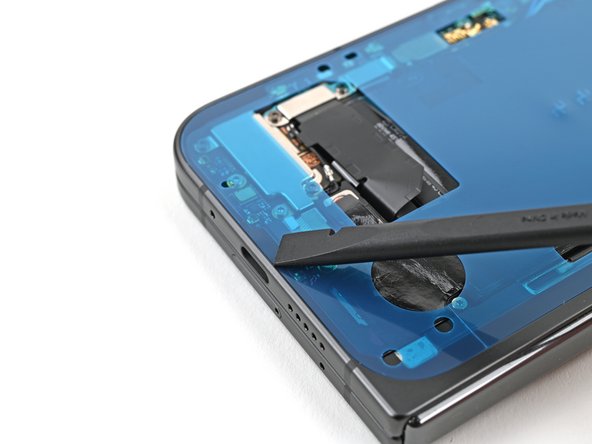
– Grab your spudger and gently lift the segmented tab in the bottom right corner of the big blue liner like you’re uncovering a hidden treasure.
– Once you’ve got that tab lifted, peel away the big blue liner to reveal the mysterious secondary liner beneath!
Tools Used
Step 21

No need to force anything, amigo! If the connector’s not cooperating, just give it a little wiggle and try again. You got this!
– While keeping a firm grip on that back cover or giving it a little support, plug the back cover cable back in. You’ve got this!
Step 22

– Slide that top bracket clip back into its cozy slot on the logic board and make sure the screw hole is all lined up and ready to go!
Step 23

– Grab your trusty Torx Plus 3IP driver and get ready to secure that top bracket by installing the 3.0 mm-long screw. You’ve got this!


Step 26

– Line up the top edge of the back cover with the frame, then press down to secure it. You’ve got this!
Step 27

Feeling fancy? Grab a hair dryer or heat gun and give the edges of the back cover a little warmth for an extra-strong bond. Easy peasy!
– You did it! You fixed your phone! Way to go!
If you need help, you can always schedule a repair
– Be sure to recycle your e-waste responsibly!
– Something not quite right? Check our community forums for help.
– Want to schedule a repair? Schedule a repair
–
Success!
