
How to Fix a Samsung Galaxy S10 Plus That Does Not Turn On/Power On
Duration: 45 minutes
Steps: 5 Steps
Ready to bring your Samsung Galaxy S10+ back to life? This guide walks you through the steps to get your device powering on again—no tech wizardry required. Just follow along, and if things get tricky, you can always schedule a repair.
Step 1


- First, give the motherboard a once-over—both the power IC and camera IC have been soldered previously, so check for any obvious issues. Next, install the motherboard back into the device and connect the display along with the power cable. Watch the current draw—if it’s hanging around 52 mA, that’s a sign to dig deeper. Press the power button—if the reading stays the same, the main power supply line might be acting up. To narrow things down, measure a few power lines on the motherboard with your multimeter in diode mode. Keep an eye on inductor L5039—it might be shorted to ground, which can cause trouble down the line. If you need help, you can always schedule a repair.
Step 2


- Take a peek at the schematic! It reveals that L5039 is snugly connected to both the main power supply line, VBAT, and the power IC, U8031. Let's keep things powered up!
Step 3
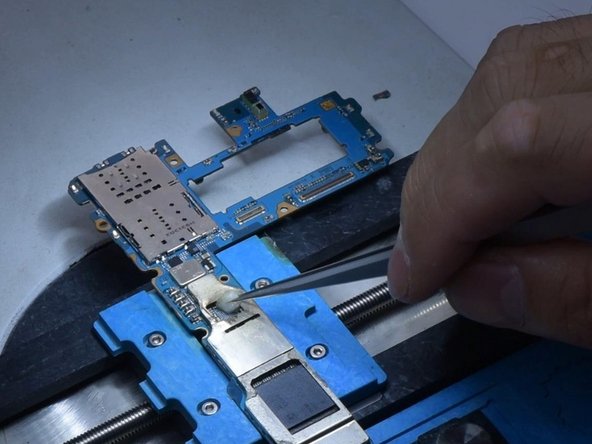
- Looks like power IC U8031 has already had a dance with a soldering iron, so let’s check if it’s still up for the job or ready to retire.
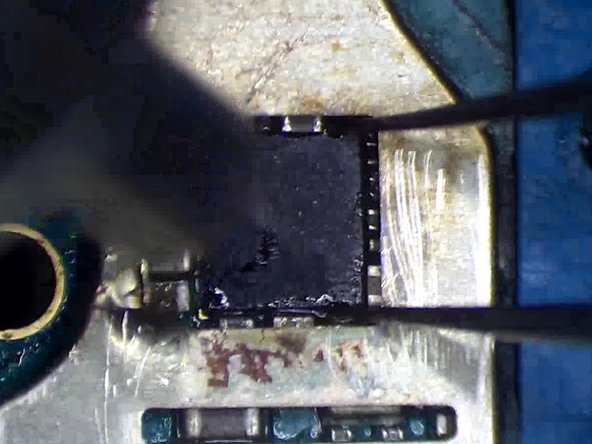
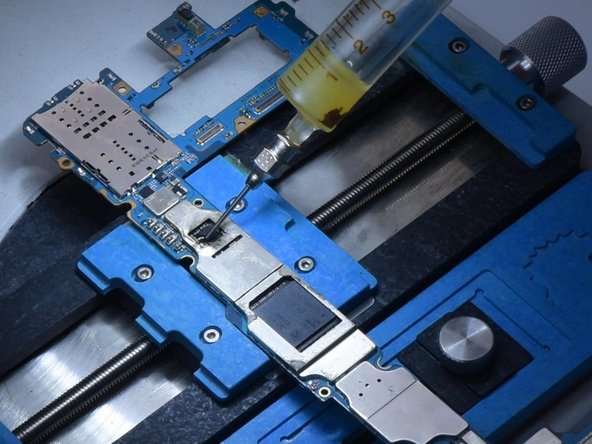
- Pop the motherboard onto the holder and treat the power IC to some paste flux—think of it as a spa day for your circuit.
- Fire up the hot air gun to 340°C, set the airflow to 3, and gently lift off the IC. Smooth and steady wins the race!
Step 4
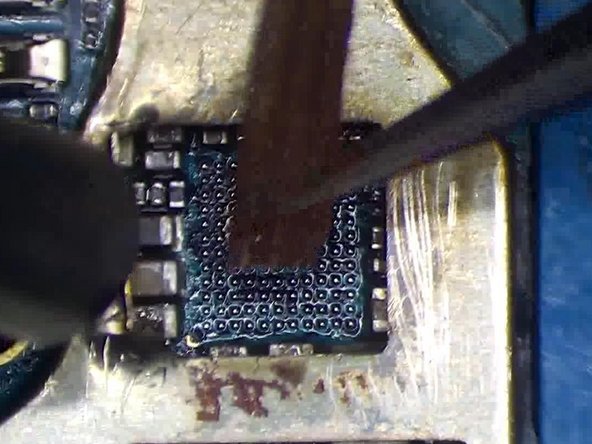
- Grab your solder wick and give that bonding pad a good clean-up.
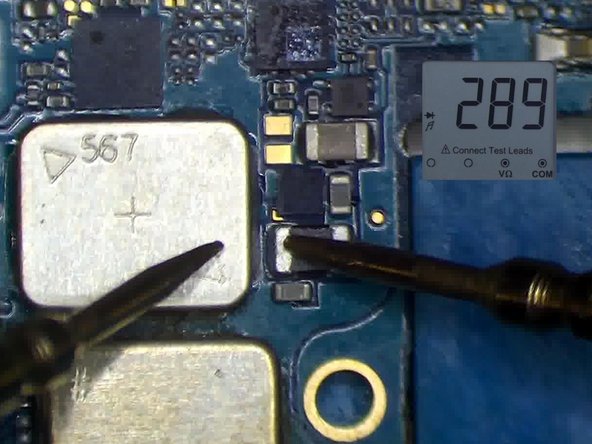
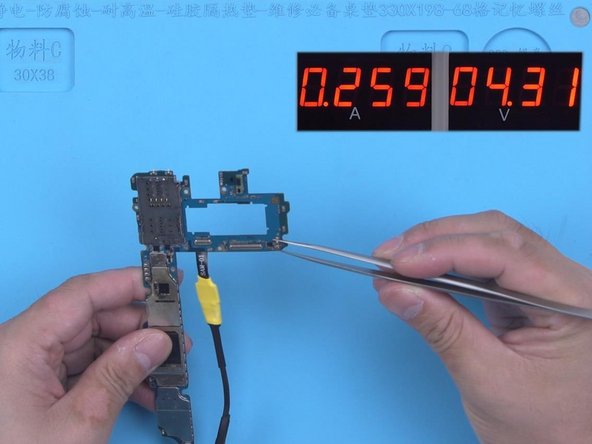
- Flip your multimeter to diode mode and check the vibes on inductor L5039.
- Spruce up the bonding pad with some PCB cleaner, hit it with a little paste flux, and you're golden!
Here, the diode reading is 289—nice and normal! This means the power IC is doing its job. The issue? Looks like a short circuit in the main power supply line caused by a fault in the power IC. Don't worry, it's a common fix—just follow the steps and you'll be back up and running in no time. If you need help, you can always schedule a repair.
Step 5


- Line up your new IC like a pro. Hit it with a hot air gun at 340°C, airflow on 2. Let the motherboard cool off, then reconnect the power cable.
- Grab your trusty tweezers and trigger the boot-up. Watch as the boot current gets back to normal—just like magic.
- Pop that motherboard back in. The phone fires up as usual and your issue is history. If you get stuck, you can always schedule a repair.


