How to Fix Apple iPhone Touch Screen Issues Guide
iPhone Touch Screen Not Working: A Comprehensive Guide to Fixing the Issue
When your iPhone’s touch screen stops working, it can be a frustrating and disorienting experience. Whether you’re typing out a text message, browsing the web, or playing your favorite game, a non-responsive touch screen can bring your entire experience to a grinding halt. But fear not, dear iPhone user! With this comprehensive guide, you’ll be well on your way to diagnosing and fixing the issue, and getting back to enjoying your device in no time.
Before we dive into the fix, it’s essential to understand the possible causes of a non-responsive touch screen. In most cases, the issue is related to software glitches, display problems, or physical damage to the touch screen itself. In this tutorial, we’ll cover the most common causes and provide step-by-step instructions on how to troubleshoot and fix the issue.

Step 1: Force Restart
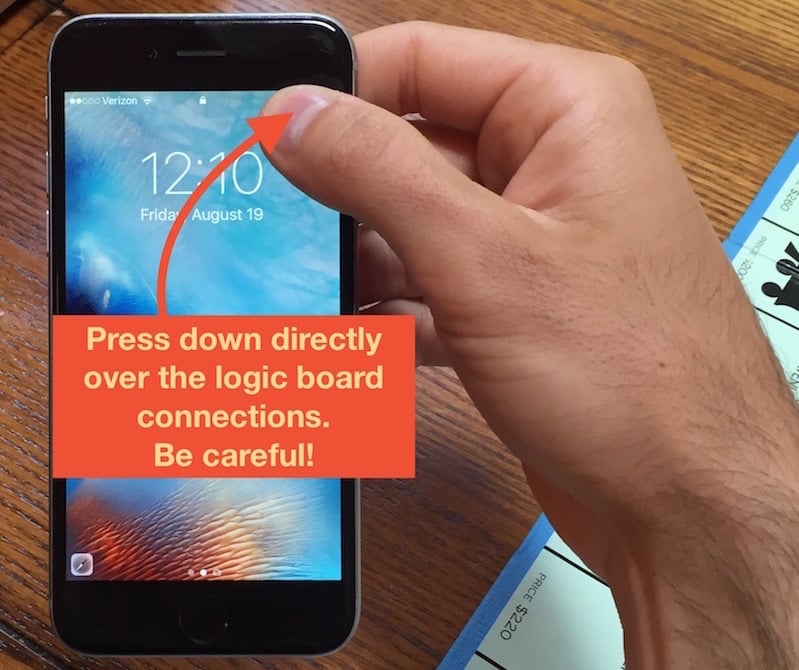
A force restart is a simple yet effective way to troubleshoot touch screen issues. To do this, press and hold the Sleep/Wake button and the Home button simultaneously for at least 10 seconds, until you see the Apple logo appear on the screen.
Step 2: Check for Software Issues
If a force restart doesn’t resolve the issue, it’s possible that a software glitch is causing the problem. Try restarting your iPhone in Recovery Mode, which can help refresh the device’s operating system and fix any software-related issues.

Step 3: Inspect the Touch Screen
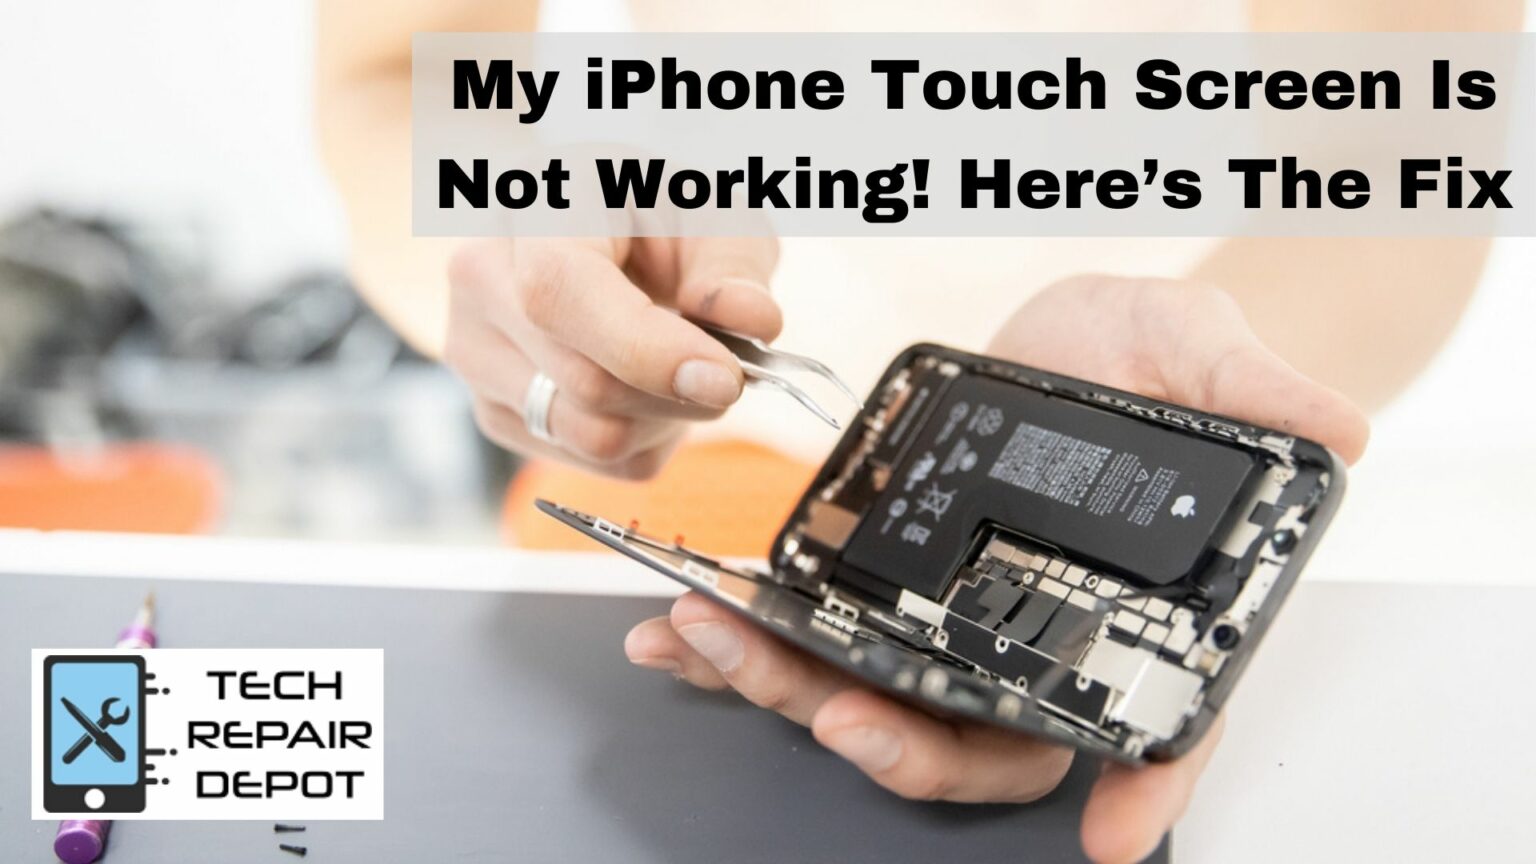
In some cases, physical damage to the touch screen can cause it to malfunction. Inspect the screen for any signs of cracks, scratches, or other damage. If you notice any damage, it may be necessary to replace the touch screen or seek professional repair.
Step 4: Clean the Touch Screen
Fingerprints, dirt, and other debris can accumulate on the touch screen and cause it to malfunction. Clean the screen gently with a soft cloth and a mild cleaning solution to remove any dirt or debris.
screen.png” alt=”Clean iPhone Touch Screen” />
Step 5: Replace the Touch Screen
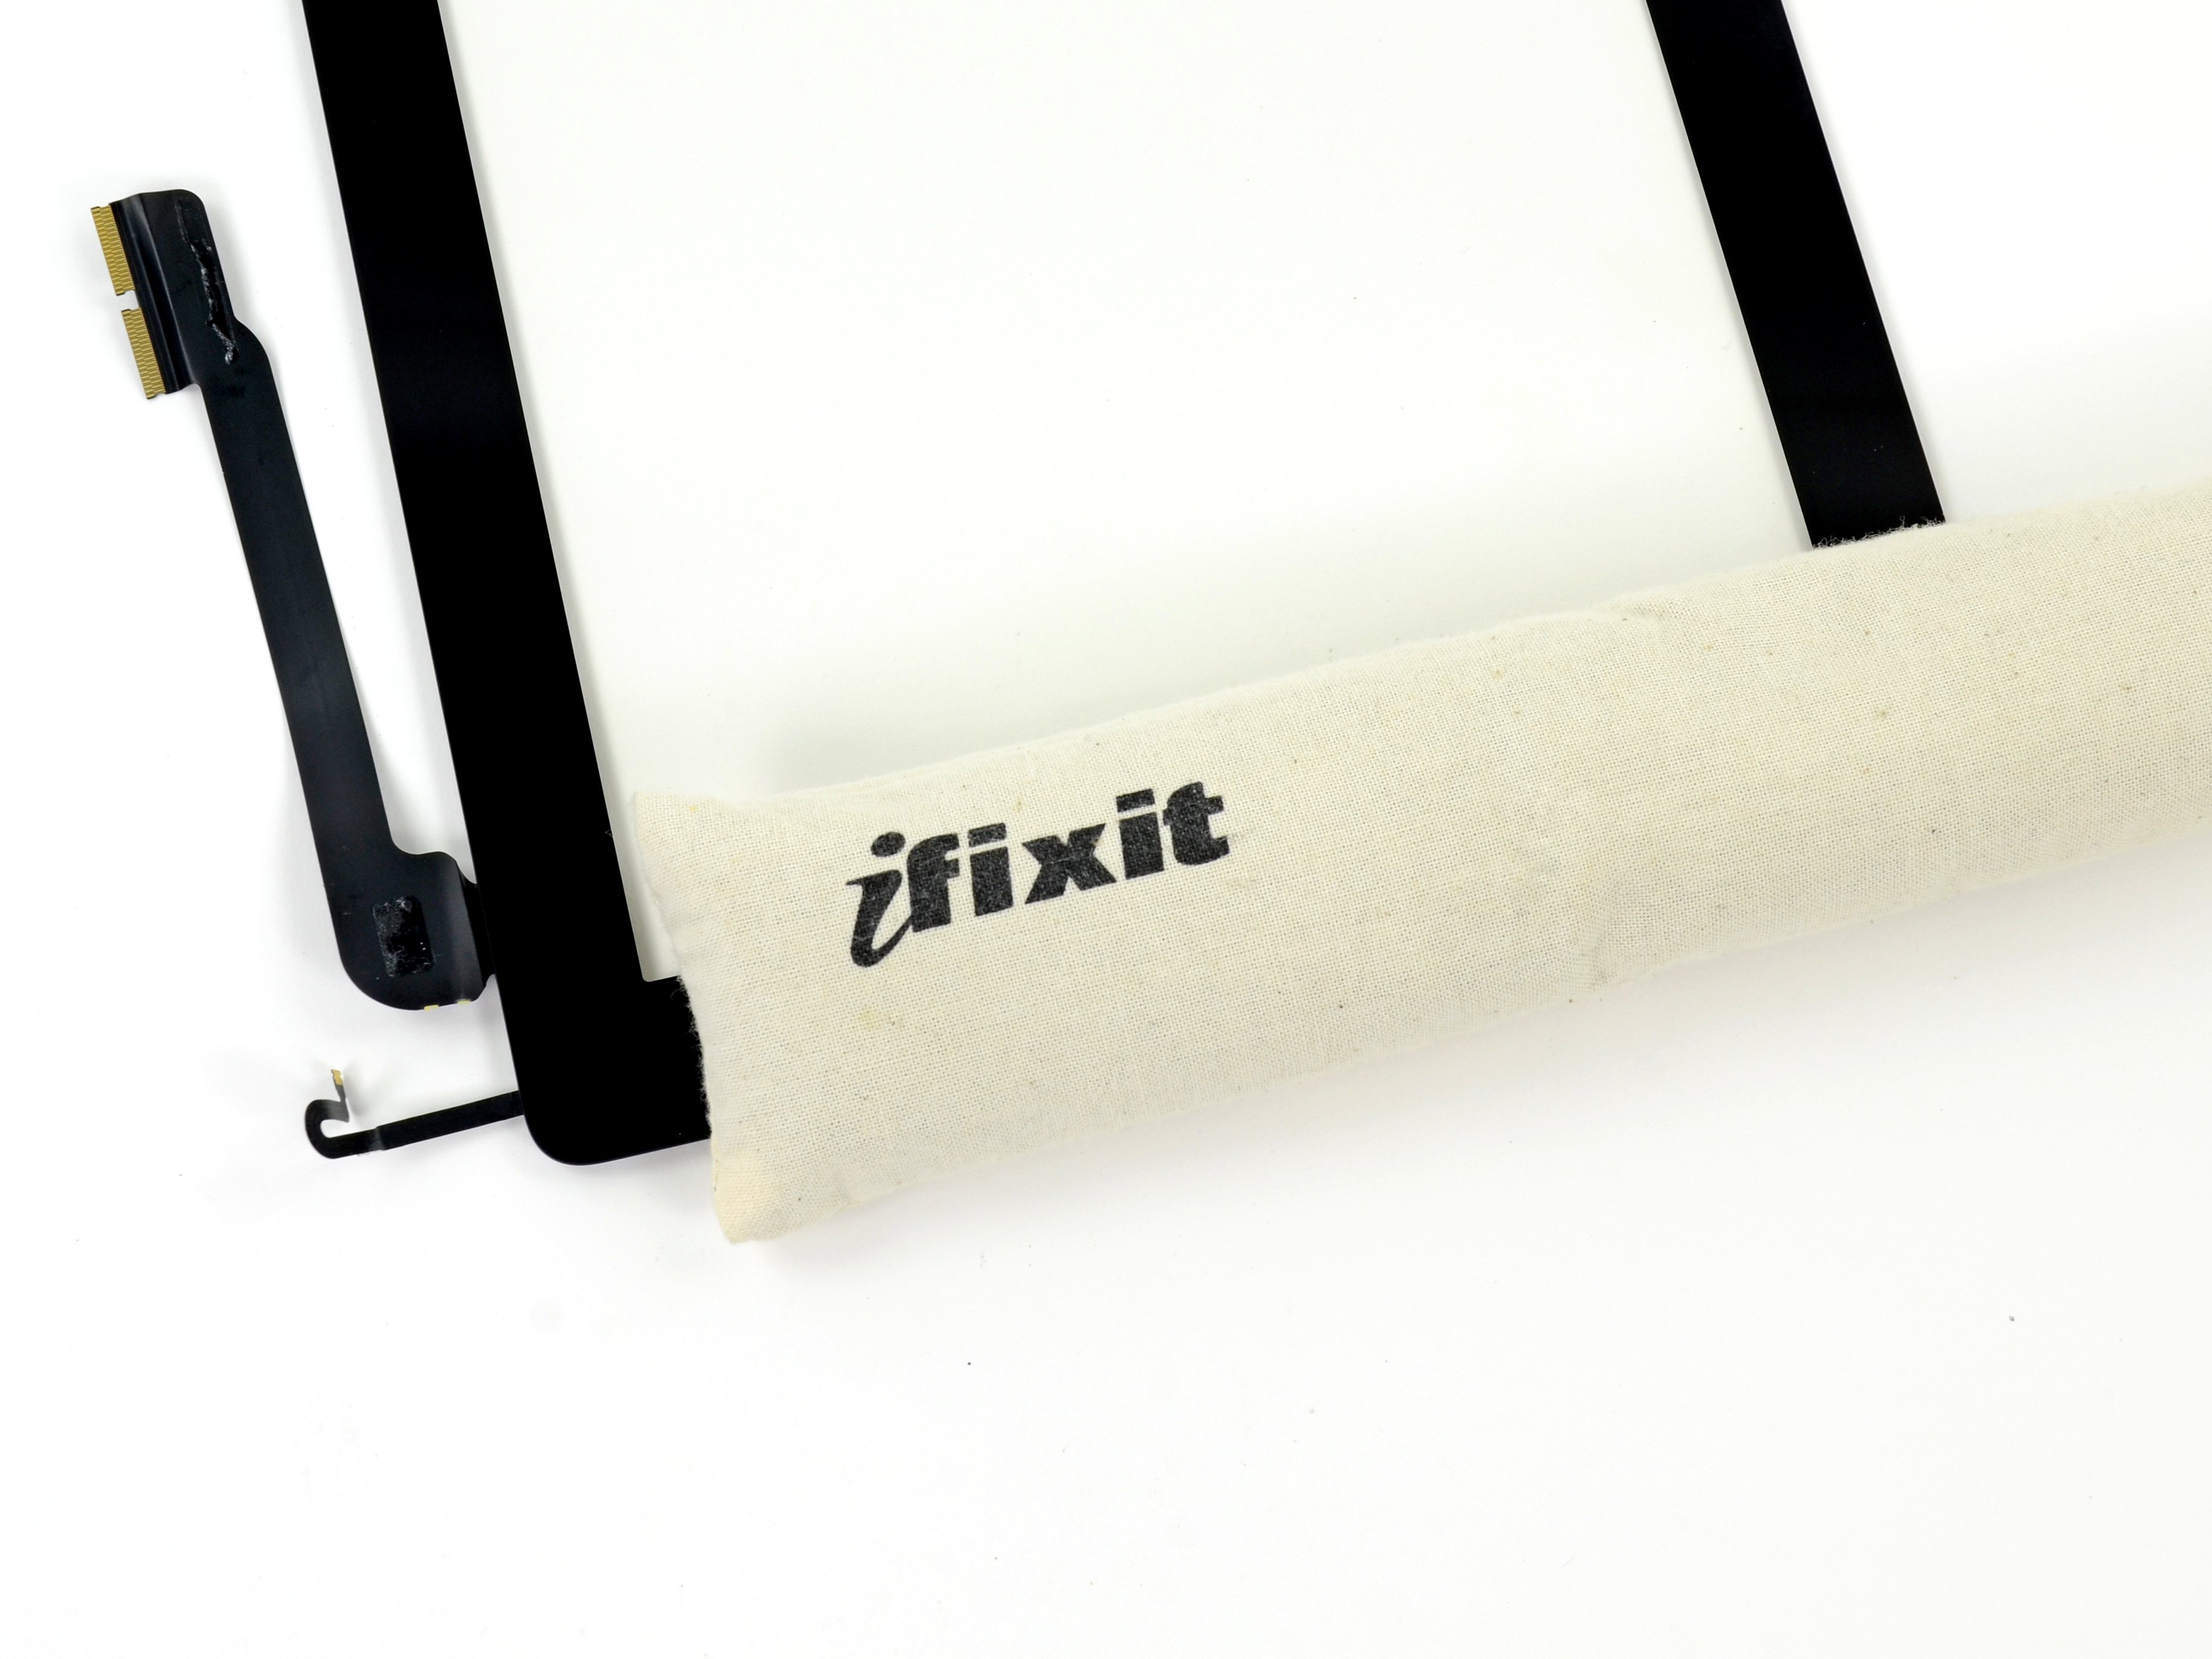
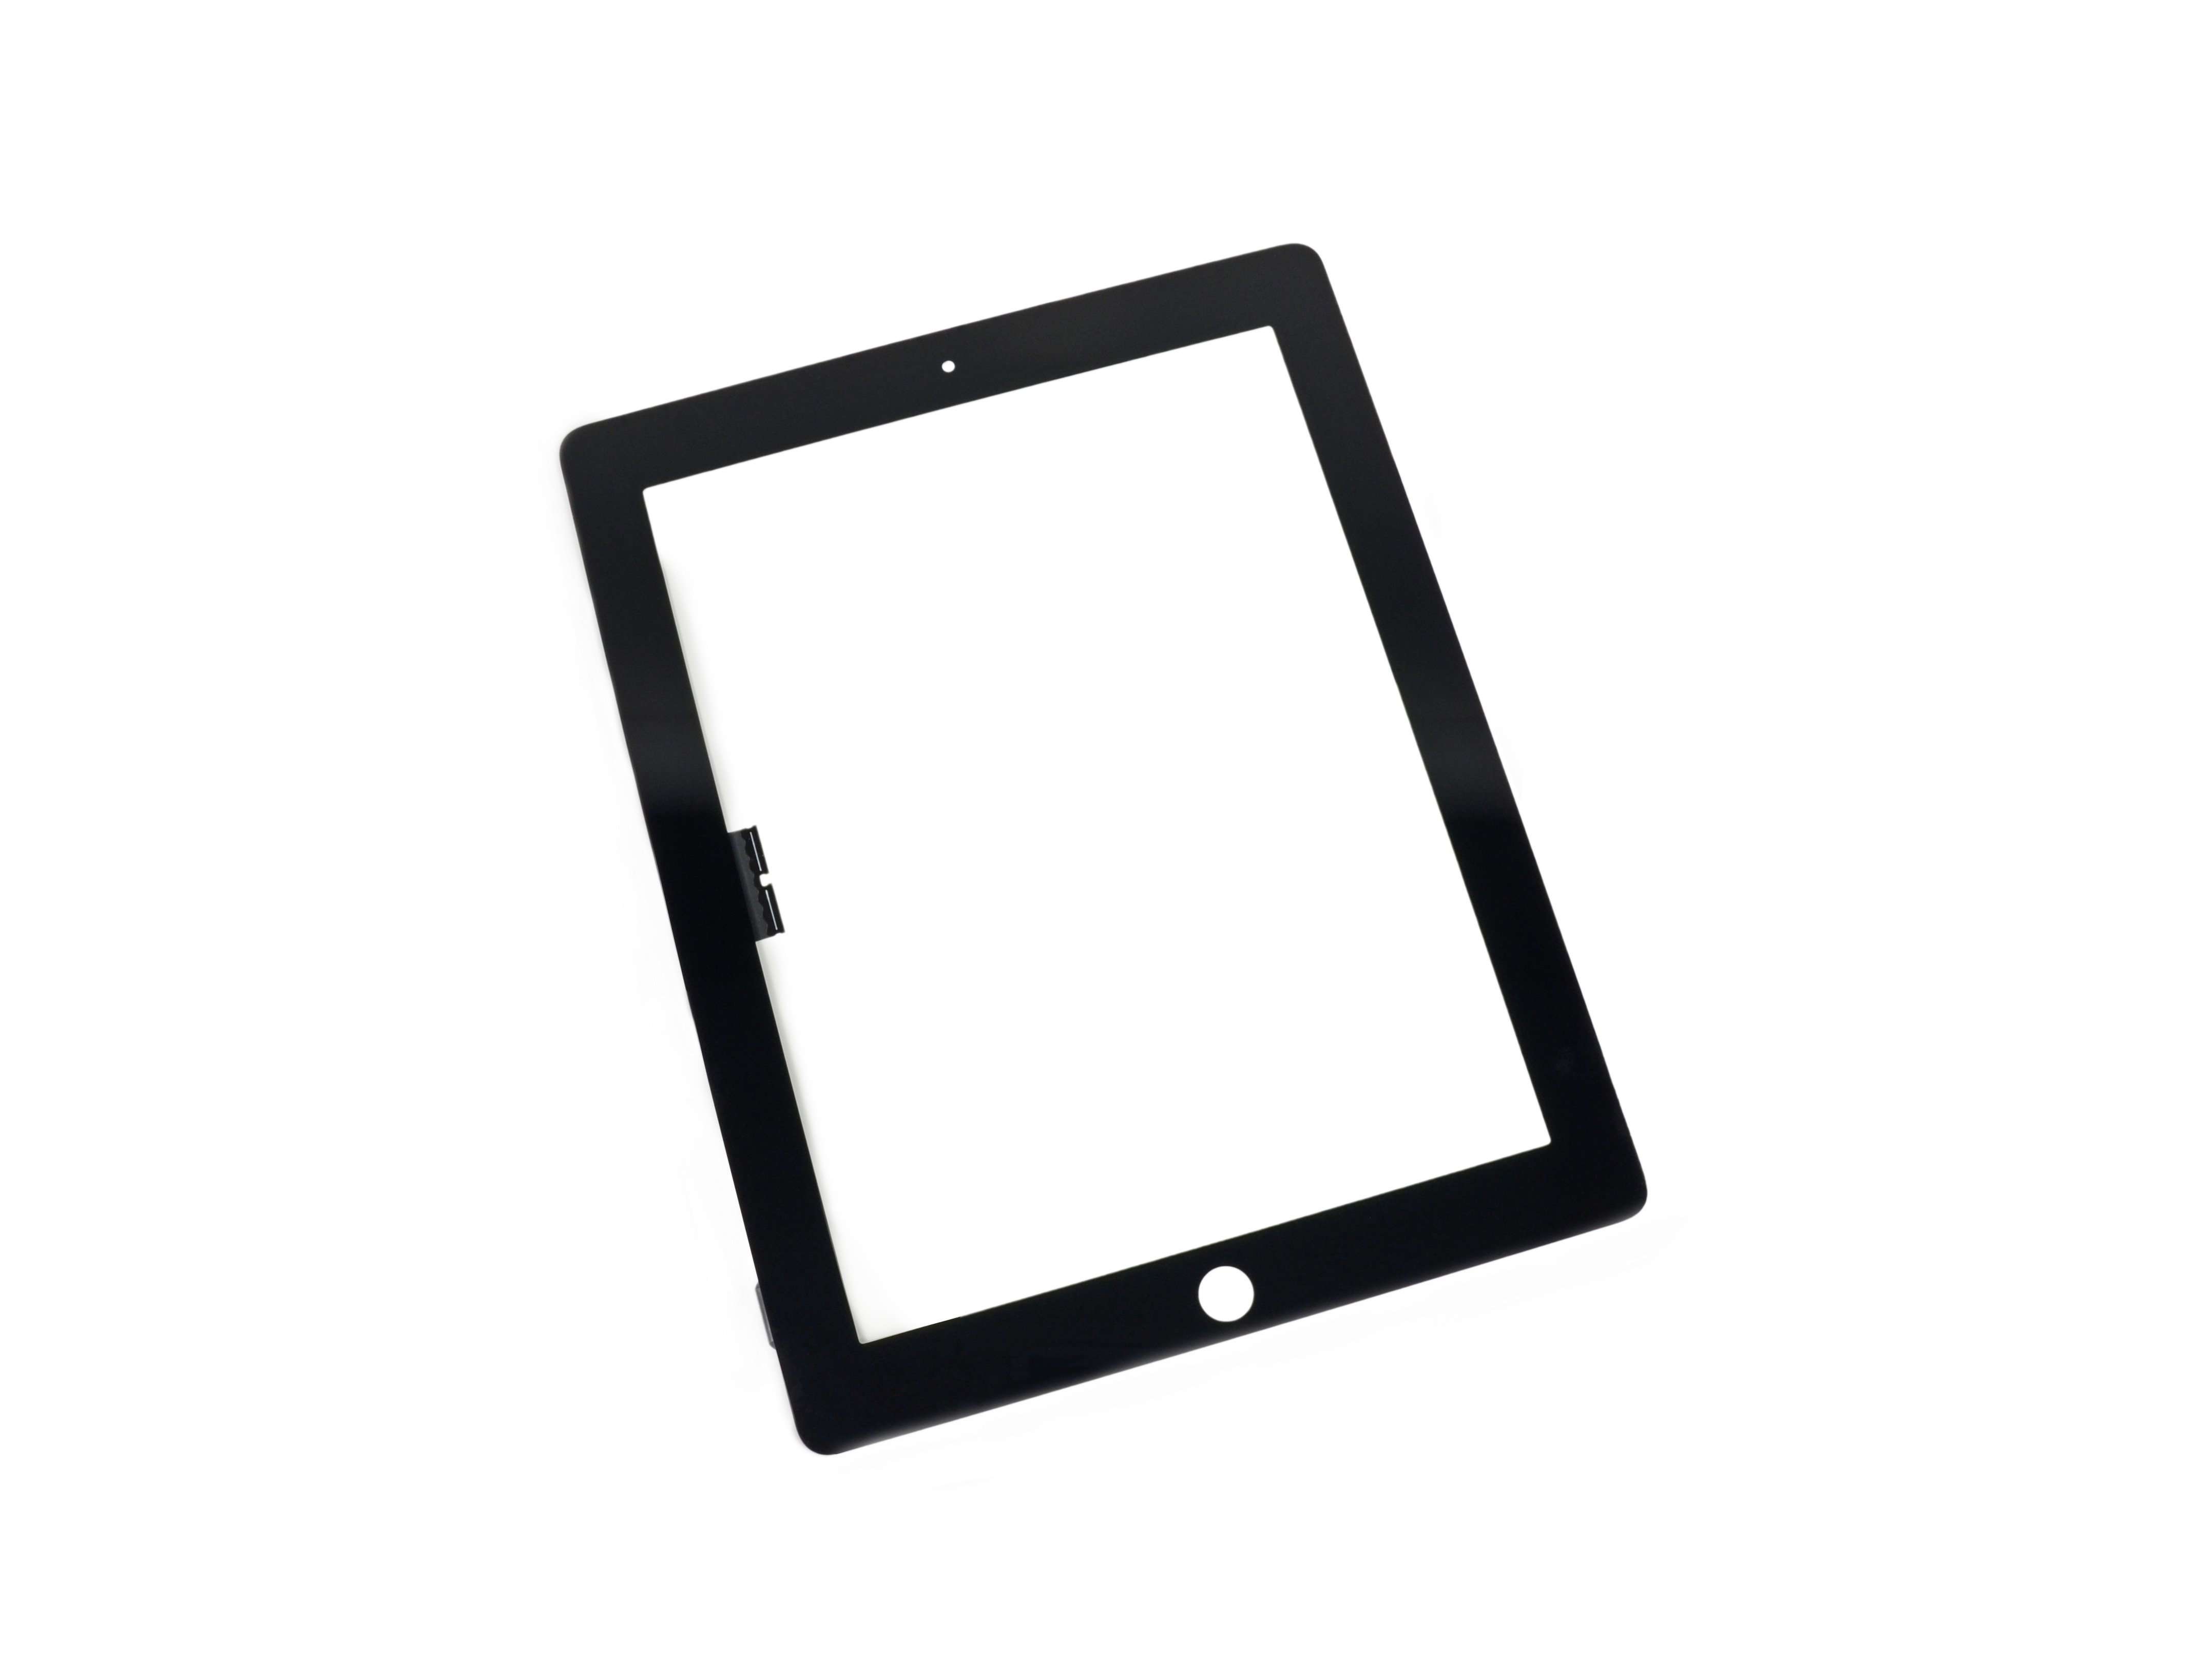
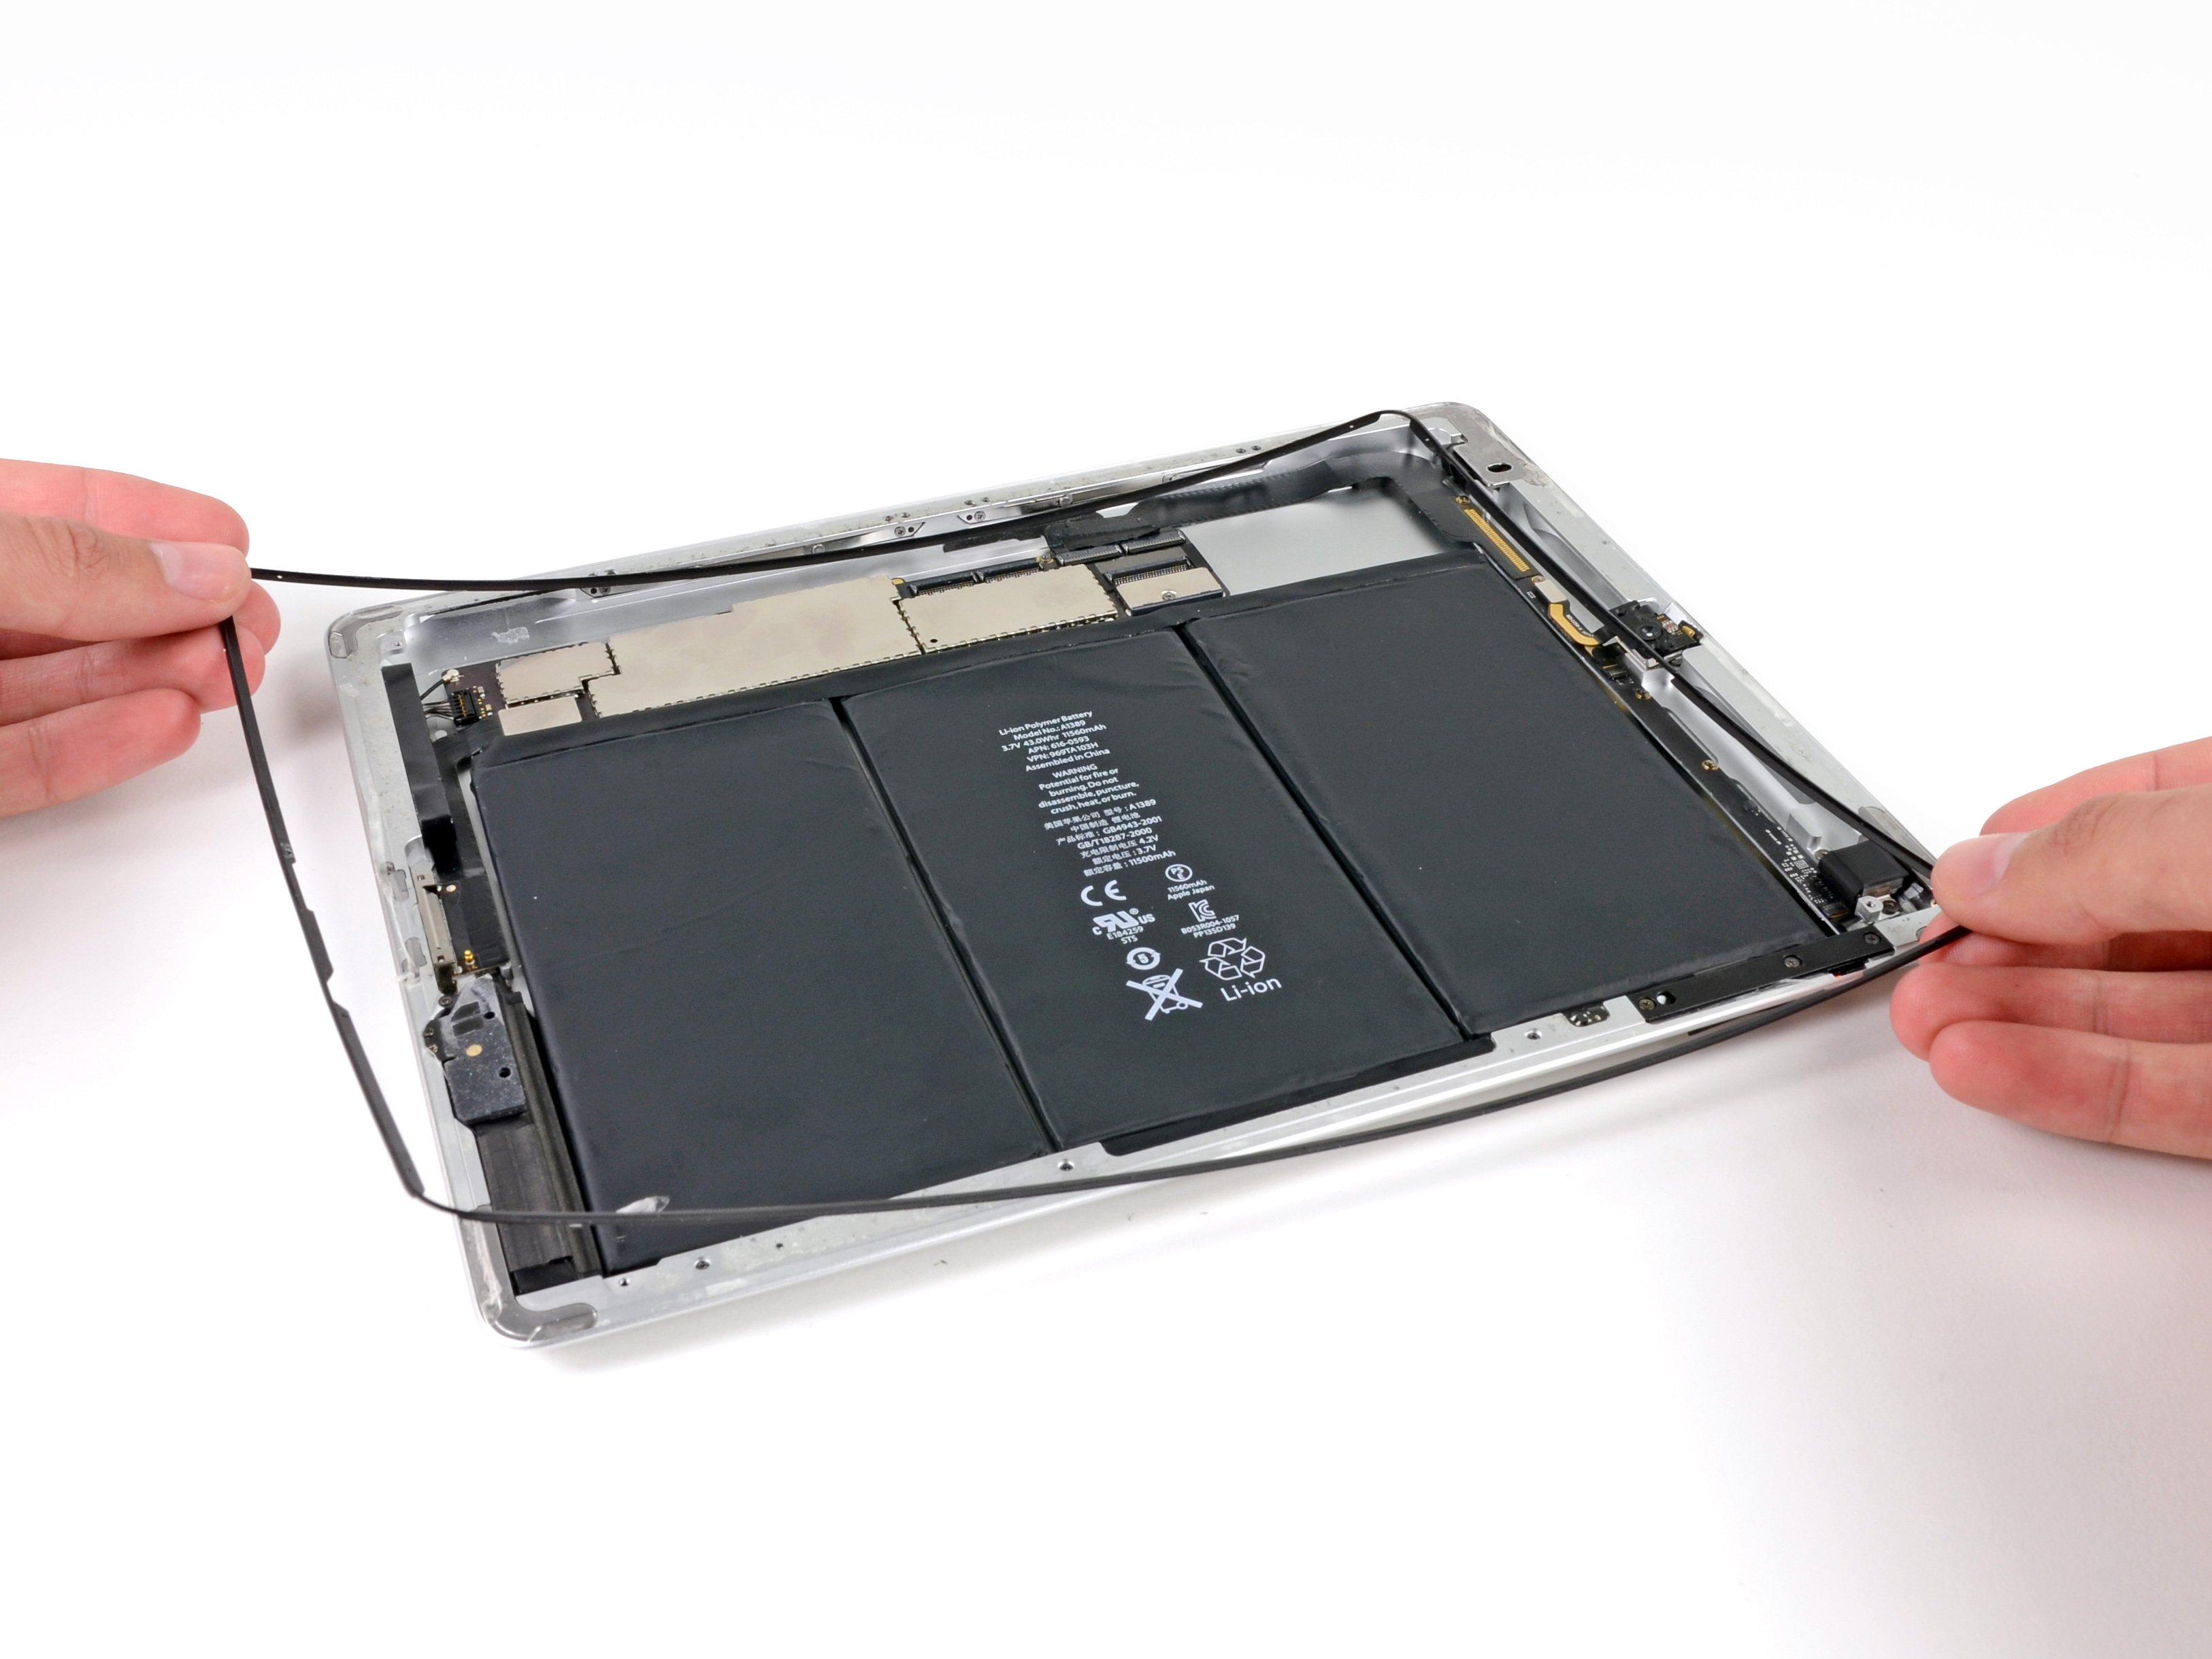
If none of the above steps resolve the issue, it may be necessary to replace the touch screen. This can be a more involved process, but it’s often the most effective way to fix the problem. At Salvation Repair, we offer a limited lifetime guarantee on all parts and labor, so you can trust that your iPhone will be in good hands.
By following these steps, you should be able to diagnose and fix the issue with your iPhone’s touch screen. Remember to always backup your data regularly and to seek professional help if you’re not comfortable with DIY repairs. At Salvation Repair, we’re committed to providing the highest-quality repair services and a limited lifetime guarantee on all parts and labor.

We hope this tutorial has been helpful in resolving the issue with your iPhone’s touch screen. If you have any further questions or concerns, please don’t hesitate to reach out to us at .
