How to Fix iPhone 13 Face ID Not Working
Duration: 45 minutes
Steps: 10 Steps
Step 1


- So, Phone Repair Guru recently dropped a video about swapping out the iPhone 13 screen. After the swap, an “Important Display Message” shows up, and Face ID decides to take a break. Why? Because the iPhone 13 screen doesn’t have the flood illuminator module, and all the TrueDepth system parts chill inside the iPhone itself.
- Here’s the scoop from REWA LAB: the original screen’s chip might be holding onto Face ID data. Moving that chip over to the new screen could bring Face ID back to life. Let’s put this theory to the test!
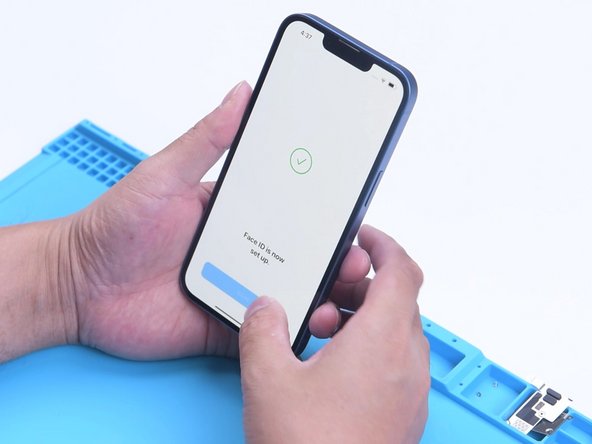
Step 2


- First up, let's check out the Face ID on the iPhone 13. The True Tone feature is working perfectly, and Face ID is all set up and running smoothly.
- Next, we carefully take the phone apart and swap out the screen with a genuine original one. Time to remove that original screen.
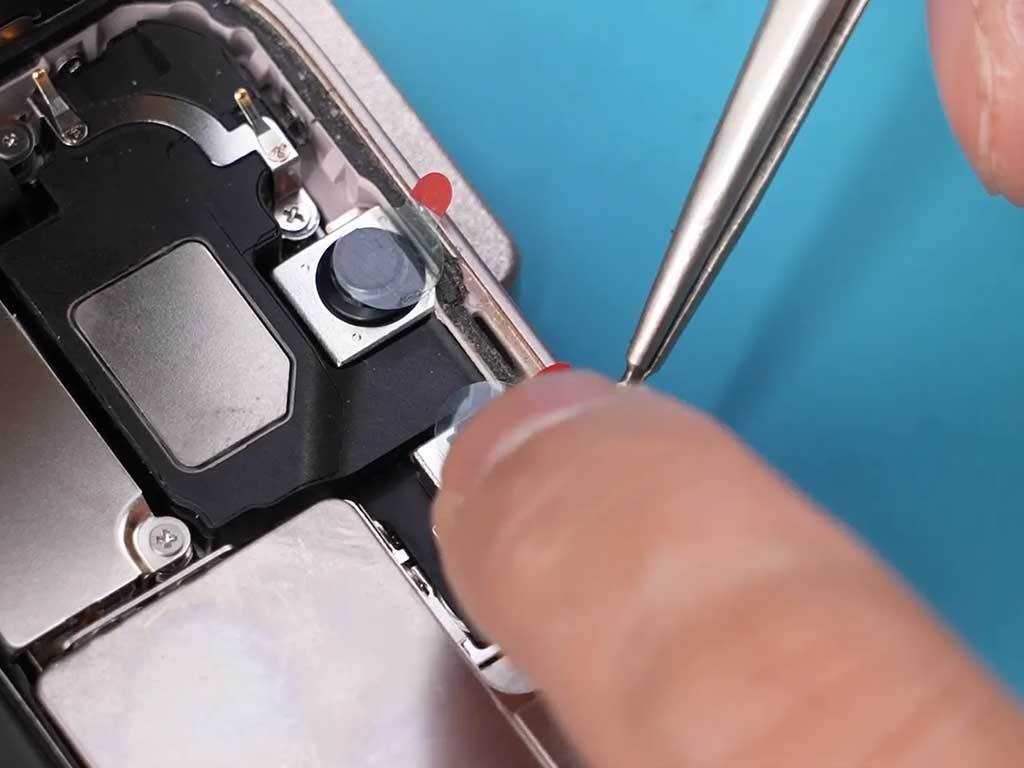
Step 3


- Gently warm up the sensor flex cable using a Hot Air Gun set to 100 °C. Take your time and be extra careful not to harm the flex cable as you detach it. You've got this!
- Now, it's time to bring the new screen to life! Attach the sensor flex cable you just removed, secure it with screws, connect the new screen, and give your phone a whirl by turning it on. You're almost there!
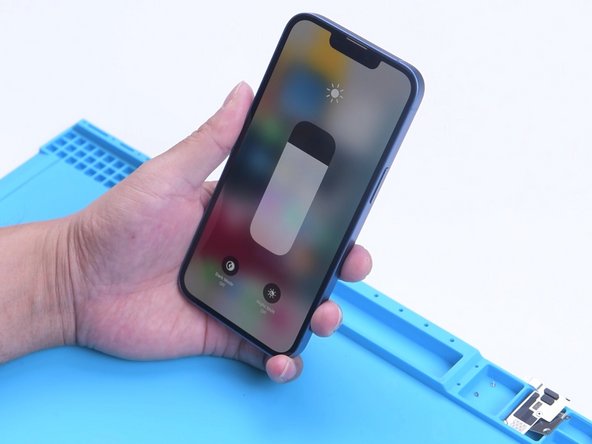
Step 4


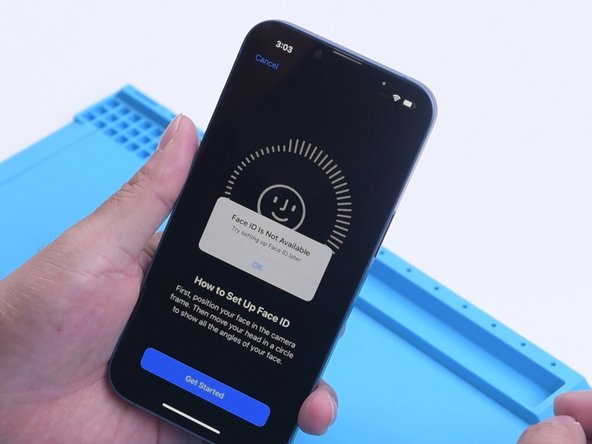
- You might see an “Important Display Message” pop up, Face ID won’t set up, and True Tone will take a little vacation.
Step 5
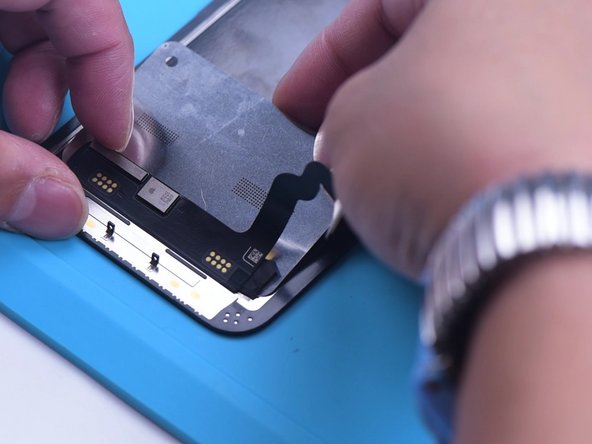
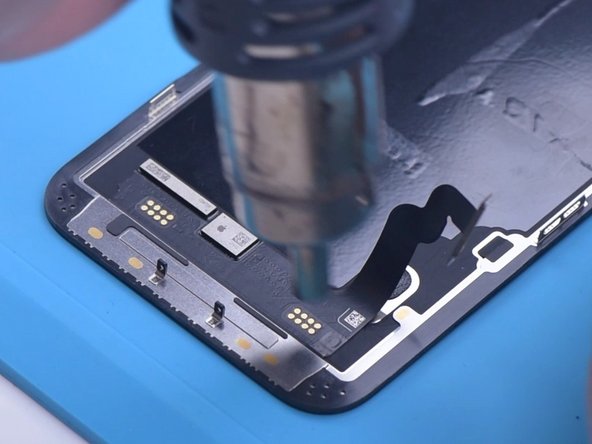

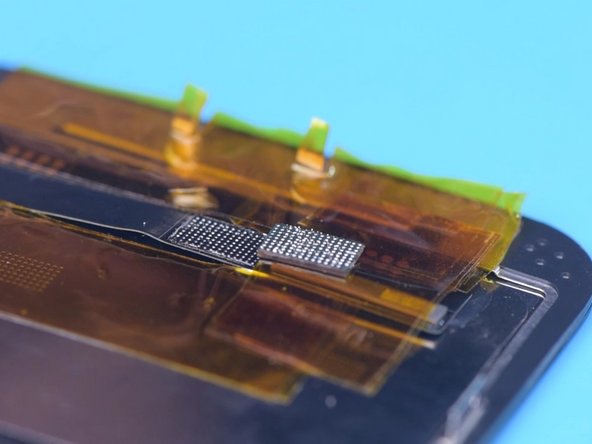
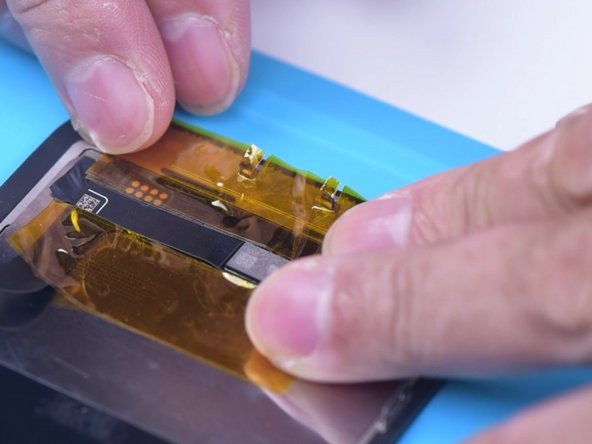
- Alright, let’s get that IC chip moved over! Take off the new screen for now—don’t worry, it’s coming back. Throw a protective film on the screen to dodge any battle scars while you’re working.
- Warm up the screen flex cable with a hot air gun at 100°C—think gentle spa day, not sauna meltdown! Slowly lift up the flex cable without rushing.
- Slip the reballing stencil under the flex cable to keep things cool and shield your screen from any accidental drama.
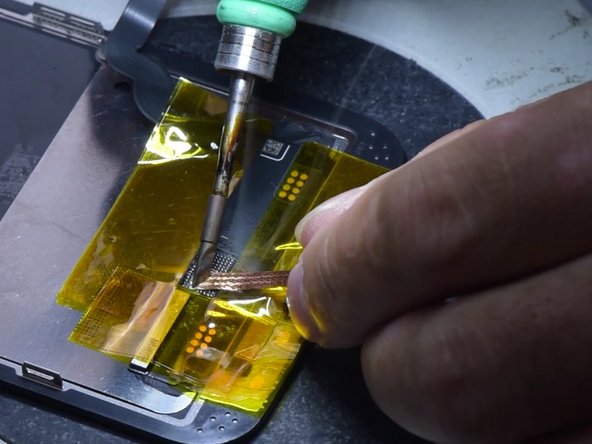
Step 6
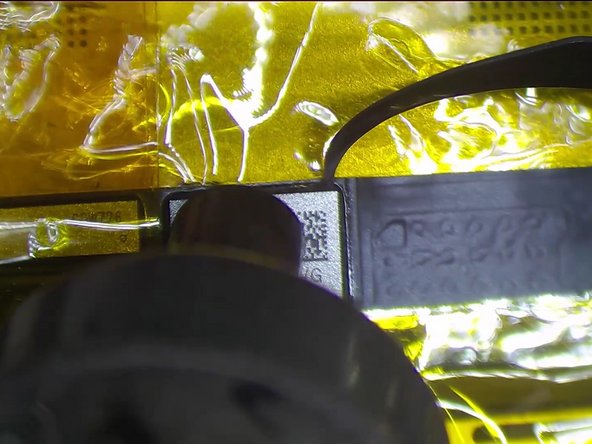
- Get ready to roll with some high-temperature tape!
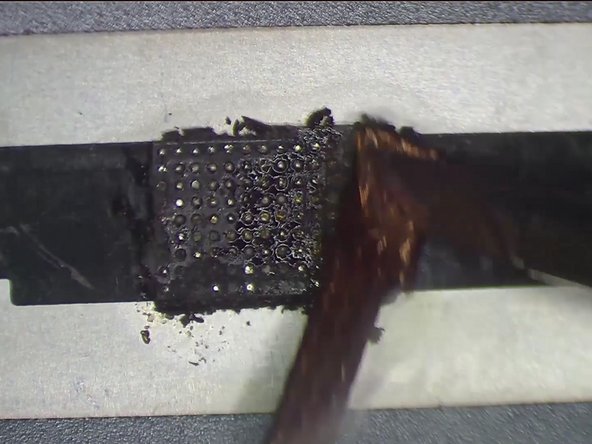
- Time to tackle that black adhesive! Use a Hot Air Gun set to a toasty 240 °C to gently melt it away from around the chip.
- Now, for the grand finale! Crank up the heat to 300 °C and set the airflow to 6 to carefully remove the chip. You've got this!
Step 7

- Dab on some medium-temperature Solder Paste like it's a secret sauce!
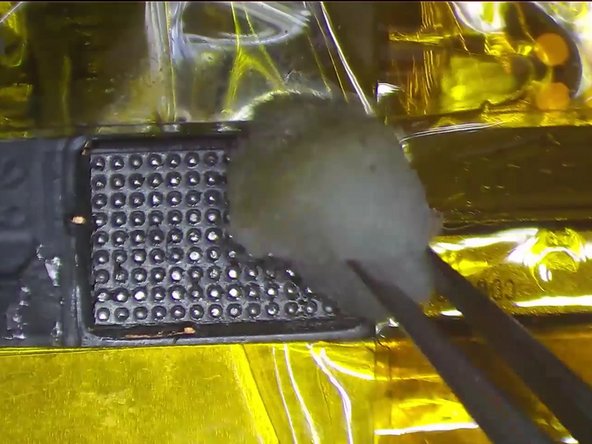
- Get your Soldering Iron heated up to a toasty 360 °C, and give those bonding pads a good clean with some solder wick – they’ll thank you later.
- Keep those bonding pads sparkling clean with a splash of PCB Cleaner. Cleanliness is next to repair-ness!
Step 8

- Alright, time to carefully remove the chip from the original screen just like before.
- Next up, clean the tin off the chip on the original screen. Apply some mid-temp Solder Paste to the bonding pads. Use Solder Wick to clear away any tin and black adhesive from the bonding pads on the chip. Keep those pads spotless with some PCB Cleaner.
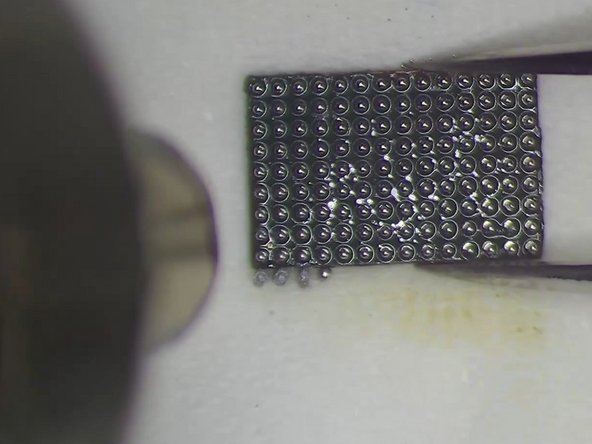
- Now, let's reball the chip. Place the reballing stencil precisely, then spread an even layer of mid-temp Solder Paste over it.
Step 9

- Once you’ve got those solder balls looking good, give everything a nice clean with some PCB cleaner. Then, spread a bit of Paste Flux onto the bonding pads of the new screen to get ready for the next step.
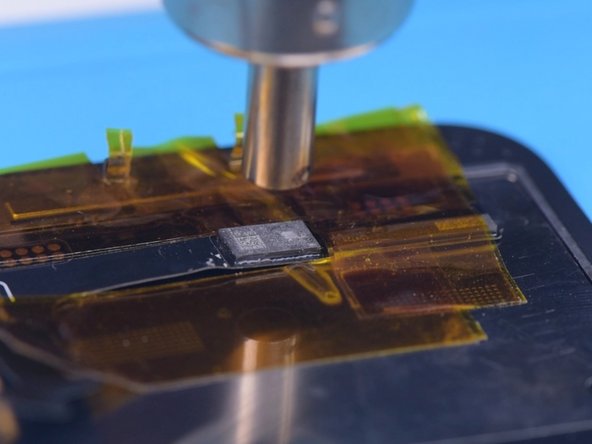
- Next up, line up the original screen’s chip just right. Use a Hot Air Gun set to 300 °C to solder the chip in place. After it’s cooled down, peel off the high-temperature tape from the flex cable. Easy does it!
Step 10
- Now it's time to put your device back together! Just retrace your steps, and you’ll have it all snug and secure in no time. If you hit a snag, don’t hesitate to schedule a repair for some expert assistance!