How to Install Dual Hard Drive in MacBook Pro 13″
Duration: 45 minutes
Steps: 19 Steps
Well, looks like things are getting interesting! Don’t worry, you’re on the right track to fixing things up. If you need some extra guidance, you can always schedule a repair with us. Keep up the good work!
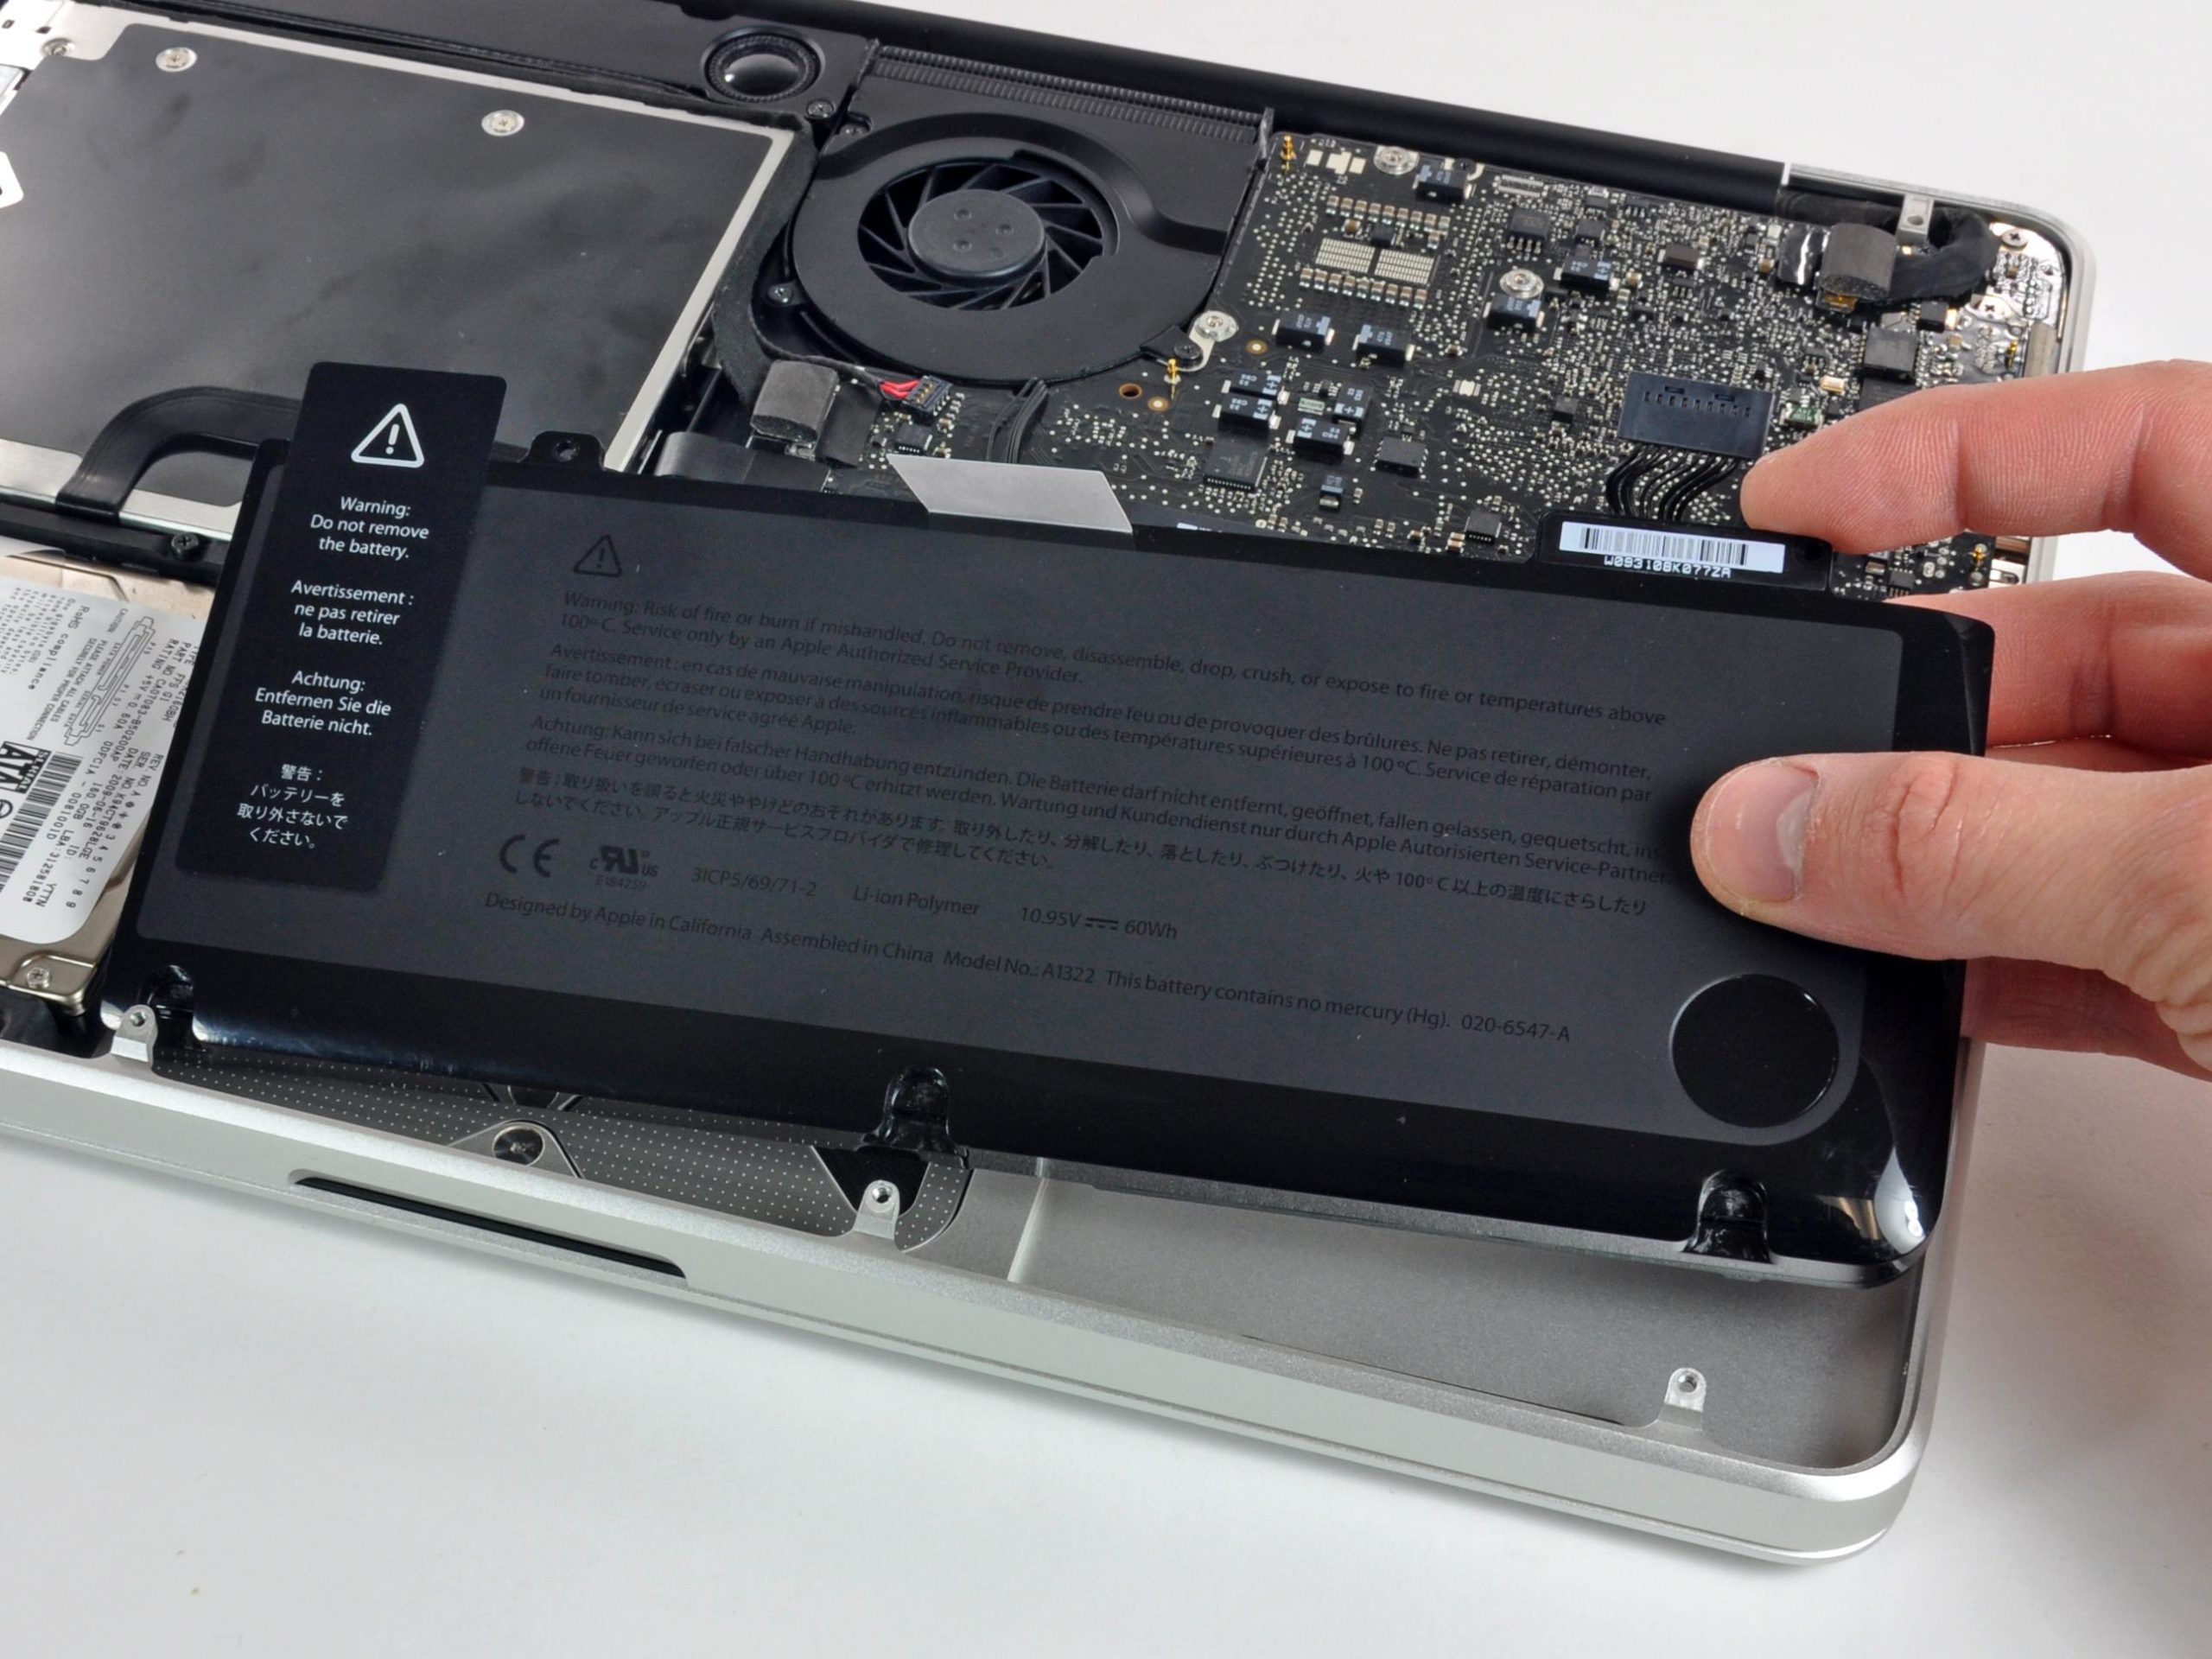
Adding a second hard drive to your laptop brings a host of benefits like faster speeds, increased storage, and a smoother software installation process. Get ready to level up your laptop game by following this guide to install one using our optical bay hard drive enclosure.
Step 1
– Unscrew those 10 screws holding the lower case tight to your MacBook Pro 13″ Unibody like a champ!
Step 2
– Gently raise the lower case and slide it toward the back of the computer to release the mounting tabs.
Step 3
Just a friendly reminder: it’s a good idea to disconnect the battery connector from the logic board to keep any pesky electrical discharges at bay.
– Alrighty then! Time to bust out that trusty spudger! Gently lift that battery connector right out of its socket on the logic board like a pro.
Tools Used
Step 4
Gently lift from under the wires. Let’s get that part moving!
– With the flat end of a spudger in hand, gently lift the right speaker/subwoofer cable connector straight up from the logic board. Just a friendly reminder—be cautious not to raise the socket. Pull that connector toward the optical drive with care!
Tools Used
Step 5
You’ve got this! Just gently slide that little clear plastic cable retainer (marked in red) that’s glued to the logic board out of the way before you unhook the camera cable. Keep it easy and breezy, and make sure not to knock off any components from the board while doing so. If you need help, you can always schedule a repair.
This socket is a metal charmer but can bend with just a wink! Make sure you align the connector with its cozy socket on the logic board before you let them hug it out.
– Slide the camera cable connector towards the optical drive to unplug it from the logic board. Easy peasy!
Step 6
– Grab the flat end of your spudger and gently wiggle it under the optical drive connector to lift it straight up from the logic board. Like a boss!
Tools Used
Step 7
– Grab the flat end of a spudger and gently pop the hard drive connector off the logic board like a pro!
Tools Used
Step 8
– Unscrew the dynamic duo of Phillips screws that keep the subwoofer snug against the upper case. The right screw is a lengthy 5 mm, while its shorter partner on the left measures 3.9 mm.
– Remember, the longer screw plays it cool on the right side.
Step 9
– Hold up! The subwoofer is still playing tag with the right speaker, so no yanking it out just yet.
– Gently lift the subwoofer off the optical drive and park it on top of the computer like it’s chilling out.
Step 10
That pesky right screw might just decide to hang out with the camera cable, not wanting to leave!
– Unscrew the two 8.4 mm Phillips screws holding down the camera cable bracket to the upper case. It’s just a little twist and shout!
– Now, gently lift the camera cable bracket out of the upper case like you’re lifting the lid off a treasure chest. Voilà!
Step 11
– Unscrew the trio of 2.5 mm Phillips screws that are keeping the optical drive snug as a bug in the upper case.
– Gently lift the optical drive by its right edge and slide it out of the computer like a tray of cookies from the oven.
Step 12
This connector is pretty deep, so make sure to gently pull away from the drive at the center of the connector. You’ve got this!
– Gently wiggle and pull out the optical drive cable, giving it a little twist to set it free!
– In case there’s a CD or any object causing a jam in the optical drive, swing by to our optical drive repair guide for expert help.
Step 13
– Unscrew the two black Phillips #0 screws that are holding down the tiny metal mounting bracket. Once free, give that bracket a new home on your shiny new optical drive or hard drive enclosure!
Step 14
– To free the optical bay hard drive enclosure from its plastic spacer, gently press one of the clips on either side, then lift it up and out of the enclosure with a delightful flourish.
Step 15
– Check that the hard drive connectors are facing down before gently sliding it into the enclosure.
– Give the hard drive a cozy spot in the enclosure’s hard drive slot.
– With one hand keeping the enclosure steady, press the hard drive into place with your other hand and feel the connection magic happening!
Step 16
– Once the hard drive is in place and feeling cozy, pop that plastic spacer back in while keeping the hard drive snug against the bottom of the enclosure. You’ve got this!
Step 17
– Grab two Phillips #1 screws and fasten that drive snugly into its cozy enclosure.
Step 18
– Secure the optical drive bracket to the shiny new enclosure using two Phillips #0 screws. You’ve got this!
– Reconnect any cables you previously detached from the original optical drive to the optical bay enclosure. It’s like a little reunion!
Step 19
Don’t worry if your optical drive isn’t working! You can still make use of it externally by using our super handy SATA Optical Drive USB Cable.
– Get that SATA cable dancing by aligning its connector with the drive’s port and plugging it in snugly.
– Tango the USB connector into your laptop to get your optical drive all warmed up and ready for action.


