How to Open and Clean a PlayStation 5 Repair Guide Sony
Duration: 45 minutes
Steps: 21 Steps
Heads up:
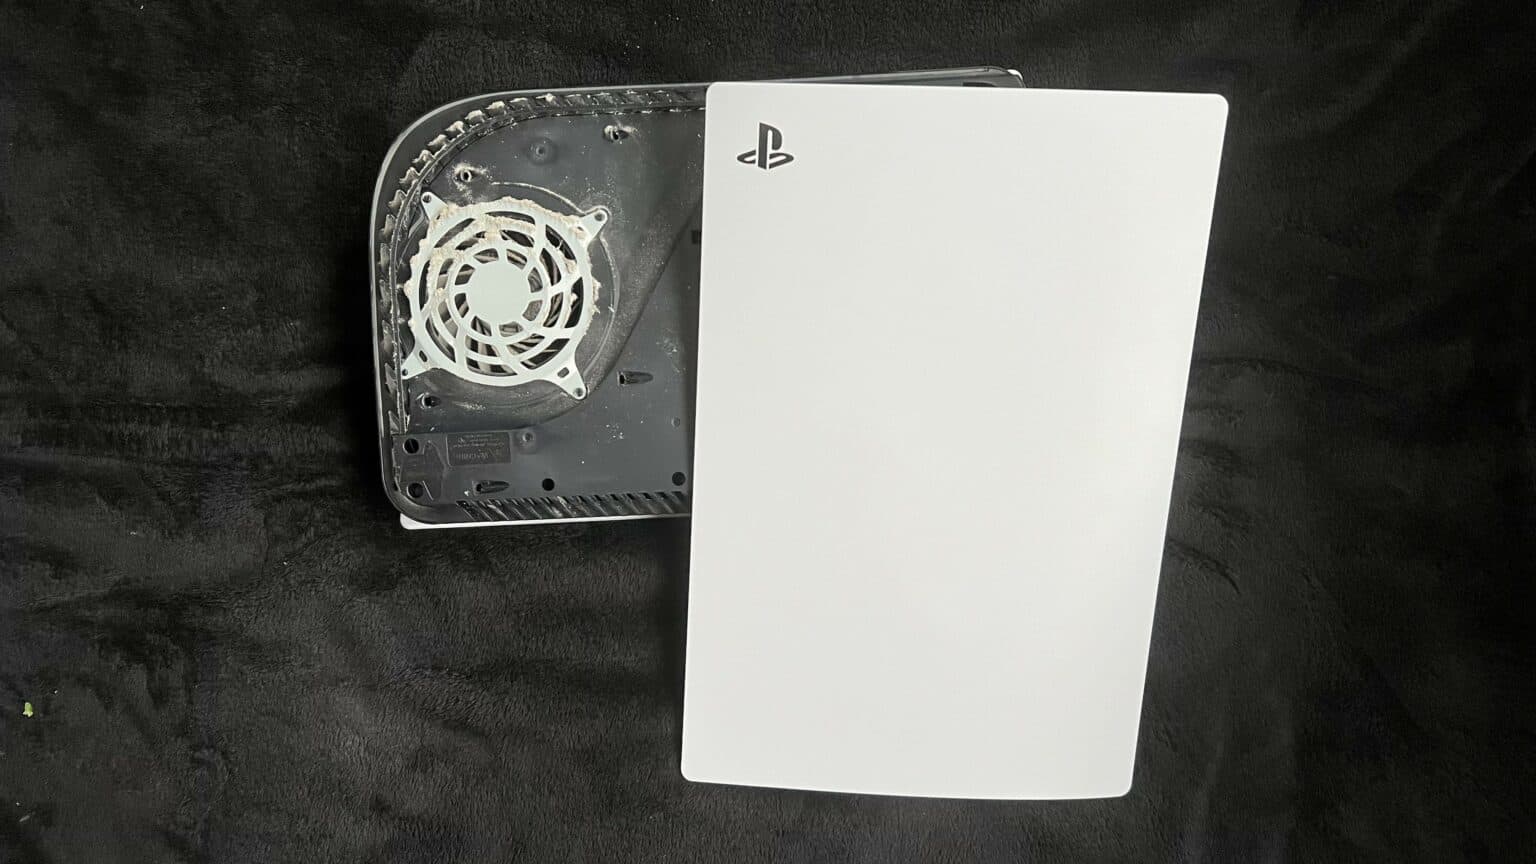
Get ready to dive into your PlayStation 5 and give it some love! This guide will help you open it up and clear out any pesky dust and debris lurking in the fan, grilles, or vents. If your console is sounding like a jet engine, overheating, or not performing like it should, it might be due to some dust bunnies clogging the cooling fan, heatsink, or main vents. Just a heads-up: if your PS5 is running hot, it’s probably not because of the liquid metal thermal interface on the SoC. But if you do need to tackle that liquid metal situation, you’ll find all the info you need right here. Remember, in the PS5, the blower fan does its thing by pulling in air from the flared sides to cool the console and then pushing it out through the back vents. If your PS5 is cozy in a TV cabinet with limited airflow, consider propping the door open while gaming or moving it to a more open space. Keeping it on the ground can lead to extra dust, dirt, or hair getting sucked in, which could affect its cooling game. If you want to tackle dust without cracking your PS5 open, this guide has got you covered. And if you ever feel like you need a hand, don’t hesitate to schedule a repair!
Step 1

Find a nice, secure spot for your PlayStation to work its magic. Let’s keep it steady on a flat surface to avoid any unexpected acrobatics!
If your PS5 is lounging horizontally, jump ahead to Step 6.
– If your PlayStation 5 is standing tall, give it a little flip so the stand is on top, ready for action.
– Grab a coin or a flathead screwdriver and twist out that 26.5 mm-long stand screw like a pro!
Tools Used

Step 2


– Gently lift straight upward to detach the stand.
Step 3


– Pop the screw into the little cubby at the bottom of the stand. If you need help, you can always schedule a repair


Step 5


– Give the stand a little twist to the left and watch it snugly close the cubby like a pro!
Step 6


– For a fun twist, gently place your PlayStation 5 on its face, making sure the charging port is looking up towards the sky.
– Next, unleash your inner superhero by lifting the stand directly upwards to detach it.
Step 7


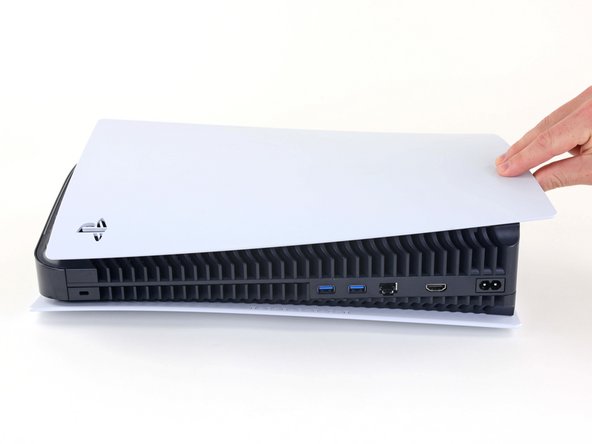
– Flip the device over so that the USB and ethernet ports are on your left.
– Lift up the corner of the faceplate to pop it out of the case.
Step 8


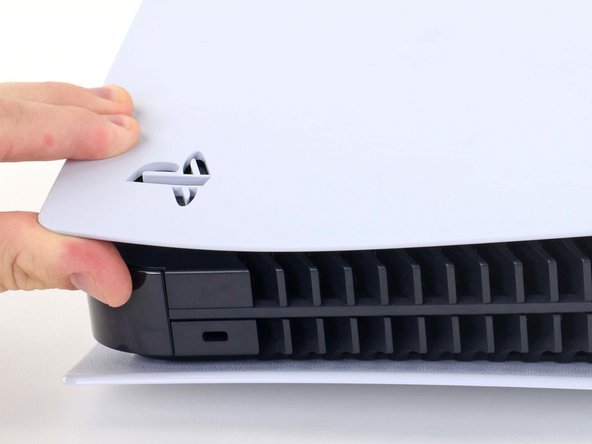
– As you gently lift the corner, make sure to slide the faceplate down towards the bottom of your device.
– Now, let’s take off that right faceplate with ease!


Step 10


– Gently pull the grille away from the case to set it free.
Step 11

As you tackle this repair, keep a close eye on each screw and make sure it finds its way back to its original home. This way, you’ll keep your console safe and sound!
– Grab a TR8 Torx security driver and let’s get those four screws outta the way to free the fan shroud from the case:
– Two screws that measure 23.3 mm in length, just waiting for your tools!
– One screw that’s 11.4 mm long, not too shy to be removed!
– One more screw, the tallest of the bunch at 31 mm, ready to make its exit!


Step 13


Pry gently on the wire cover, and be careful not to mess with the fan wires. If you need help, you can always schedule a repair.
– Slide the flat edge of your trusty spudger under the black wire cover and into the little gap above the fan wires.
– Gently use the spudger to lift the wire cover until you can easily grab it with your fingers.
Tools Used
Step 14


– Give that wire cover a gentle peel with your fingers. You got this!
Step 15


Always grab those cables by the connectors, not the wires themselves!
– Get a good grip on the fan cable connector, use your magical fingers, and gently pull up to disconnect it from the motherboard.


Step 17

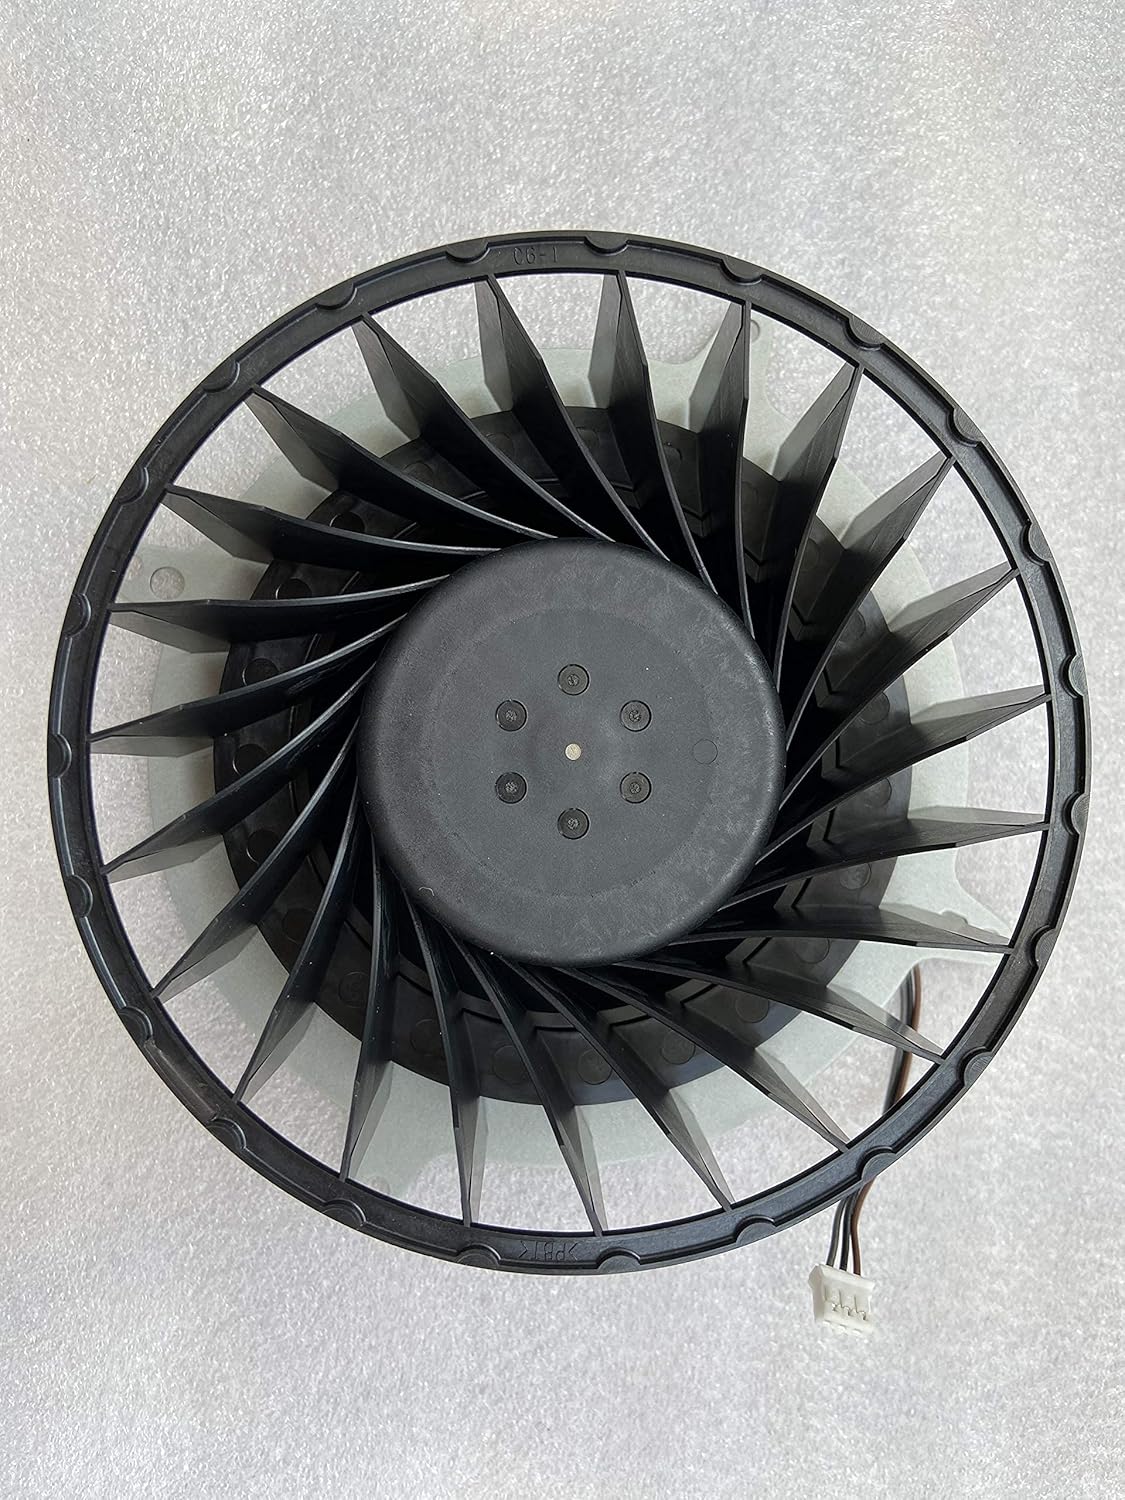
Make friends with your fan blades by using your finger to hold them steady while you give them a little cleaning.
– Grab a pair of tweezers to pluck off loose hairs and dust clumps from the fan.
– Use a small dust blower or gently blow with compressed air to remove any remaining dust from the fan.
– If there’s grime on the fan blades, use soapy water or isopropyl alcohol on a cotton swab to wipe them off.
Tools Used

Step 18

– Gently lift the corner of the faceplate featuring the PlayStation logo to free it from the case.
– As you lift that corner, slide the faceplate down towards the bottom of the device.
– Carefully take off the left faceplate.
Step 19

– Grab a fresh rag or microfiber cloth and give those faceplates a good wipe down!
Step 20


Now that both faceplates are off, it’s the perfect moment to give everything underneath a good clean—those hidden spots deserve some love too!
If your console is looking a bit grungy, a soft bristle brush might be your best friend to help shake off the dust and dirt.
– Grab an anti-static brush or a fresh toothbrush and give those hard-to-reach spots a good dusting. Don’t forget to show the rear vents some love!
– Whip out a dust blower to blast away any sneaky dust hiding inside your console. Then, use a cloth to make those vents sparkle like new.
– Those pesky dust ports under the left faceplate can be real troublemakers. Use a narrow vacuum nozzle to suck away the gunk and keep things running smoothly.
Tools Used

Step 21

The PS5 pulls in air through its heatsink fins, but over time, those fins might gather dust and debris like a magnet!
– Whip out that dust blower, brush, and a cloth to clean the inside of the fan cavity while the fan’s out.
– Spot dust in the heatsink? Give it a good blow with the dust blower.
– Before sealing your console back up, take the chance to clean any other dirty surfaces. Happy gaming!
Tools Used