How to repaint the outer casing of iPhone XS
Duration: 45 minutes
Steps: 5 Steps
Alright, here’s the plan! This guide will walk you through adding a splash of color to your iPhone XS. I got my hands on a broken XS to take apart and give it a fresh paint job. Keep in mind, repainting the outer shell means taking the whole phone apart and removing the back cover, so be careful and take your time to avoid any accidental damage. It’s a smart move to have a spare rear casing on hand just in case things don’t go as planned during painting. This is a straightforward, step-by-step guide—if you spot anything off, feel free to share your thoughts. Thanks for checking it out!
Step 1

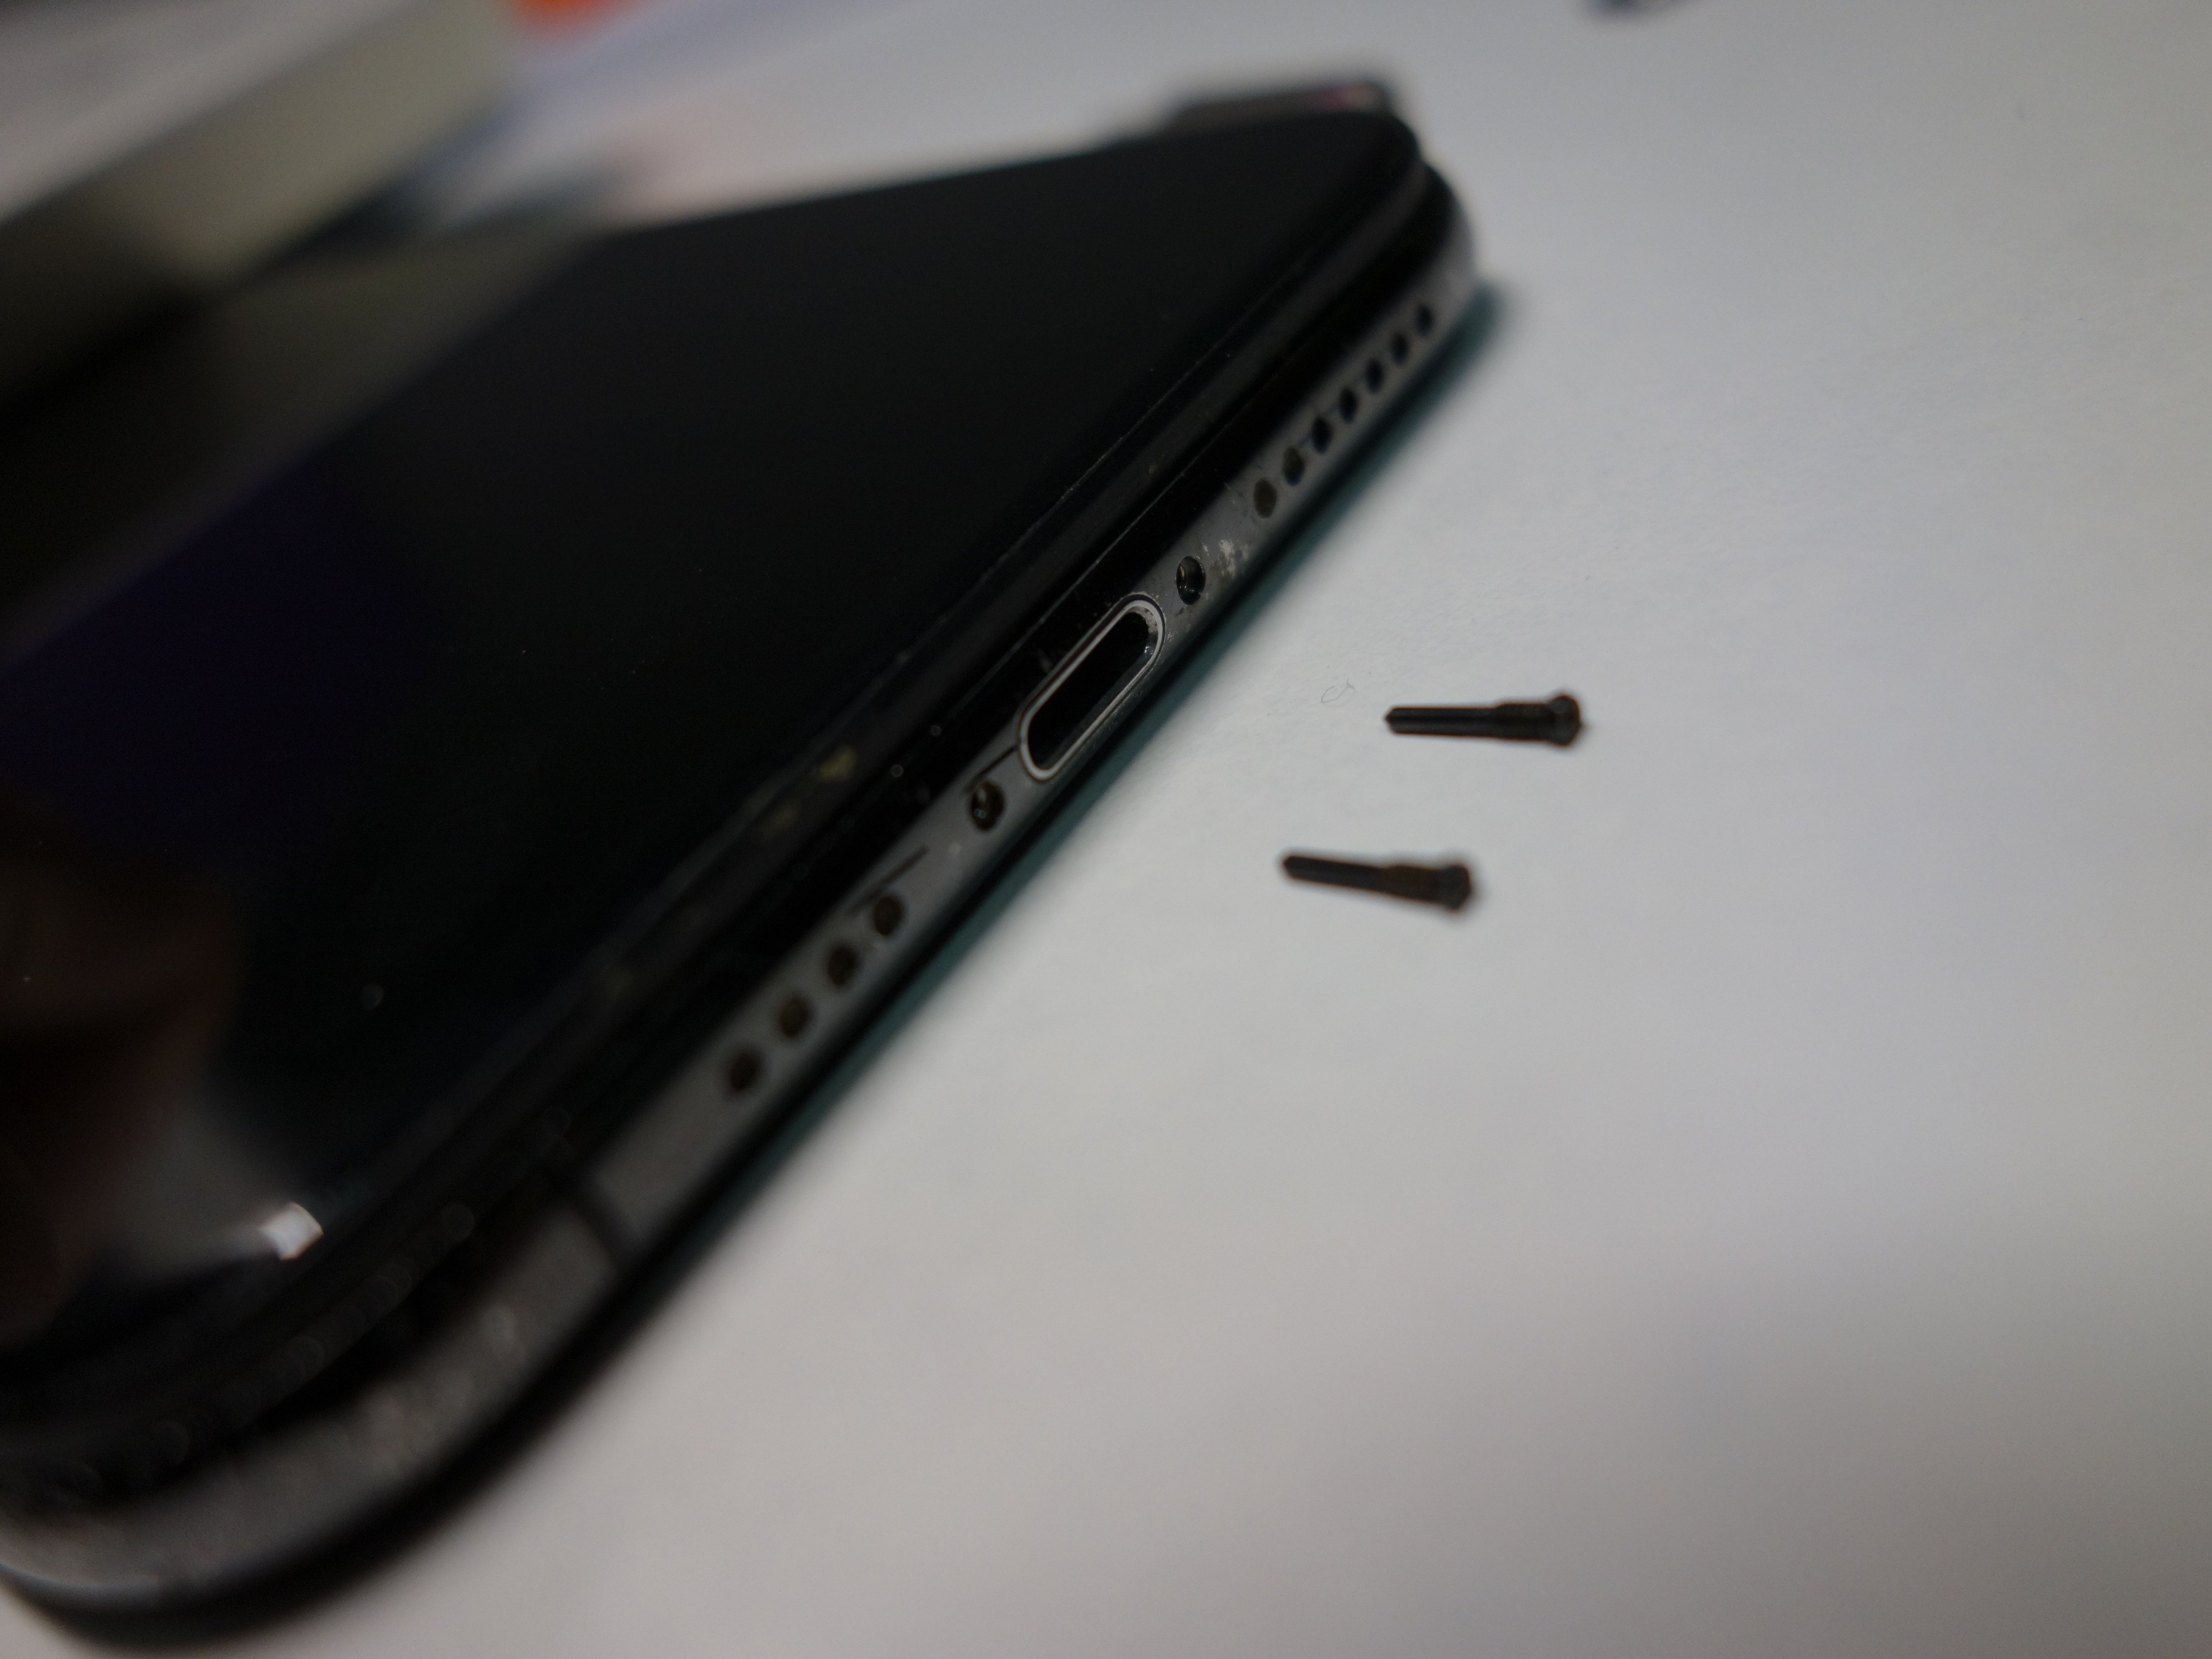
- Unscrew those Pentalobe screws hanging out by the charging port. They're just waiting to be removed!
Step 2

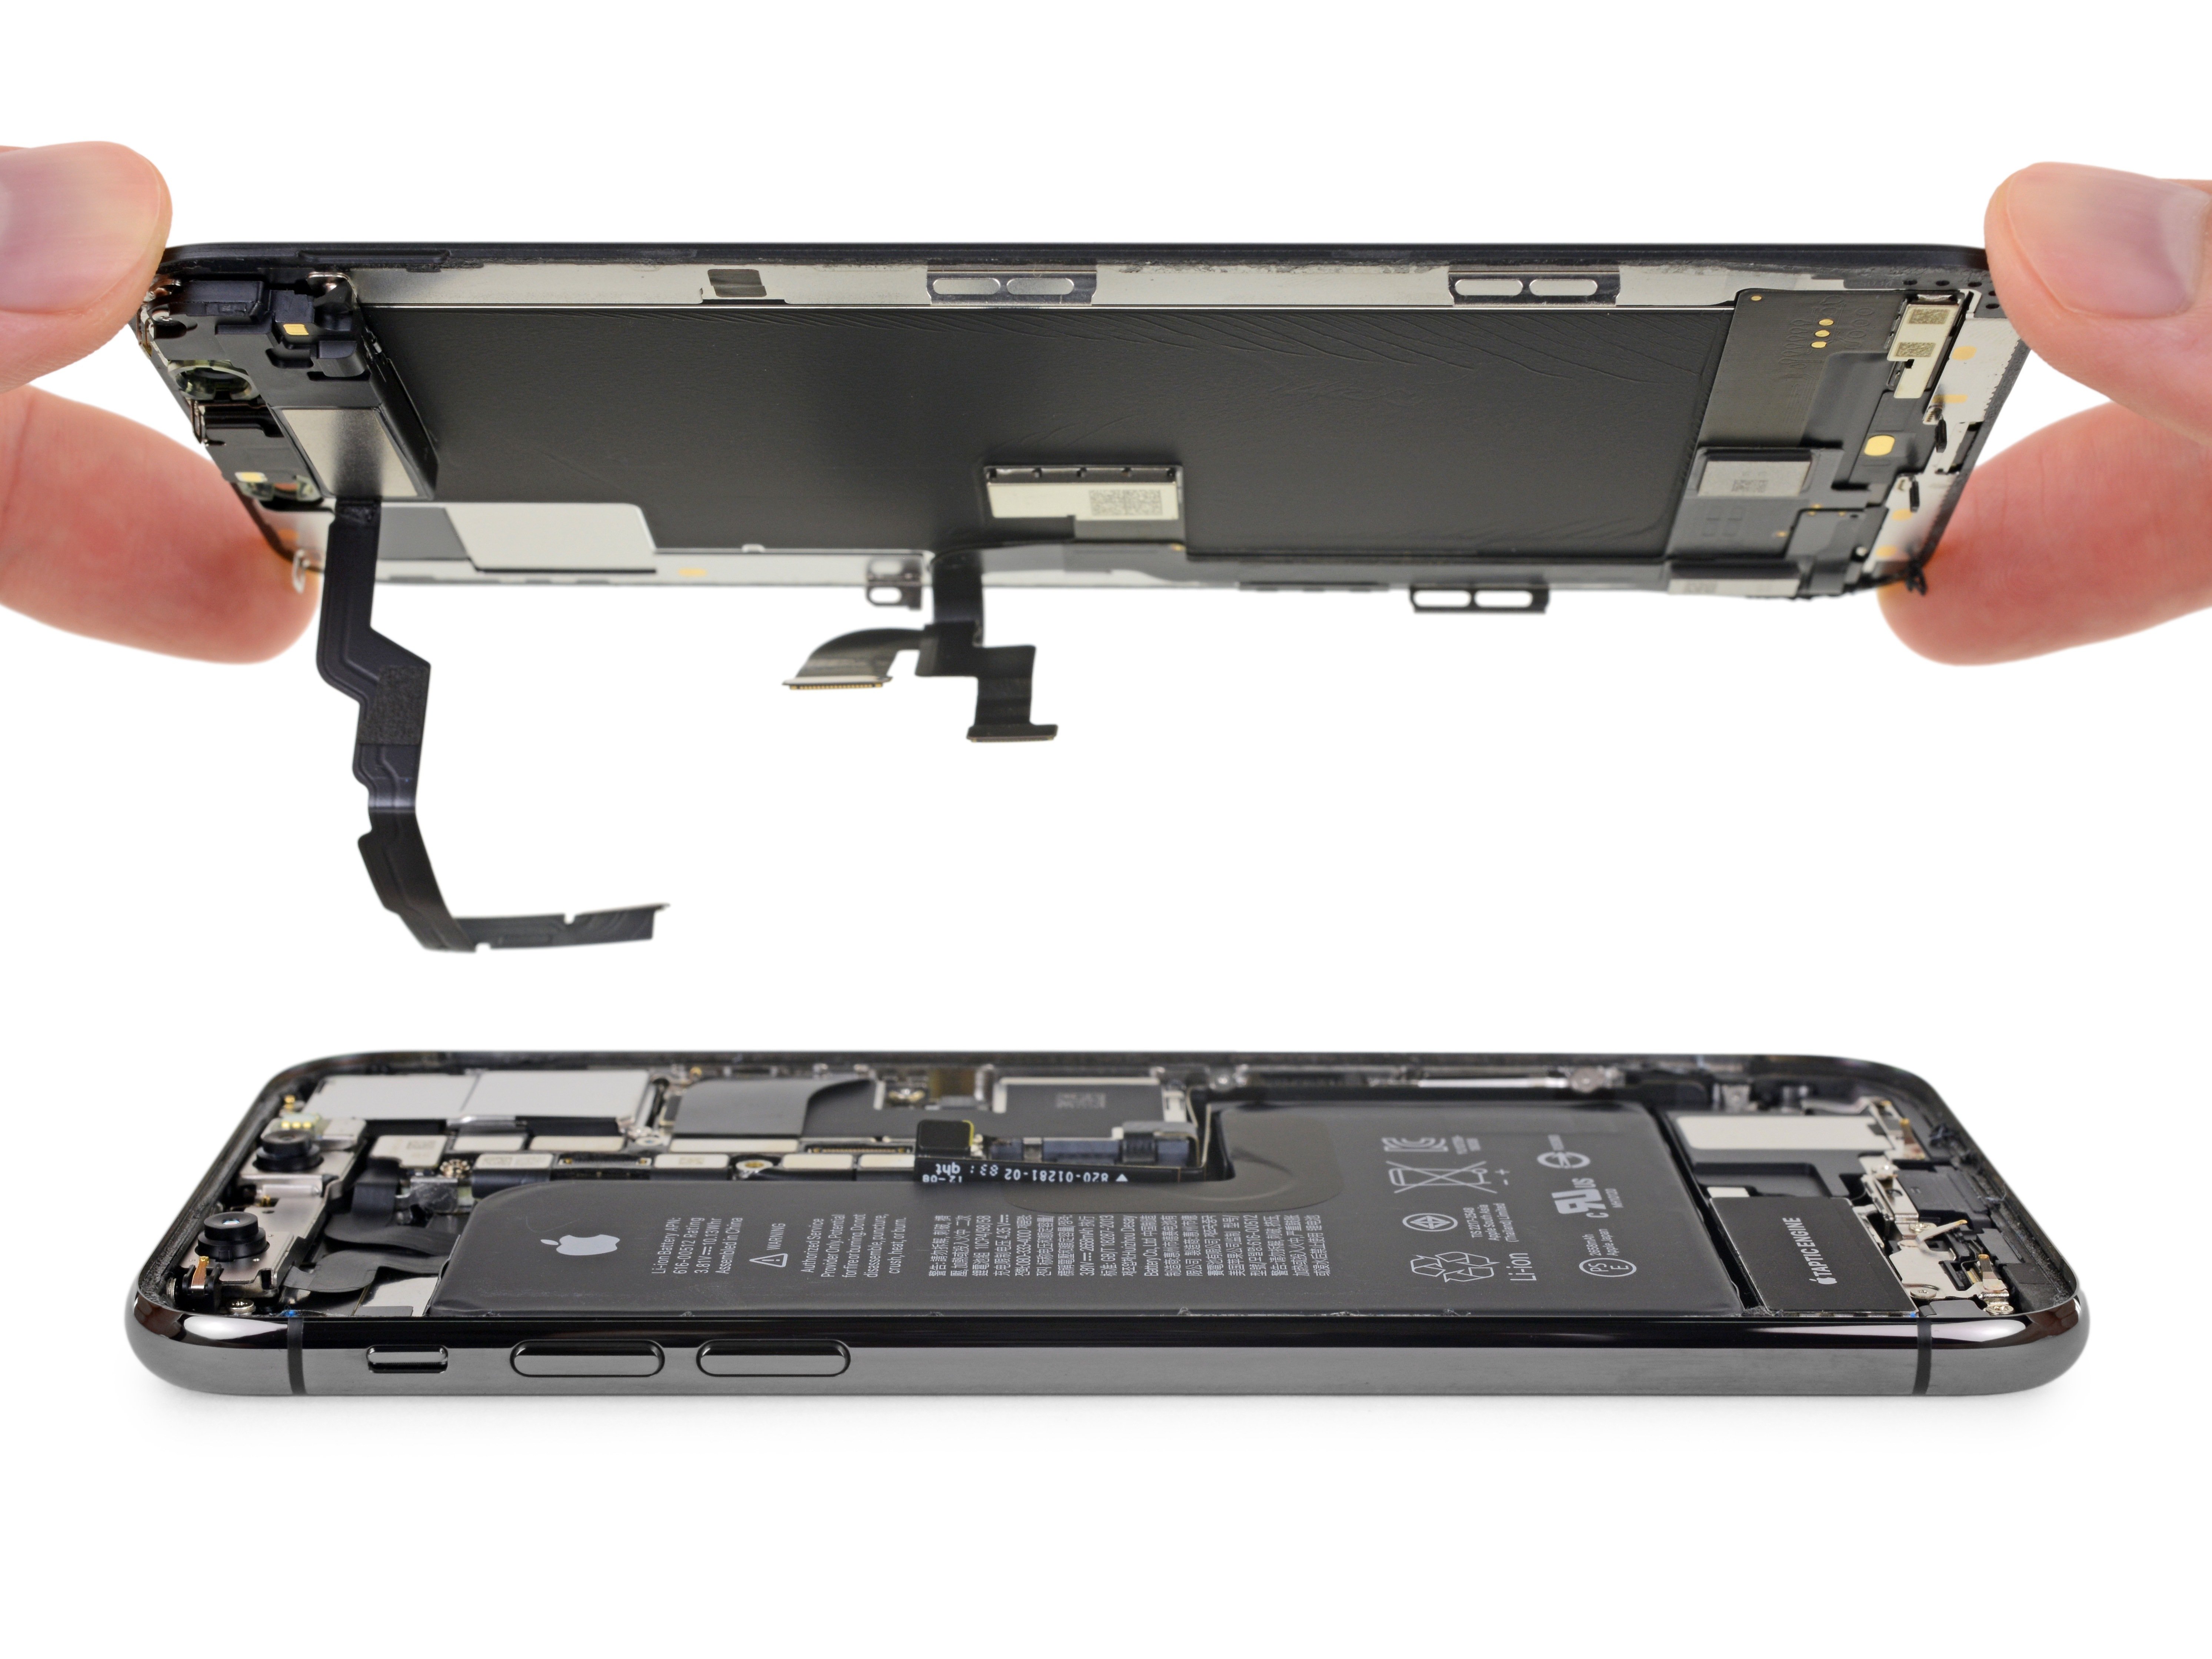
- After warming things up, gently flip the screen open like a book, keeping the 'hinge' on the right side.
- Take it slow and steady—don’t yank on those cables or they might tear.
- If you want a refresher on heating and opening techniques, check out our screen replacement guides. Sometimes the adhesive loosens enough to pry it open with just your fingernails!
Step 3
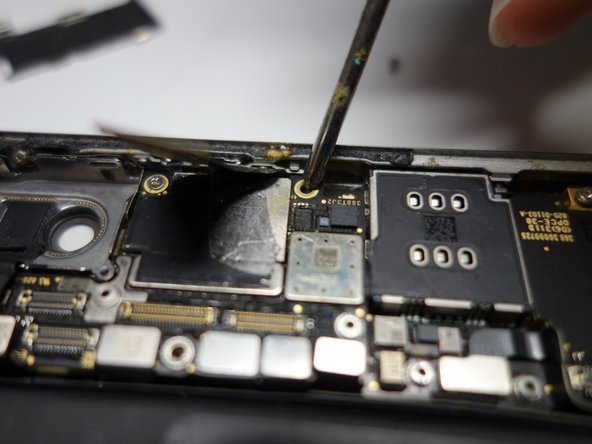
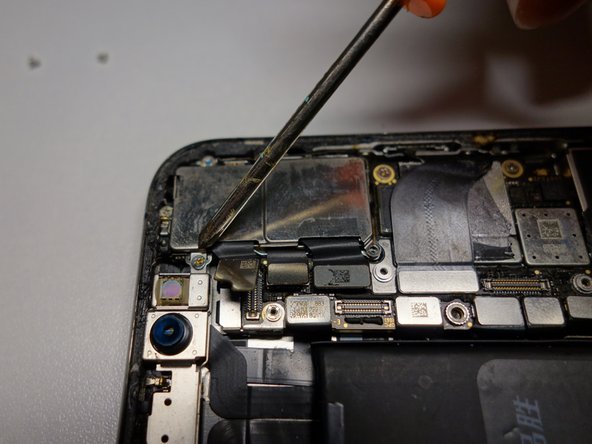

- Heads up! For taking out the motherboard and the other bits, my photo skills weren’t exactly award-winning, so let’s breeze past that part and jump straight into the painting process.
Step 4

- Before you dive into painting, ensure that your outer casing is free of all components, and don't forget about the rear glass panel—spray-painting can be a bit of a wild ride and we don't want to damage anything!
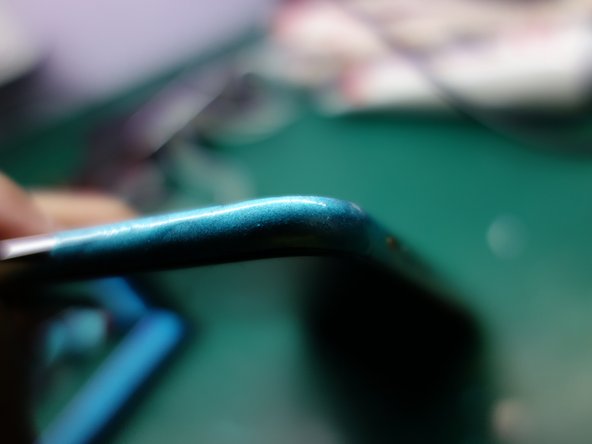
- When you get to the spray painting part, grab some tape and cover the insides to make sure everything fits snugly when you reassemble. Then, hang that casing up using a wire loop. As you spray, focus on the frame of the casing and remember to keep the paint even—no thick globs here!
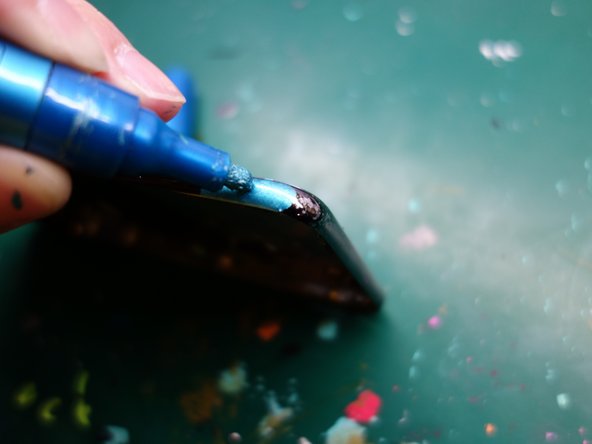
- Now, if you're like me and can't get your hands on spray paint cans because you're still in middle school, don't sweat it! Paint pens work wonders too! Just remember to apply the paint evenly and you'll do just fine.
Step 5
- Put your device back together by reversing these steps. Just make sure the paint is completely dry first—otherwise, you might end up with colorful fingerprints!
-