How to Replace a Samsung Galaxy Grand Prime Micro USB Port: A Step-by-Step Guide
Duration: 45 minutes
Steps: 12 Steps
Hey there! This step-by-step guide is here to help you out when your charging port’s acting up. Let’s get this thing fixed and back to life, shall we?
Step 1


– Let’s get this party started! Pry open the back cover of your phone using the blue plastic opening tool. Find that tab, and gently lift it up.
– Keep going! Work your way around the edges to completely remove the back cover. You got this!
Step 2


– To get started, simply remove the old battery by lifting up on the thumb tab – easy peasy!
– Now, let’s give those brass terminals some love. Grab a Q-tip, add a tiny bit of ISO, and gently clean the connections on both the battery and your phone. This will keep everything running smoothly. If you need help, you can always schedule a repair
Step 3


– Grab your Phillips #000 screwdriver and unscrew those nine 4mm screws from the midframe. If you need help, you can always schedule a repair.
Tools Used

Step 4


– Gently slide the blue plastic opening tool between the front and side panels to get things started.
– Carefully run the blue plastic opening tool along the edges where the front meets the side panel to loosen everything up.
Step 5


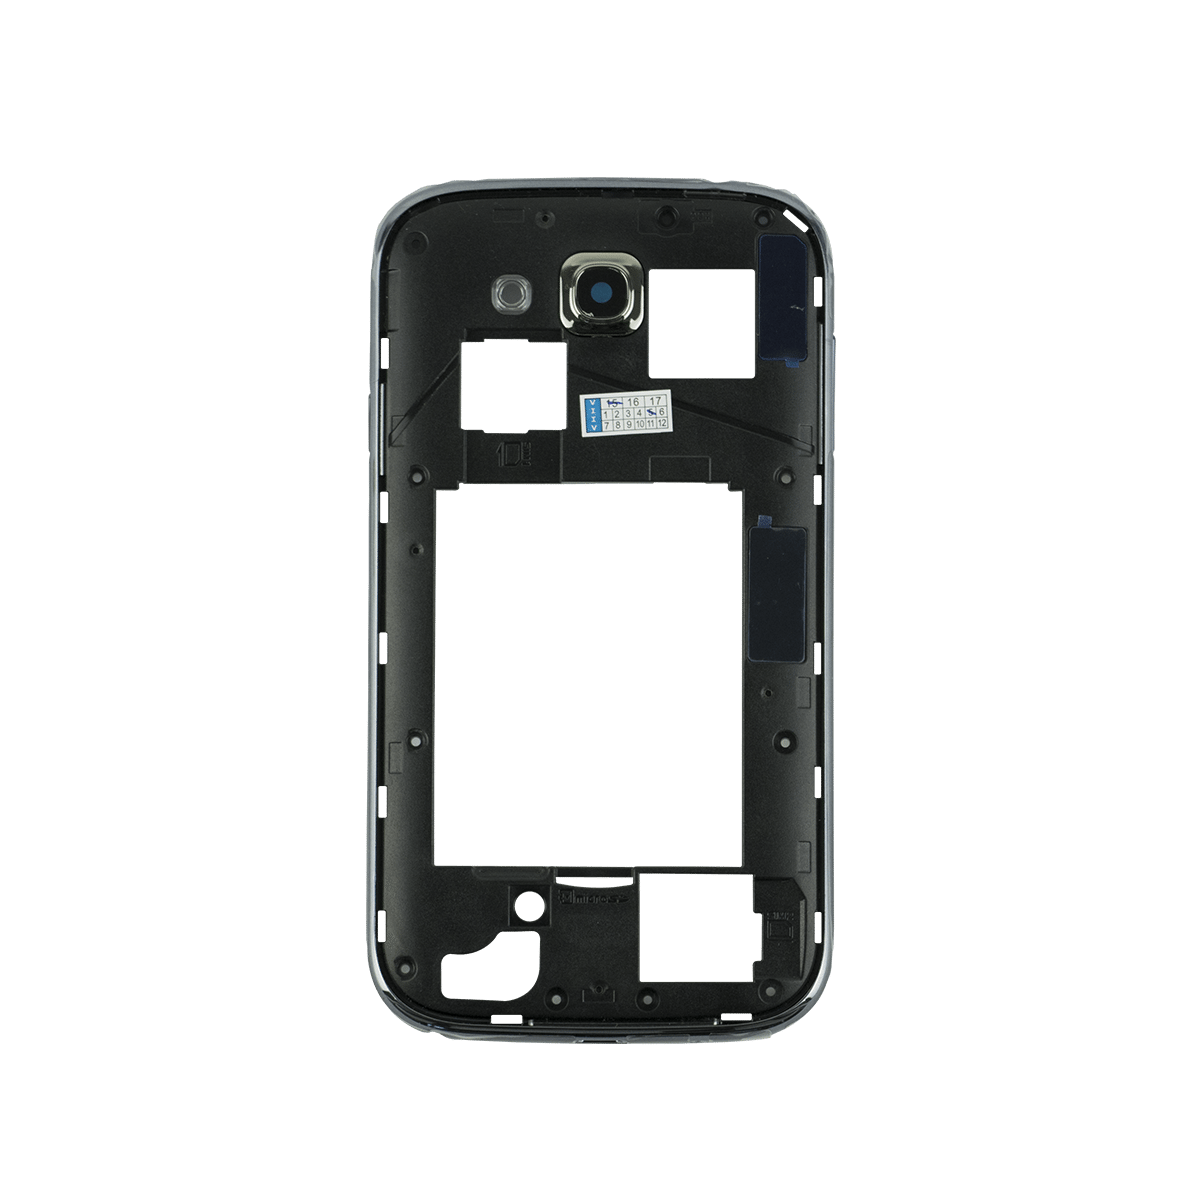
– Don’t forget to give that mid-frame a little love from the inside too! Make sure it’s completely detached.
Step 6


– Carefully pop the ribbon cable clip with your plastic opening tool and slide out the audio jack. If you need help, you can always schedule a repair.
Step 7


– Use the plastic opening tool to gently pop the ribbon cable clip loose. If you need help, you can always schedule a repair.


Step 9


– Now, let’s get that other ribbon cable clip unhooked from the screen. Use the blue plastic opening tool to gently pry it loose. It’s like a little dance, see? Just a little wiggle and it’ll come right off. If you need help, you can always schedule a repair.
Step 10


– Time to give that ribbon cable clip a little wiggle and set the front camera free!
– Now, gently lift the motherboard out. Think of it like a little dance, getting ready to move on to the next step!
Step 11


– Alright, time to get that motherboard out! Give it a gentle lift and disconnect the ribbon cable clip that’s holding the back camera in place. You got this!
Step 12


Watch out! The soldering iron is no joke—it gets super hot!
– Bust out that soldering iron and liberate the charging port!