How to Replace a Screen Protector on an iPhone 12
Duration: 45 minutes
Steps: 7 Steps
Installing a screen protector on your mobile device—here, specifically the iPhone 12—is pretty much the same no matter if it’s clear, privacy glass, or that cool blue light filter version. This guide will walk you through everything you need and the step-by-step process to get that new screen protector on perfectly, no bubbles or fuss.
Step 1


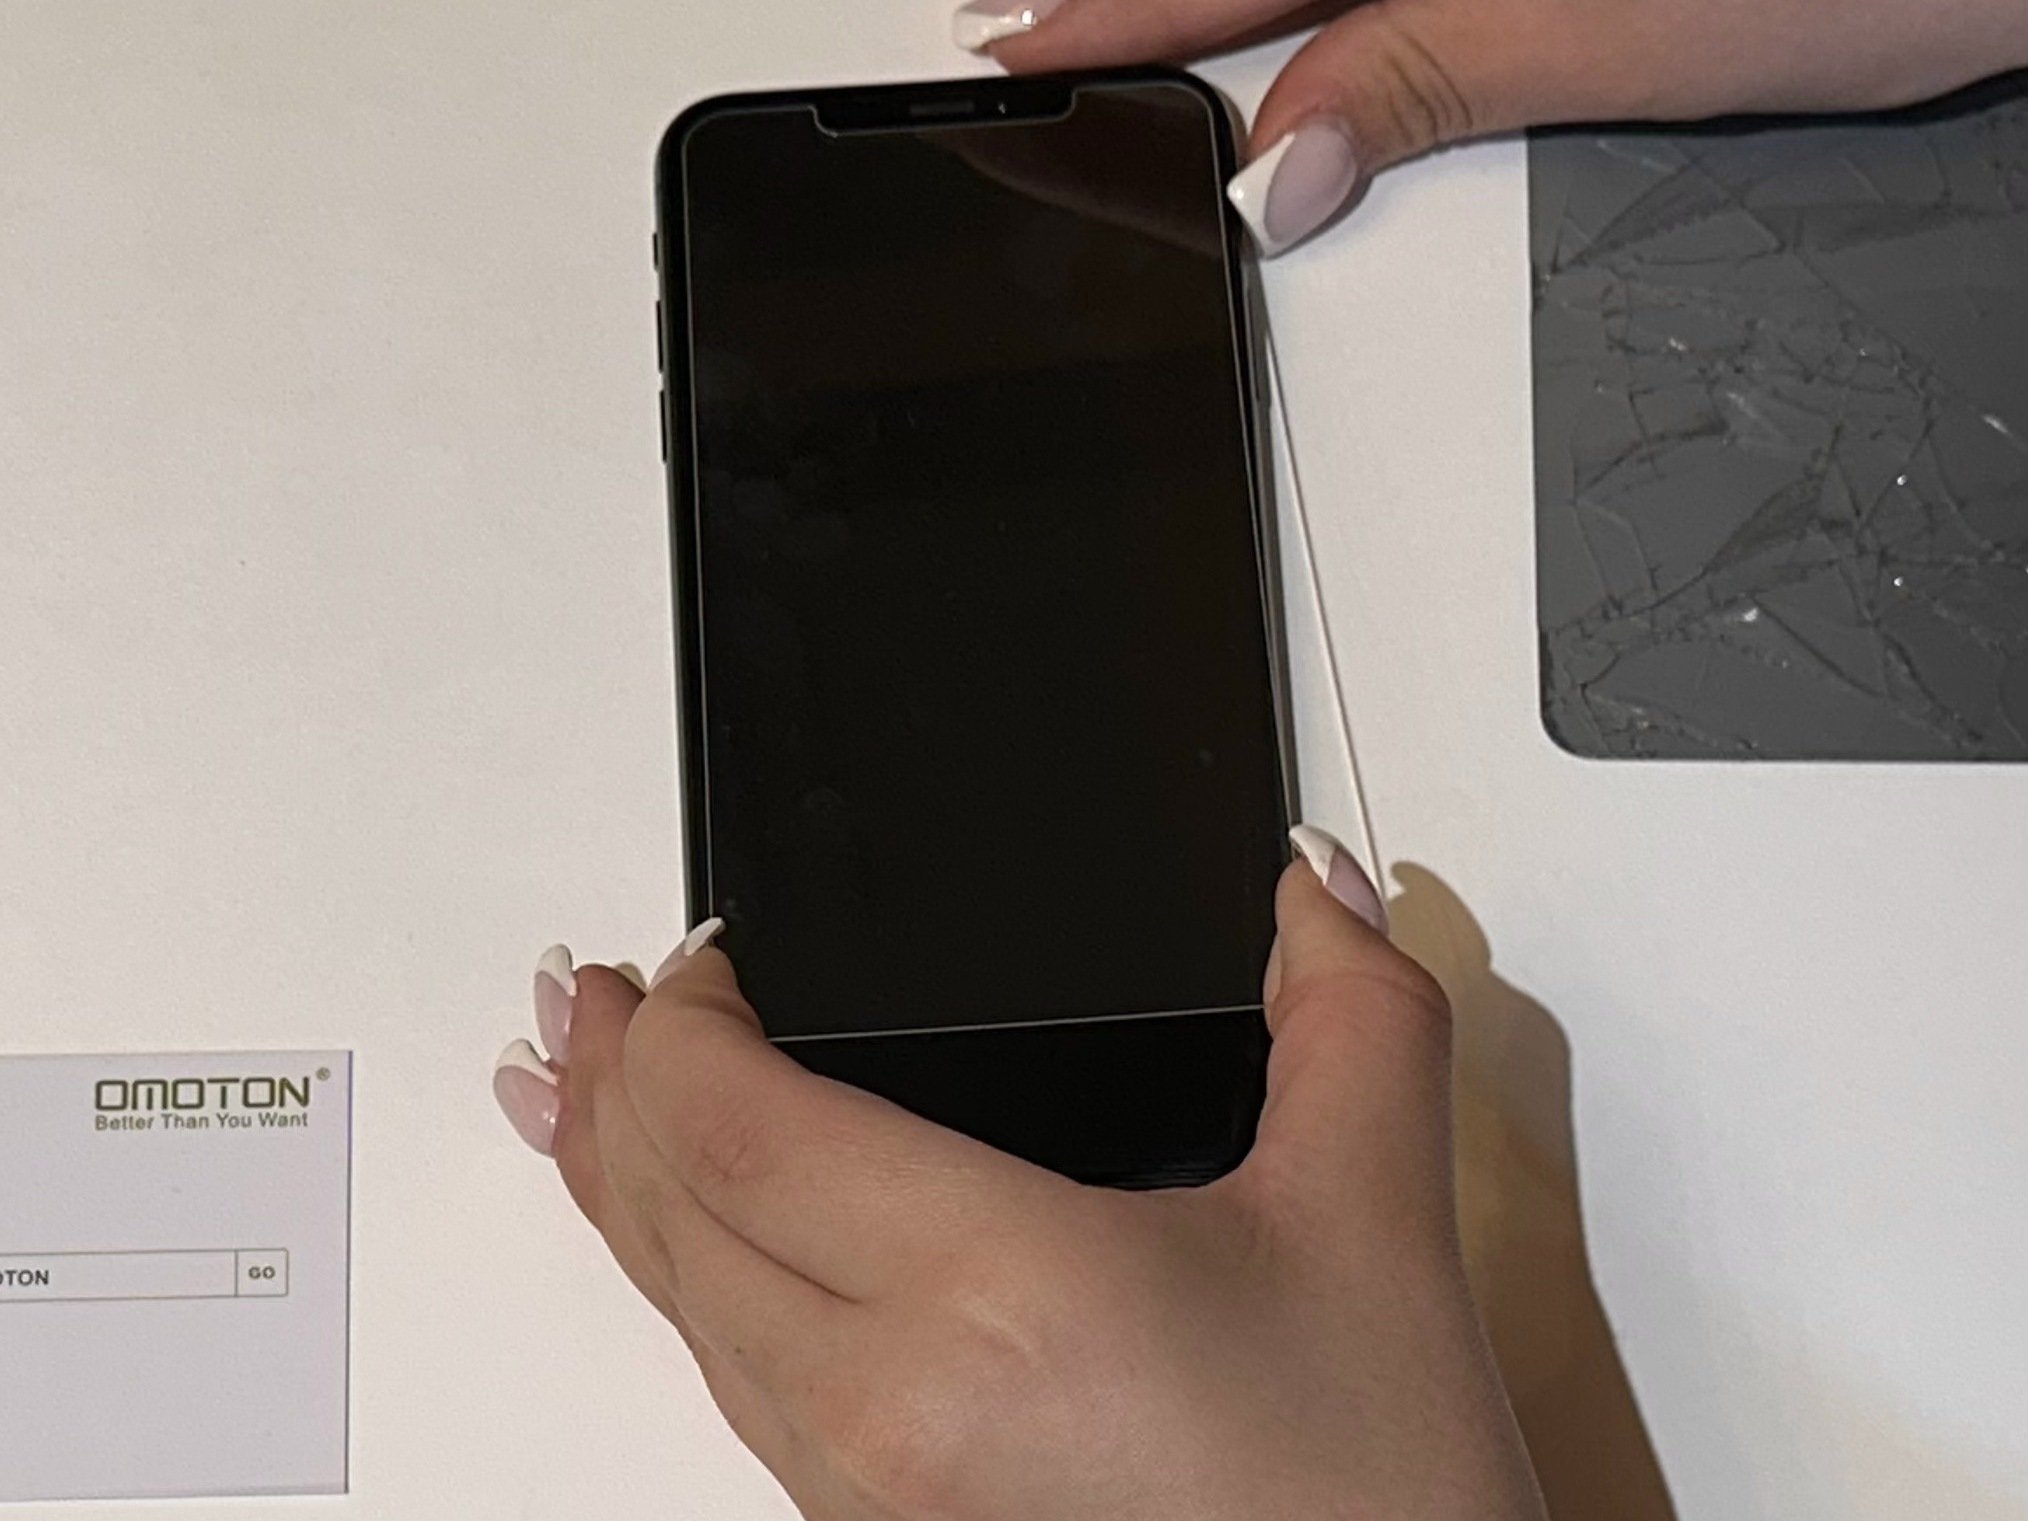
If you've got a trusty screen protector already in place, just give it a gentle tug and peel it off starting from the top of your iPhone. Easy peasy!
- If there are tiny bits of the screen protector still clinging to your phone, gently lift them off until it's all clear.
- Once you've evicted every last piece, feel free to toss the old protector or set it aside for its farewell.
Step 2


- Grab a wet cloth from the pack and give your iPhone screen a good wipe to clear off any smudges or mystery marks. Shine on!
Step 3
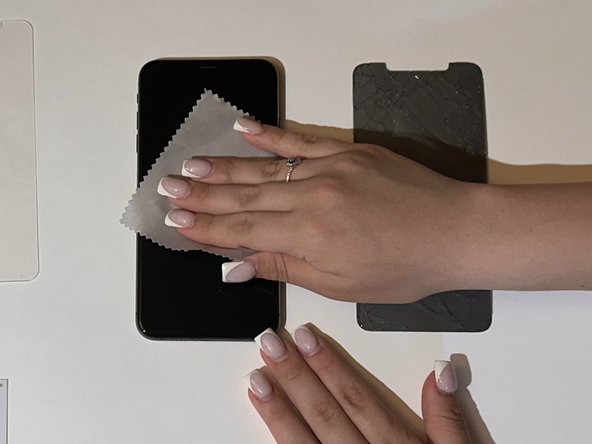

- Grab your trusty LCD cloth and give that screen a gentle wipe-down. We're aiming to clear away any pesky dust or little debris that might have made their way onto your phone. Keep it light and dry, so you’re left with a nice, clean display!
Step 4
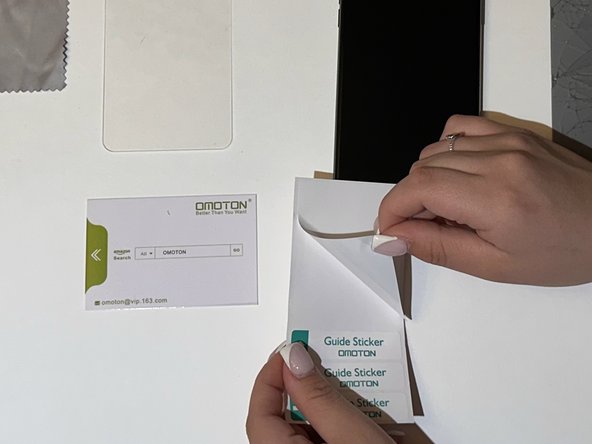


- Take the dust sticker and gently press it all around the screen a few times, making sure every inch of the iPhone display gets some love and no dust is left behind.
Step 5

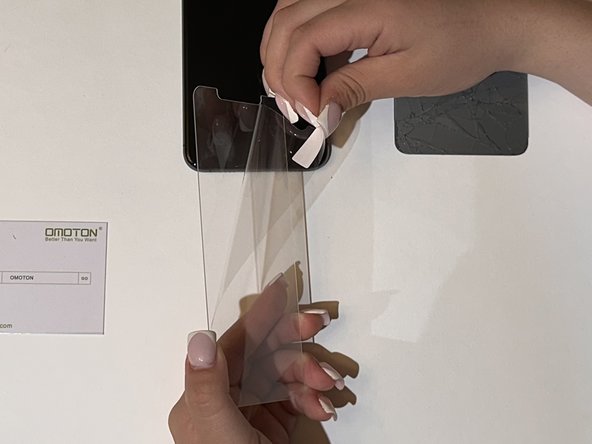

- Pick up the screen protector and carefully peel off the plastic film covering the sticky side.
- Gently line up the new screen protector with your iPhone, making sure not to touch the sticky surface.
- Slowly press the screen protector down starting from the top edge of the iPhone and glide your way to the bottom.
Step 6
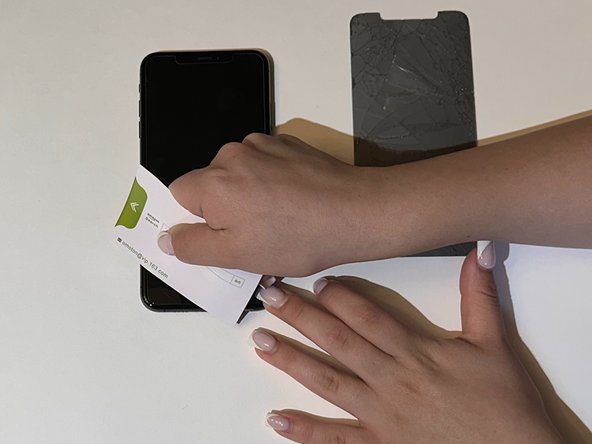

- Once the new screen protector is on your phone, grab that anti-bubble card and gently work out any bubbles trapped between the iPhone and protector.
- Slide those pesky bubbles toward the edges until your screen looks perfectly smooth and bubble-free.
Step 7

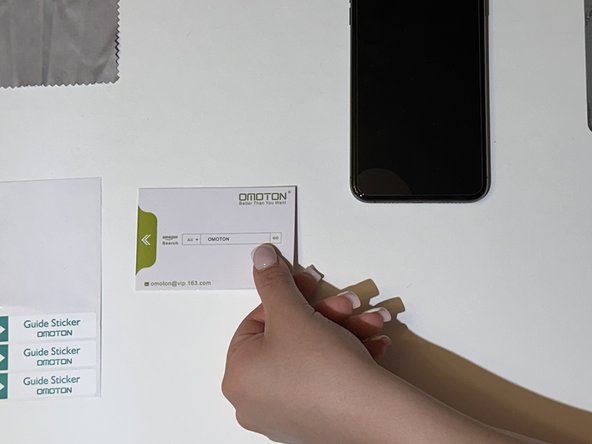
- Alright, now that the bubbles are gone, your shiny new iPhone 12 screen protector is all set.
- Don't forget to clean up any leftover bits and pieces after you're done!


