How to Replace a Stuck Disc in a PlayStation 5 DIY Guide
Duration: 45 minutes
Steps: 5 Steps
Hey there! Just a friendly reminder: be careful while you tinker around. If things get tricky or you feel like you need a hand, you can always schedule a repair. We’ve got your back!
Got a disc that just won’t budge in your PlayStation 5? No worries! We’re here to help you carefully get that pesky disc out without causing any harm to your console or your game. Remember, trying to yank it out the wrong way can lead to scratches or even damage to the disk reader. So, let’s keep things safe and sound! Before diving in, make sure your console is powered off and unplugged from the wall. Ready? Let’s do this!
Step 1


Do this for your own peace of mind and to keep your device in tip-top shape.
– Disconnect all the cables attached to the console (power, ethernet, HDMI, and so on).
Step 2


When you’ve got your PlayStation on a stand, make sure to find that sneaky screw hiding at the bottom.
– Grab that flathead screwdriver and twist out the 5mm Phillips screw from the base. You’ve got this!
– Now, gently lift off the base and set it aside like a pro.
Step 3


Give that white cover a little muscle—it might need some extra oomph to pop off!
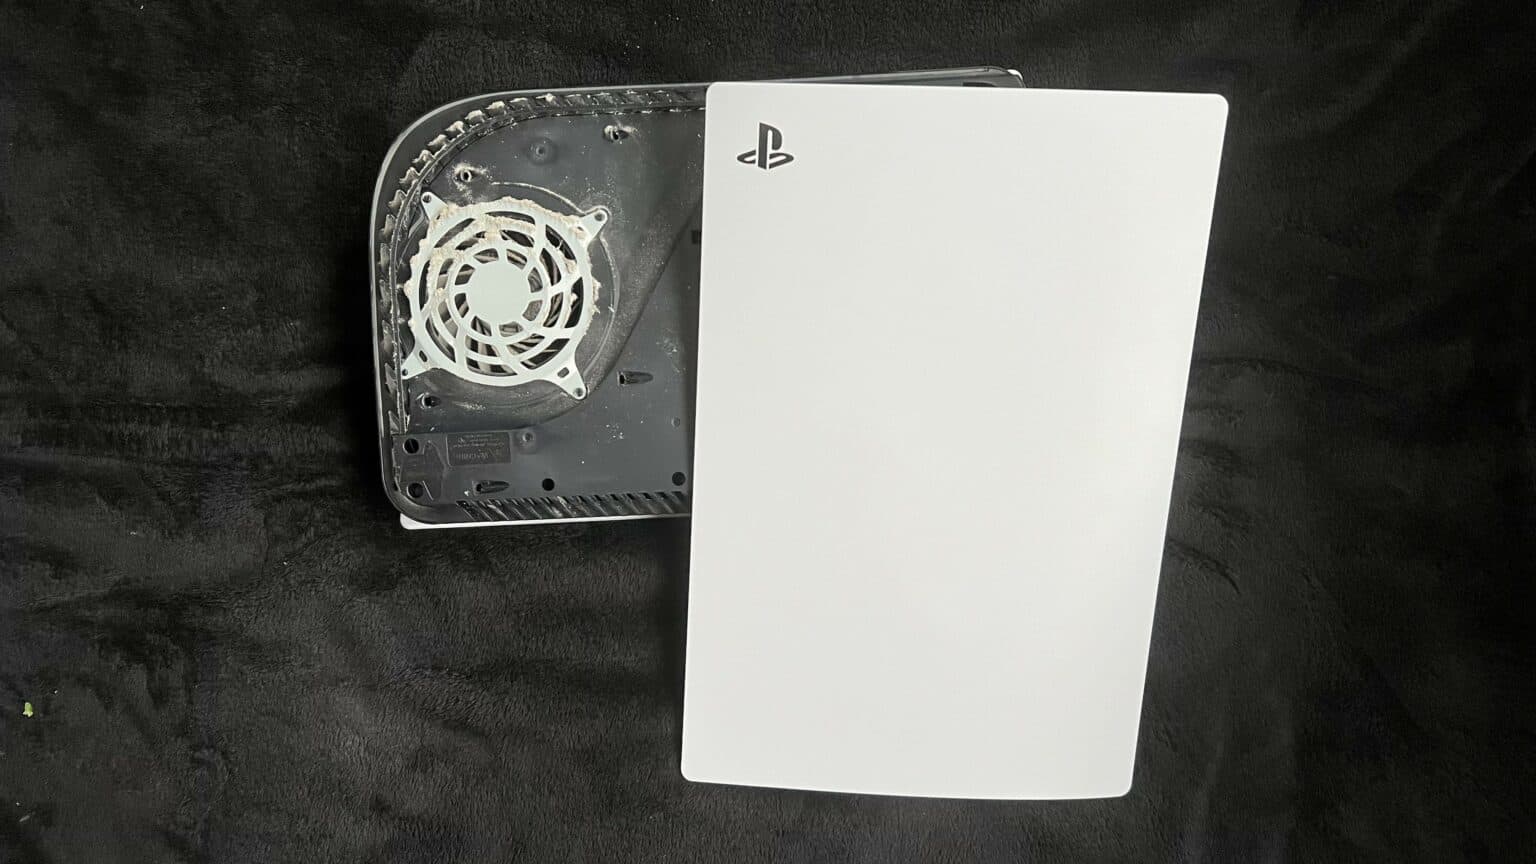
– Turn your PlayStation over so the side without the logo is facing up. You’re doing great!
– Gently tug on the top right corner of the PlayStation. This spot is diagonally opposite from the disc tray. Pull the cover in the direction of the disc tray, at a diagonal angle. You’ve got this!


Step 5
Give it a few spins, and the disc will pop right out!
– Grab your screwdriver and give that screw under the mysterious black sticker a gentle, encouraging clockwise twist. You’ve got this!