How to Replace Acer Iconia Tab A200 DC Power Jack – DIY Guide
Duration: 45 minutes
Steps: 8 Steps
The DC power jack is your go-to buddy for charging up that Acer tablet! Measuring in at about 8 inches, this little champ connects right to the motherboard, making sure your device gets all the power it needs to keep you connected and entertained.
Step 1
– Time to get started! Use a plastic opening tool to carefully pry open the grey plastic siding on both sides of the tablet. Take your time and work your way around – it’s easier than you think!
Step 2
Alright, here’s the deal—there are two little screws chillin’ on each side of the tablet. Pop those bad boys out first, and then you’ll be ready to take off the back casing. Easy peasy!
– Grab your trusty Phillips #00 screwdriver and let’s get to work! Carefully unscrew those 4.0 mm screws on the sides of your tablet. You’ve got this!
Tools Used
Step 3
Hey, heads-up! When you’re prying on the sides where you took out the screw, take it easy—this plastic isn’t exactly built like a tank and could snap.
– After you’ve tackled those 4 pesky screws, grab your trusty plastic opening tool and gently coax the device open from the side. It’s like giving your gadget a little hug!
– Once you’ve pried the case open, carefully lift it away and set the device down on its screen. It’s time for it to take a little break while you work your magic!
Step 4
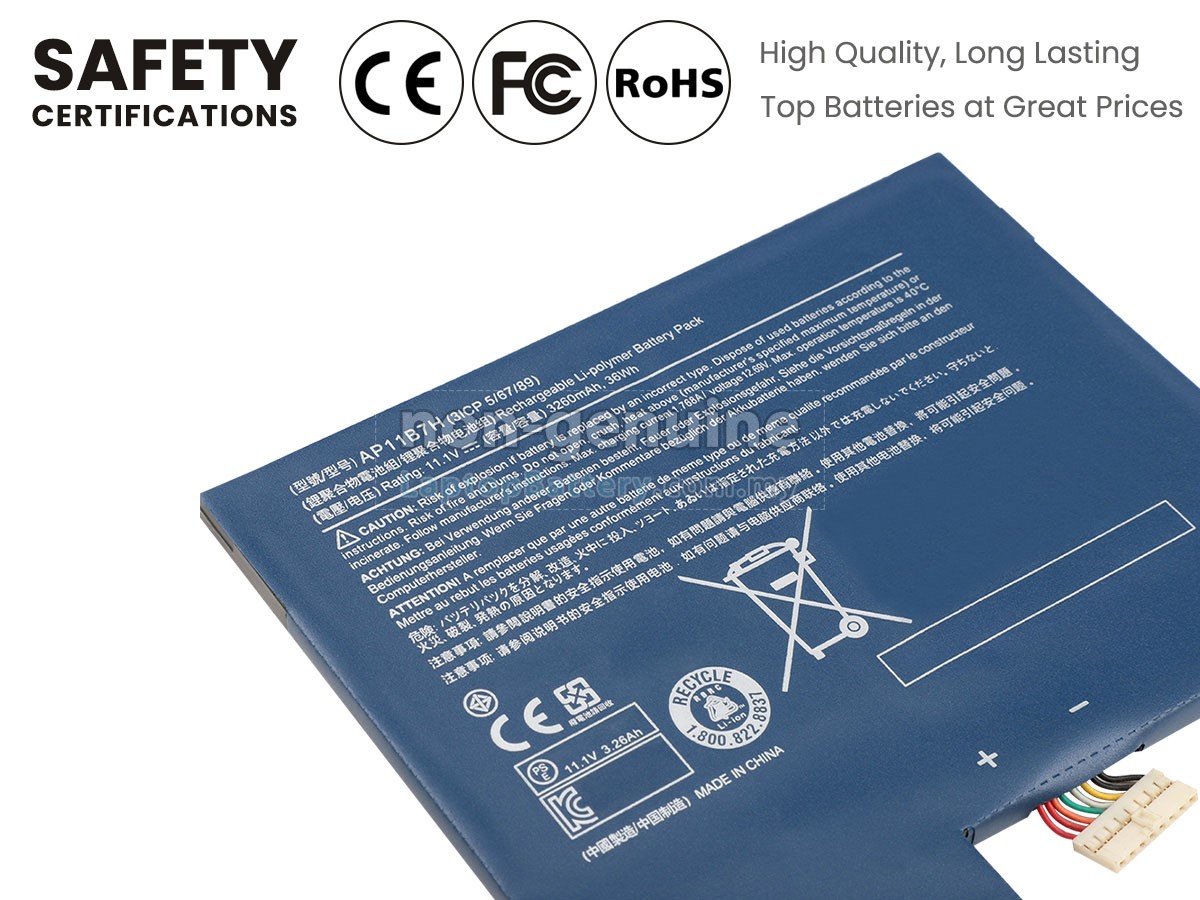
– Grab your trusty Phillips #00 screwdriver and gently unscrew those 4.0 mm screws that are keeping the battery snug in its cozy spot. You’ve got this!
Tools Used
Step 5
– Now it’s time to remove the battery from your device. Gently lift it out and carefully disconnect the cable from the motherboard by pulling it to the side – remember, no lifting!
Step 6
– Grab your trusty plastic opening tool and gently pop that charging component out of its cozy little slot in the case—nice and easy, no rush!
Step 7
Keep using that plastic opening tool to lift the cord out of the case when space gets tight. You’ve got this!
– Keep pulling up that cord gently until it’s free from the case and just hanging out with the motherboard.
Step 8
– To wrap up, simply follow these steps in reverse and you’ll be all set!
– If you didn’t quite get it, no worries! You can always schedule a repair with Salvation Repair for some extra help.
– You’ve made it to the end of this step-by-step repair guide – nice job!
Success!


