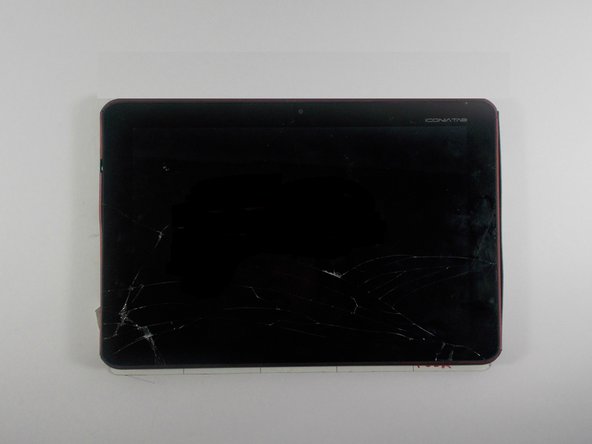
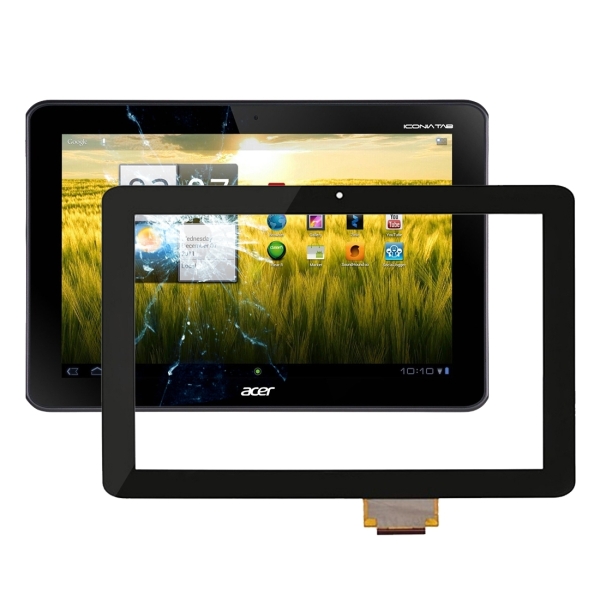
How to Replace Acer Iconia Tab A200 Microphone: Step-by-Step Guide
Duration: 45 minutes
Steps: 7 Steps
The microphone picks up all the sounds and voices for your device to work its magic.
Step 1
– Time to get started! Use a plastic opening tool to carefully pry open the grey plastic siding on both sides of the tablet – it’s like opening a little door to the inside world of your device!
Step 2
Alright, here’s the deal—there’s a pair of screws chilling on each side of the tablet. Pop those out first, and then you can get the back casing off. Easy peasy!
– Grab a Phillips #00 screwdriver and unscrew the 4.0 mm screws along the sides of the tablet. It’s a simple step, just be sure to keep those screws safe for later!
Tools Used
Step 3
Take it easy when prying around the sides where you pulled out the screw—these plastic edges are a bit delicate, so show them some love and avoid cracking them.
– Alright, let’s kick things off! First, remove those 4 screws like a pro. Once they’re gone, grab your trusty plastic opening tool and gently pry open the side of the device.
– After you’ve popped the case open with that tool, carefully lift it off the device and place the gadget face down on its screen. You’ve got this!
Step 4
– Grab your trusty Phillips #00 screwdriver and take out those 4.0 mm screws holding the battery down.
Tools Used
Step 5
– Gently lift the battery out of the device, and slide the cable sideways to disconnect it from the motherboard—no yanking or pulling upward, keep it cool and steady!
Step 6
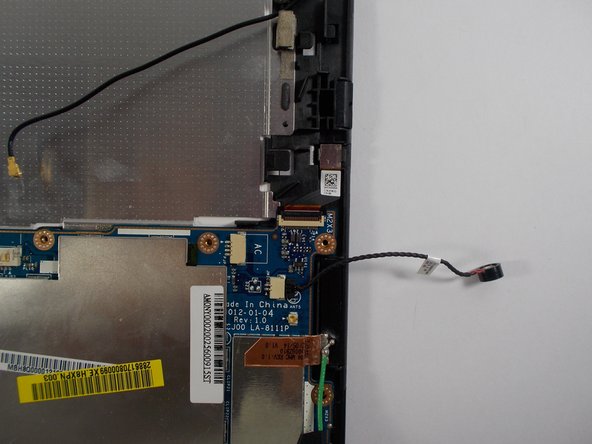
– Gently pop up the microphone cable to free the microphone component from the case. Easy does it!
Step 7
– Now that you’ve tackled the repair, it’s time to put everything back together. Just retrace your steps and follow the instructions in reverse. Easy peasy!
– If you found this guide a bit tricky and need some extra support, feel free to schedule a repair!
–
Success!


