How to Replace Acer Iconia Tab A501 Speakers: Step-by-Step Guide
Duration: 45 minutes
Steps: 6 Steps
Great sound makes all the difference, right? If your Acer Iconia Tab A501 speakers are acting up, it might be time to swap them out. This guide walks you through everything you need to know to replace the speakers in your Iconia Tab A501. Let’s get those tunes back in action!
Step 1
Make sure to power down your device before diving in!
– Grab a plastic opening tool and carefully pop off the back cover, starting at the volume buttons.
– Keep working your way around the short side nearest to the camera and continue all the way around the device.
Step 2
– Once you’ve made enough progress and the device is more than halfway unsealed, the back cover should pop off with ease!
Step 3
Take it easy here—don’t press too hard or risk scratching that delicate motherboard. A gentle touch goes a long way!
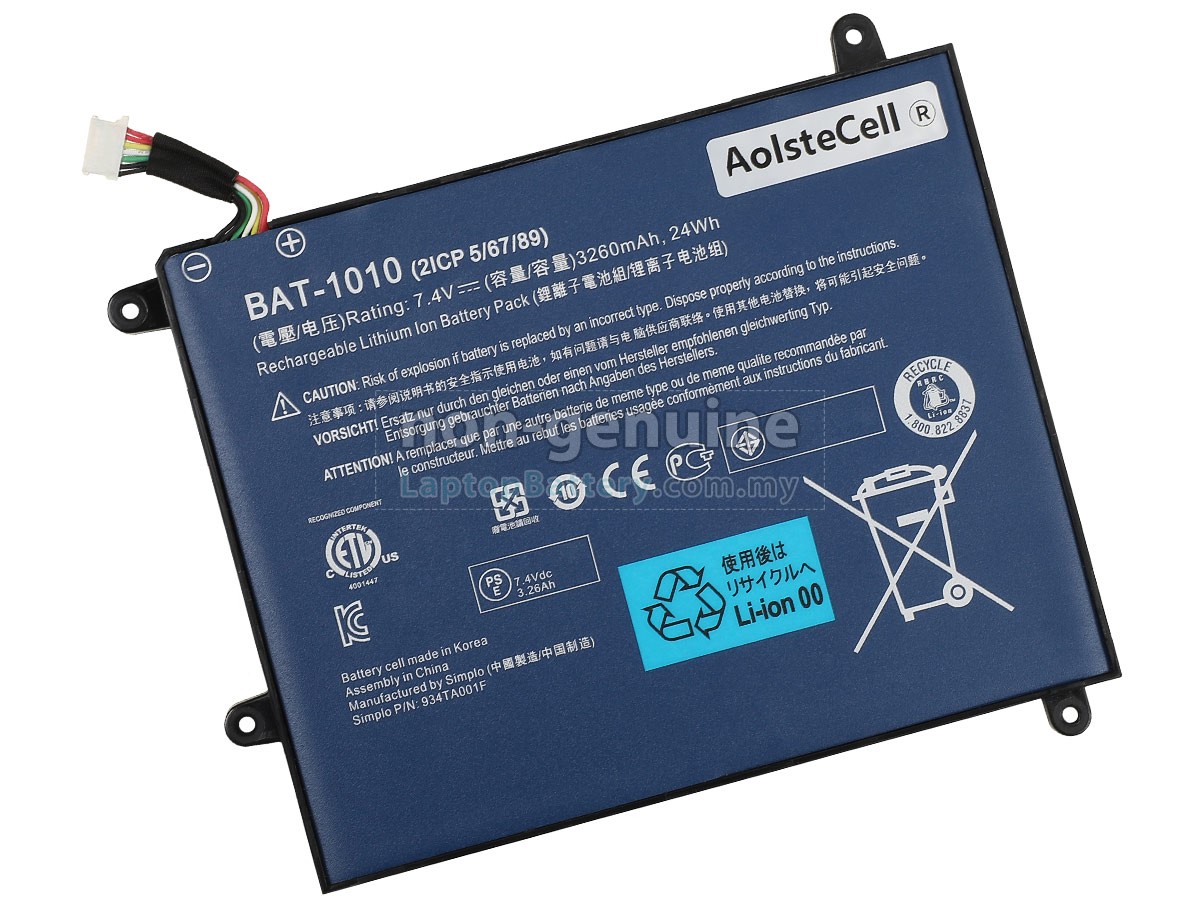
– Grab those angled tweezers and gently wiggle them to disconnect the white motherboard-battery connector located right in the middle of the side opposite the docking port. You’ve got this!
Tools Used
Step 4
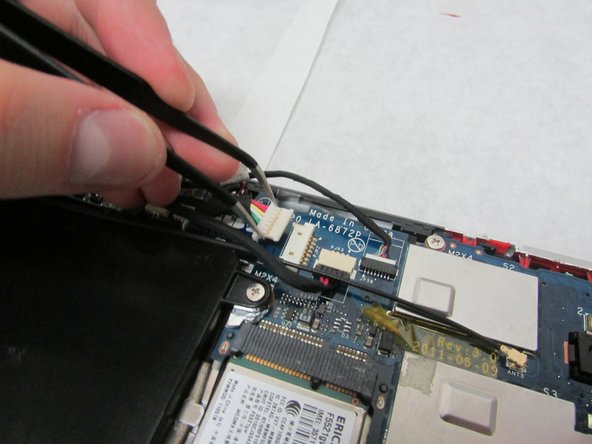
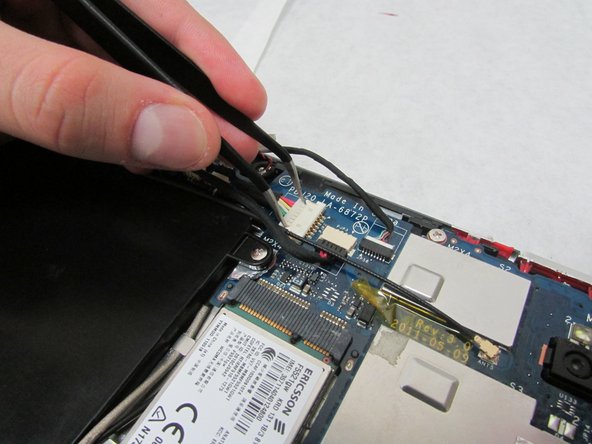
For this step, take it easy and avoid squeezing too hard or scratching the motherboard.
– Grab those angled tweezers like a pro and gently wiggle the cable with the red, white, and green wires free from the beige connector. Aim slightly toward the side rocking the Micro-HDMI port near the docking port. You got this!
Tools Used
Step 5
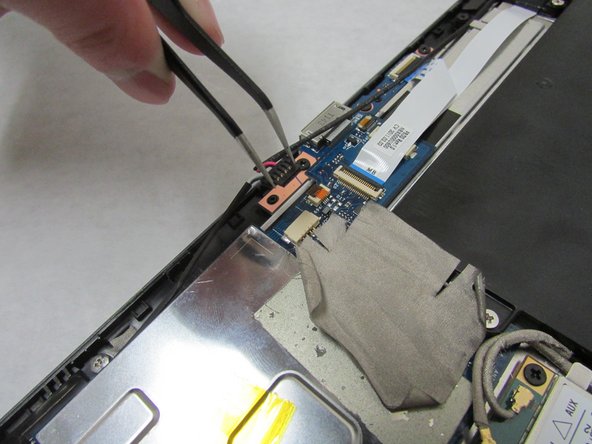
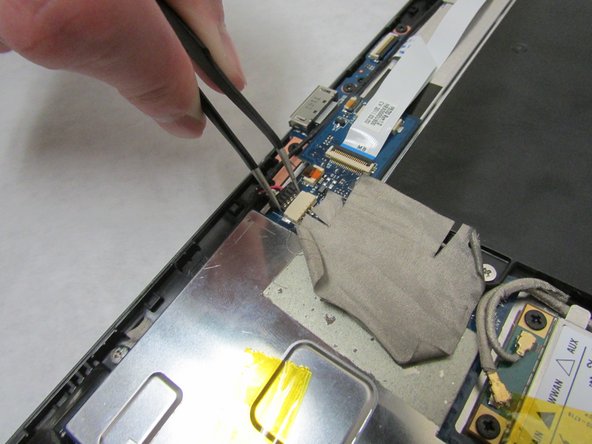
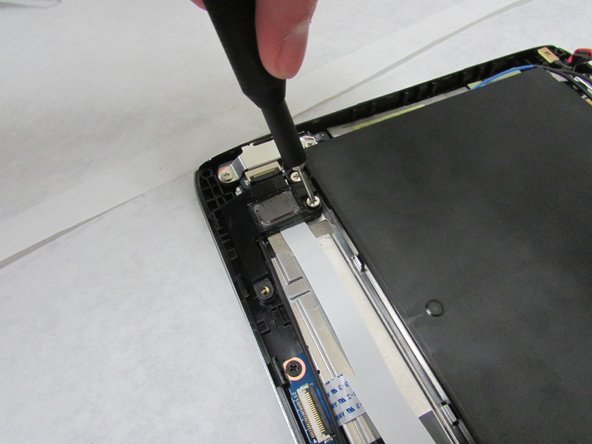
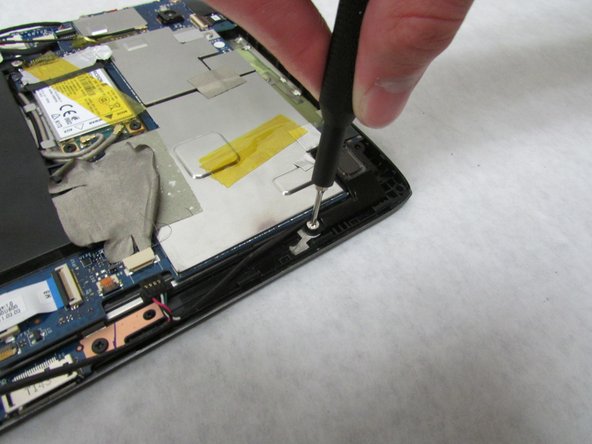
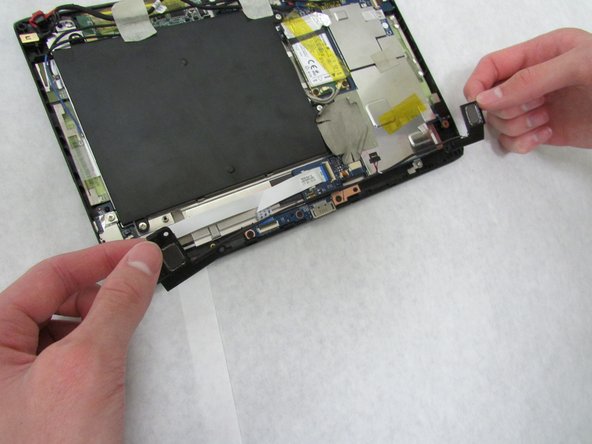
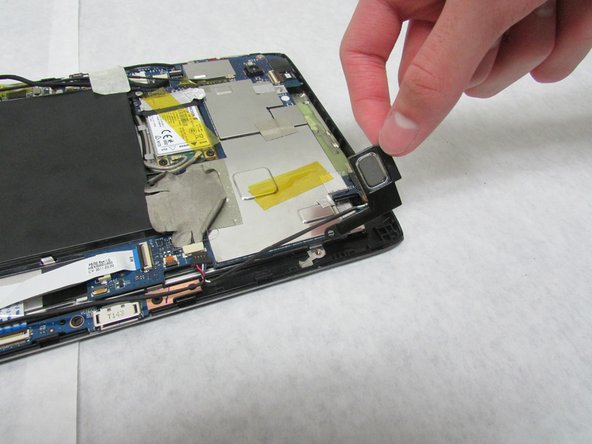
– Grab your trusty Phillips #1 screwdriver and unscrew the 3.0 mm Phillips head screw on each speaker. It’s like a mini workout for your wrist!
– Next up, unscrew the 4.0 mm Phillips head screw on each speaker. Keep going, you’re doing great!
Tools Used
Step 6
– To put your device back together, just follow these steps in reverse. Easy peasy!
– Didn’t quite finish? No worries! You can always give it another shot later.
– If you run into trouble, remember, you can always schedule a repair.
Success!


