How to Replace Acer Spin 5 Series Touchpad Guide
Duration: 45 minutes
Steps: 11 Steps
Hey there, tech wizard! Just a friendly heads-up: make sure to power down your device before diving into the repair adventure. Safety first, right? If you ever feel like you’re in over your head, no worries! You can always schedule a repair and let the pros take care of it.
Hey there! Ready to jazz up your Acer Spin 5 SP515-51GN-807G laptop with a brand new touchpad? The touchpad is like the laptop’s best buddy, helping you navigate in laptop mode like a pro. Even if it’s acting up, no worries – your device can still do its tablet dance. But hey, for that classic laptop vibe, let’s make sure that touchpad is strutting its stuff perfectly!
Step 1
– Time to get your hands a little dirty! Grab your trusty Phillips #1 screwdriver and make quick work of those eleven 6.5 mm screws holding the back case in place. You’ve got this!
Tools Used
Step 2
– Grab a plastic opening tool and carefully work your magic to pop open that back cover. You’ve got this!
Step 3
– Carefully pop off the back cover of your device, like peeling a banana, but with more tech-savvy flair!
Step 5
– Peel off that sneaky piece of black tape hiding the battery. It’s time to free your power source!
Step 6
If by chance you require some assistance, feel free to employ the plastic opening tool to detach the cord from its port.
– With a gentle touch, grasp the battery cable on both sides using your fingertips and carefully pull it away from the port. You’re doing great!
Step 7
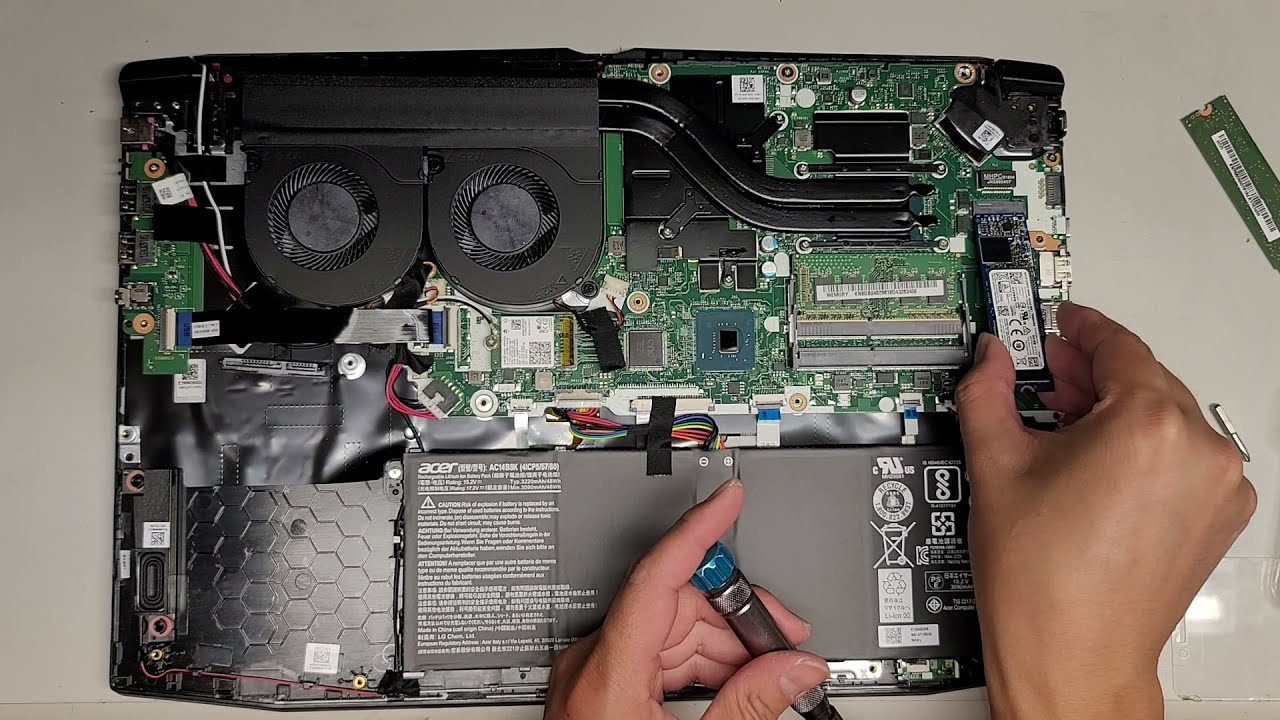
– Using a Phillips #00 screwdriver (PH00 bit), take out those two 3.5 mm screws that are holding the battery in place. You’ve got this!
Tools Used
Step 8
Hey there! Just a friendly reminder: please avoid bending or poking the lithium-ion battery. It can be a bit temperamental and might spark a fire hazard! Stay safe while repairing!
– Gently slide your fingers beneath the plastic edge where the screws used to hang out.
– Give it a little lift to pop that battery out!
Step 9
– Get those two ribbon cables out of there! Make sure to flip up the little locking tabs on the ZIF connectors and gently pull the cables free. You’re on the right track!
Step 10
– Get ready to party as you unscrew the three 2.2 mm screws that are holding the trackpad in place using a Phillips #00 screwdriver.
Tools Used
Step 11
– Open up that laptop lid and give the trackpad a gentle push from the inside to pop it out!


