How to Replace Apple IIC Floppy Drive Tutorial – Classic Mac
Duration: 45 minutes
Steps: 10 Steps
Having trouble with your Apple IIc floppy drive? No worries! This guide will walk you through replacing it step-by-step. If you need help, you can always schedule a repair.
Step 1


– Grab your trusty #2 Phillips head screwdriver and tackle those six 19 mm long screws like a pro! You’ve got this!
Step 2


The catch is slightly off to the side, but still perfectly aligned with the center of the speaker below.
– Give that catch a little nudge with your trusty plastic opening tool and watch it pop open like magic!
Step 3
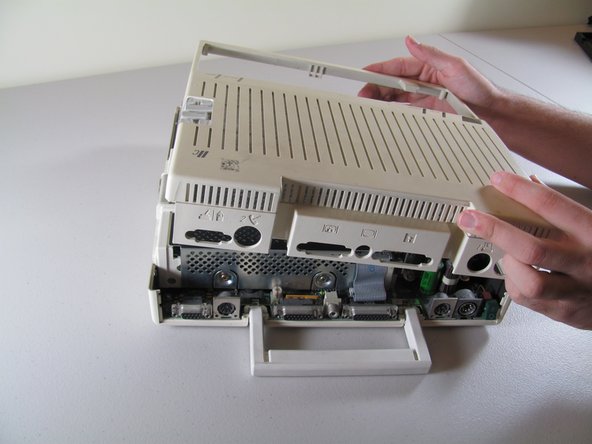

– Gently push the case towards the back ports, then sneak your fingers under the catch and lift it up while gliding towards the ports to pop it off. If you need help, you can always schedule a repair.
Step 4


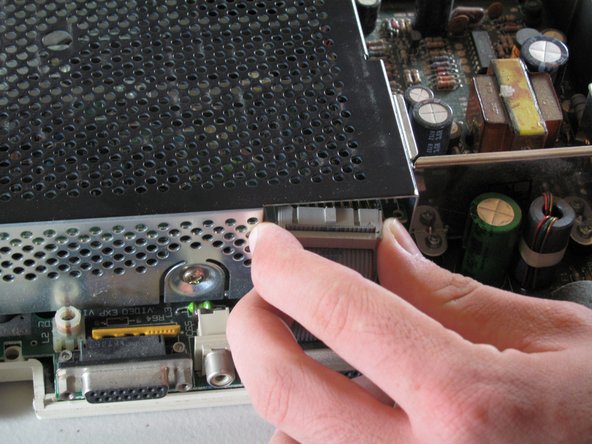
– Give that handle a gentle tug straight up to free it!
Step 5
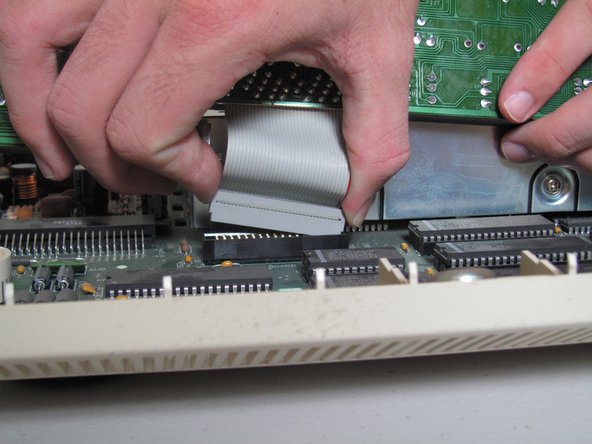

Take it easy when pulling out the ribbon—no need to rush! Gently wiggle it free to prevent any tears. And remember, pulling on the keyboard to yank the ribbon out is a no-go; that could lead to some unwanted damage.
– Gently lift the keyboard while you unhook the ribbon connection by pulling it straight up. A little side-to-side wiggle might help loosen it up!
Step 6
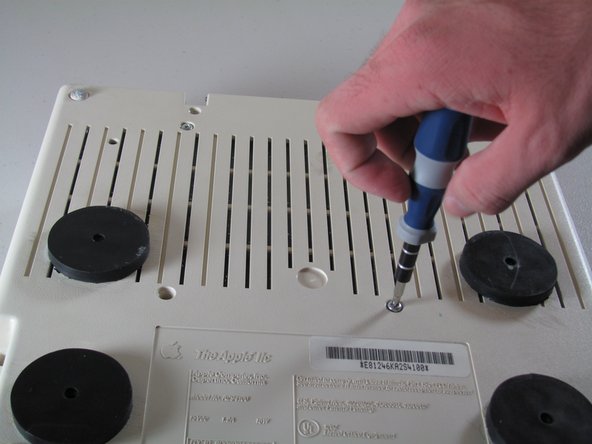

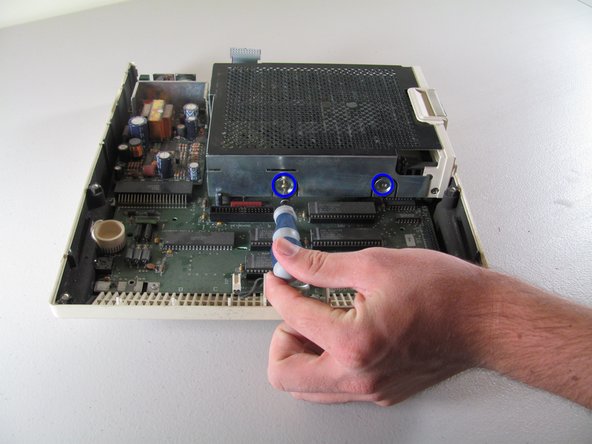
– Gently flip your device over and get ready to tackle those four centered 21.1 mm screws holding the floppy drive in place. You’ve got this!
Step 7


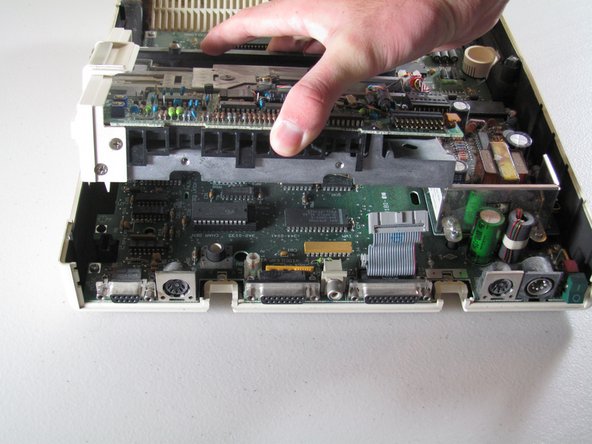
– Gently pull that ribbon connector from the floppy disk drive, making sure to slide it out straight and level for a smooth exit. If you need help, you can always schedule a repair.
Step 8

– Grab your trusty screwdriver and unscrew those four 8.5 mm screws holding the floppy drive cage in place. You’ll find two screws at the front and two at the back of the cage, just waiting for you to give them a little twist!
Step 9
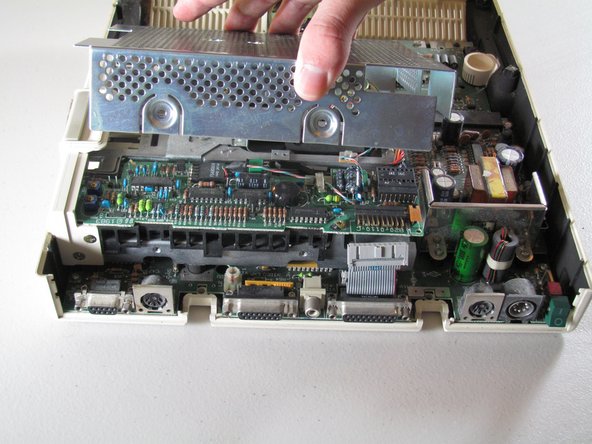

– Gently lift the floppy drive cage straight up to free it from its cozy spot.
Step 10

– Gently pull the floppy drive straight up to free it from its spot.