How to Replace Apple iPhone 8 Screen: Step-by-Step Guide
Duration: 45 min.
Steps: 24 Steps
If your iPhone 8’s display is feeling a bit under the weather, whether it’s refusing to respond to your touch or flickering like a disco ball, it’s time for a screen replacement! In this easy-to-follow photo guide, we’ll walk you through each step to get your device back in action. Just follow along, and soon enough, you’ll be enjoying a fully functioning display again. Good luck with the repair, and we can’t wait to hear your thoughts on our guide! Remember, if you need any help, just reach out or schedule a repair!
Step 1
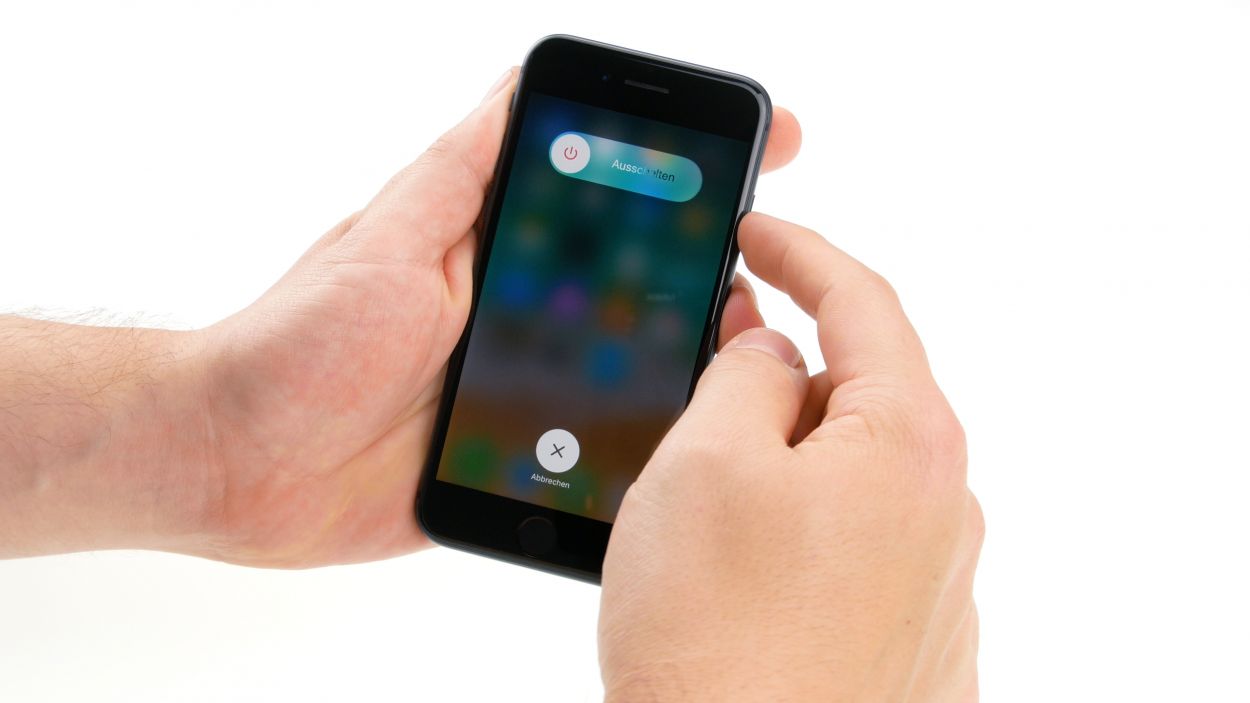
– First things first, let’s keep your iPhone safe! Power it down completely to avoid any pesky short circuits. Just press that standby button for about three seconds until you see the ‘Turn off’ slider pop up on your screen.
– Now, give that slider a gentle swipe from left to right and hang tight while your iPhone shuts down completely. You’re doing great!
Step 2

– Loosen the two Pentalobe screws located on either side of the Lightning Connector and stash them safely in your screw storage. You’re doing awesome!
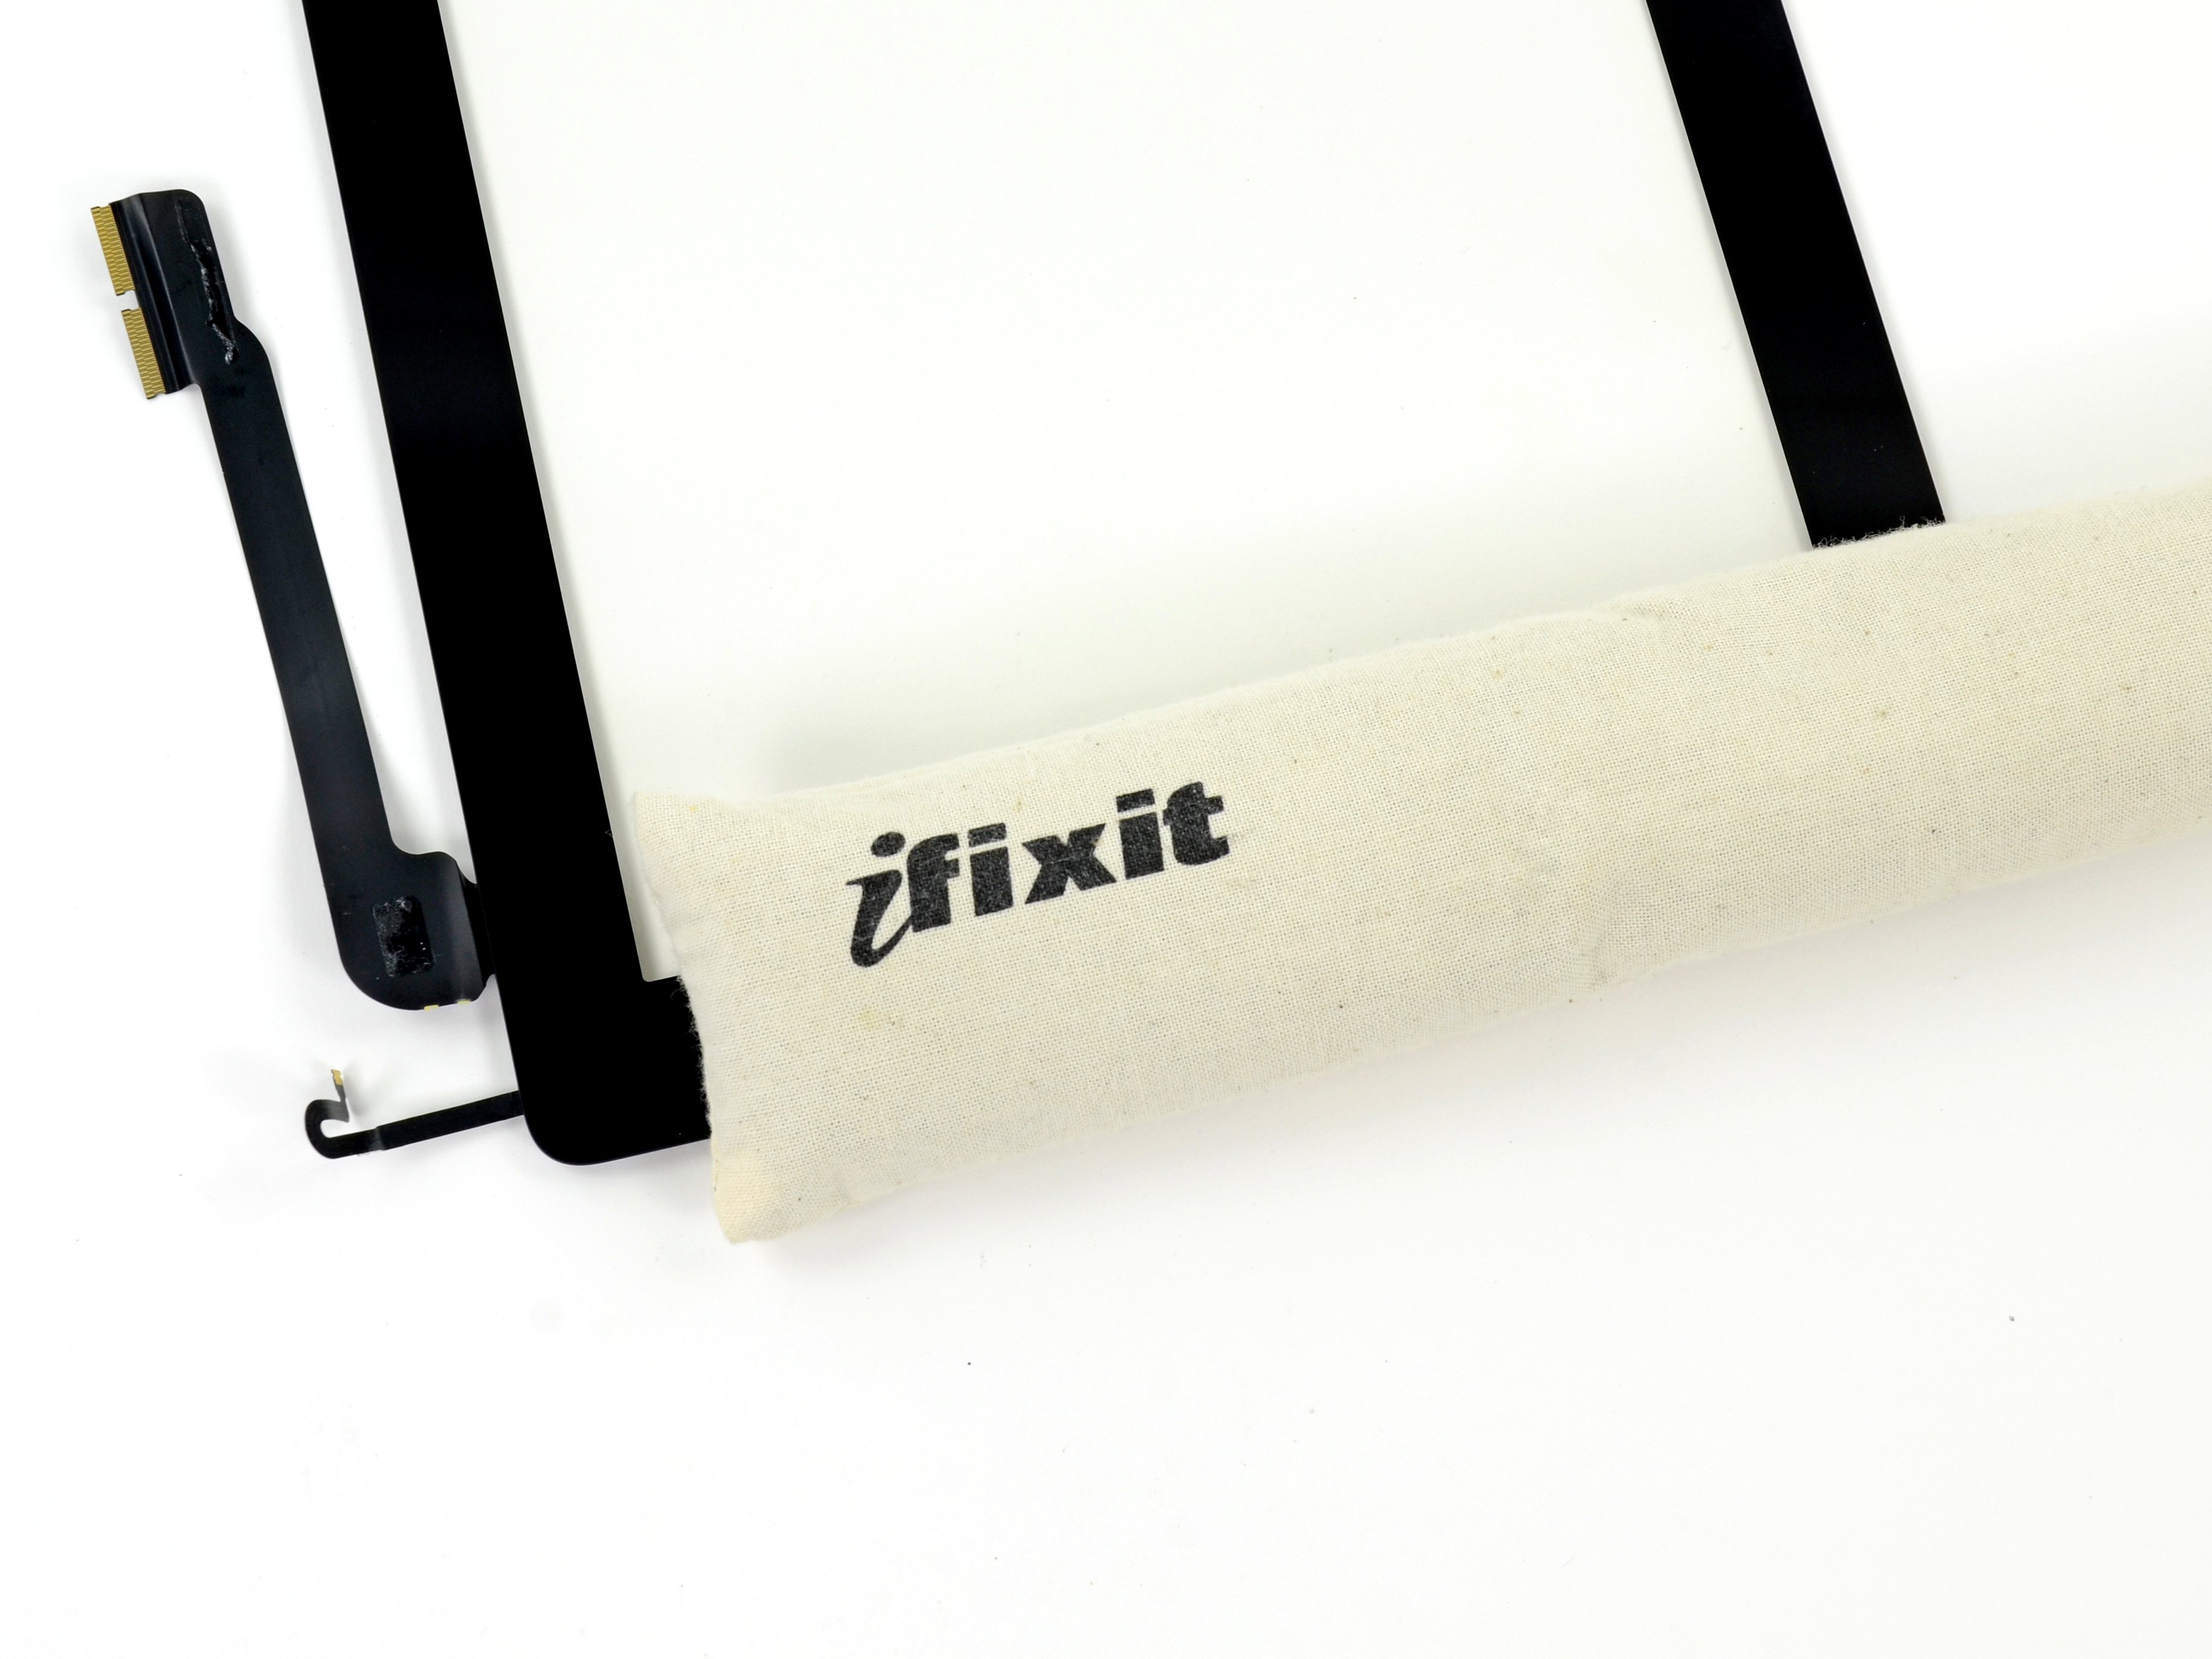
2 × 3.4mm Pentalobe
We suggest grabbing a little screw storage buddy to keep track of all those tiny parts and screws you’re taking out. An old sewing box can work wonders for this! Here at Salvation Repair, we love using a top-notch magnetic mat during our repairs. It’s perfect for laying out the pieces just like they were in your phone. That way, you’ll know exactly where each screw belongs, making it a breeze to put everything back together later. You’ve got this!
Tools Used
Step 3
When it comes to heating your device, think of it like making a perfect cup of coffee—warm enough to enjoy but not so hot that you burn your fingers! So, keep it at a comfy temperature that you can touch without any ouchies.
– First, let’s give your iPhone 8 a comfy spot! Place it on a soft, clean surface to keep it scratch-free while you lift the display.
– Next up, grab your hot air tool—whether it’s a fancy heat gun or just a good old hairdryer—and gently warm up the outside of the display. Make sure to cover it evenly, like spreading butter on toast!
Tools Used
- heat gun to heat parts that are glued on so they’re easier to remove.
In most cases, you can also use a hairdryer.” rel=”noopener”>Heat gun
Step 4

Hey there! Just a heads up—cracking open that iPhone 8 will wave goodbye to your warranty for dust and splash protection, not to mention its waterproof claims. So, tread carefully!
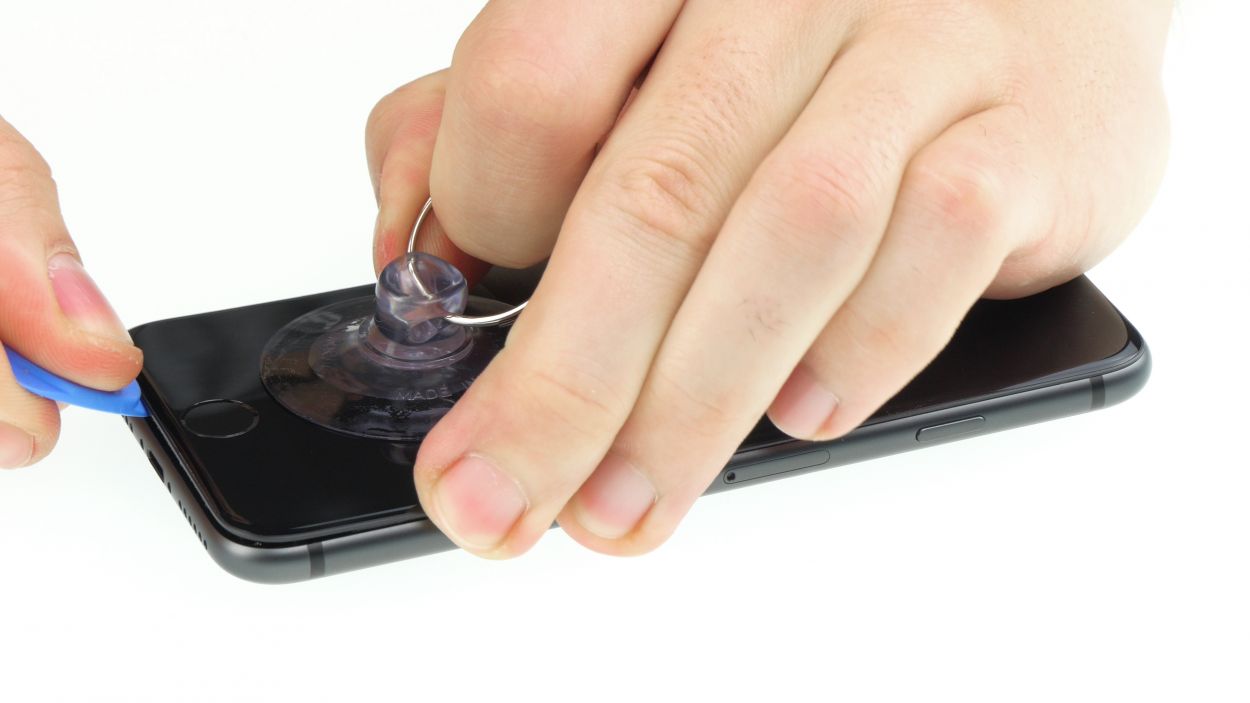
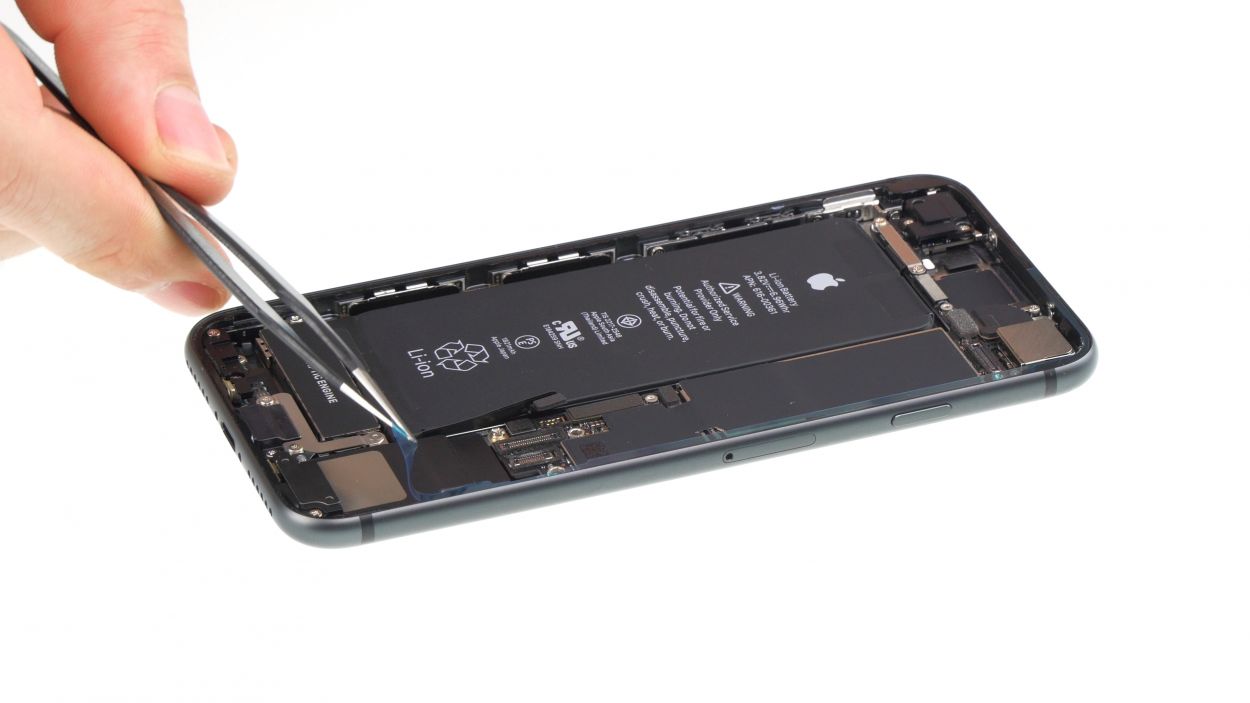
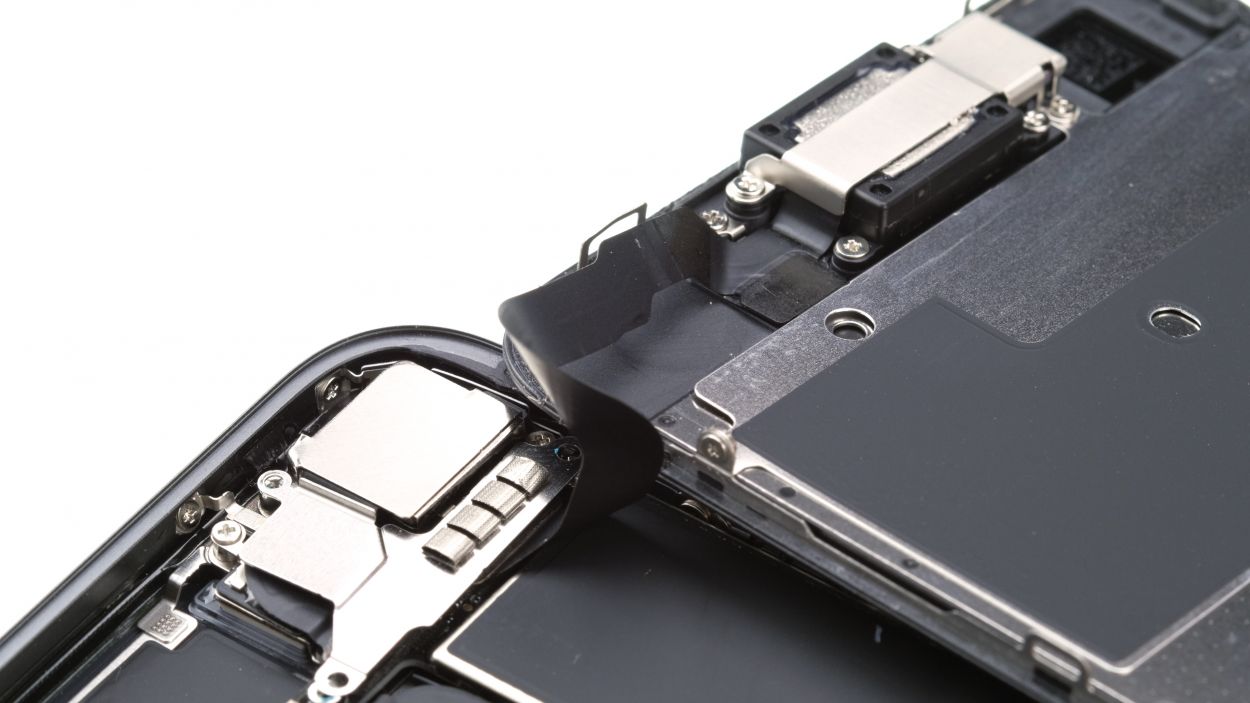
– Stick a suction cup right above the Home button on the display and give it a gentle tug upwards to create a slim gap between the aluminum and display frames. You’re on your way!
– Now, grab a flat plastic tool and slide it into that narrow gap you just made. Gently nudge the aluminum frame upwards with your tool to widen the gap a bit more. Flat plastic picks work wonders for this task!
Tools Used
Step 5
Hey, just a friendly reminder! While you’re working on that display, keep it under 180°—going beyond that could lead to some unhappy flex cables. Let’s keep those cables cozy!
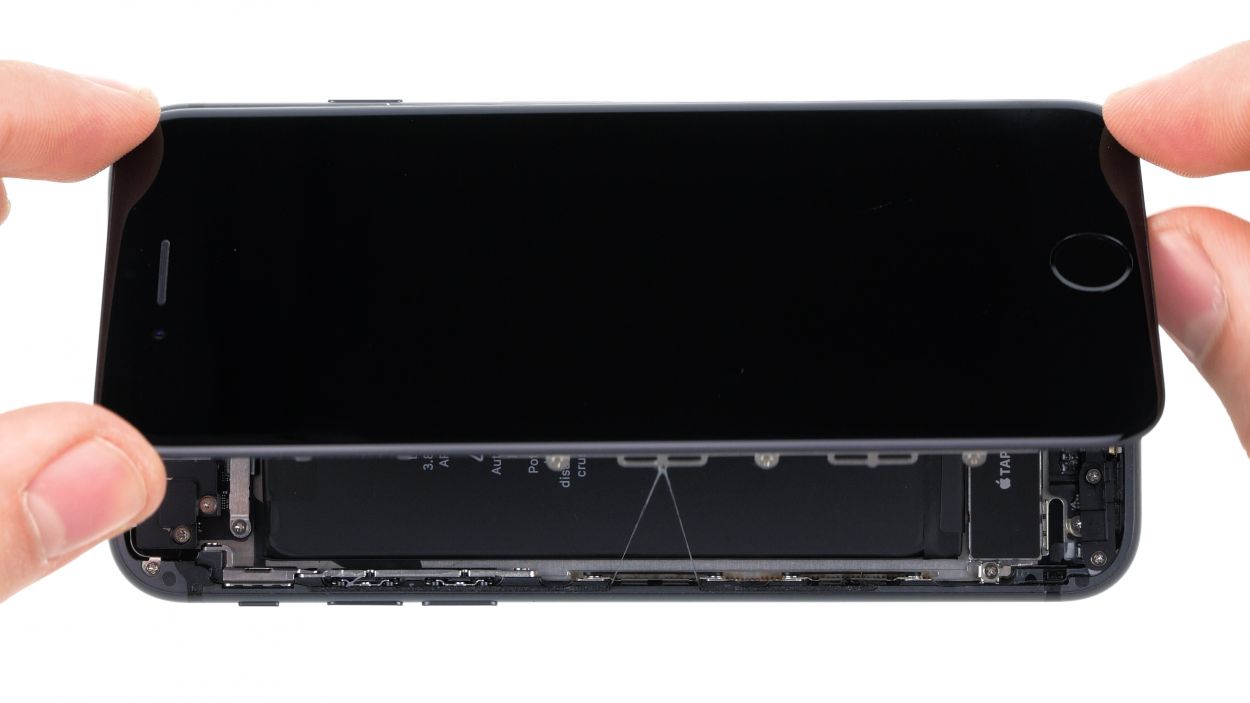
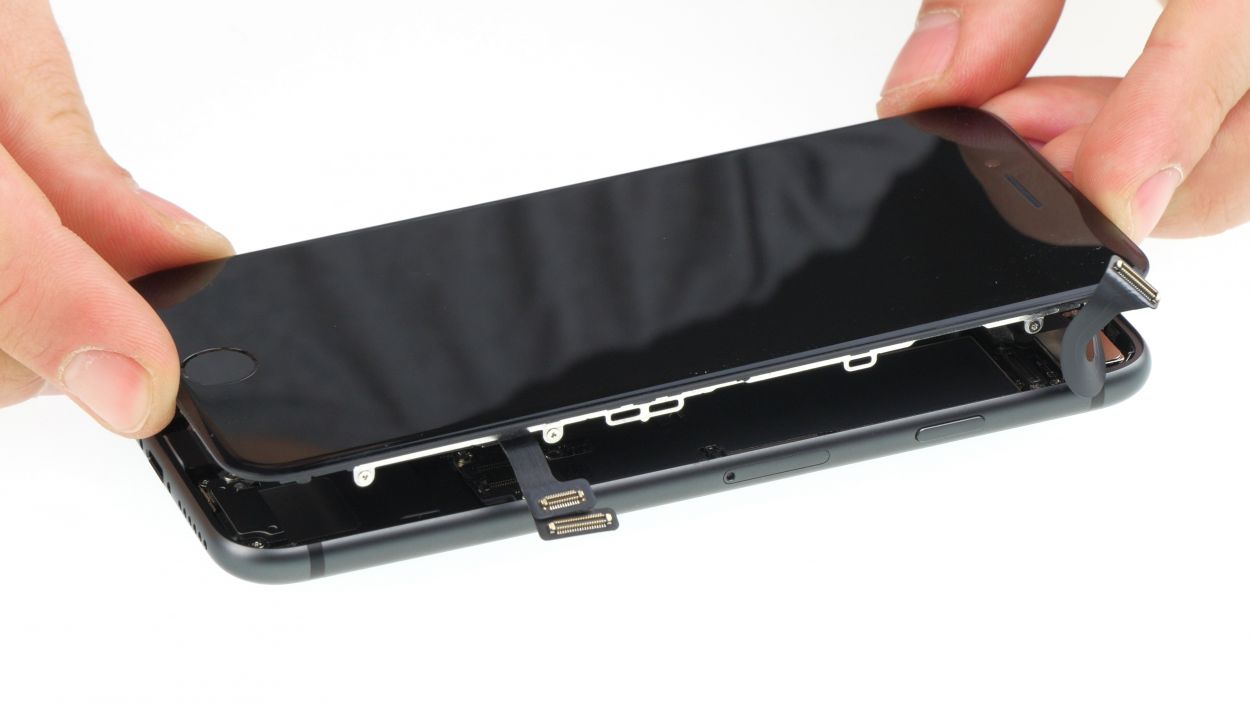
– With a gentle nudge, push the display upwards using your trusty plectrum to pop those lugs free from the aluminum frame. You’re making progress!
– Now, swing that display open towards the standby button like a pro! Lean it against something sturdy to keep those flexible cables from overstretching. You’re doing an awesome job!
Tools Used
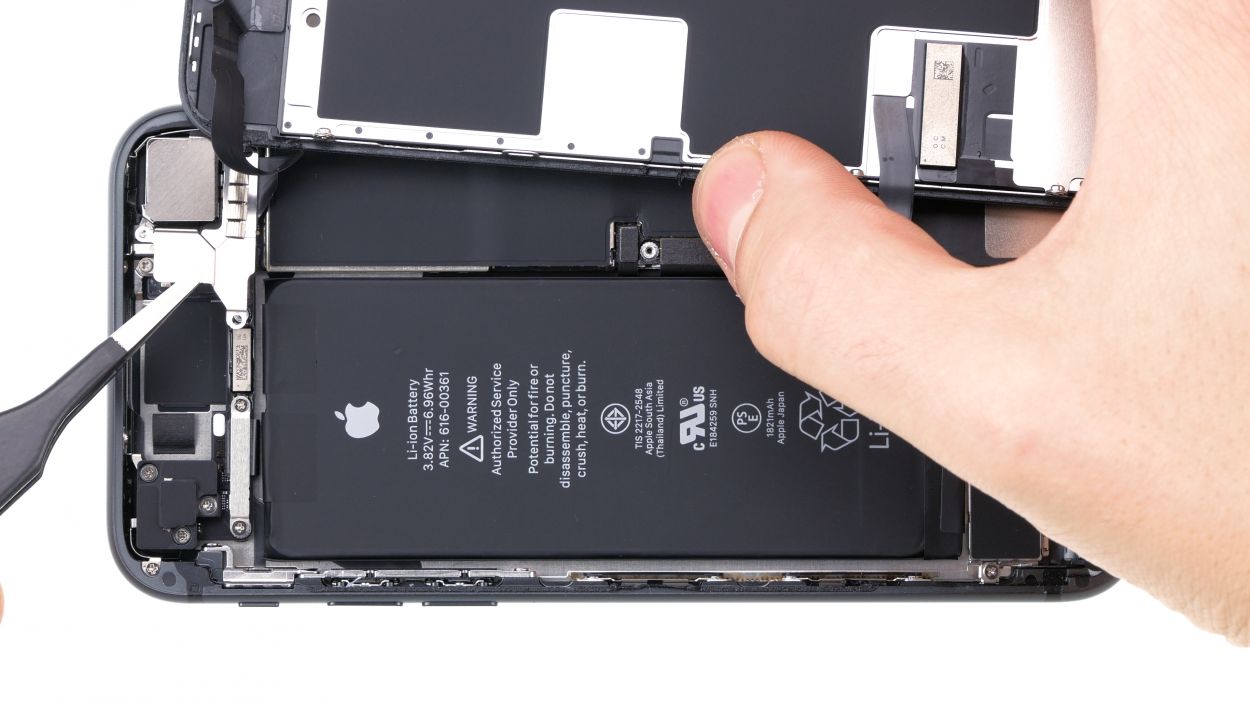
Step 6
2 × 2.6 mm Phillips
2 × 1.0 mm Phillips
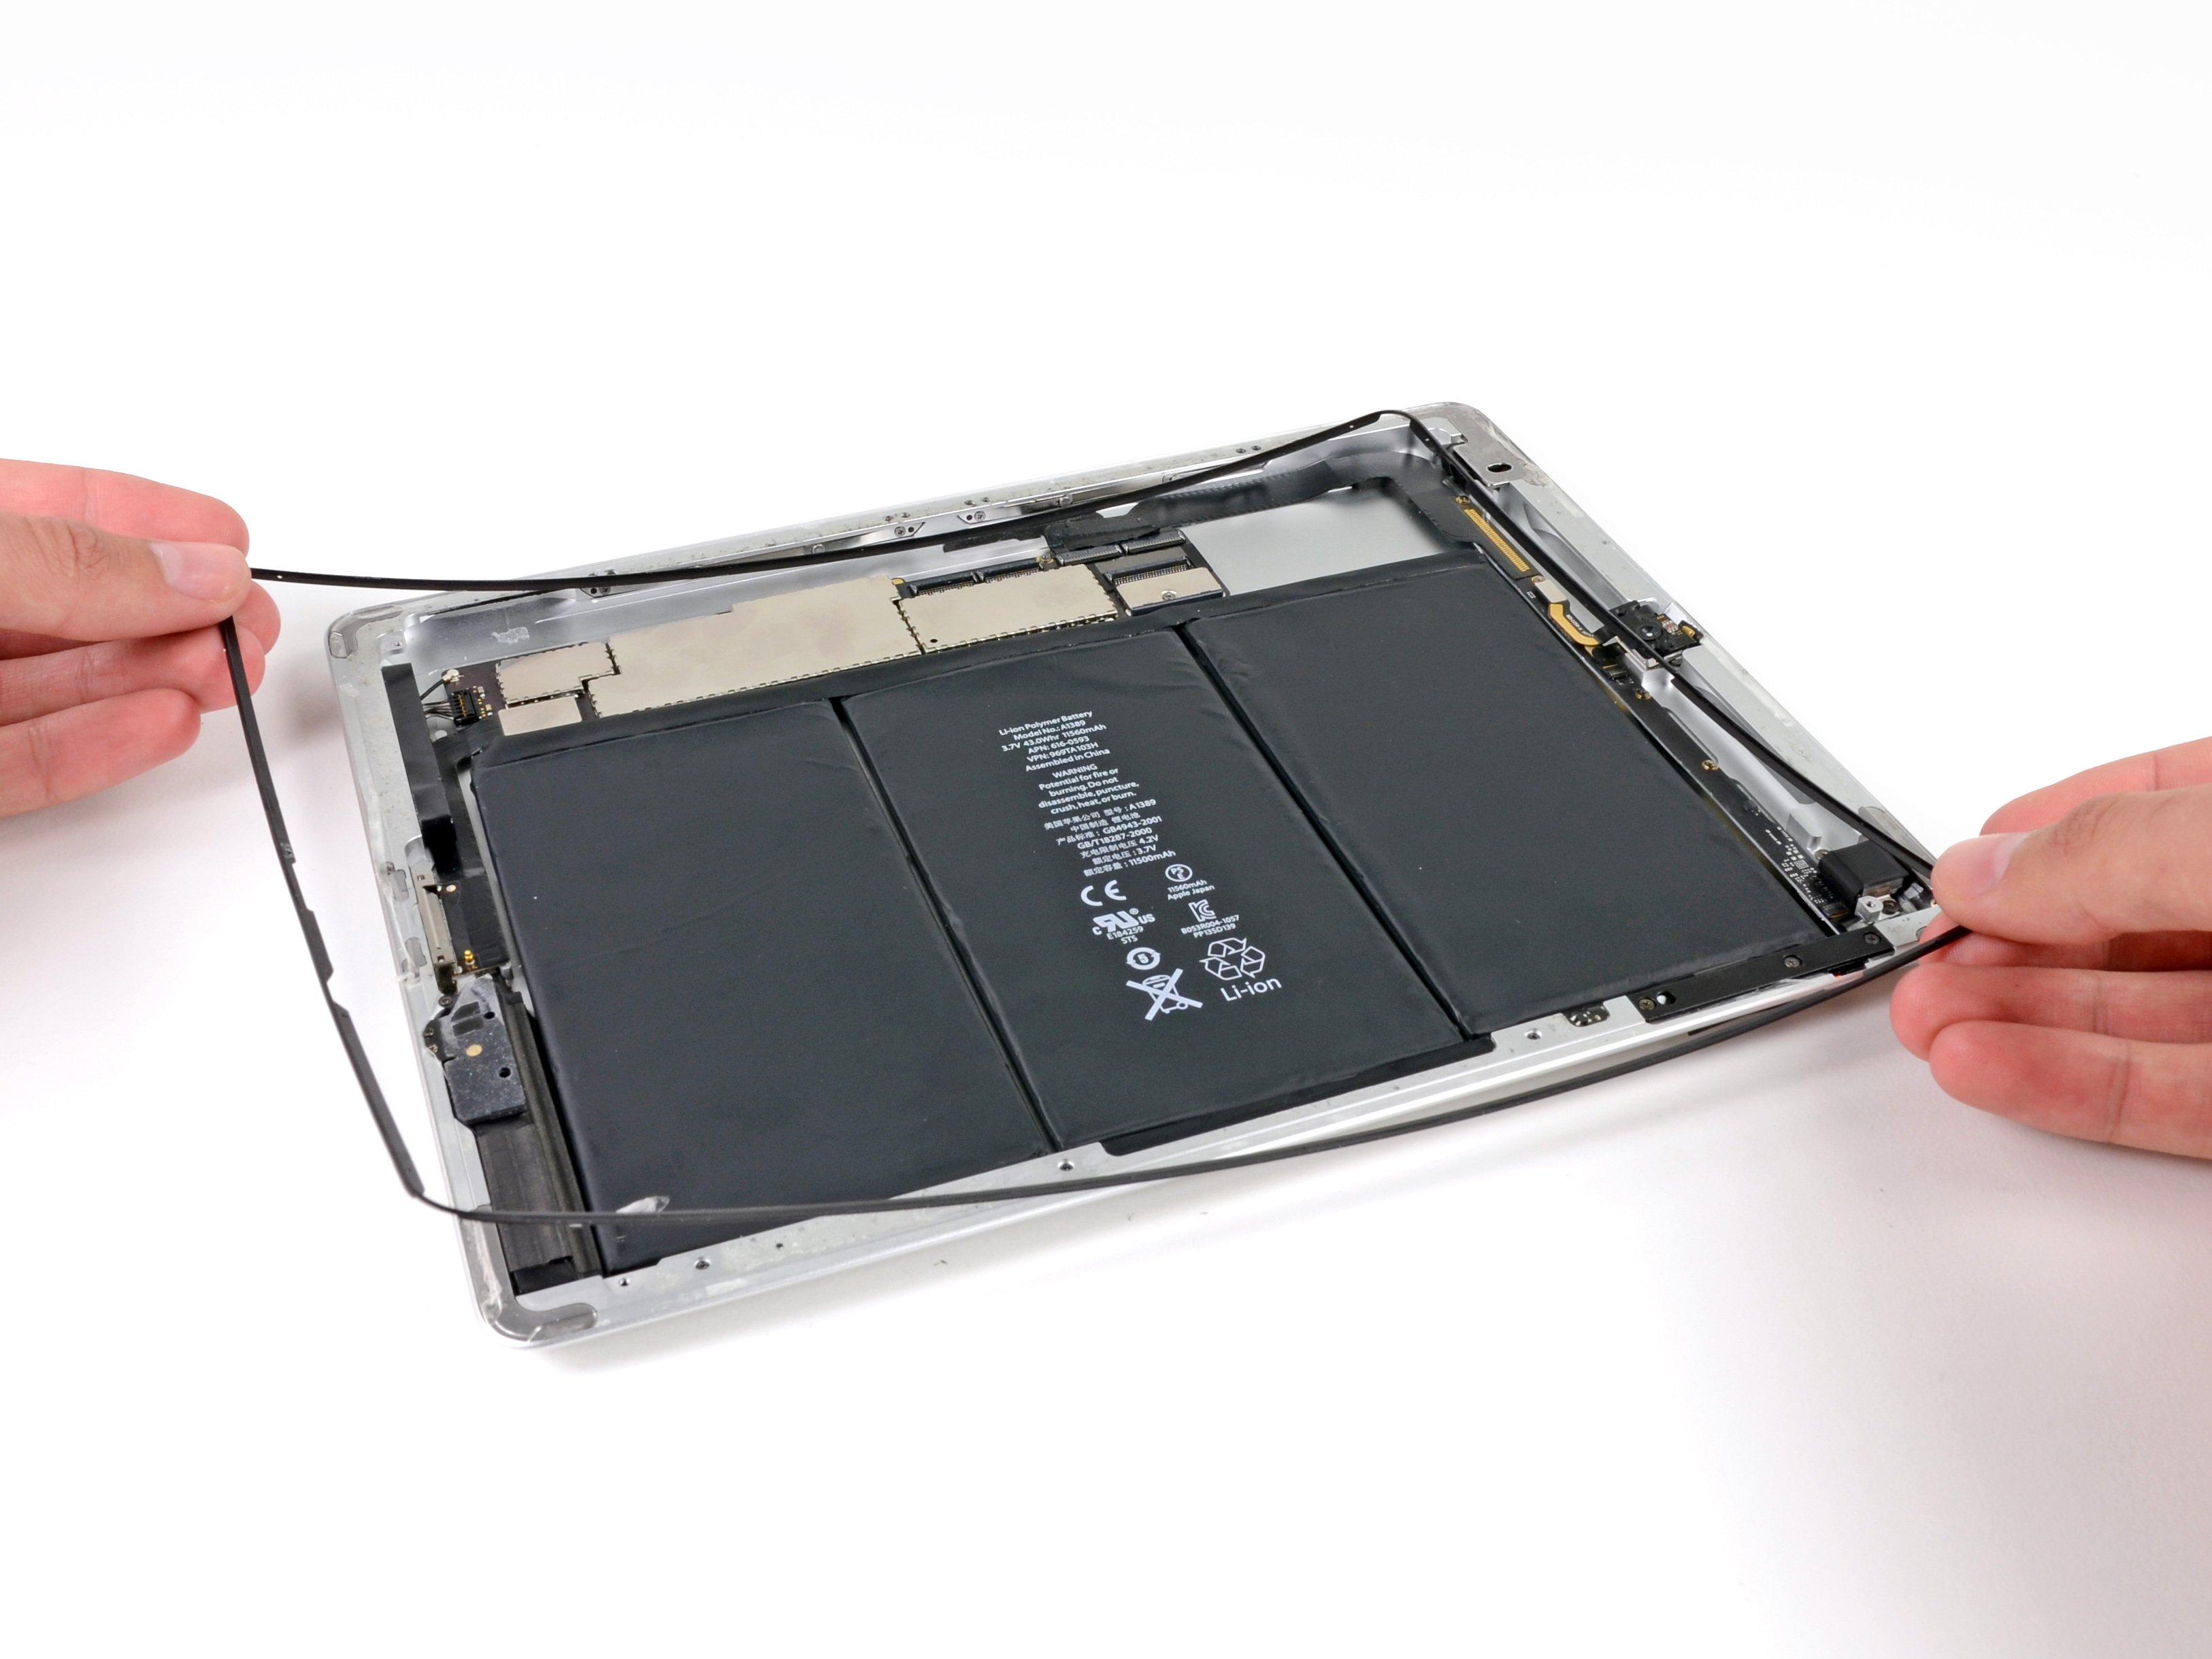
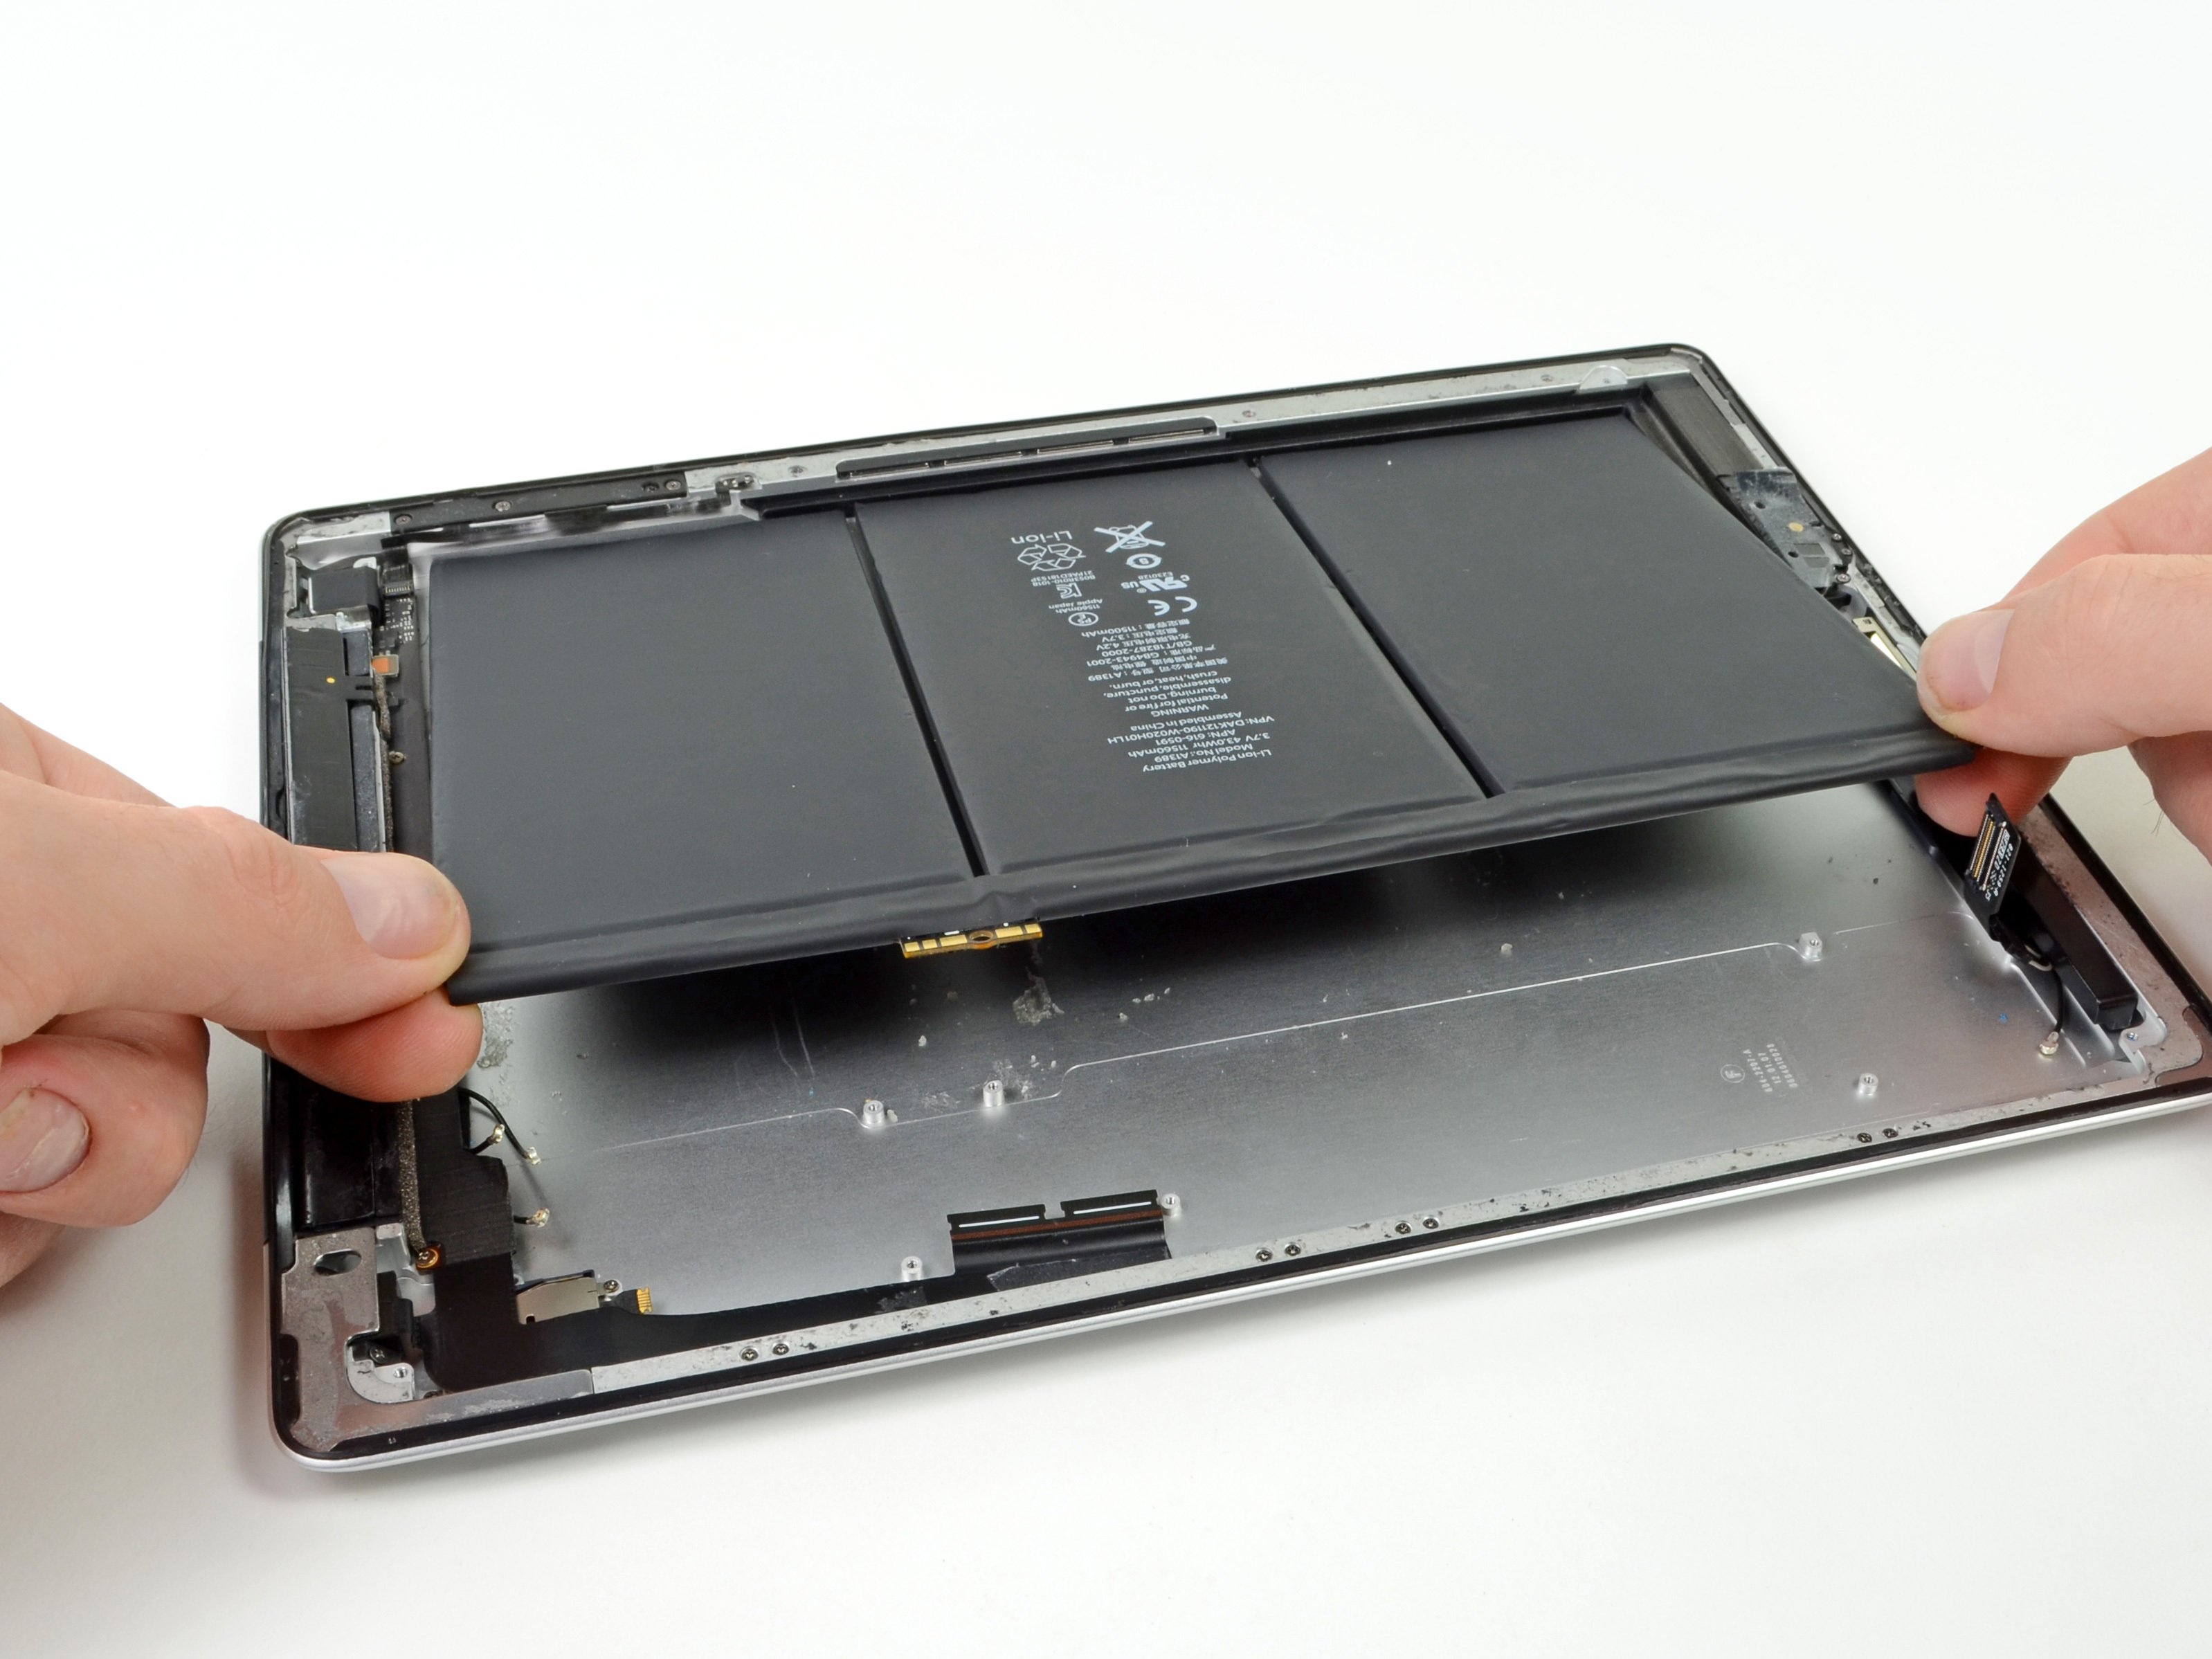
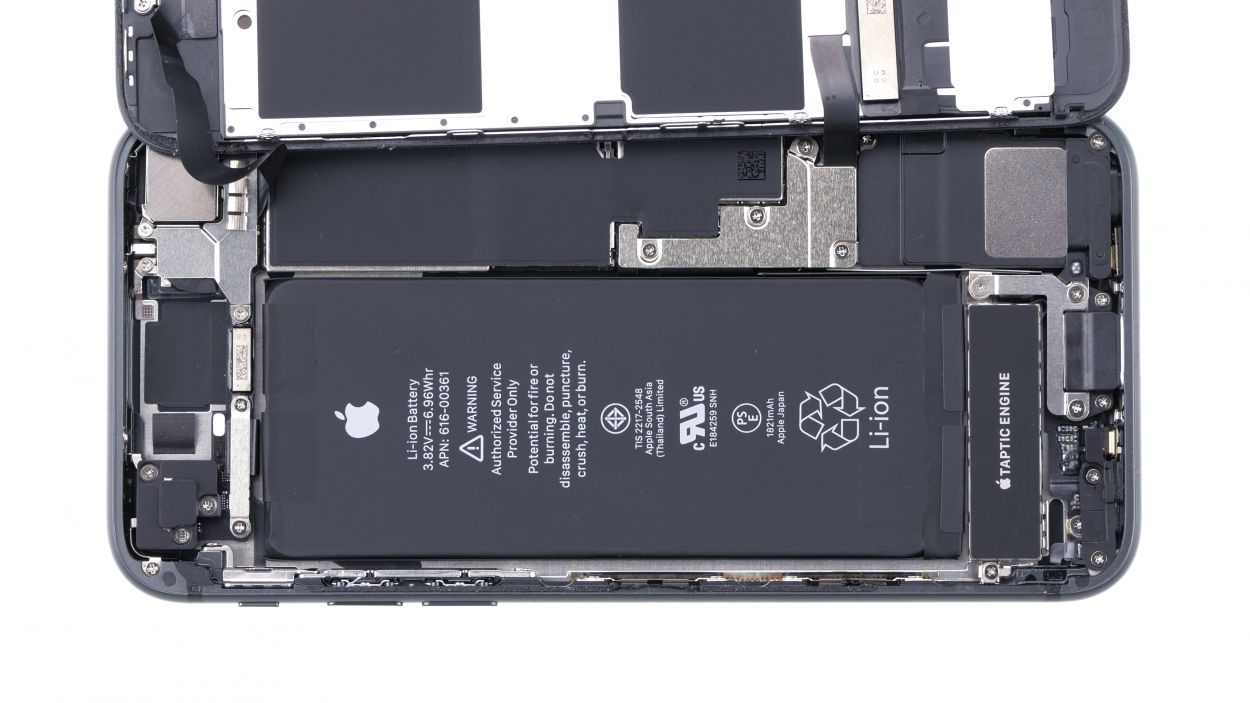
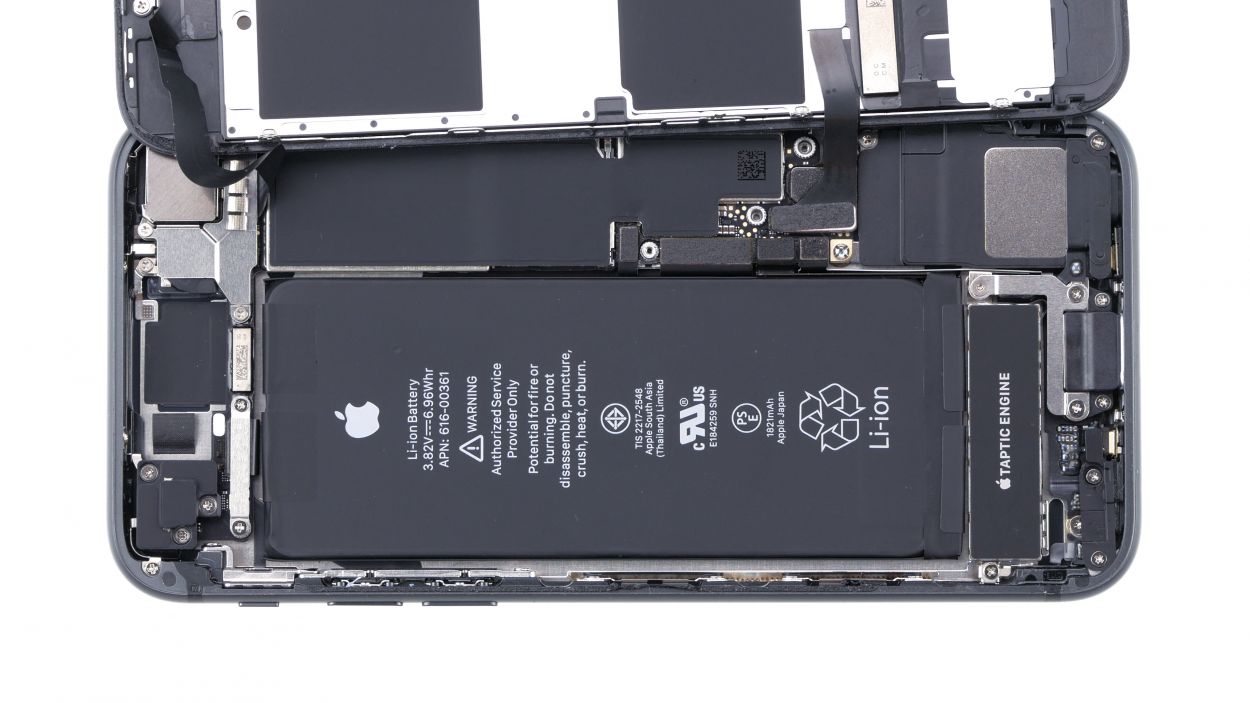
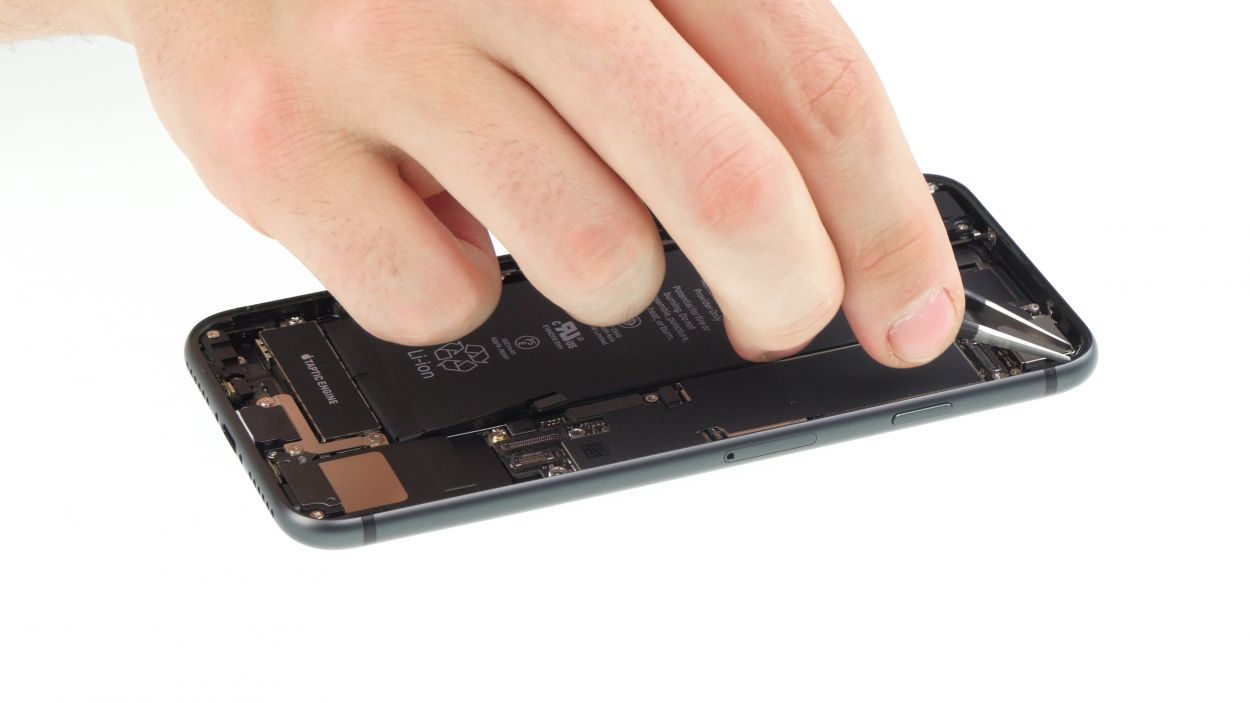
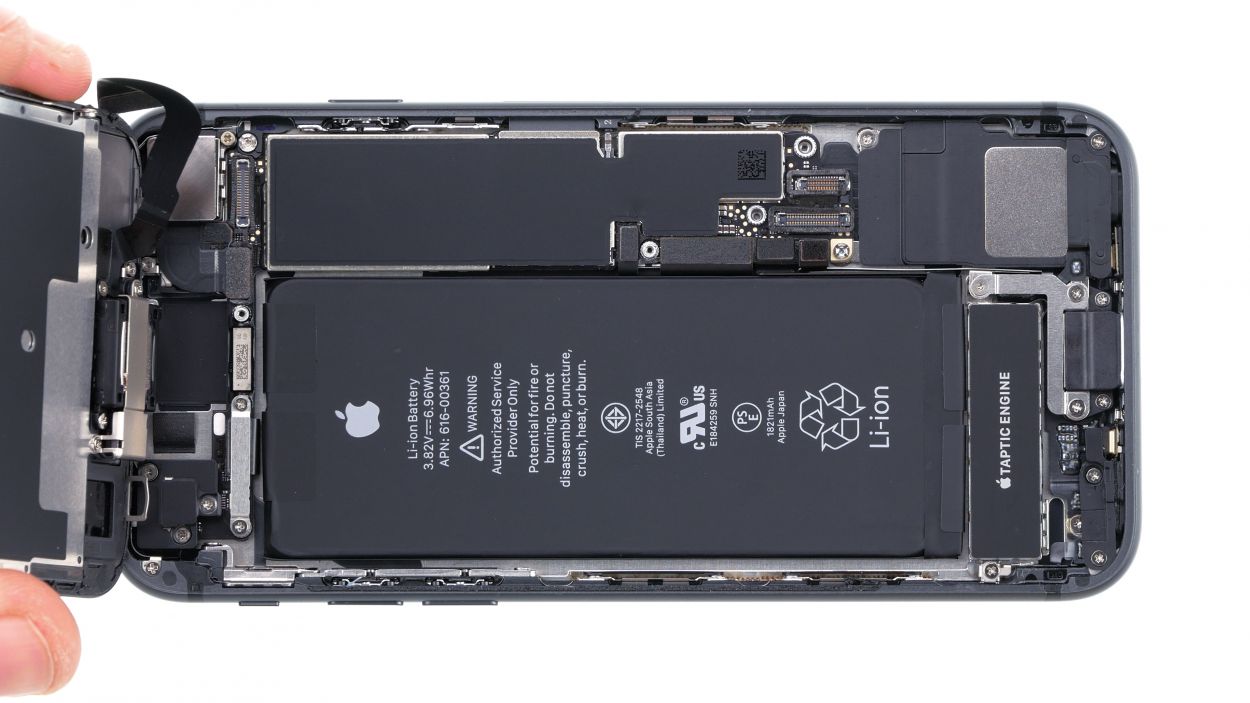
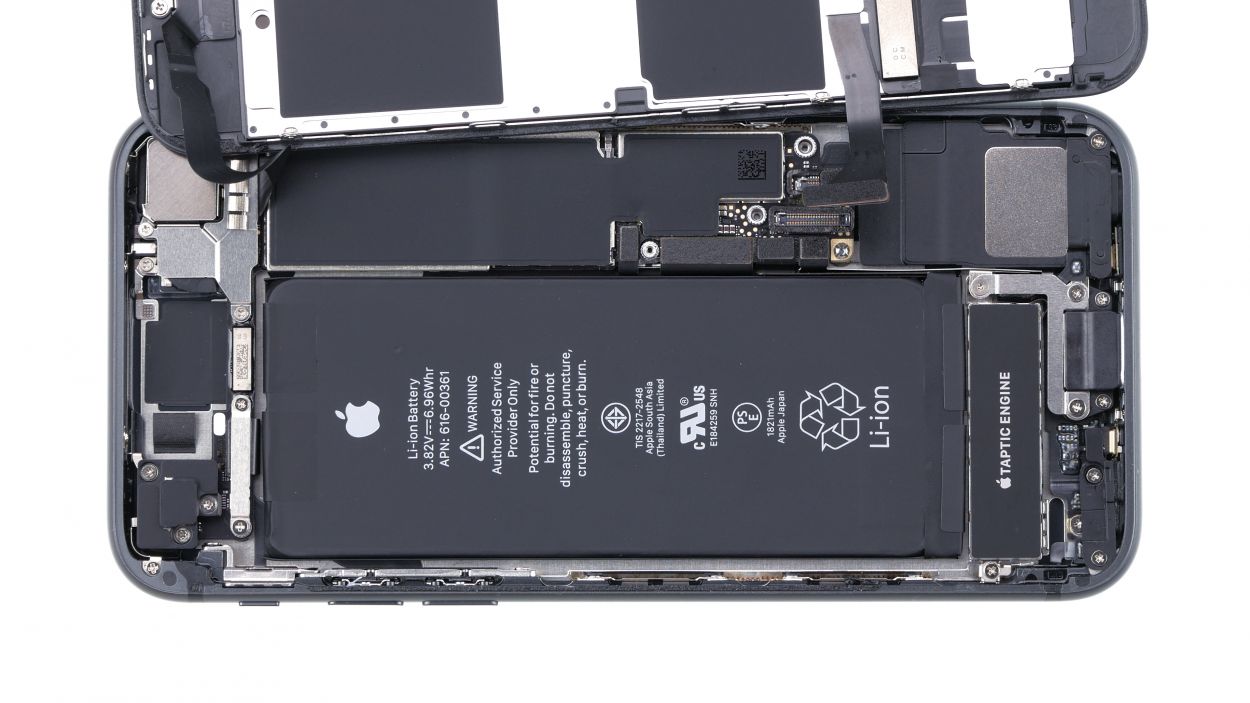
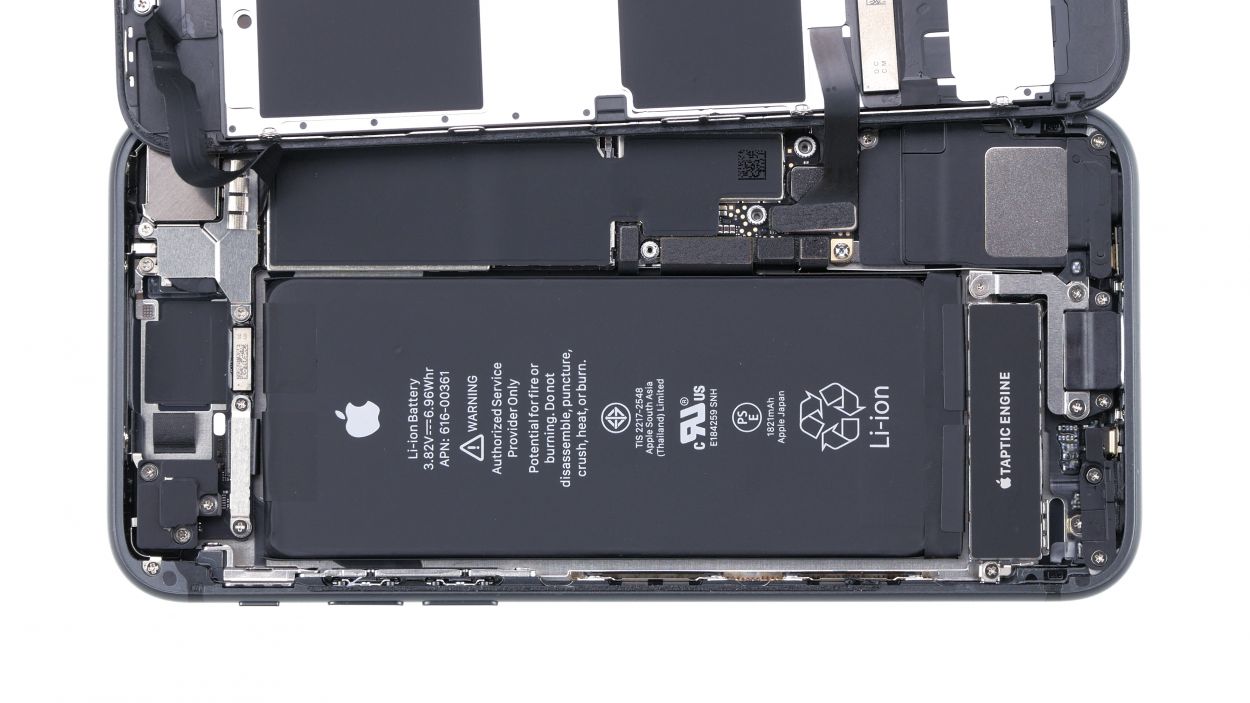
Before you dive into the repair fun, make sure to disconnect the battery connector! It’s like giving your device a little nap—keeping it from accidentally waking up or causing any short circuits while you work your magic.
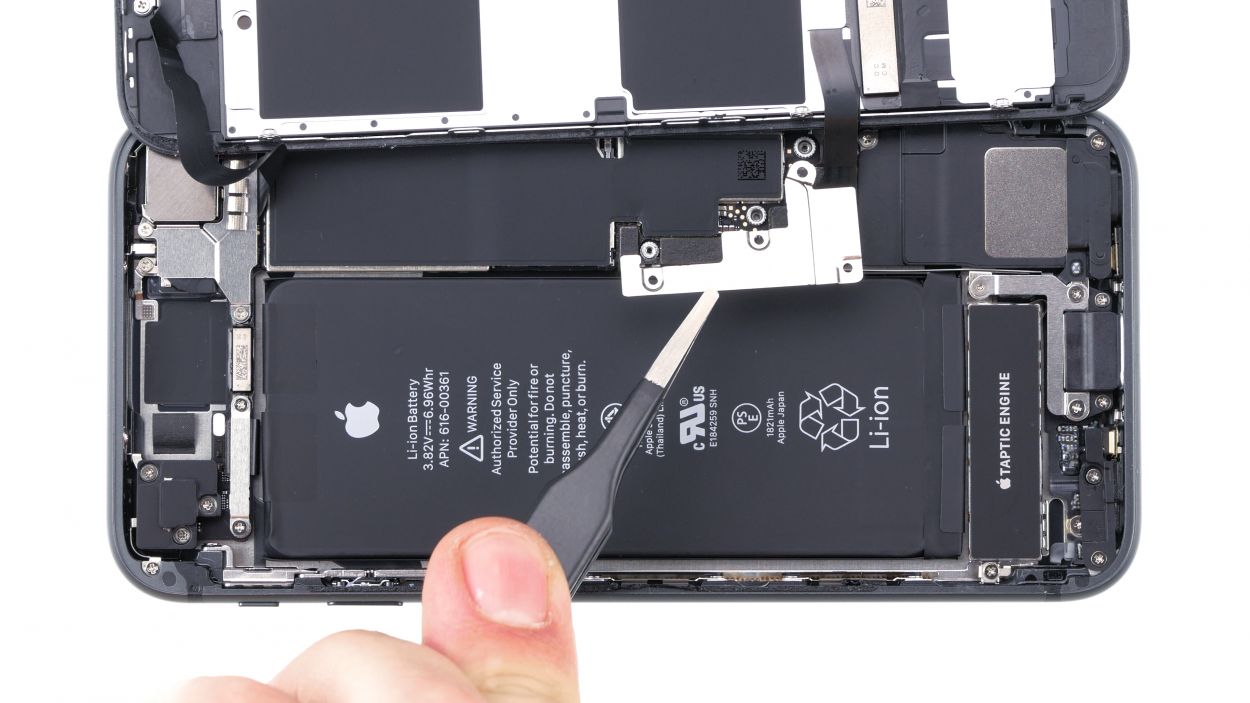
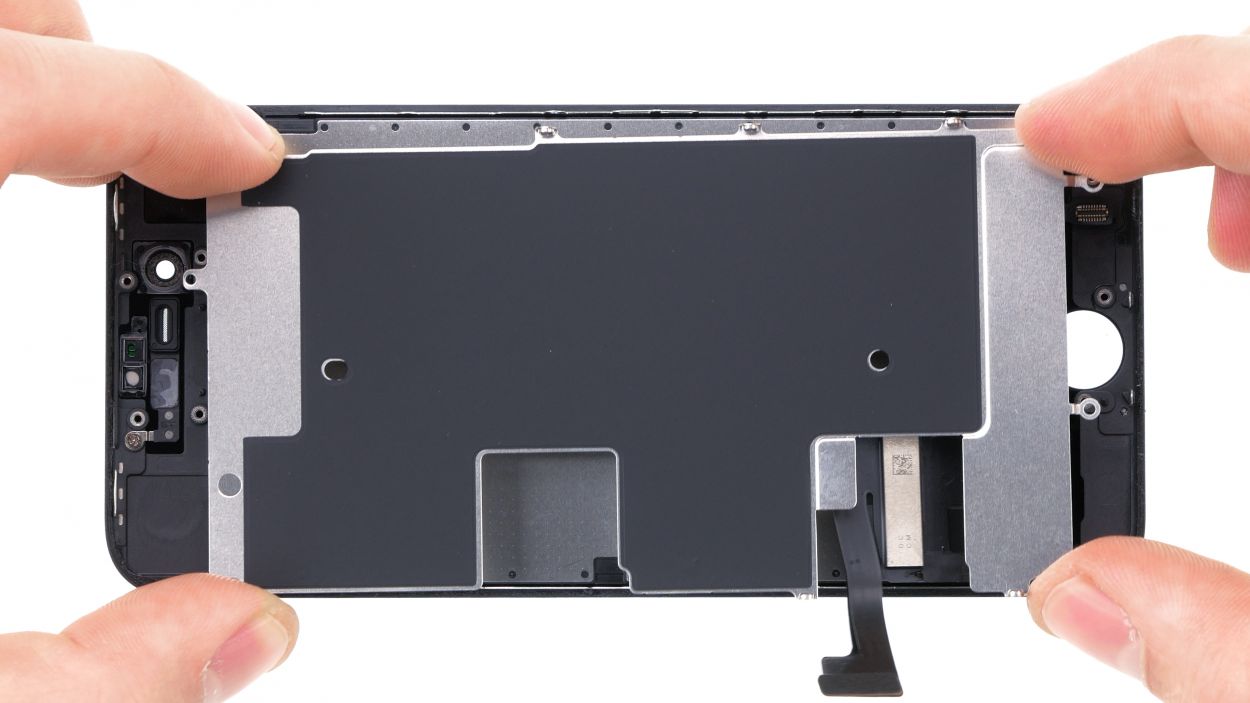
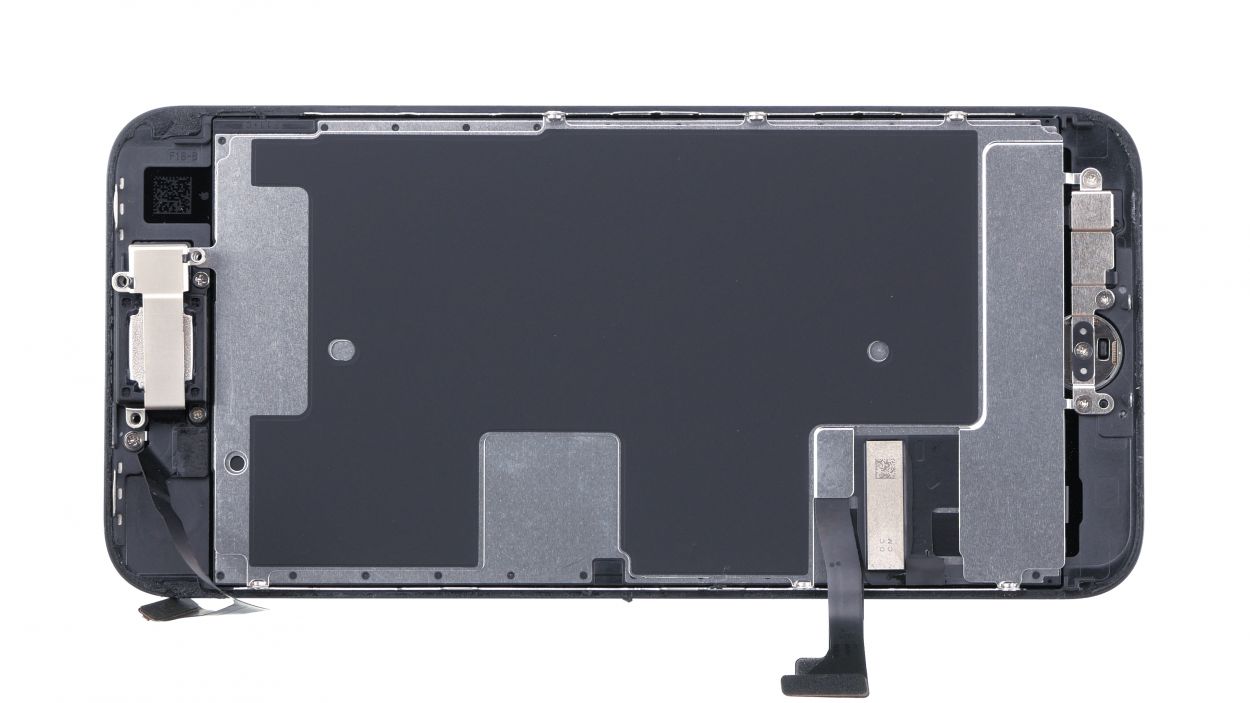
– Grab your trusty Phillips screwdriver and let’s tackle those four screws! Once they’re out, gently lift off the cover using your tweezers—easy peasy!
– Next, it’s time to disconnect the battery connector. Use a plastic spudger to carefully pry it off. You’re doing fantastic!
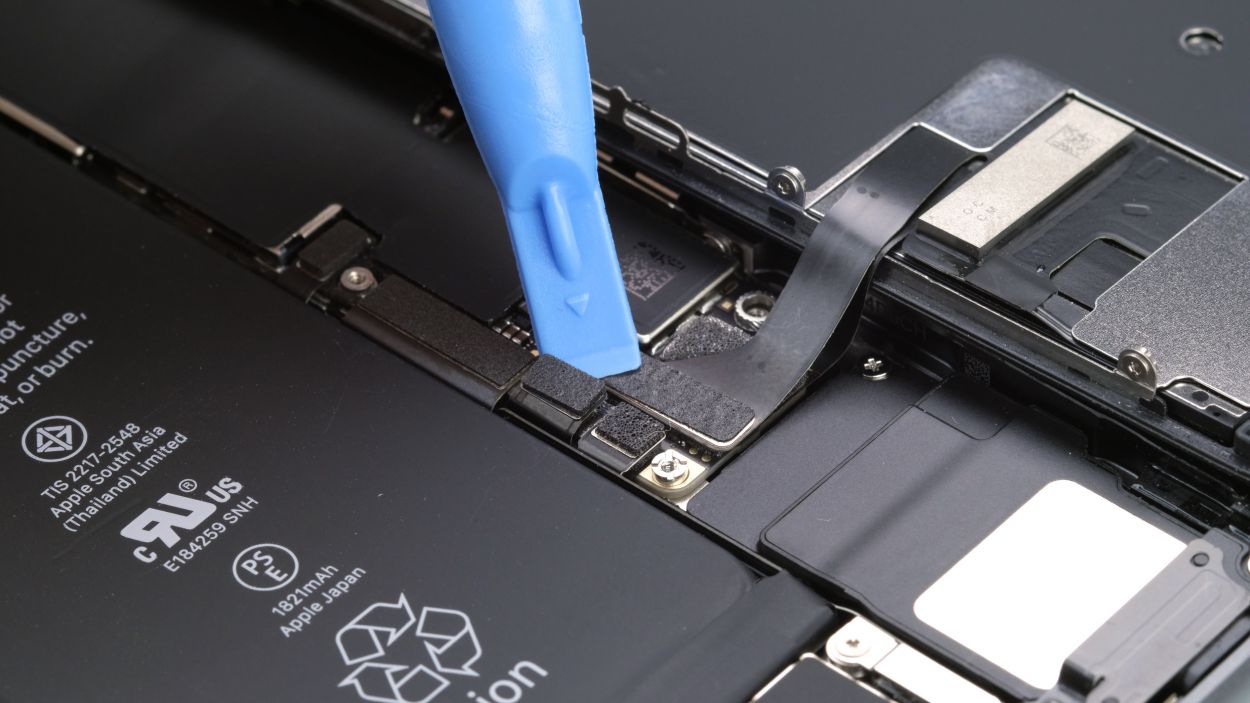
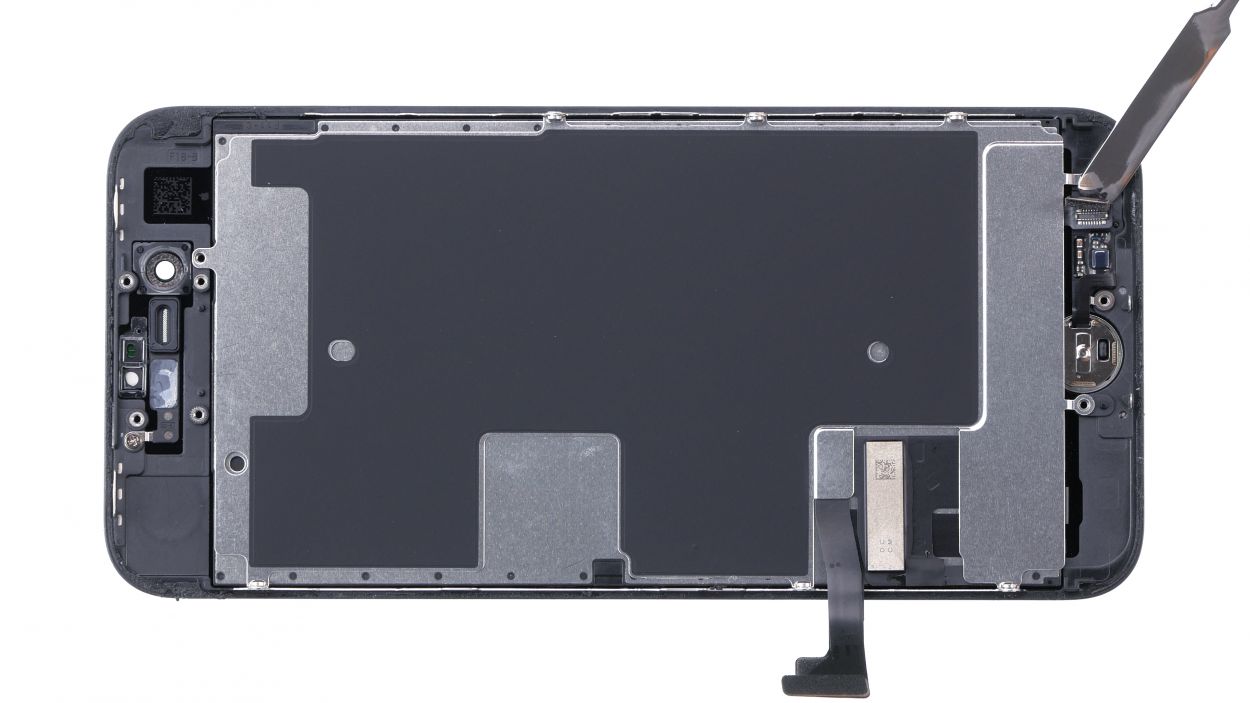
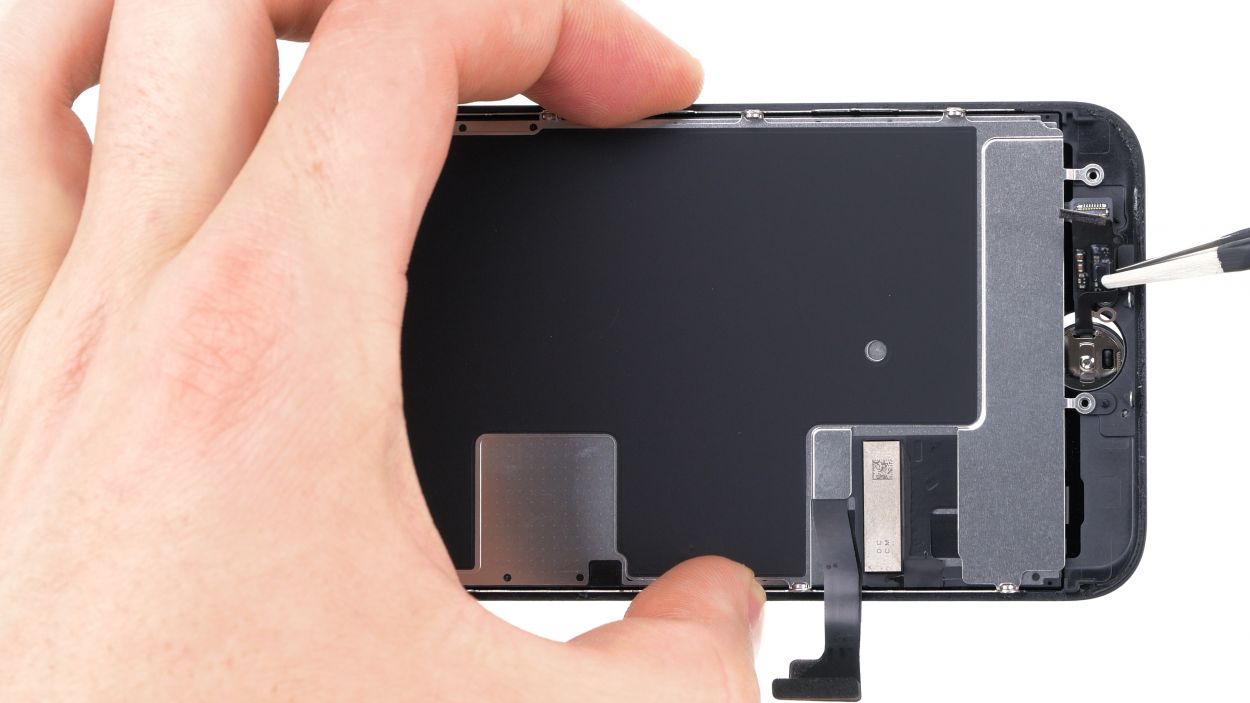
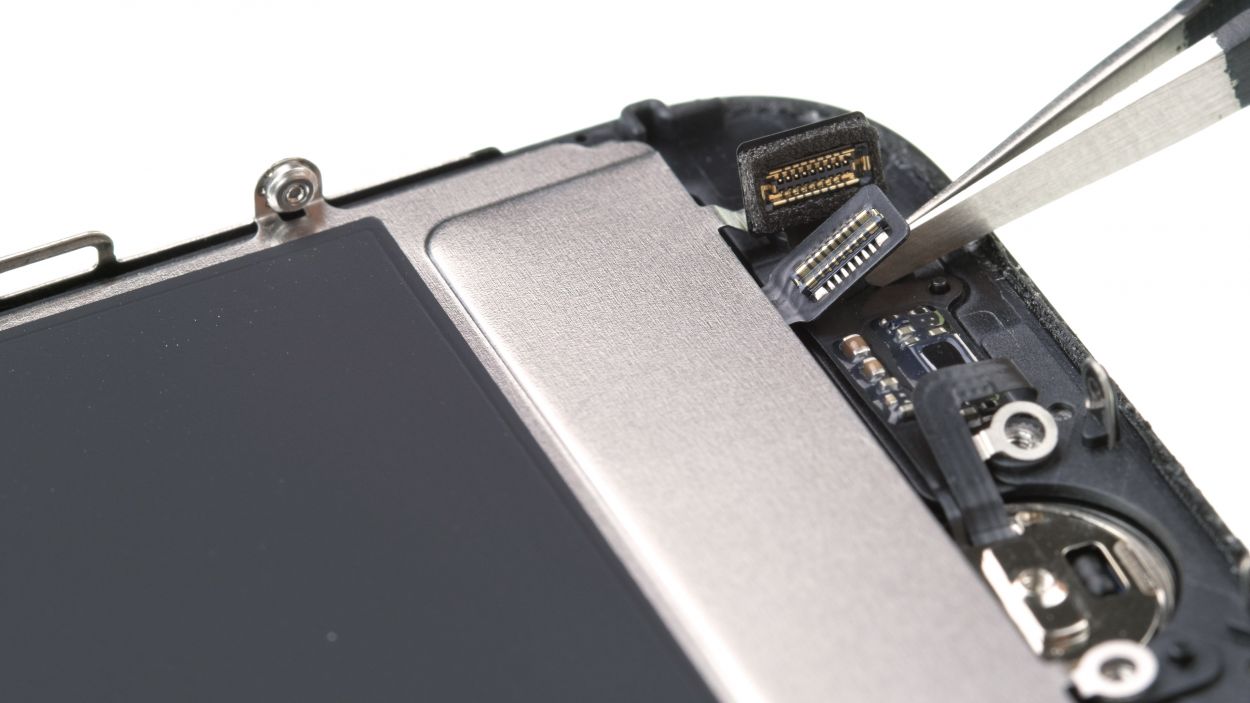
Step 7
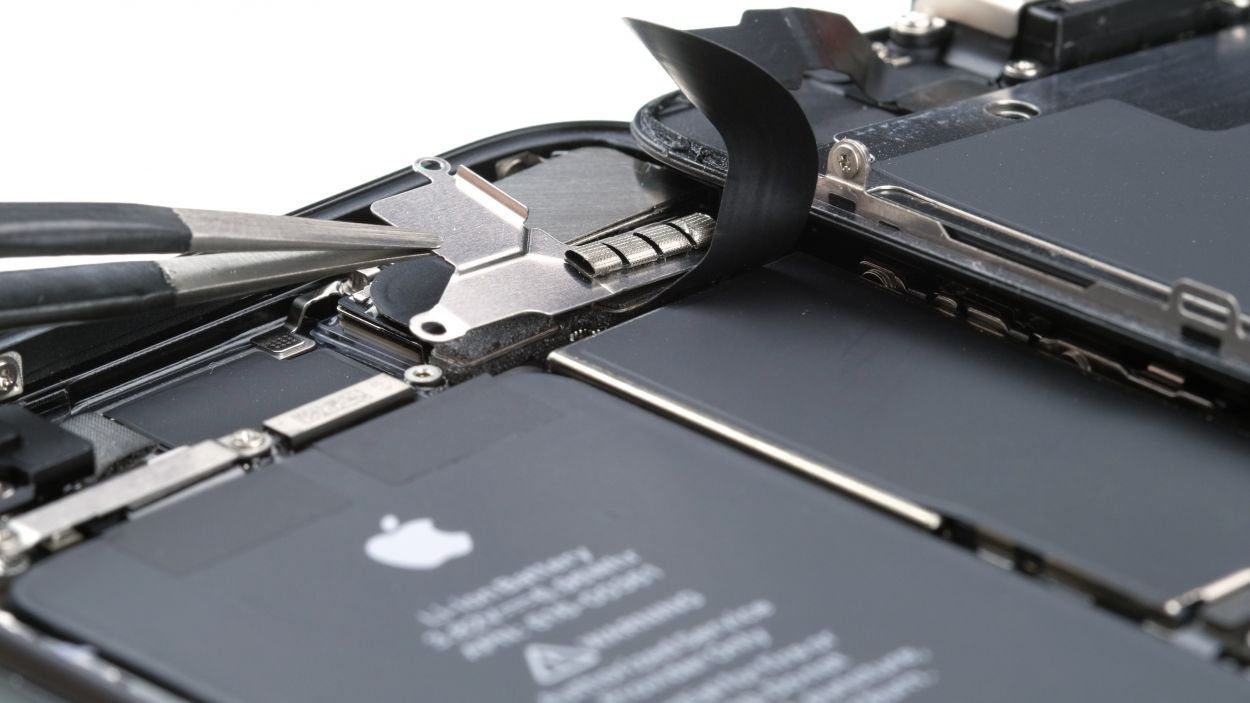
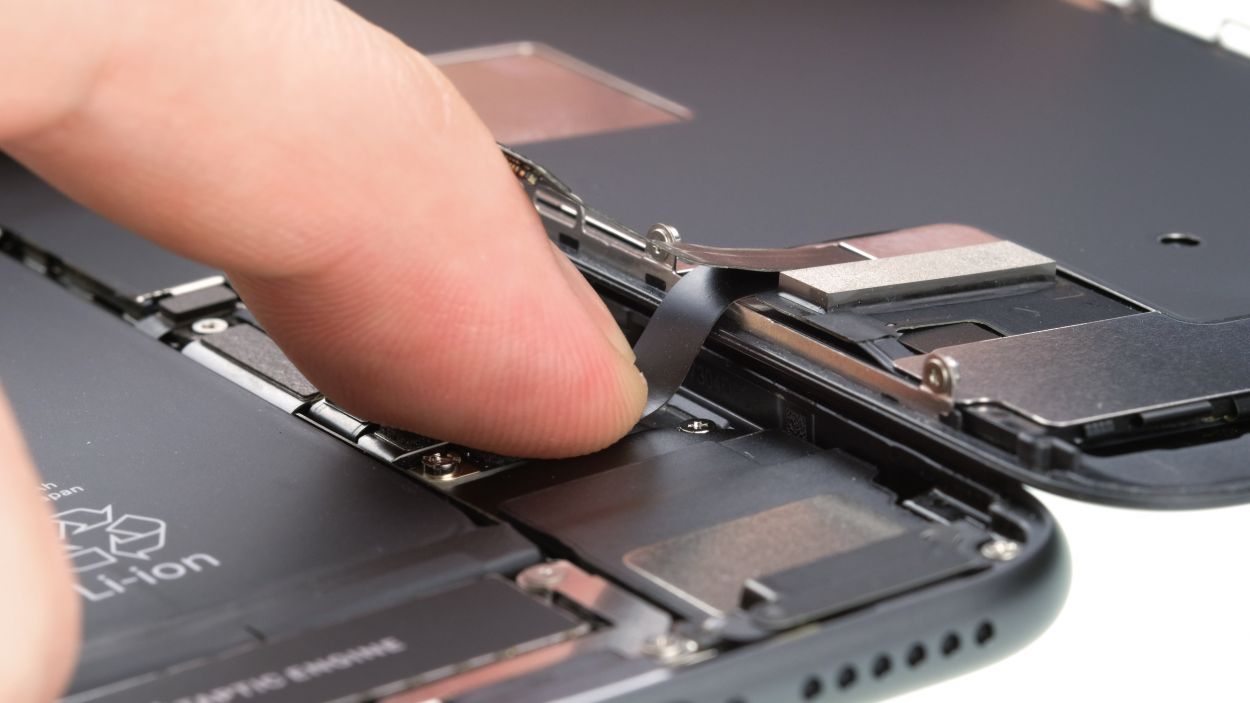
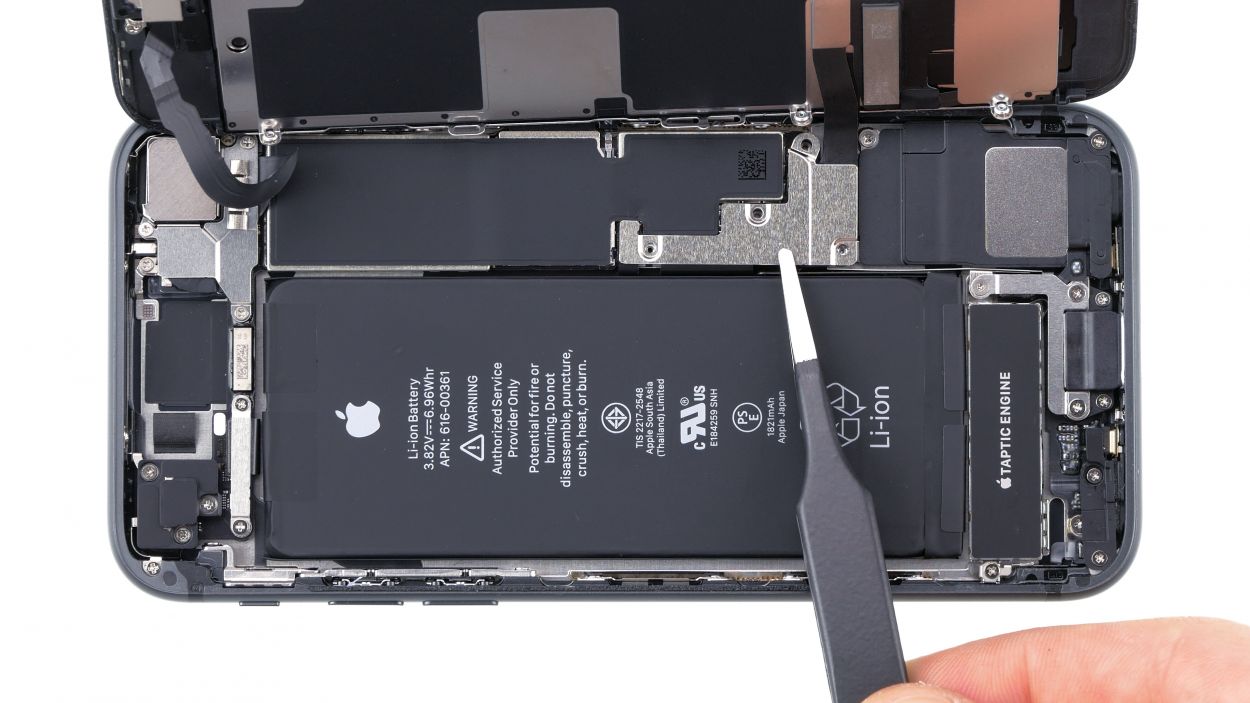
– Grab that trusty spudger and gently disconnect those display connectors for both the display and home button. You’re on a roll!
Tools Used
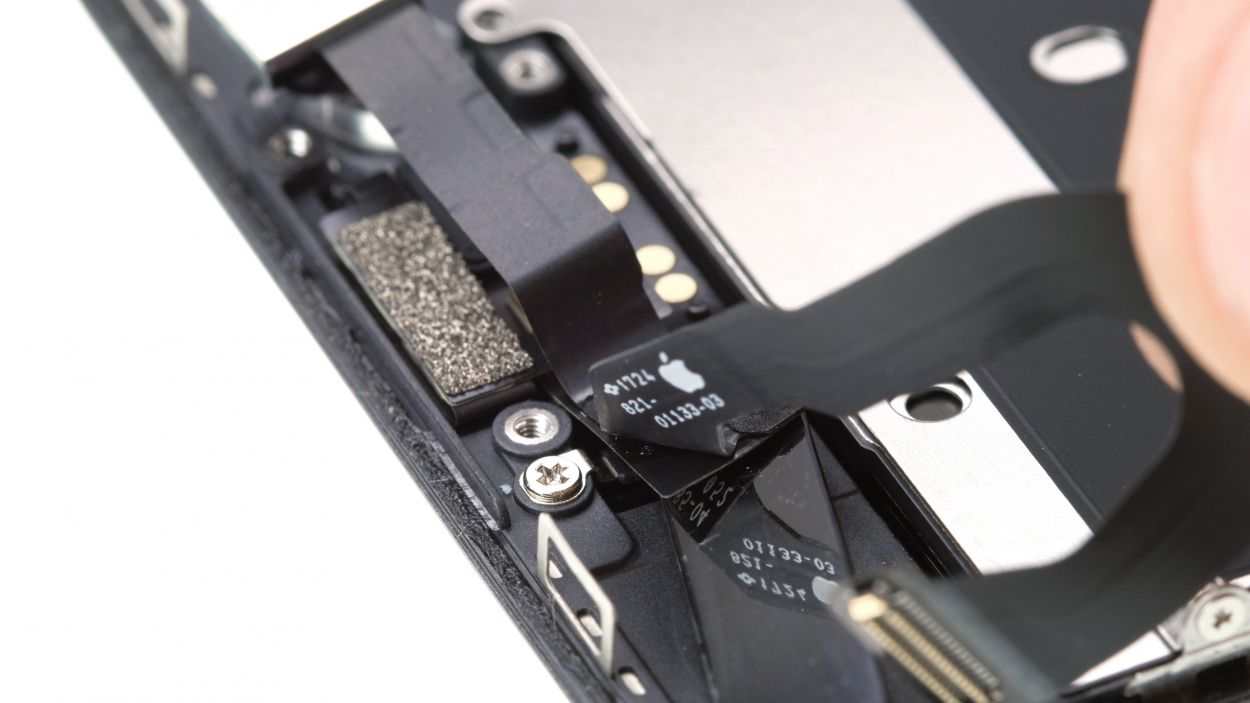
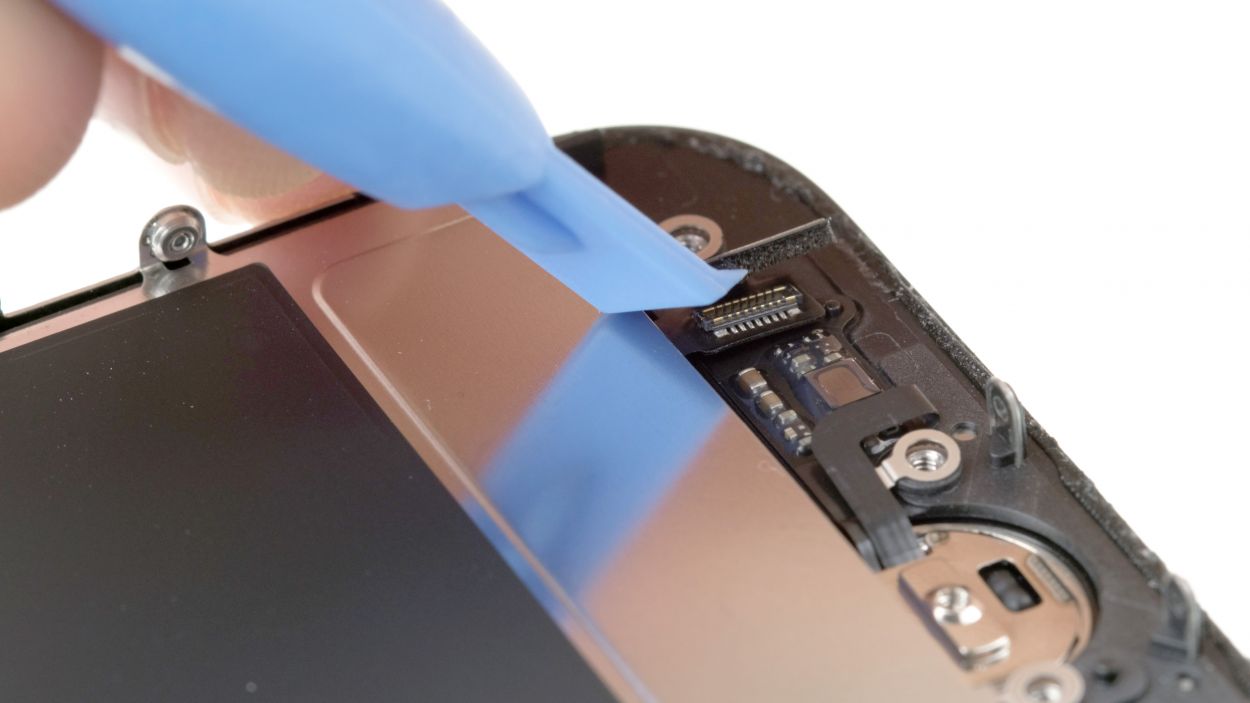
Step 8
3 × 1.0 mm Phillips
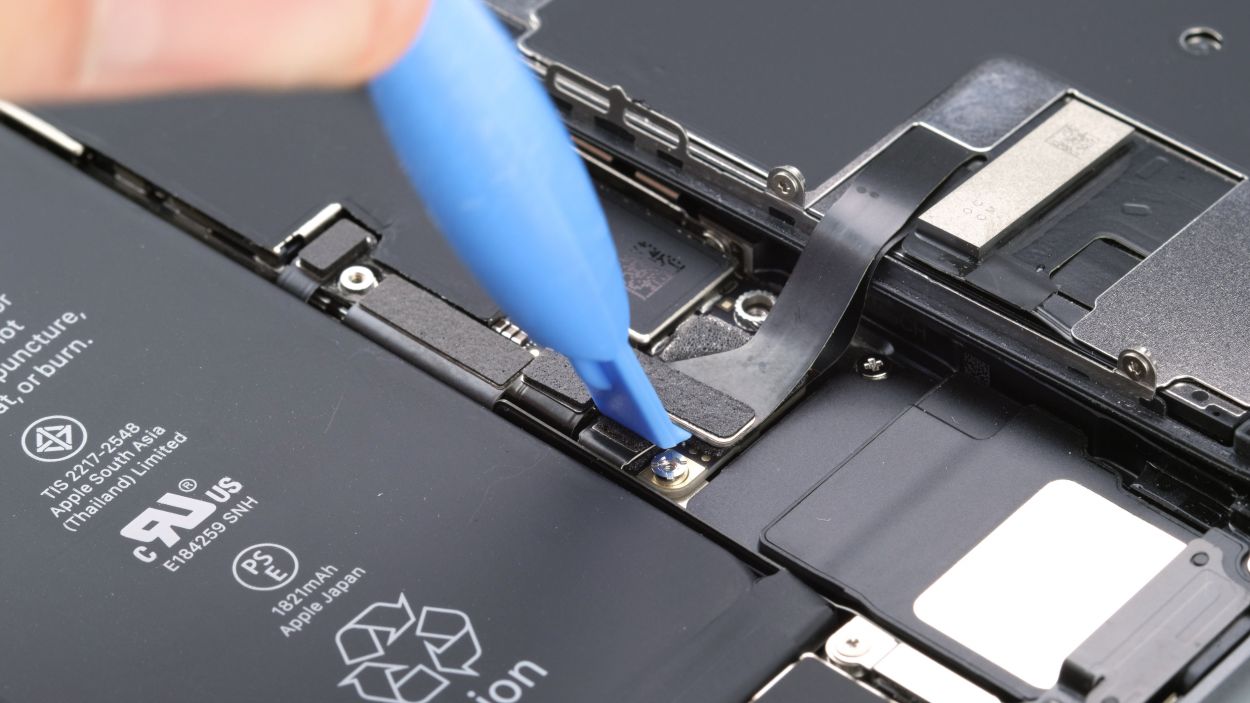
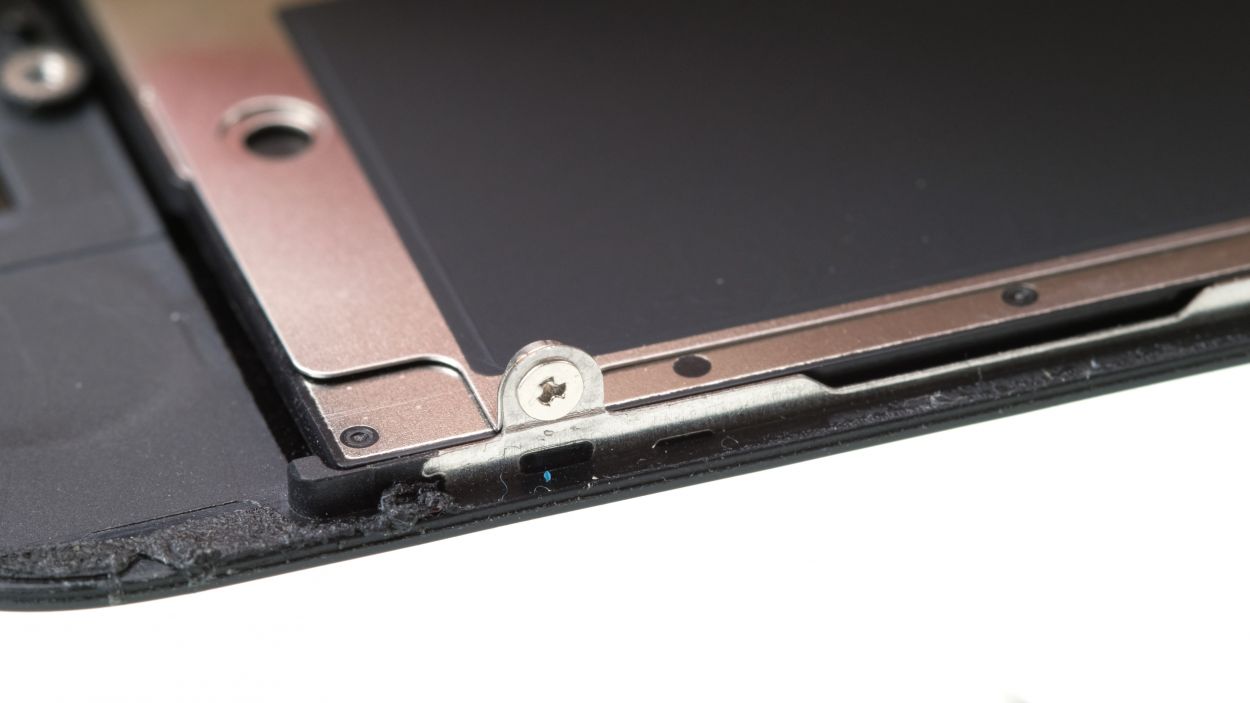
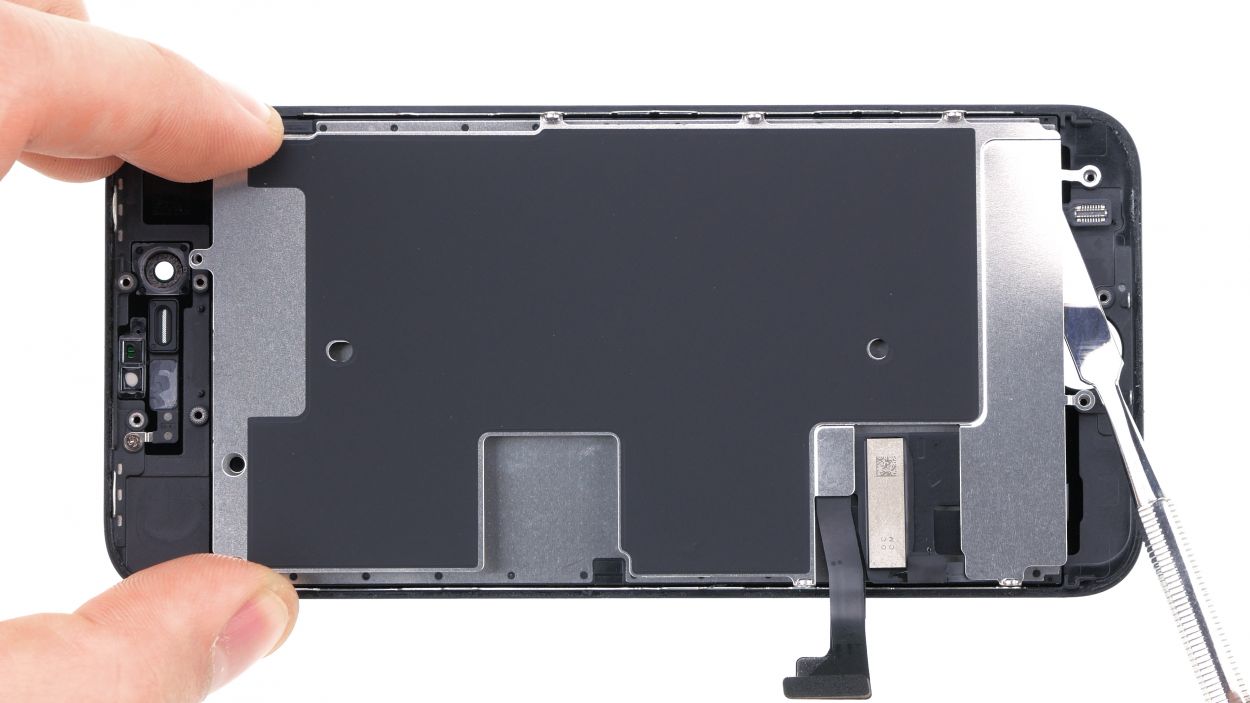
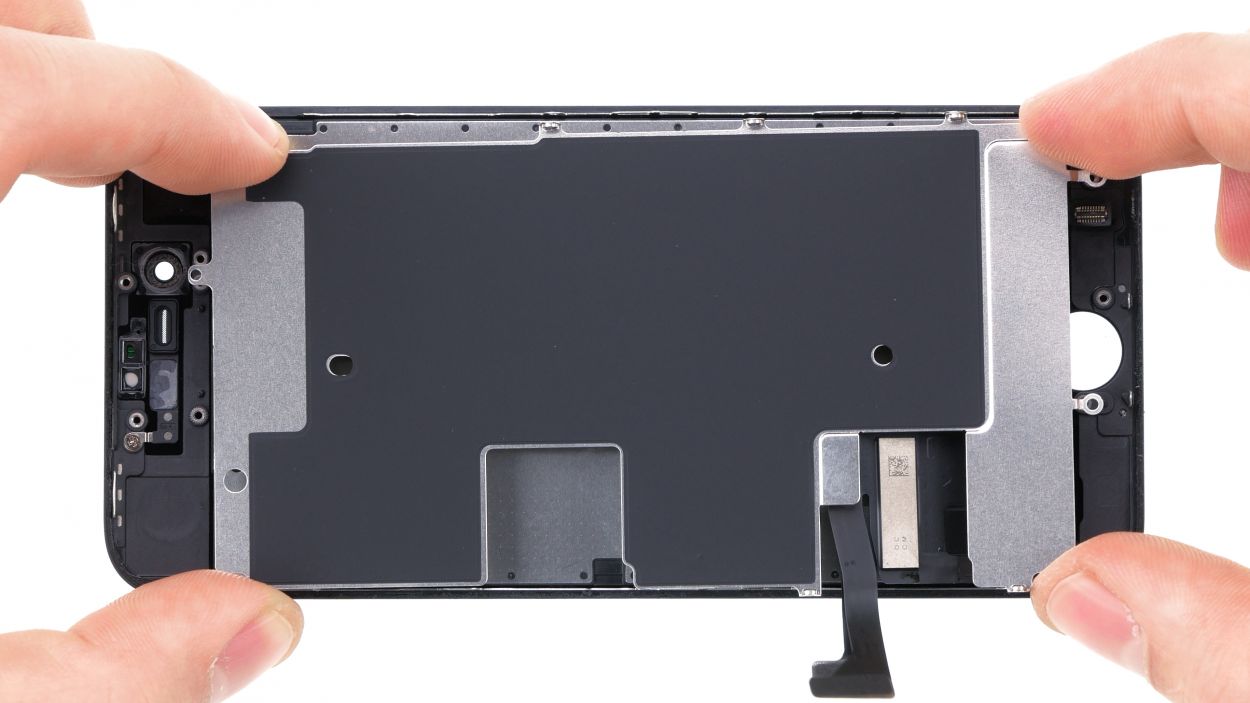
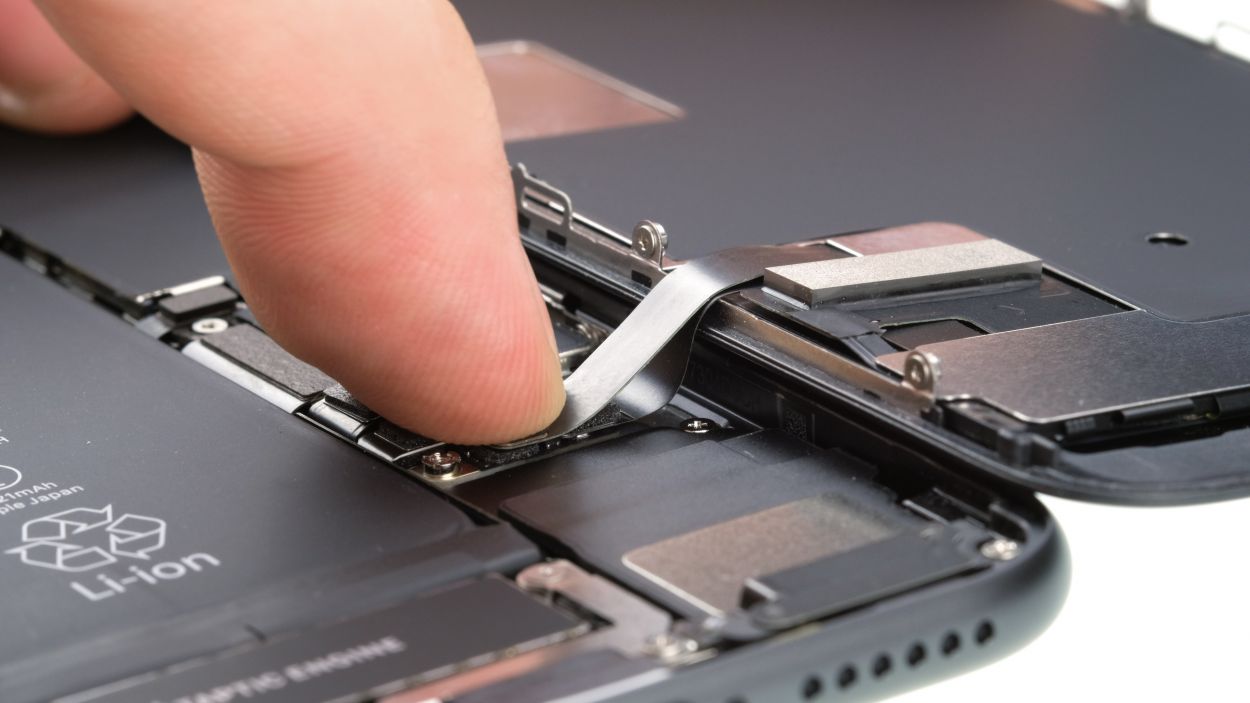
– Start by unscrewing those three Phillips screws from the cover plate that’s chilling above the connector. You got this!
– Next, grab your trusty tweezers and carefully lift that cover plate off your iPhone 8. It’s like peeling a banana, but for tech!
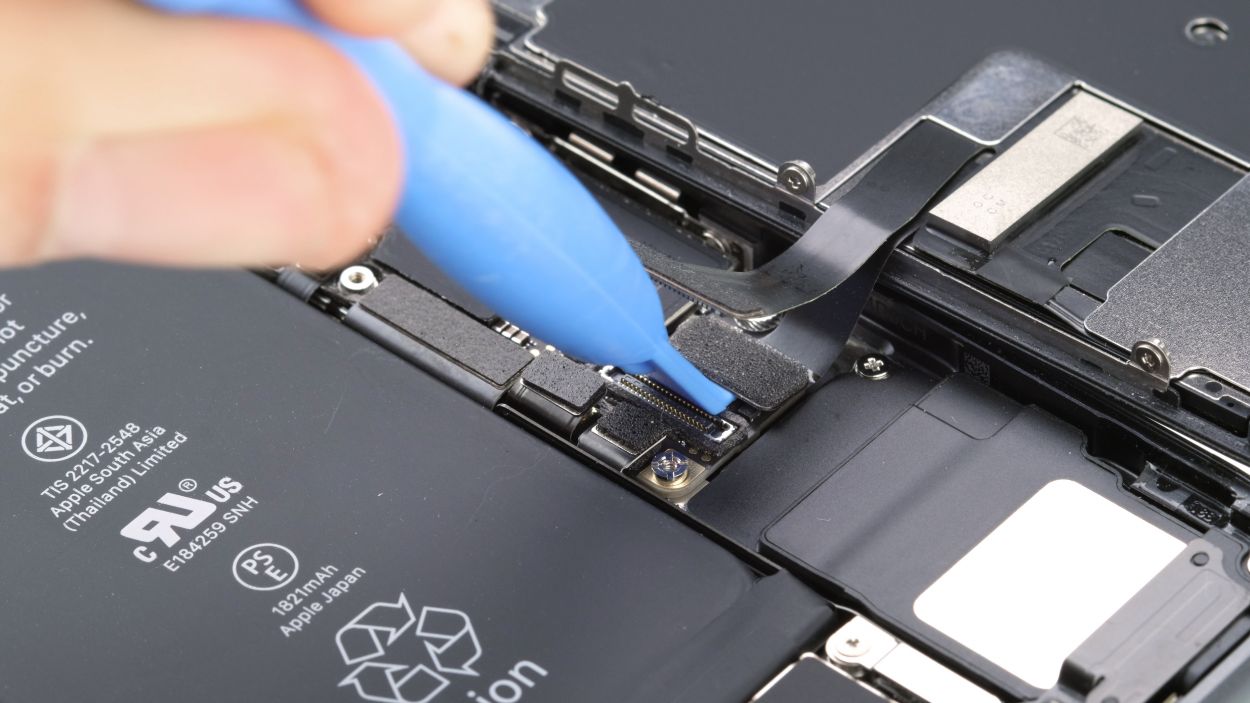
– Now, with a gentle touch, use a spudger to delicately separate the FaceTime connector from the board. Easy does it!
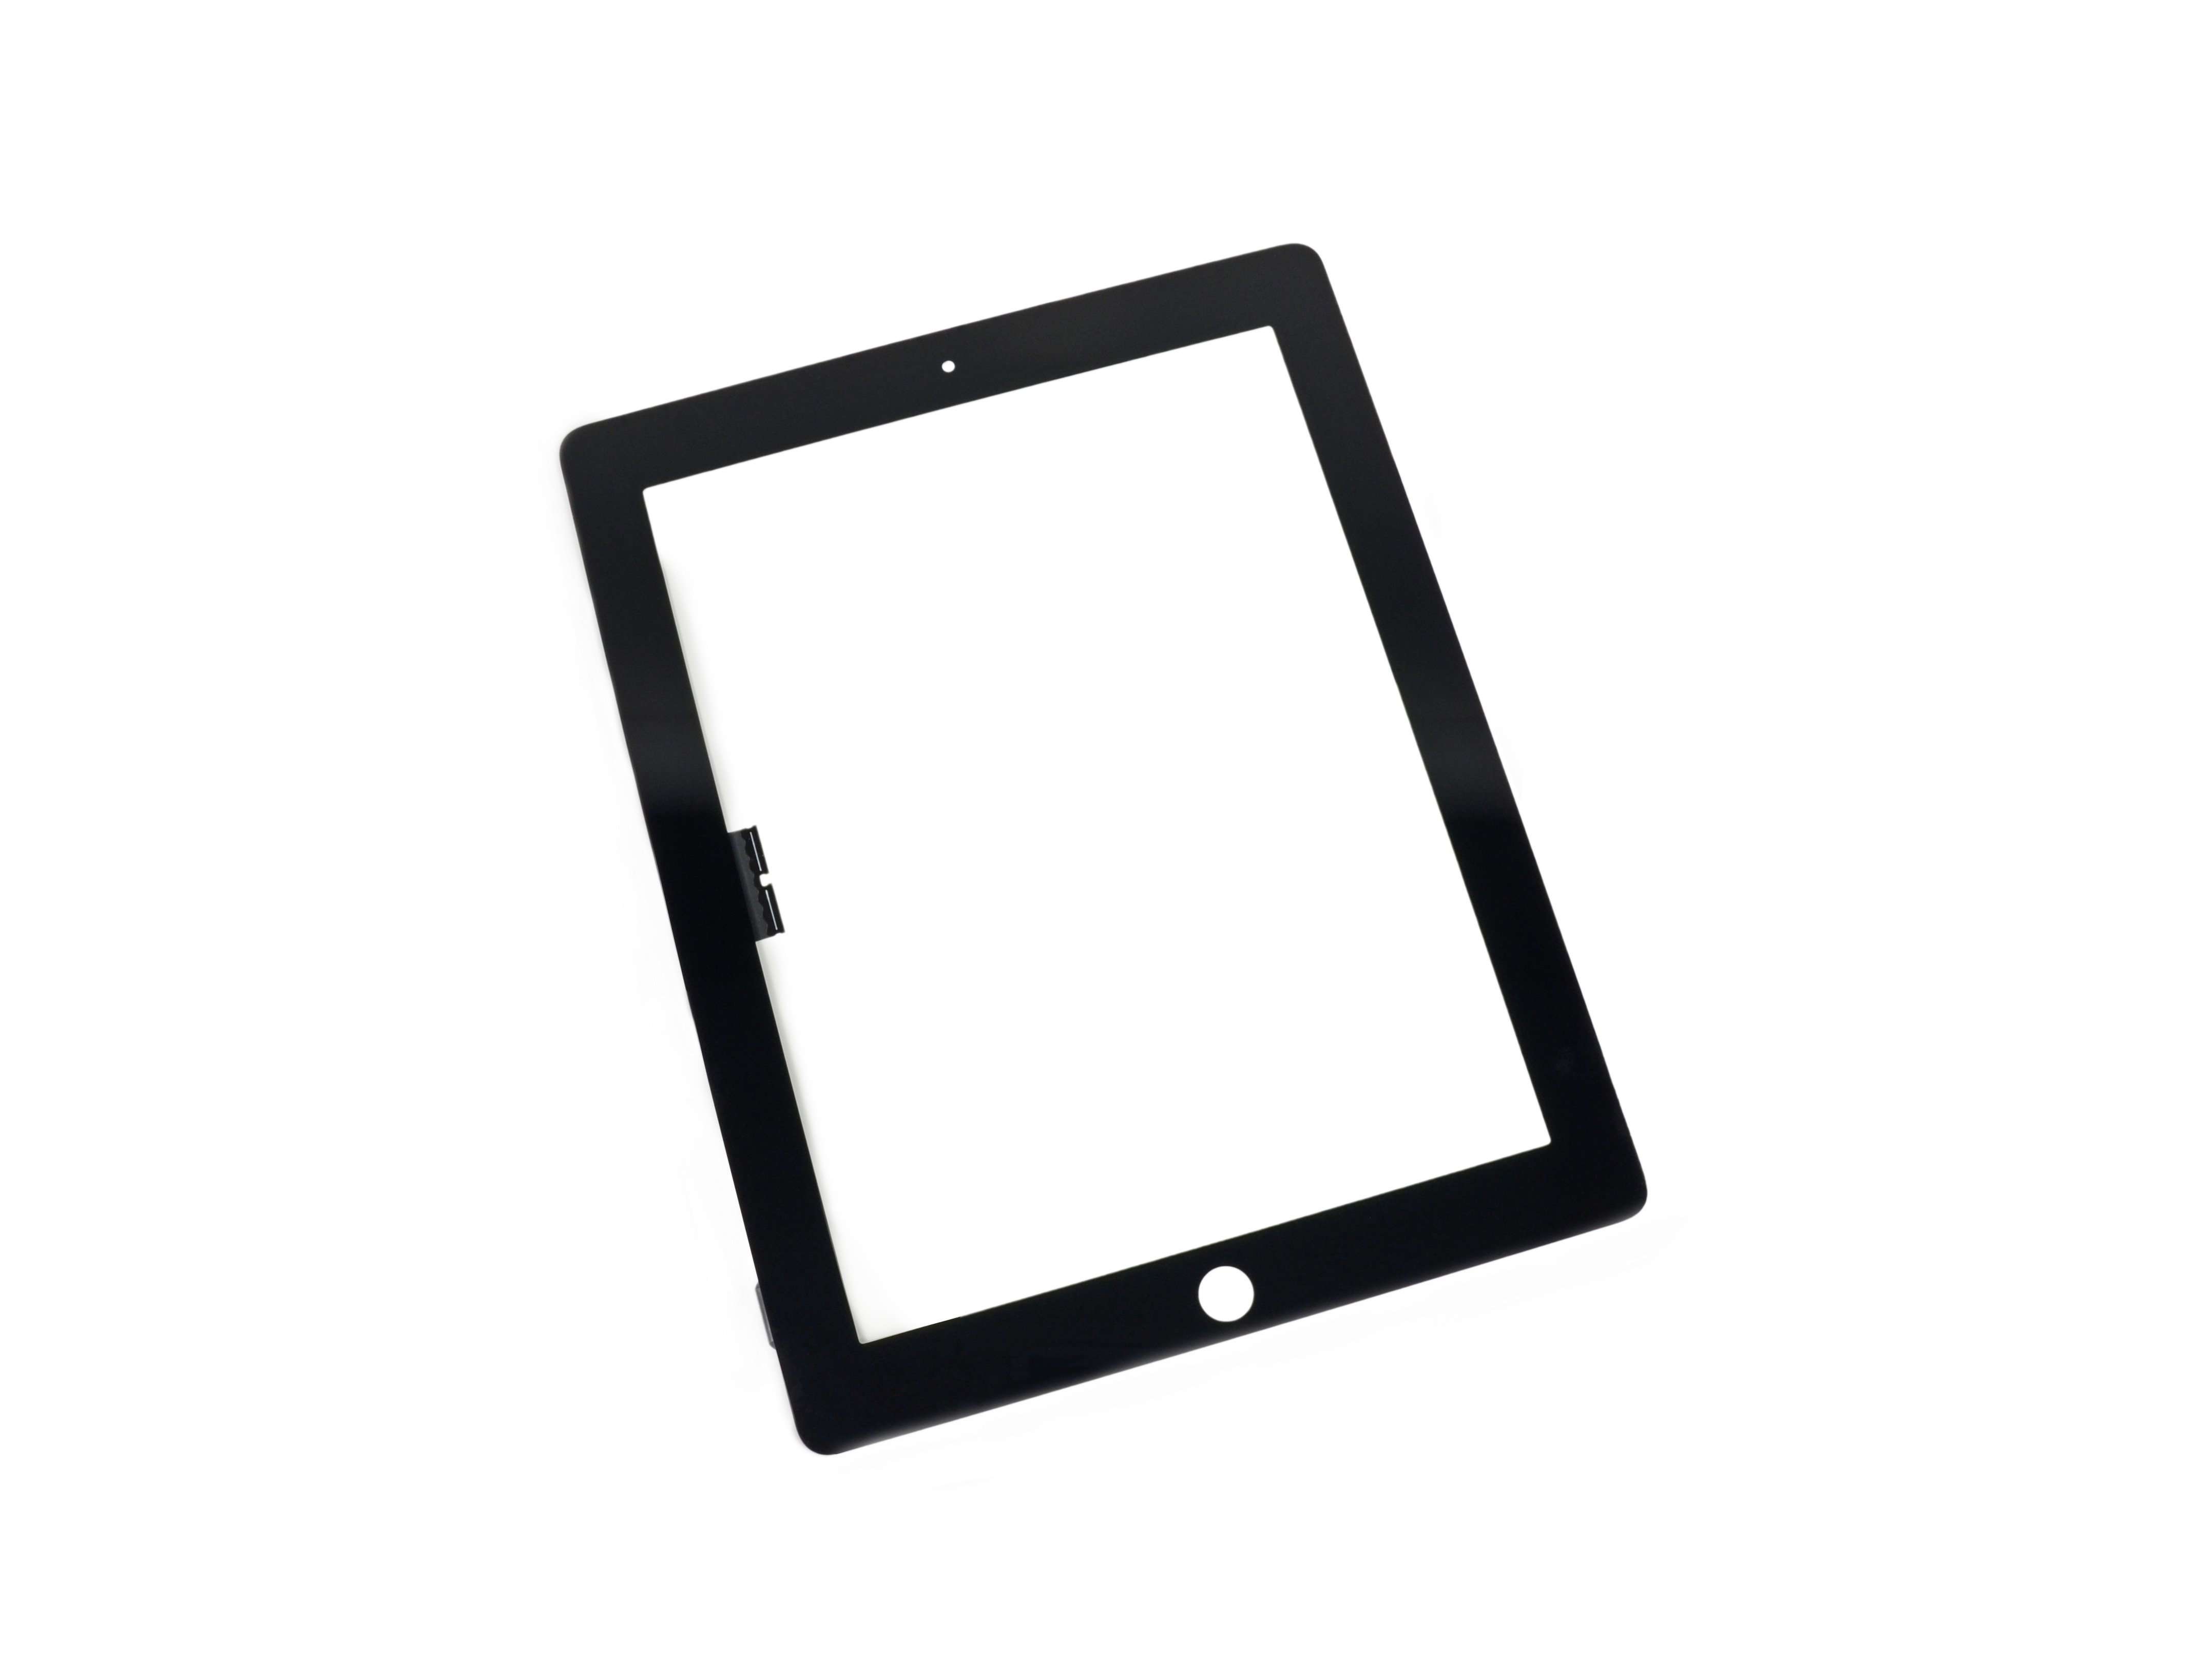
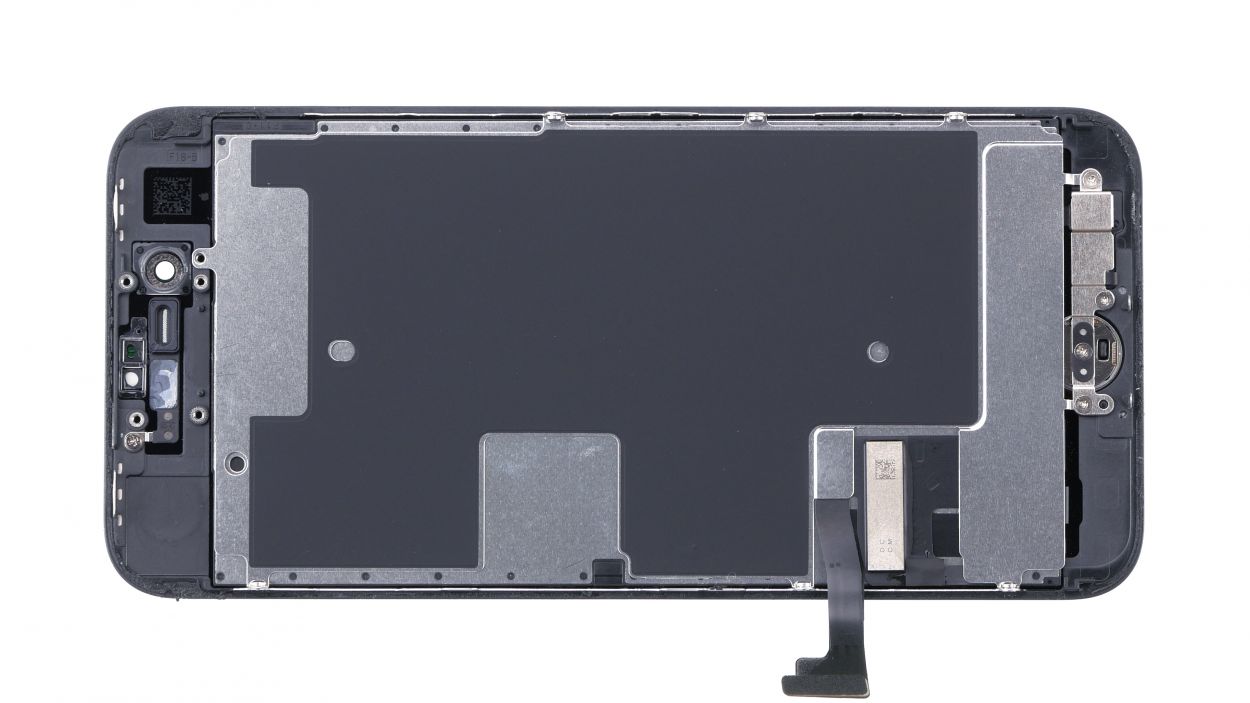
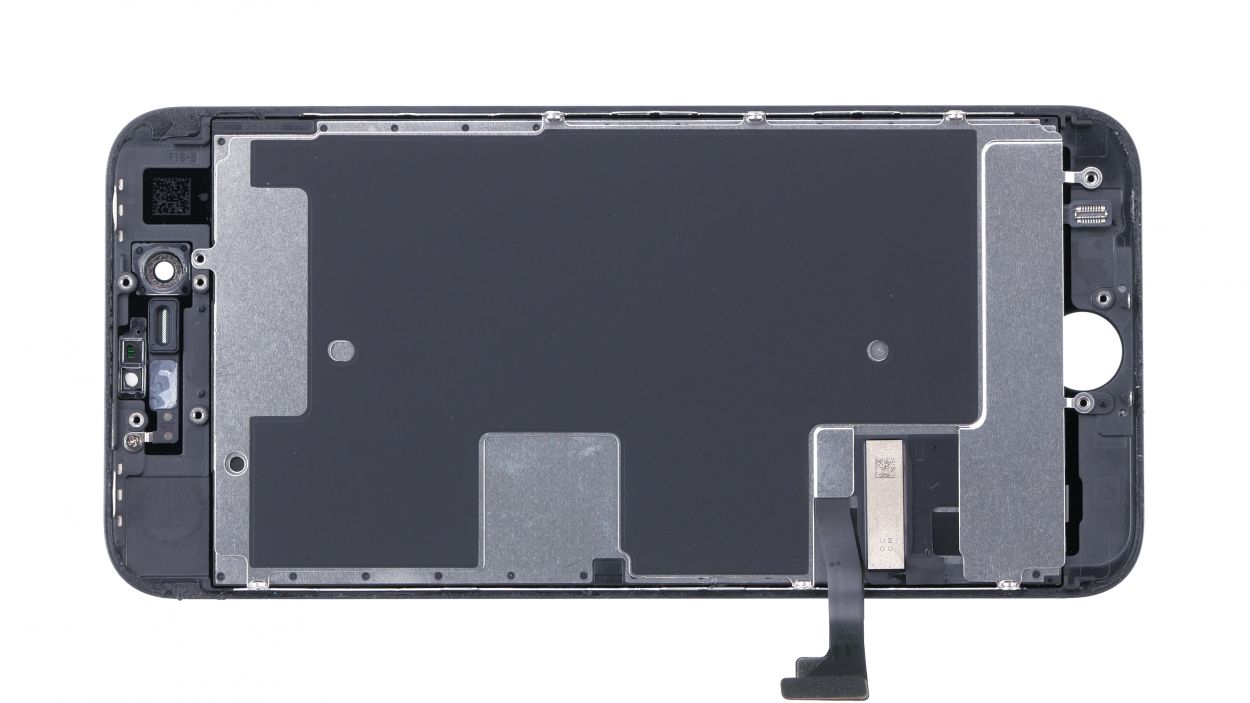
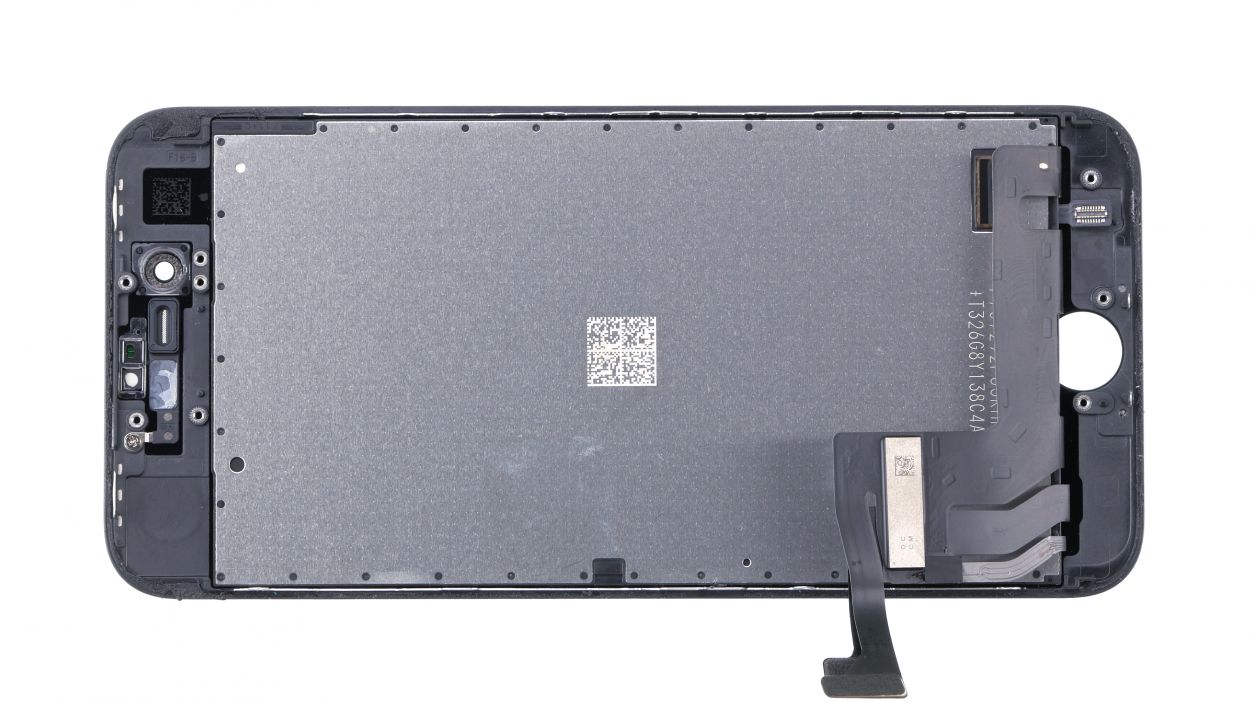
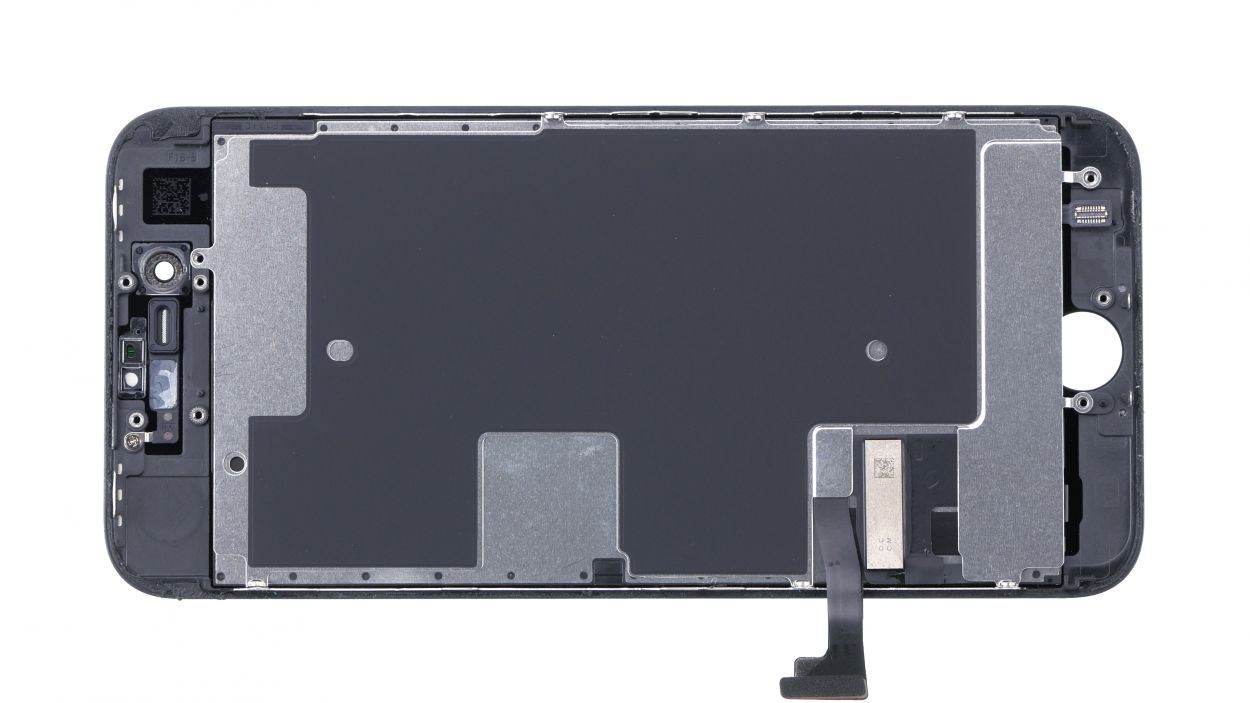
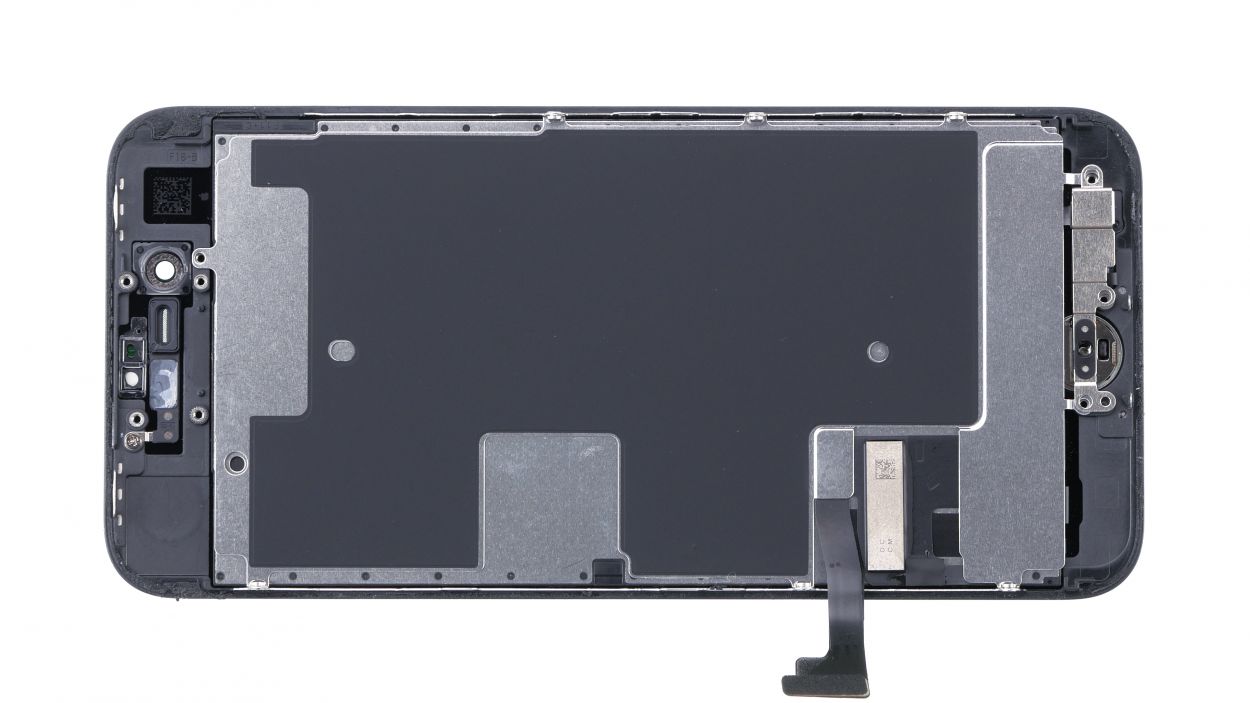
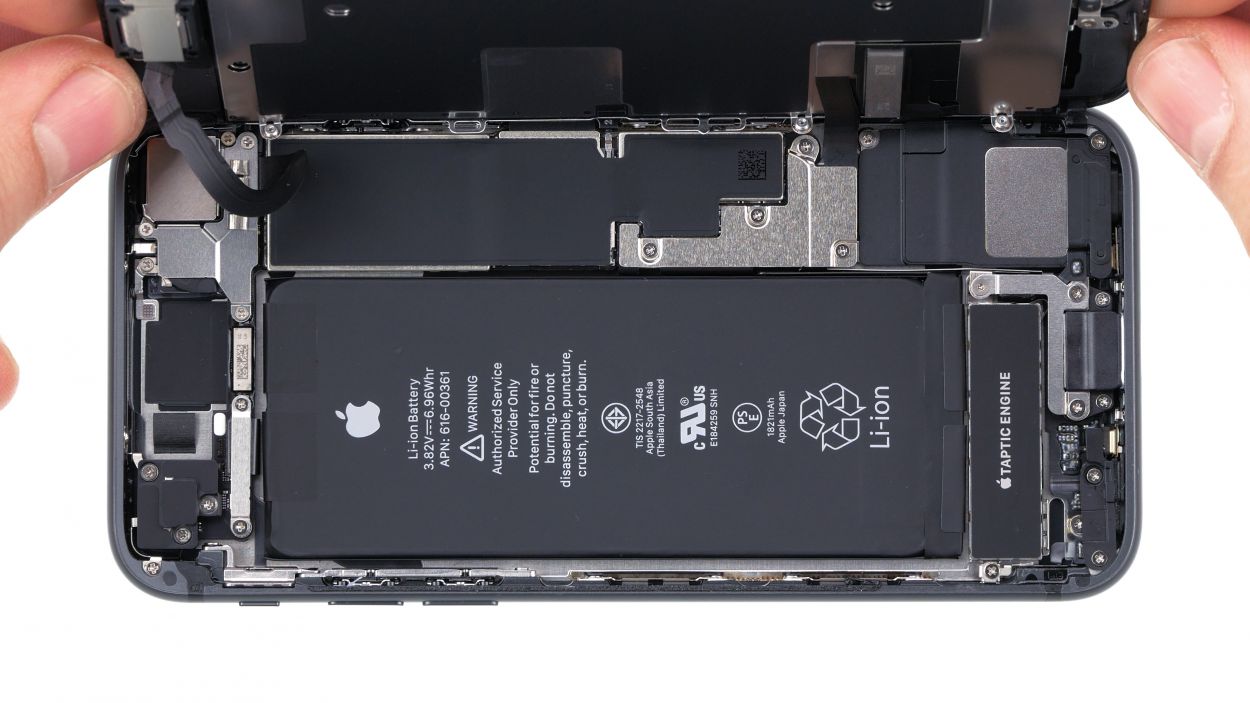
– And just like that, you can now completely remove the display. Look at you go!
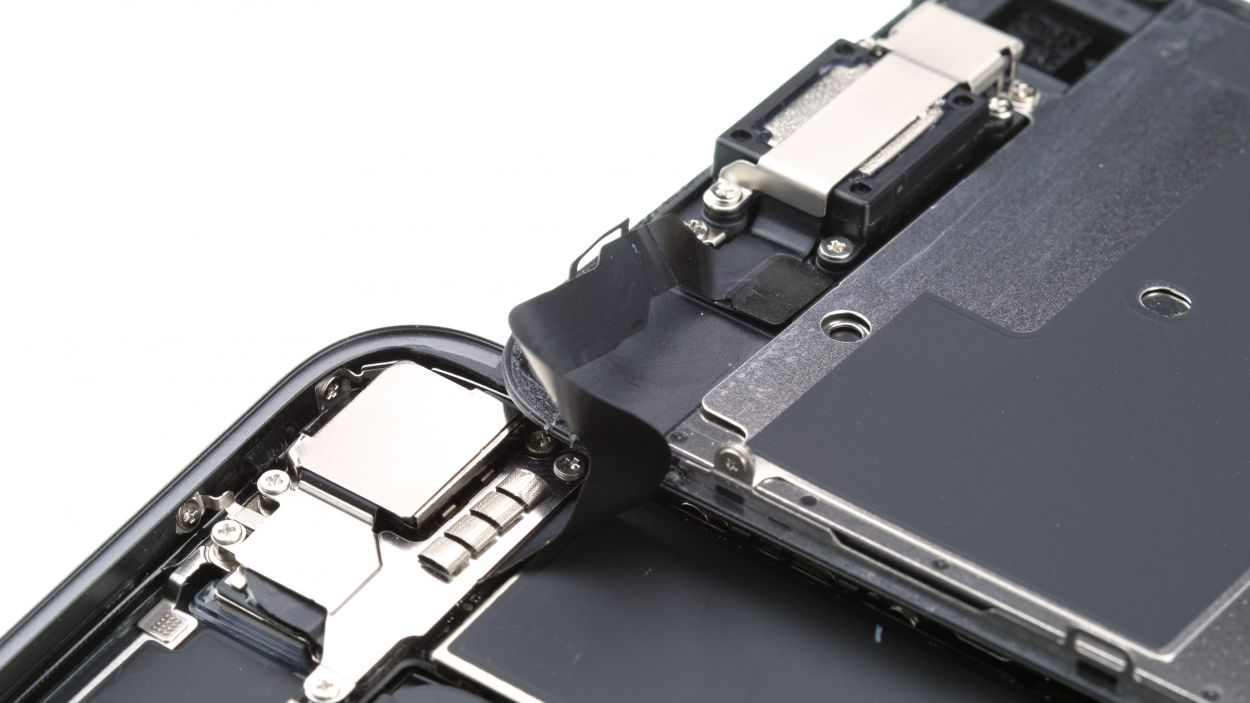
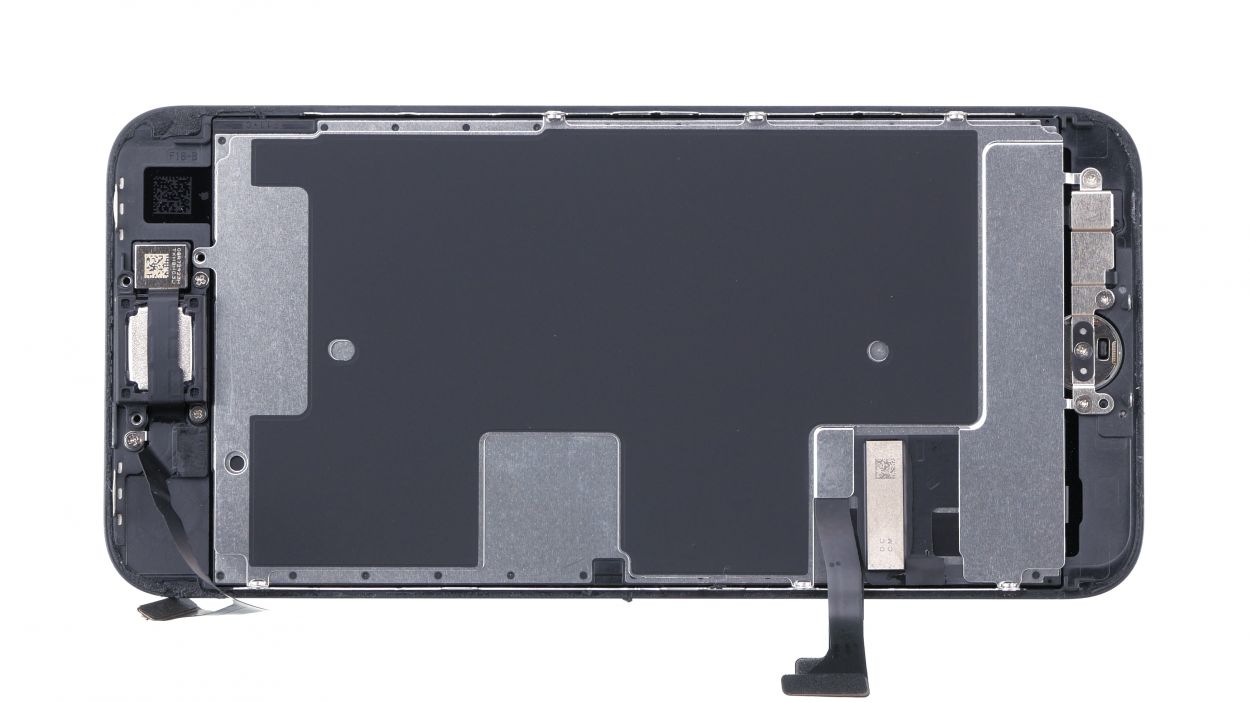
Step 9
1 × 1,5 mm Phillips-Schraube
2 × 2,5 mm Phillips-Schraube
1 × 2,2 mm Phillips-Schraube
1 × 1,7 mm Phillips-Schraube
Heads up! Those screws are like a quirky puzzle—each one has its own length. Mixing them could lead to a display drama during reassembly. Keep them organized and you’ll be golden!
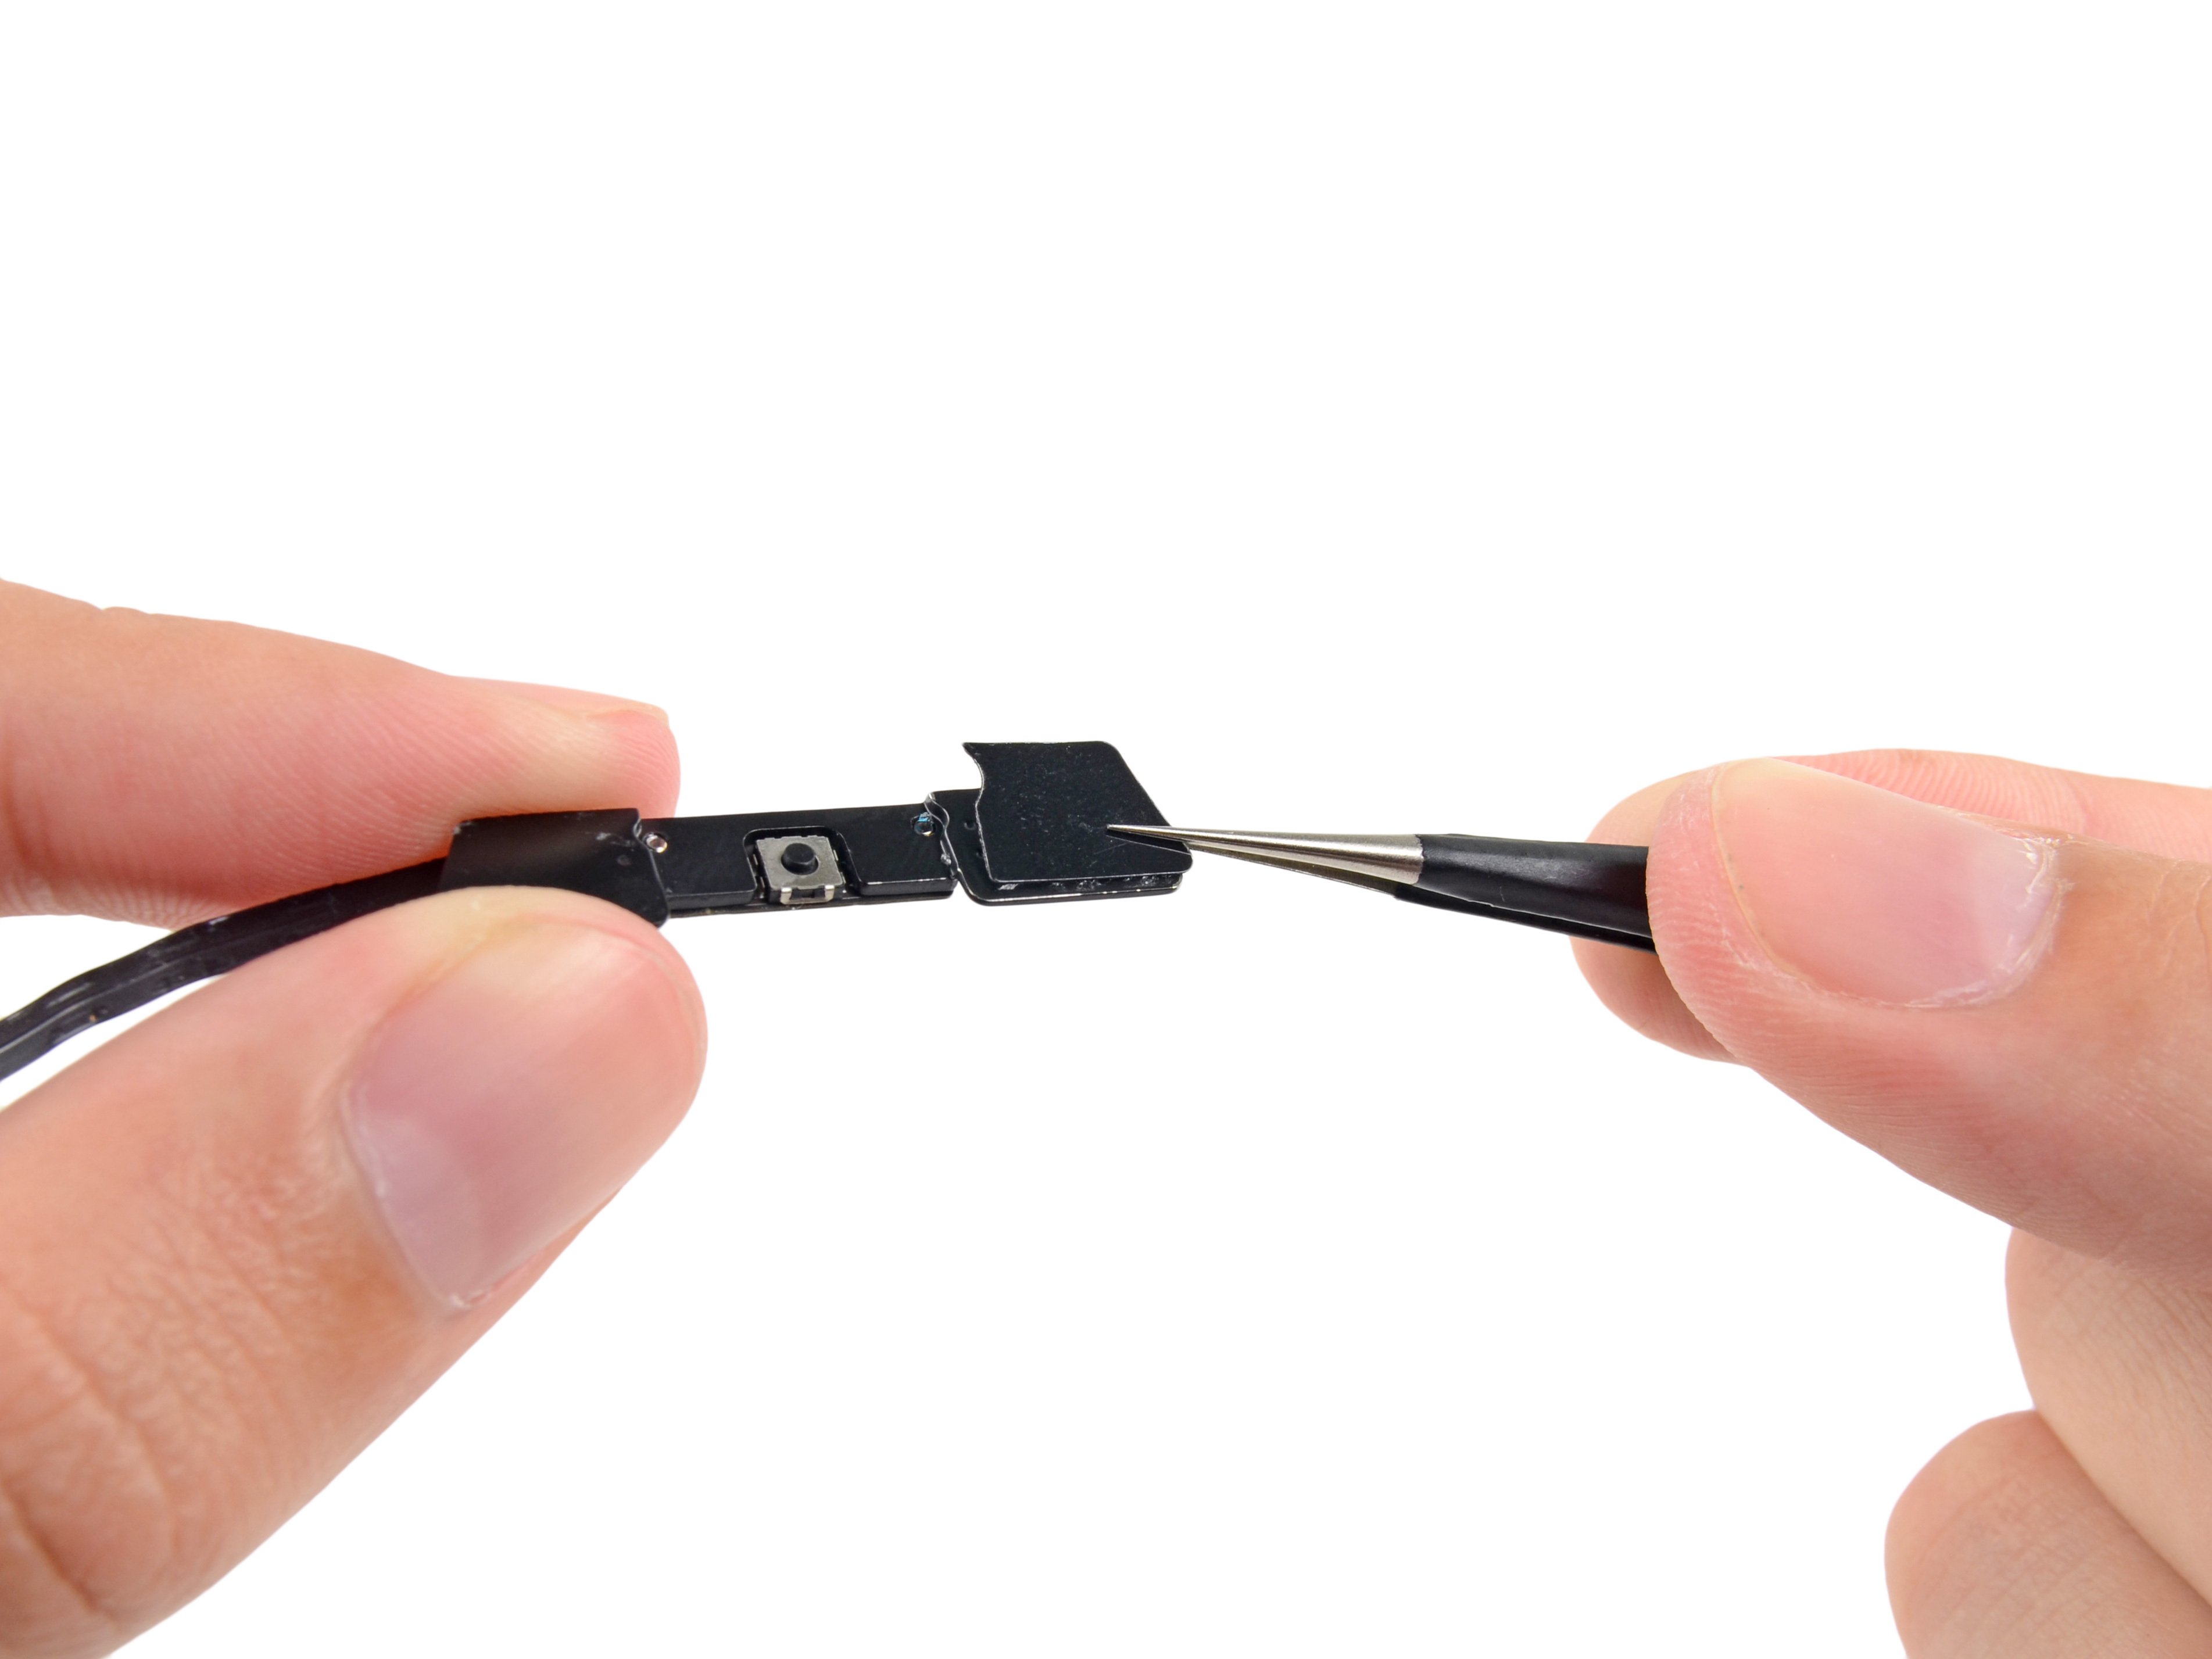
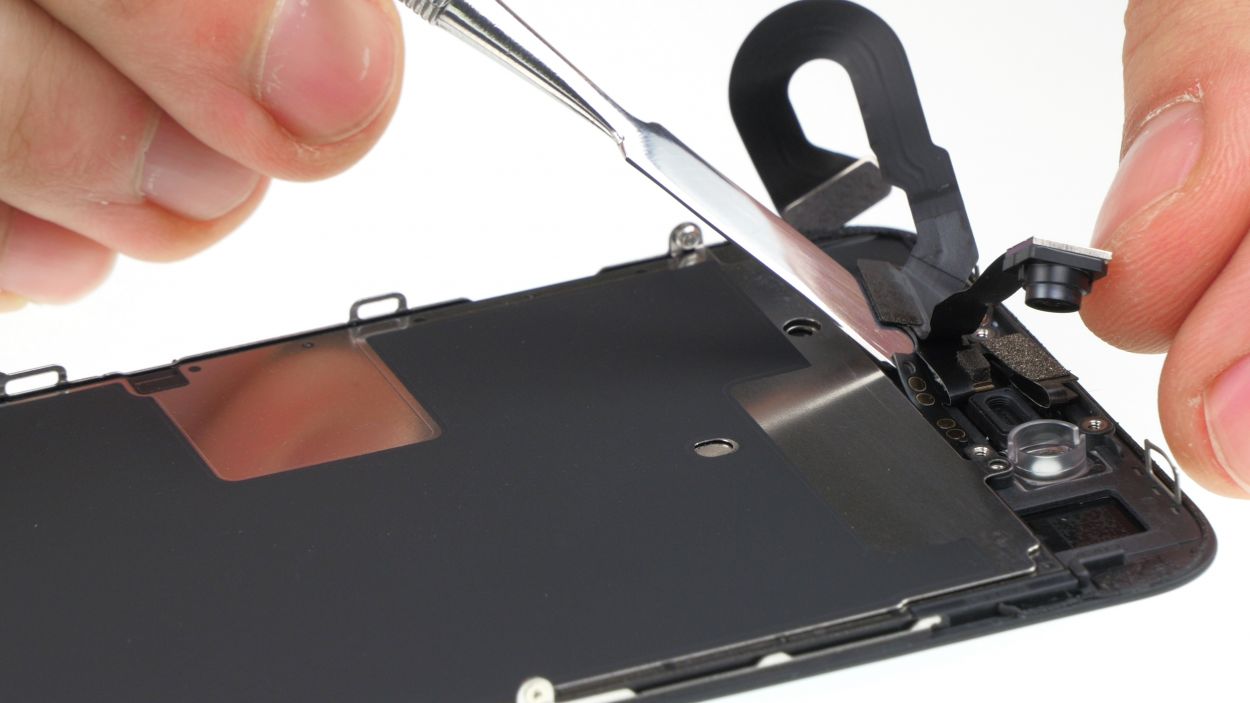
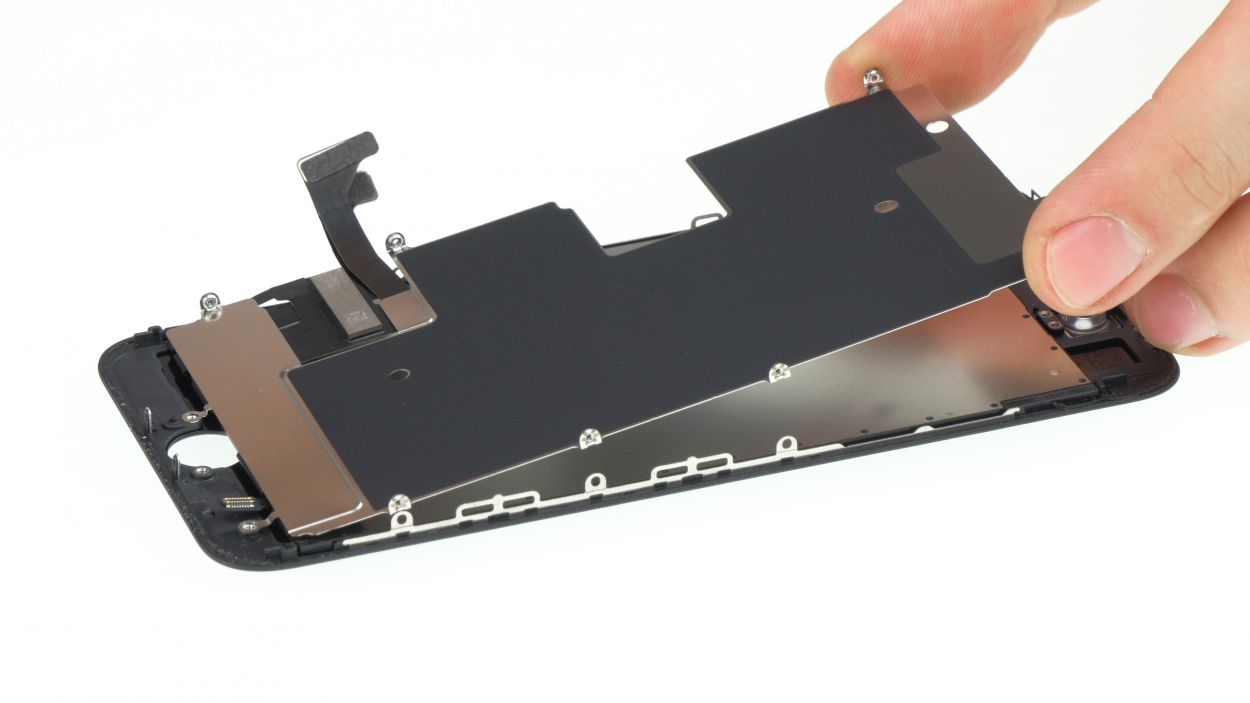
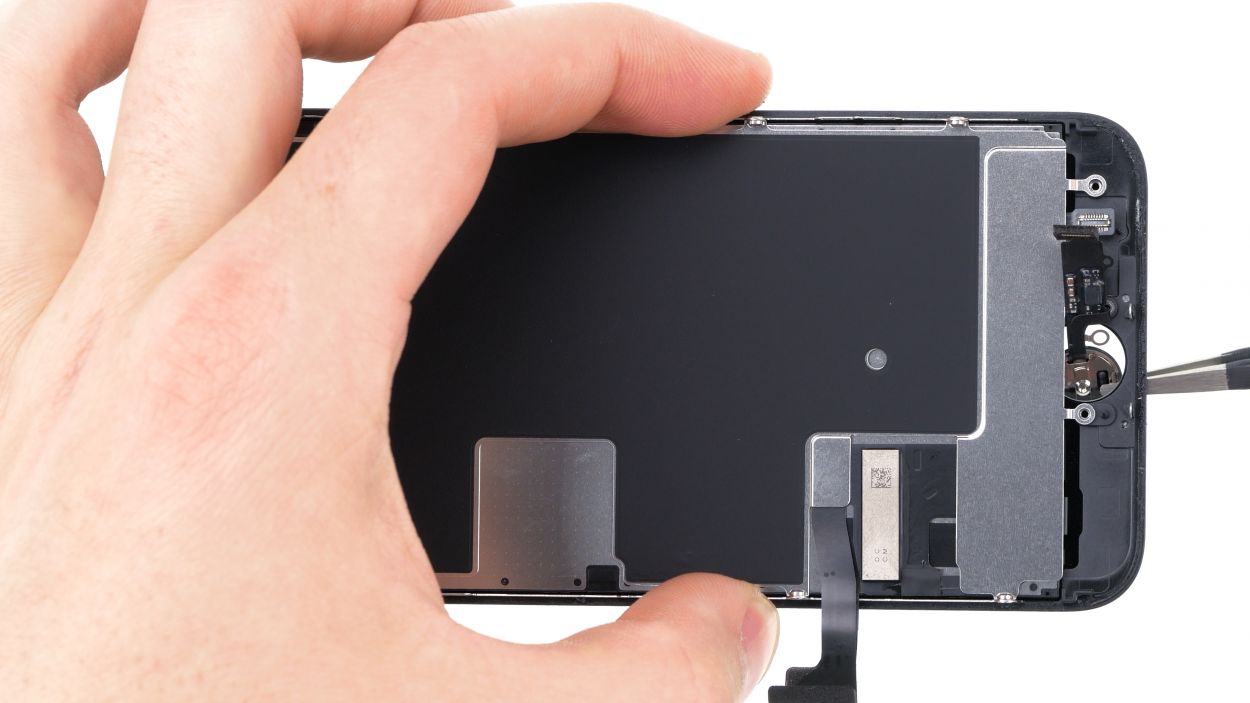
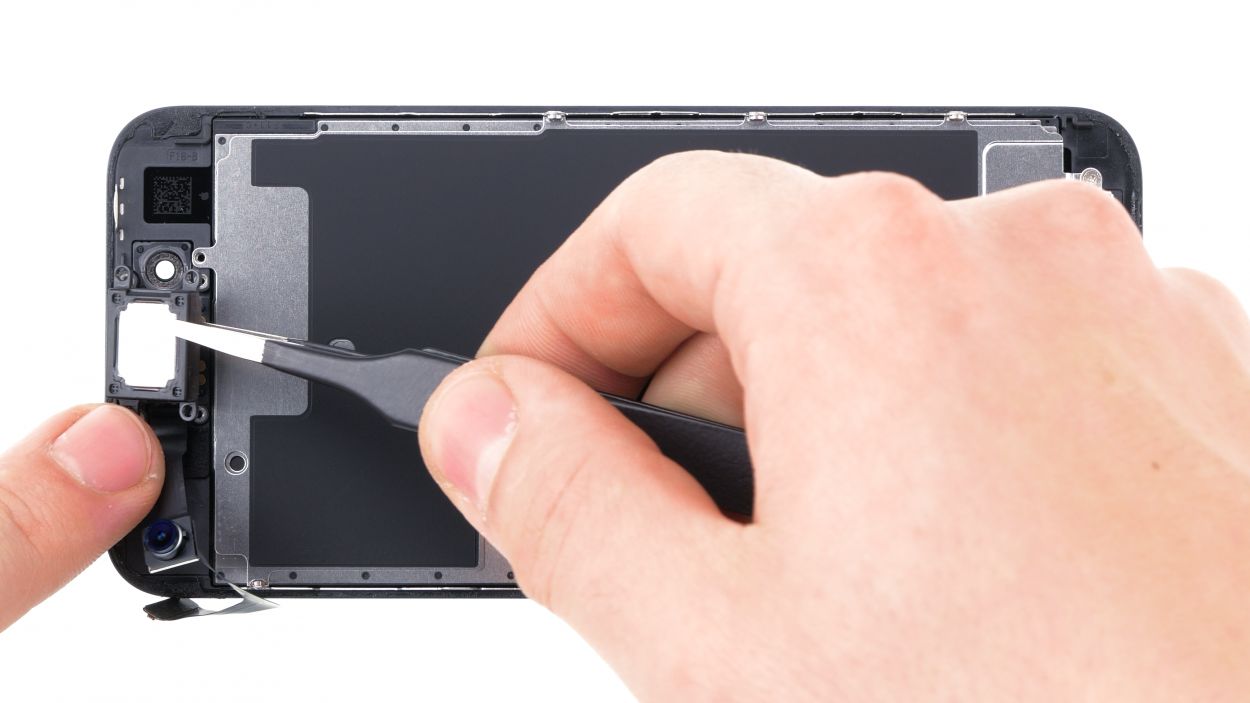
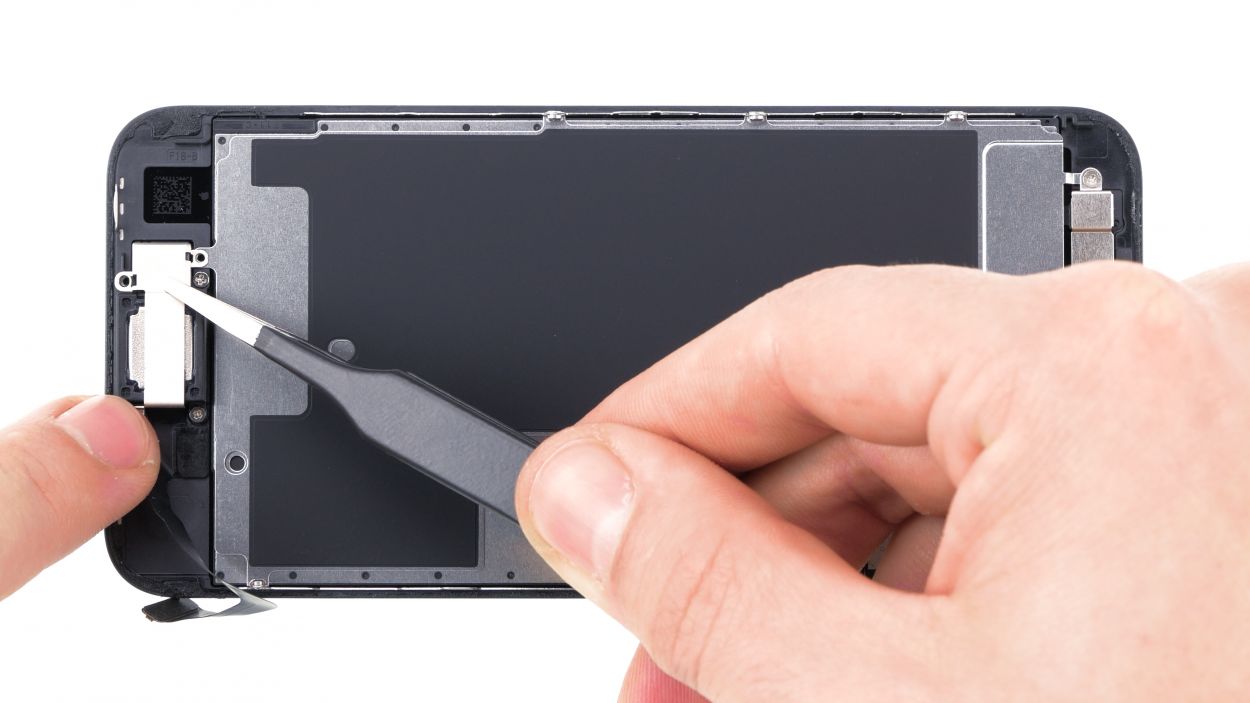
– The earpiece is nestled on the backside of the display unit. Start by removing the three Phillips screws from the cover that’s keeping the earpiece cozy. Make sure to keep all the parts together on your magnetic pad—organization is key!
– Next up, go ahead and take out the two Phillips screws that are holding the earpiece in place. You’re doing great!
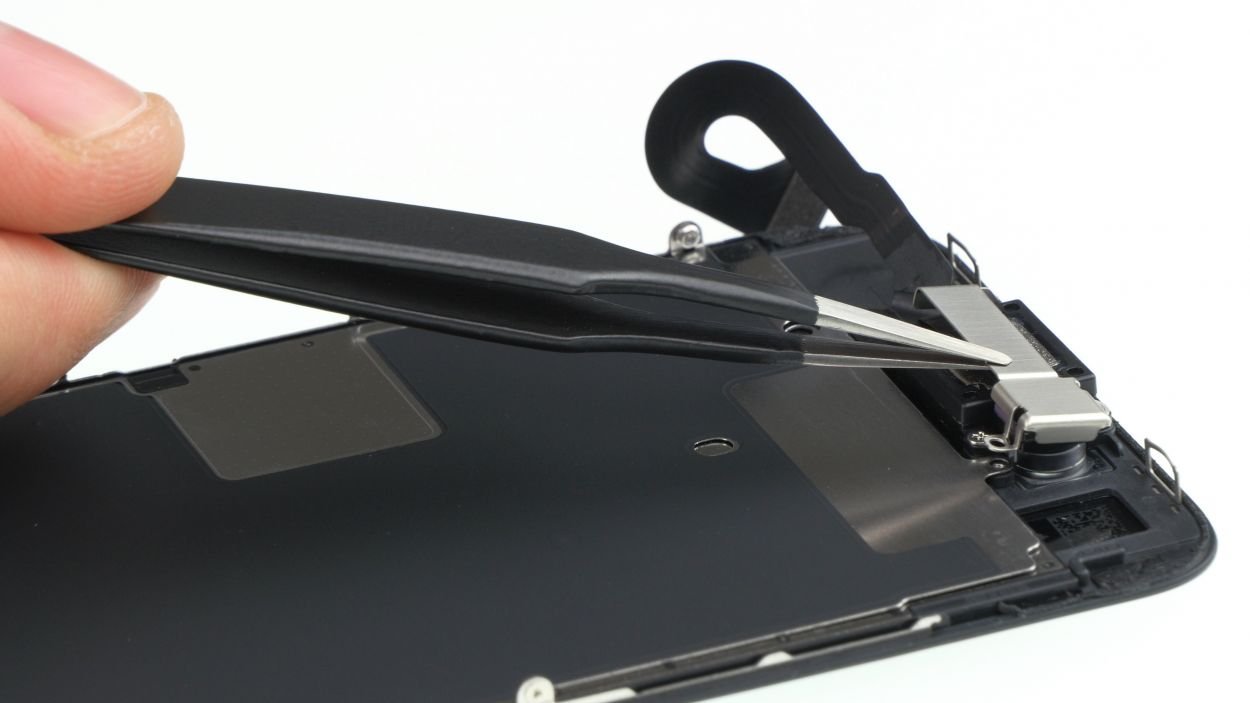
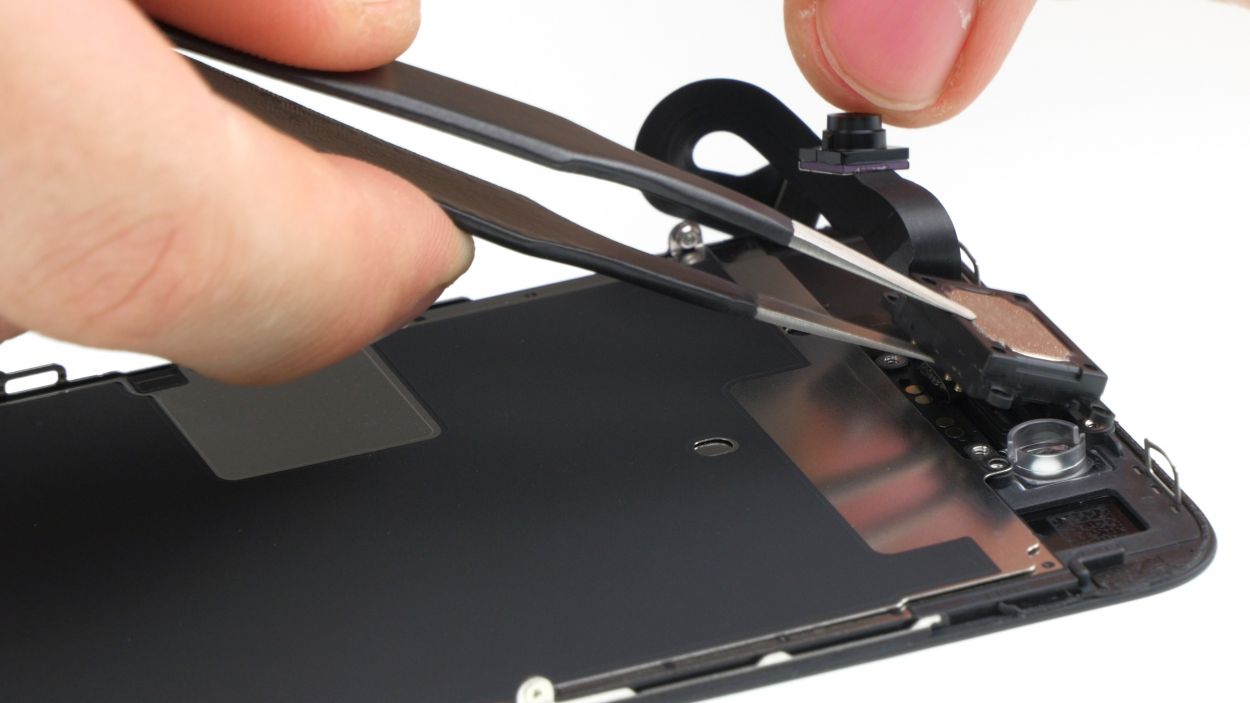
– Now, the earpiece is hiding under the front camera’s flexible flat cable. Just give that cable a gentle nudge to the side so you can easily lift out the earpiece. You’re almost there!
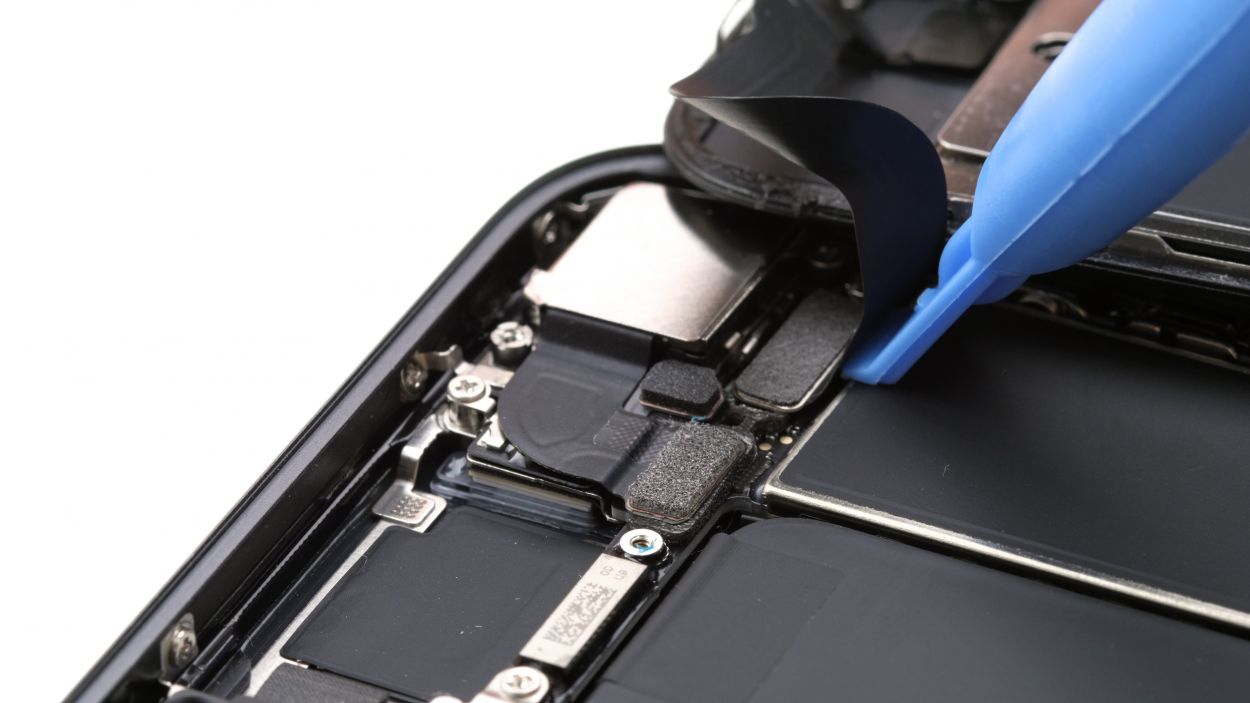
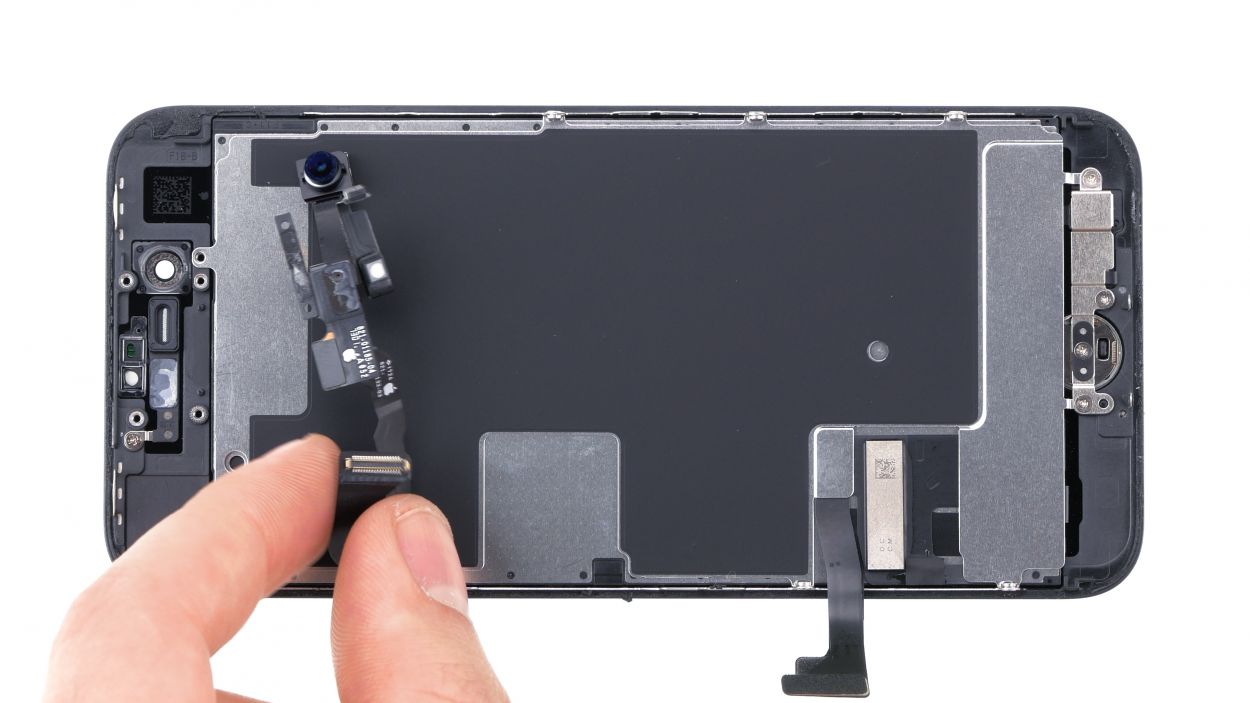
Step 10
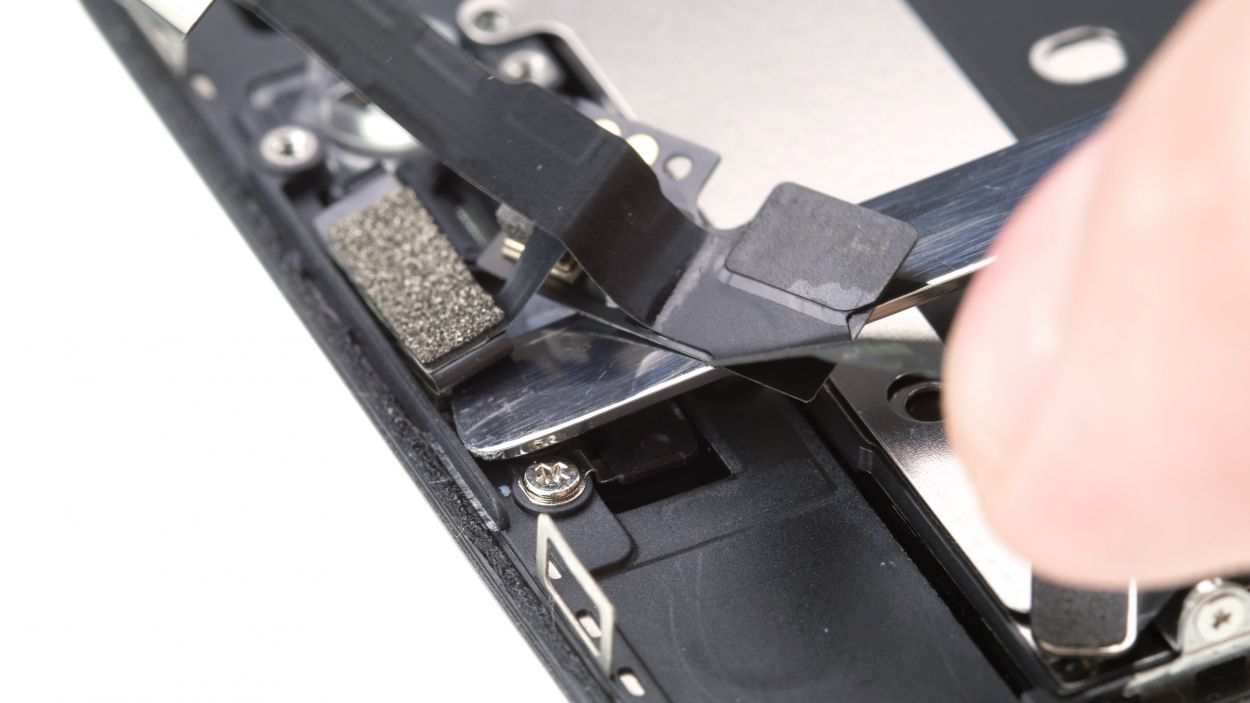
– Start by giving that stubborn cable set a little warmth with your hot air tool. Once it’s cozy, gently coax it away from the display’s interior using a steel spatula. You’ve got this!
– Next, with your trusty tweezers, carefully lift out the sensors and the FaceTime camera from their snug little homes. You’re really nailing it!
Tools Used
- heat gun to heat parts that are glued on so they’re easier to remove.
In most cases, you can also use a hairdryer.” rel=”noopener”>Heat gun - Piergiacomi Tweezers 2a SA ESD
- Steel Laboratory Spatula
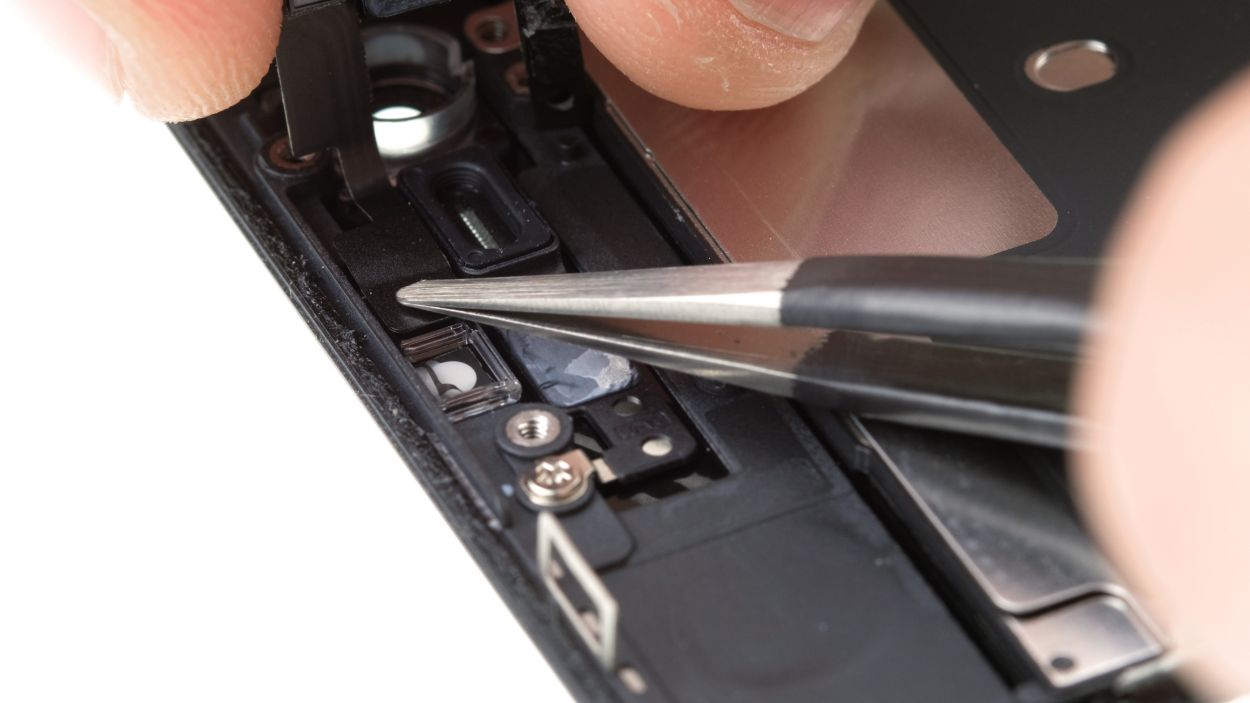
Step 11
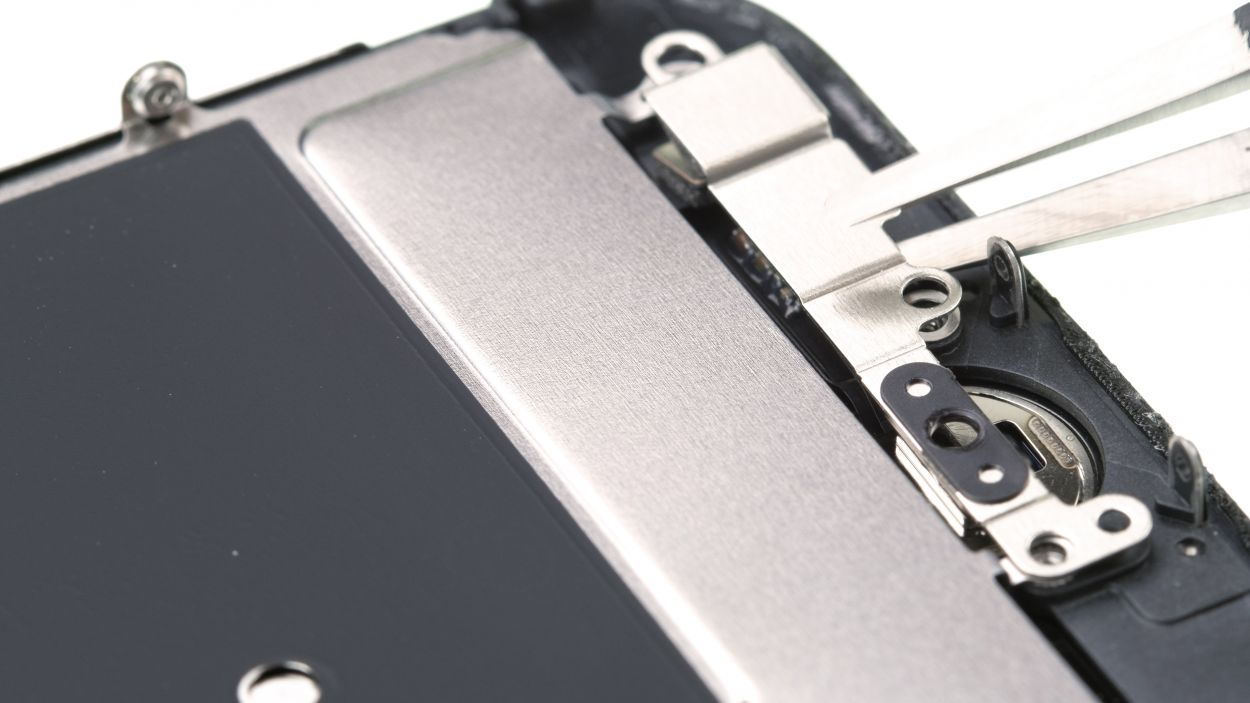
4 × 1,1 mm Y-Type-Schraube
Hey there! Just a quick note—the home button’s cable is a bit of a delicate flower. Even the tiniest mishap could send your home button and Touch ID into a snooze fest. So, handle with care!
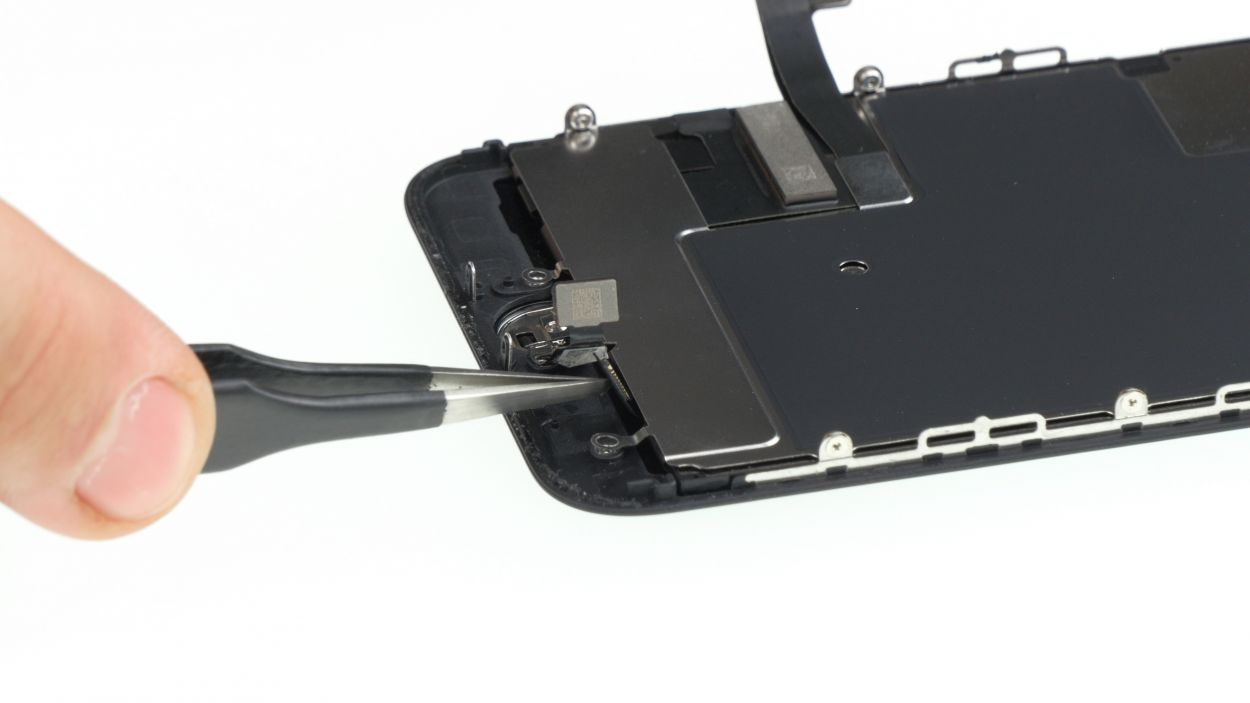
– Time to get your tools ready! Unscrew those four Y-Type screws and lift off the shiny bracket plate covering the home button. You got this!
– Now, with a gentle touch, use your spudger to carefully disconnect the home button connector. You’re on the right track!
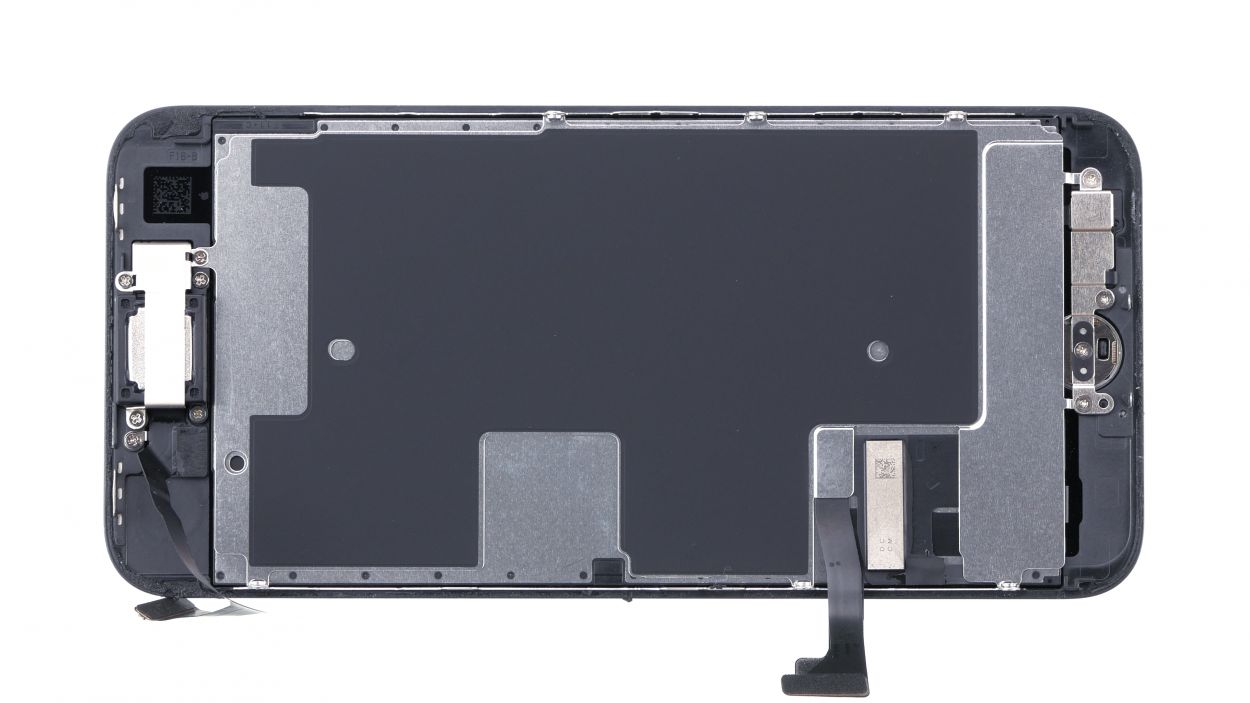
Step 12
6 × 1,0 mm Y-Type-Schraube
Hey there! Just a friendly reminder—when loosening that flex cable, steer clear of sharp or pointy tools. Let’s keep everything safe and sound, shall we?
– Alright, let’s get this party started! First off, you’ll want to unscrew those six Y-type screws that are keeping the metal back plate snug as a bug. You’ve got this!
Tools Used
- heat gun to heat parts that are glued on so they’re easier to remove.
In most cases, you can also use a hairdryer.” rel=”noopener”>Heat gun - Steel Laboratory Spatula
- Wiha PicoFinish Y-Type Screwdriver Y000
Step 13
Sensor
Frontkamera
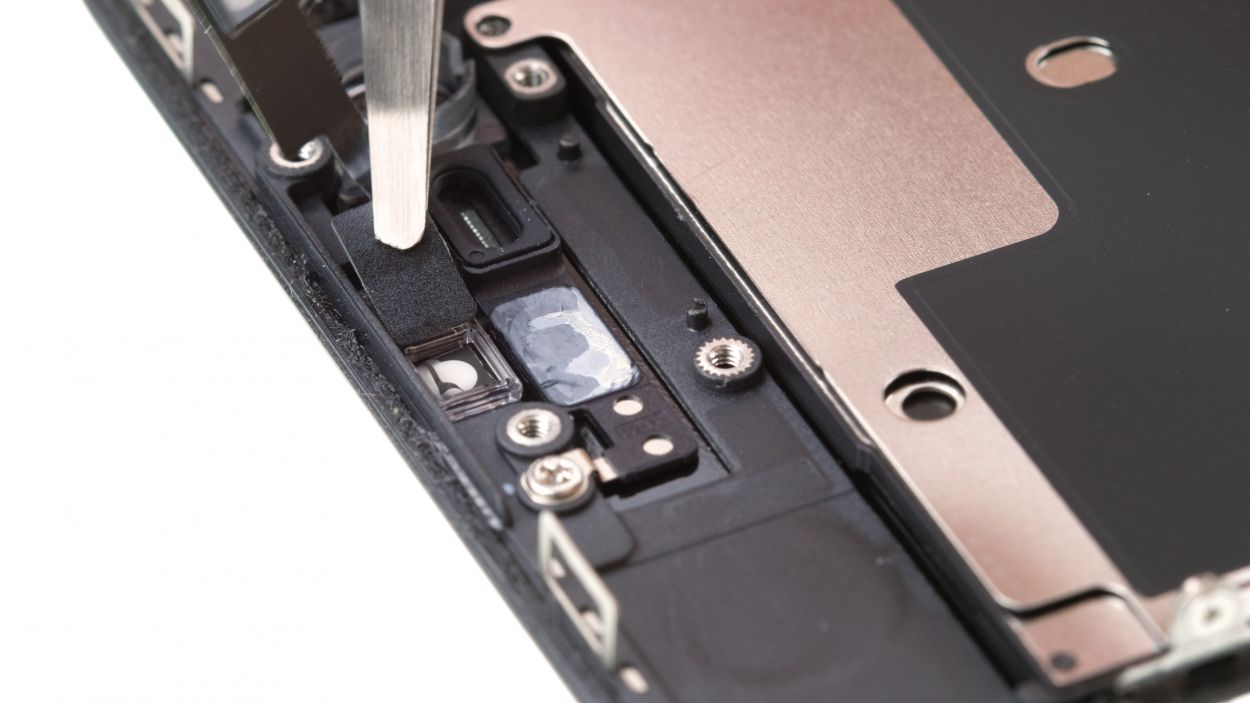
– Not all available displays have the same features. If necessary, you’ll have to take some of the following parts from your old display before installing the new screen:Front camera bracket (lightly glued in place)Sensor bracket (lightly glued in place)
– Front camera bracket (lightly glued in place)
– Sensor bracket (lightly glued in place)
– Peel the protective film off the new display and remove the seals.
Tools Used
Step 14
6 × 1,1 mm Y-Type-Schraube
Just a friendly reminder—there’s still some glue hanging out on the bottom of the back plate! Make sure to line it up perfectly over those screw holes before you secure it. You’re doing great!
– Gently press the flex cable nestled inside the display to ensure it’s snug and secure. You’re doing great!
Tools Used
Step 15

4 × 1,1 mm Y-Type-Schraube
The plastic nose is your helpful buddy for getting that flex cable just right. Think of it as your trusty sidekick in the repair adventure!
– Guide the Home button from the front into its cozy spot through the display’s recess.
– Lift the Home button connector to tuck the flex cable snugly underneath. You’re doing great!
Step 16

Hey there! Just a little reminder—make sure that proximity sensor is in its happy place. If it’s not, it might not work as well as it could. Keep it snug!
The nifty little plastic lugs are here to save the day by guiding your flex cable into the perfect position. Think of them as your trusty GPS for this repair journey!
– First, give those sensors a little nudge back into their cozy spots in the guide. They’ll appreciate the warm welcome!
– Next, gently press down on the flex cable nestled inside the display. It’s like tucking in a blanket—make sure it feels right at home!
Tools Used
Step 17
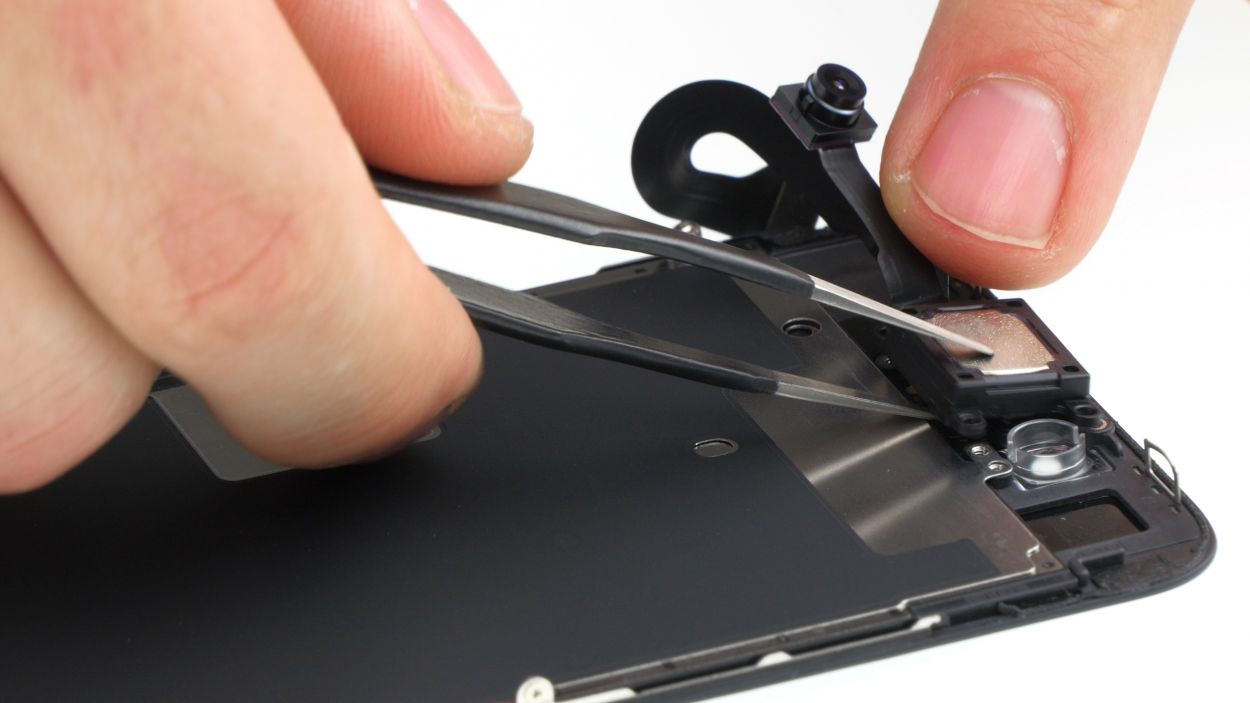

– Gently lift the FaceTime camera cable set to slide the earpiece back into its cozy little spot. You’re doing fantastic!
1 × 2,2 mm Phillips-Schraube
1 × 1,7 mm Phillips-Schraube
1 × 1,5 mm Phillips-Schraube
2 × 2,5 mm Phillips-Schraube5
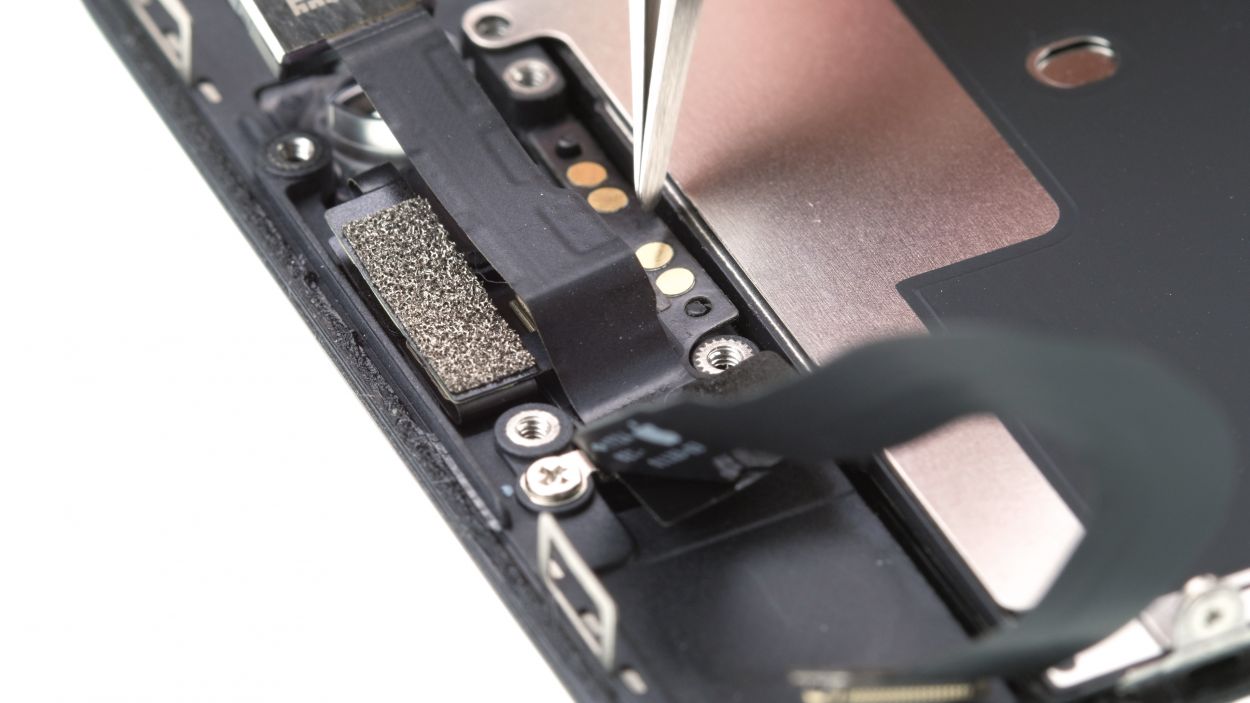
Hey there! Just a friendly reminder—don’t go overboard with those screws! If you tighten them too much, they might just decide to peek through the paint on the display like they’re auditioning for a role in a drama. So, let’s keep it snug but not too tight!
Make sure the FaceTime camera is nicely centered on the front display. If it’s feeling a bit off, give it a gentle nudge before you screw that bracket plate back on. You’re doing great!
Step 18
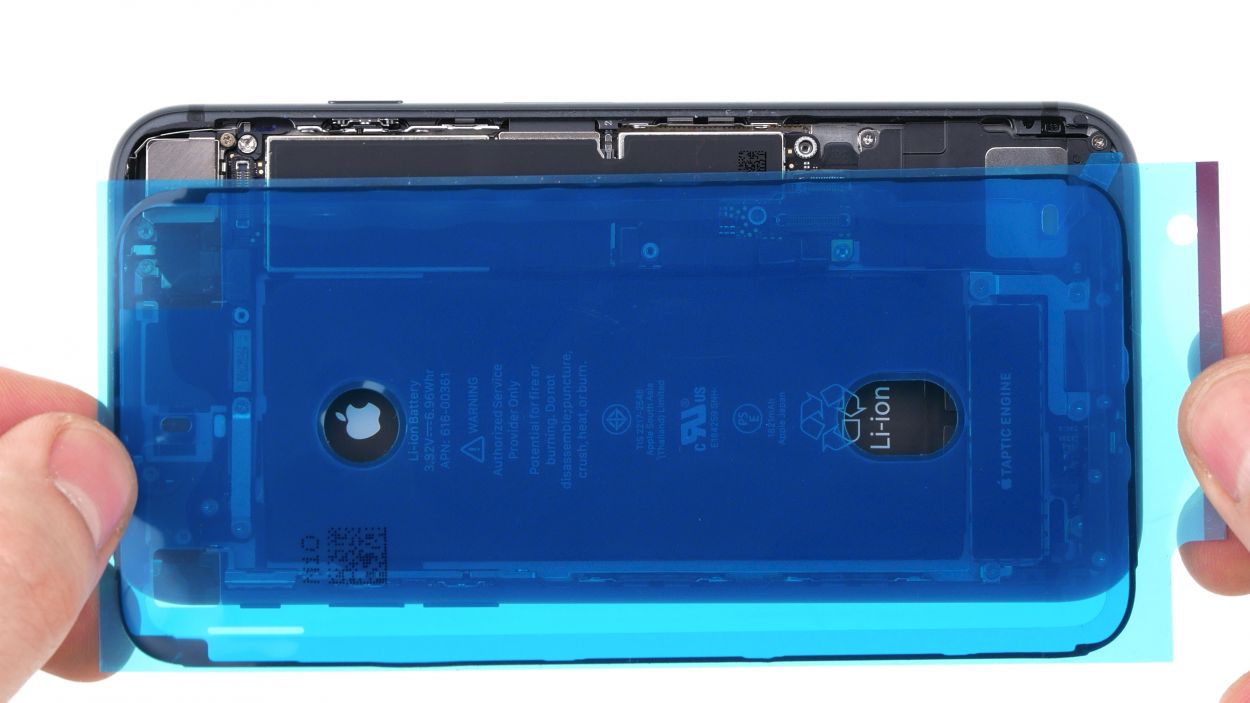

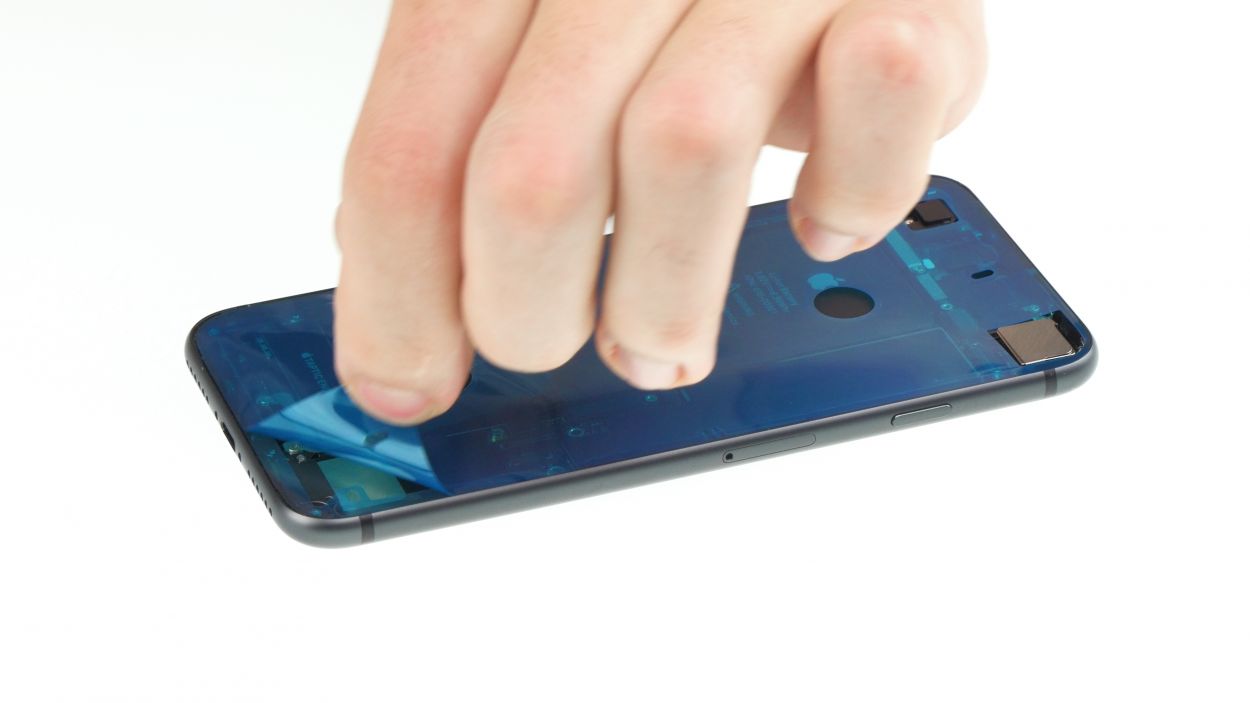
Alright, just so you know—after slapping on that shiny new adhesive frame, your iPhone 8 will be back to battling dust and splashes like a champ, but it’s not quite the superhero it once was. It’s still got your back, just not 100% waterproof anymore!
The corners are unique and play a key role in helping you keep your orientation straight. Think of them as your trusty guideposts on this repair journey!
Tools Used
Step 19
3 × 1,0 mm Phillips-Schraube
– Stand the display tall and proud on the frame, and connect that FaceTime connector to the logic board like a pro!
– Gently lay the display down next to the back cover, like it’s taking a cozy nap.
– Now, cover the FaceTime connector with the plate and secure it with those three Phillips screws—you’re almost there!
Step 20
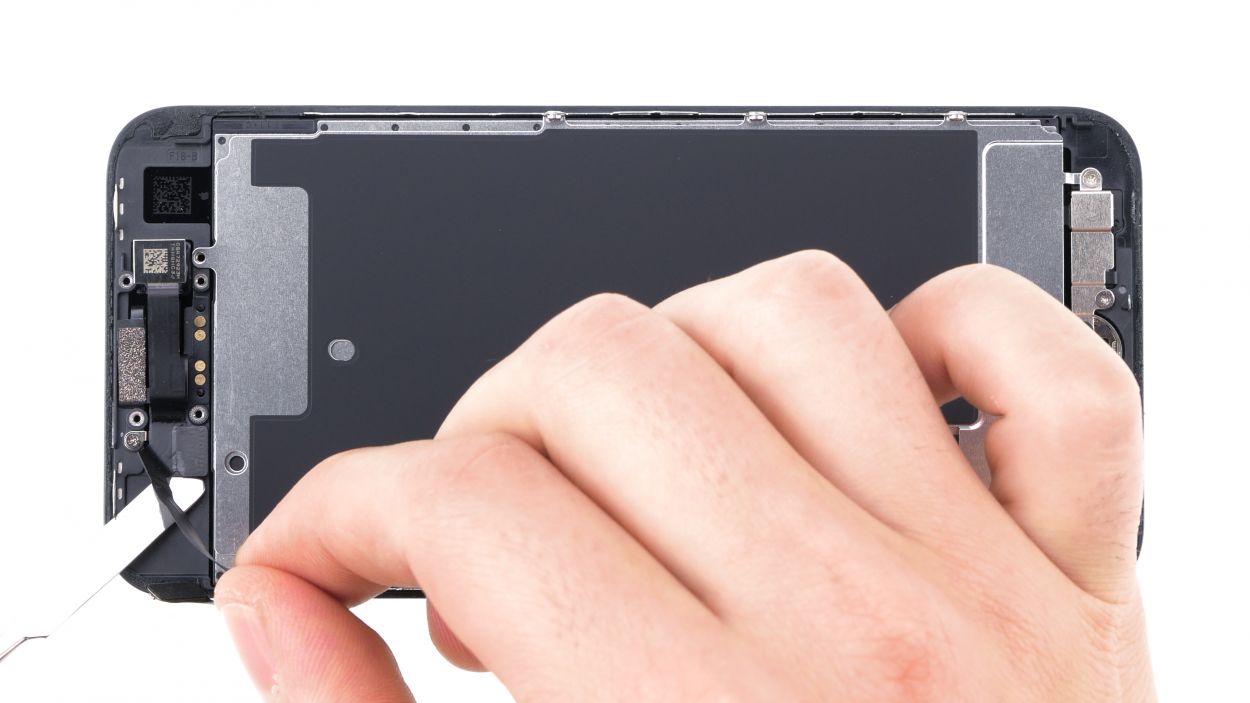
– Alright, let’s get those display connectors back in action! Reconnect the display and home button connectors to the logic board, and you’re one step closer to a working device. Keep it up!

Step 22

– First, gently lay the display next to the back cover, giving it a little hug as you fold it over. You’re doing wonderfully!
– Now, give that display a firm press all over, making sure it feels right at home. Keep it up!
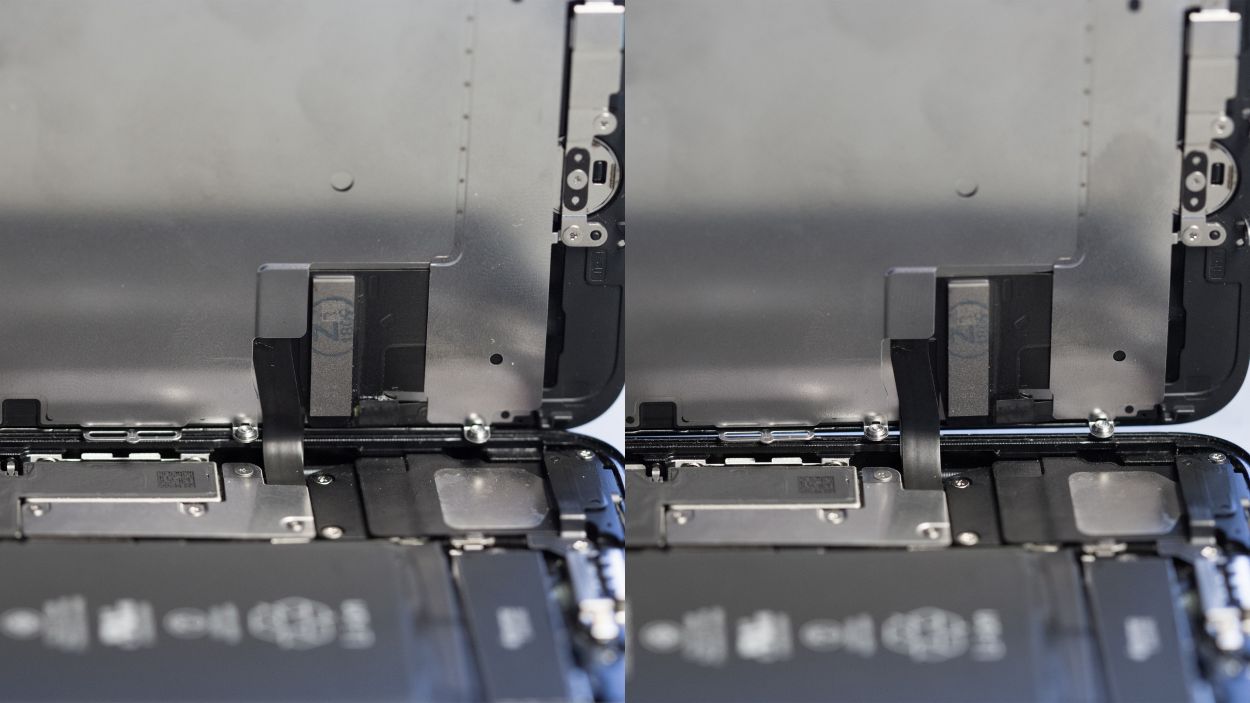
Wrong position
Right position
Hey there! Just a quick reminder—make sure that silver chip on the cable is in its happy place, just like in the photo! If it’s not, you might notice some funky discolorations on the screen after you’re all done. If that happens, no worries! Just double-check the cable’s position and get that chip aligned just right. You’ve got this!
Step 23
2 × 3.4 mm Pentalobe
– Time to wrap things up! Grab those two pentalobe screws that were hanging out on either side of the Lightning connector and snug them back into the rear case. You’re almost there!
Tools Used