
How to Replace Asus A52F-XE2 Hard Drive Step-by-Step Guide
Duration: 45 minutes
Steps: 7 Steps
Hey there! If you need assistance, you can always schedule a repair.
So you’ve got an Asus A52F with a cranky hard drive, huh? Not to worry, we’ve got your back! This fix is a breeze – no sweat, no tears. Just a moderate level of fun waiting for you. Say goodbye to data loss nightmares and system crashes. No safety hazards here, just good vibes and easy peasy steps. No need for a PhD in laptop repair, just a handful of screws to turn. Let’s get this show on the road! If you need help, you can always schedule a repair


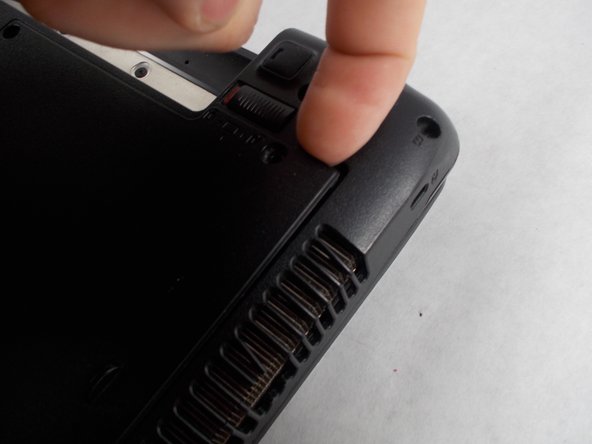
Step 2


– Give that left button a gentle push to the left.
– With your other hand, slide the battery away from you, and voilà, it should pop right out!
Step 3


– Start by taking out the five Phillips #0 screws from the back panel. You’ve got this!
– Next, use your finger or a plastic spudger to gently lift the back panel. Take your time and be careful—you’re doing great!
Tools Used

Step 4


– Gently slide the back panel off and set it aside. You’re on the right track!
Step 5


– Say goodbye to those four Phillips #0 screws holding the hard drive case to your laptop.
– Give that hard drive a little lift by its two arms and watch that case come off the laptop like magic.
Step 6

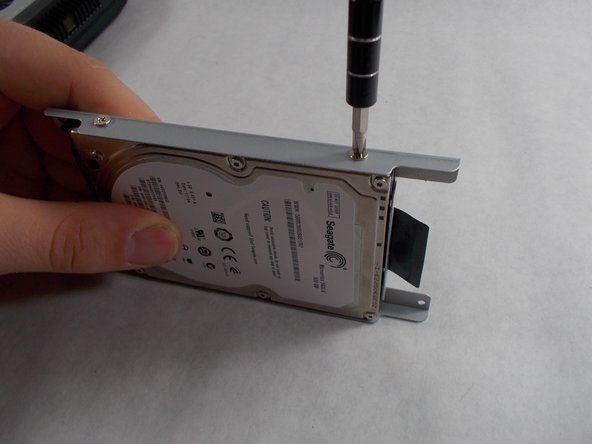
– Grab your trusty Phillips #0 screwdriver and get ready to tackle those cage screws on the side of the hard drive. You’ve got this!
Tools Used

Step 7


– First up, gently slide that pesky case off the broken hard drive. No need to rush, take your time!
– Now, grab the shiny new hard drive and slide it right into the case. Once it’s snug, secure it with those screws!


