How to Replace Asus A53U-ES21 Keyboard DIY Guide
Duration: 45 minutes
Steps: 5 Steps
Hey there! Just a friendly reminder to double-check your work as you dive into this repair adventure. Remember, if things get tricky or you need a little extra help, you can always schedule a repair. You’ve got this!
Step 1


Double check that your laptop is powered down before diving in.
– Turn your laptop over so the battery is looking right at you.
Step 2


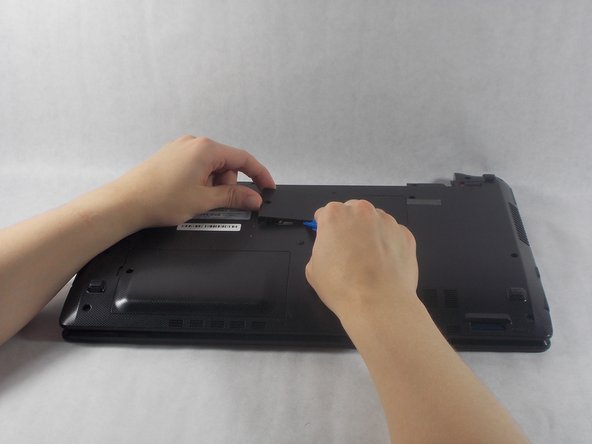
– Flick those two sliders over to the outer edge of your trusty laptop.
– With all the finesse of a repair ninja, gently pry out the battery using your left hand while keeping a firm grip on that right slider.
Step 3
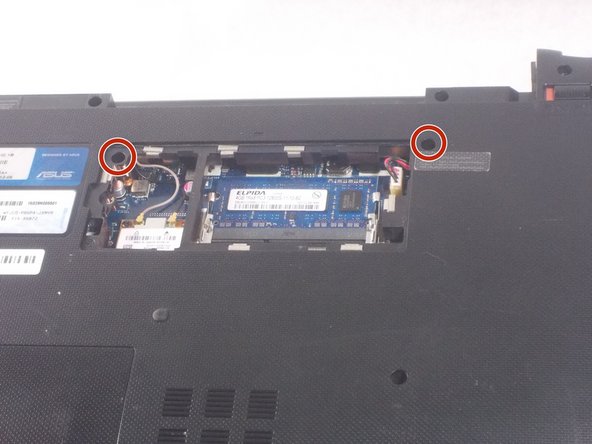

– Let’s kick things off by taking off the RAM cover from the bottom of the keyboard.
– Next up, grab your trusty #1 Phillips screwdriver and unscrew those two 7mm screws labeled with a cool ‘K’.
– Now, locate that 5mm screw keeping the panel snug and remove it using your Phillips #1 screwdriver.
– Finally, slide that pry tool along the edge and finish up the removal like a pro!
Tools Used

Step 4
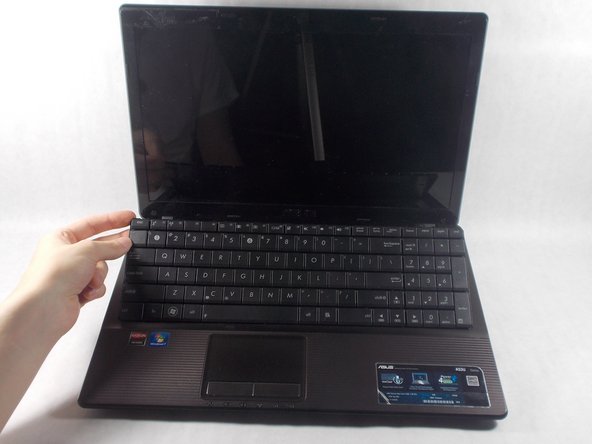

– Position your computer with the keyboard facing you and the screen up top—let’s get this show on the road!
– Locate the three buttons nestled at the top of the keyboard, tucked between the casing and the keyboard. They’ll be highlighted in red for your convenience.
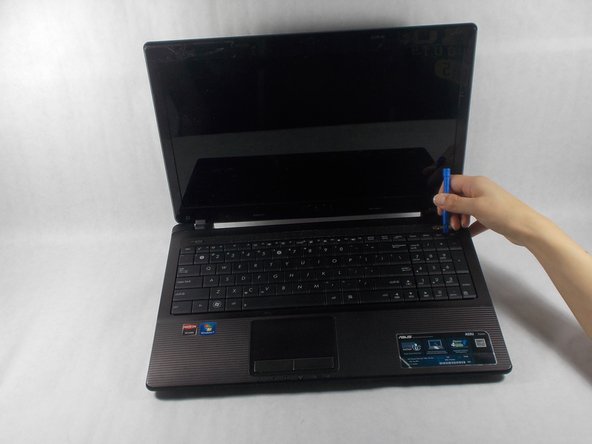
– Grab your trusty pry tool and give those buttons a gentle press. With a little encouragement, the keyboard should pop right out!
Step 5
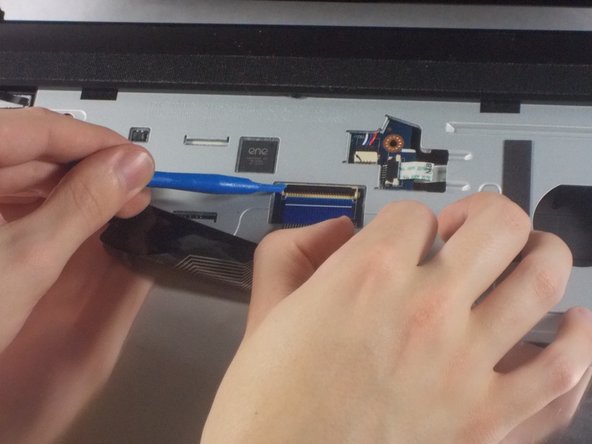

– Carefully fold the keyboard towards you, but don’t worry, it’s still happily connected by a ribbon to the rest of the computer.
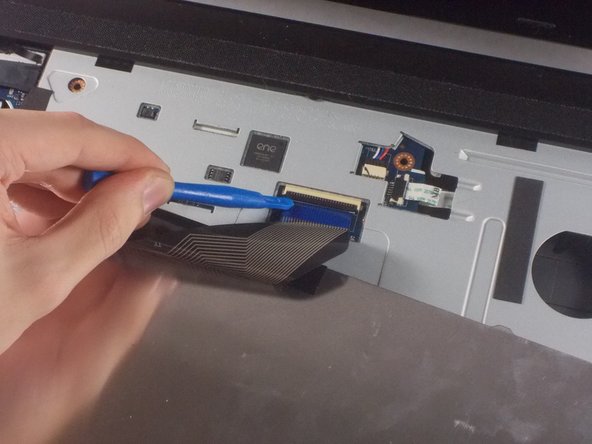
– Now, grab your trusty opening tool and gently lift that black piece holding the ribbon down—it’s time to free the ribbon!
– When you’re putting the black piece back, just make sure it covers the white line on the ribbon. Easy peasy!