How to Replace Asus F Series CPU Fan Guide
Duration: 45 minutes
Steps: 5 Steps
Hey there, repair champ! Just a quick heads up before you dive in: make sure you’re following these steps closely; it’s all about getting your device back in action smoothly. If you hit a snag or need a helping hand, don’t hesitate to schedule a repair with us!
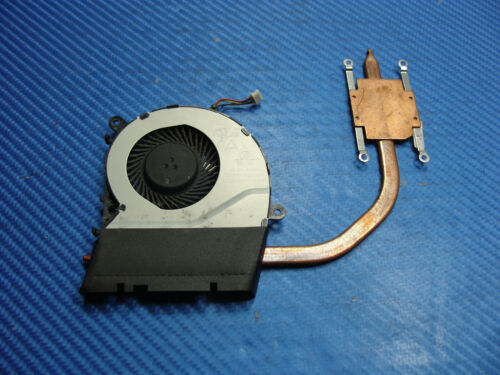
Ready to give your ASUS F555-AB31 laptop a little love? This guide will walk you through the process of removing and replacing the CPU fan. Keep in mind, this little fan is hiding behind the motherboard, so you’ll need to disassemble quite a bit to reach it. Don’t worry, we’ve got your back every step of the way! If you need help, you can always schedule a repair.
Step 1

No need to worry about popping off the RAM access panel!
– Start by unscrewing ten 18mm Phillips #0 screws from the back of your device. You’ve got this!
Step 2


Watch out for those sneaky cables connecting your keyboard and trackpad to the motherboard!
– Kick things off by opening up that laptop of yours.
– Now, let’s get a little adventurous! Gently pry up the edges of the faceplate to separate the keyboard and trackpad from the rest of the device. You’ve got this!
– To disconnect the ZIF connector, just lift the blue tab upwards with a gentle touch to free it from the motherboard. Easy peasy!
Step 3

– Gently lift the faceplate towards the screen to reveal the inner workings of your laptop. It’s like giving it a little peek!
– To get to the backside of the motherboard, you’ll need to shift both the battery and the hard drive adapter PCB out of the way. Think of it as rearranging some furniture for a better view!
– Unscrew the eight Phillips #0 screws holding the battery in place, and don’t forget those four Phillips #0 screws on the hard drive adapter PCB. It’s all about making space for the real action!
Step 4


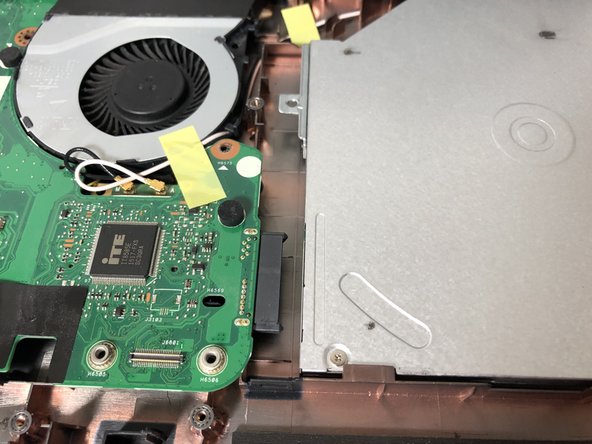
– Time to give that CD drive a little love! Start by unscrewing the lone 4mm Phillips #0 screw and gently slide the drive away from the motherboard. Easy peasy!
– Next up, let’s disconnect those two antennas that are hanging out with the network card. Just a quick pull, and you’re all set!
Step 5

The motherboard is still hanging on by a couple of wires, but don’t worry—removing them isn’t necessary to get to the fan!
– Start by unscrewing those seven 4mm Phillips #0 screws that are securing the motherboard to the laptop chassis. You’re doing great!
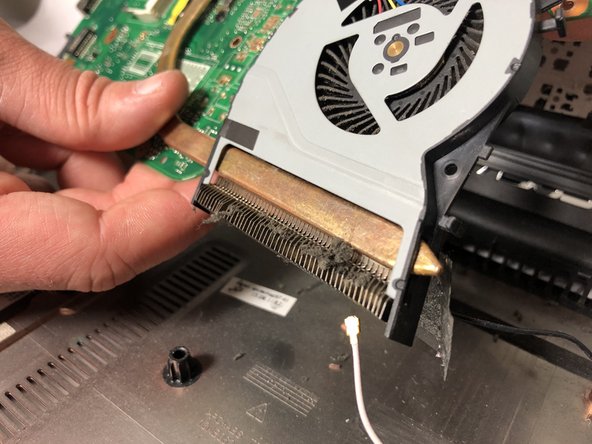
– Now, gently lift the motherboard up and fold it towards the laptop screen like a pro.
– Next, it’s time to disconnect the 4-pin PWM cable that links the fan to the back of the motherboard. Once you’ve done that, you can easily slide the fan off the copper heat pipe. Onward and upwards!


