How to Replace Asus PadFone X Mini Screen – DIY Guide
Duration: 45 minutes
Steps: 8 Steps
Step 1

This isn’t the cover that comes with the speaker attached. Just a friendly reminder!
– Alright, flip your phone over so it’s facing down! Now, take a peek at the bottom right corner—there’s a nifty little groove waiting for you. Grab your trusty plastic opening tool and gently lift to pop that outside cover off. Easy peasy!

Step 3

– Alright, let’s get to work! You’ll find 10 T5 Torx screws chilling around the edges, each measuring 2 mm. Time to unscrew them all!
– Next up, gently take off the cover and reveal the magic inside!
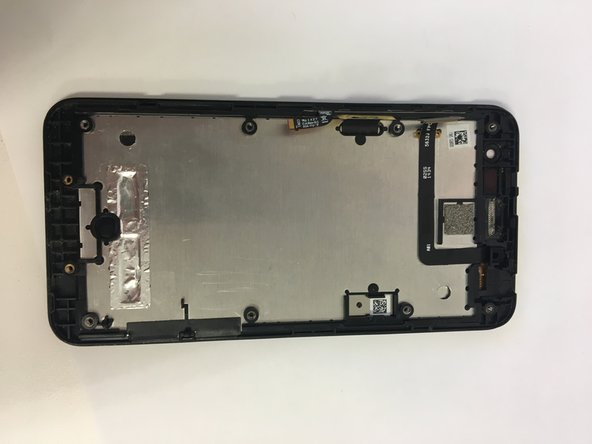
Step 4

The speaker is nestled on the inside of the cover, hanging out to the right of the camera hole.
– Flip that cover over, like you’re showing off your awesome repair skills!


Step 6

Try to keep the black connector in place; we don’t want it wandering off!
– Alright, time to get this party started! Let’s gently disconnect that black connector hanging out on the left side of the motherboard. It’s like giving it a little high five, but with a tool.
Step 7

– Unplug the silver connector from the motherboard. You’ll find it hanging out on the left side, just chilling above the black connector.
Step 8

– Now, put your device back together by reversing the steps! You’re a master of tech, you got this!
– If you need help, you can always schedule a repair.
–
Success!

