How to Replace Asus Phone ASUS ZenFone 2 Laser Display – DIY Guide
Duration: 45 minutes
Steps: 15 Steps
Got a cracked screen on your ZenFone 2 Laser? No sweat! Follow this guide, and you’ll have it fixed in no time. If you hit a snag, you can always schedule a repair.
Step 1


Heads up! Avoid bending the case like in Picture1! Too much flexing could lead to a break. Keep it cool and gentle!
– Slide a spudger or your trusty fingernail into the little gap on the right side of the rear case to pop it open. It’s like giving your phone a gentle hug!
– There are a few sneaky plastic clips in there, but don’t worry, they’re not too tough to handle. You’ve got this!
Step 2

– Gently slide out the SIM card and, if you’ve got one, the SD card too!

Step 4

While we’ve only shown 8 in the picture, don’t forget there are also four hiding at the bottom!
– Time to get your Phillips screwdriver ready! Unscrew and remove 12 screws from your phone with care.
Step 5

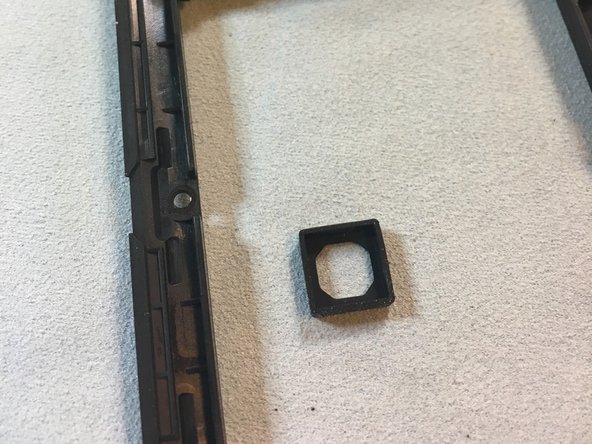

If that little rubber camera piece decides it wants to take a vacation, simply pop it back into its cozy spot right where the rear camera hangs out.
– Take off that plastic covering after you’ve unscrewed everything. It should pop off without much fuss!
Step 6


Hey, be super careful with the Main Board, okay? If you accidentally damage it, well, it might be easier to just get a new phone. 😉 But hey, don’t worry! We’re here to help if you need it! schedule a repair

Step 8

Keep that vibration motor in place—it’s snugly soldered to the logic board, so let’s leave it be!
– Gently lift the vibration motor out of its snug plastic home.
Step 9


– Alright, let’s get down to business! There are two sneaky plastic clips keeping the logic board snug. Gently nudge one aside and give the logic board a good grip to pull it out with confidence.
– Make sure you’re holding the whole logic board, including that slender piece that stretches down the right side to the micro-USB port. You’ve got this!

Step 11

Watch your spudger skills! There’s a sneaky cable connecting the display to the logic board right between the ear speaker and the rear camera hole. Keep it safe and sound!
– Alright, let’s get this party started! Slide your spudger, maybe an iSesamo, into the top right corner of the display. You’re going to want to get it snug between the glass and the plastic bezel.
– Heads up! There’s a good amount of adhesive holding the display in place at the top.
– Swap out your spudger for a guitar pick and give it a little rest to keep it from moving around.
Step 12

In the image displayed, I initially inserted the iSesamo into the LCD, leading to some unexpected damage on the right side. After reassessing my approach, I cleverly placed the guitar picks beneath the LCD to set things right.
Step 13

– Hey there! Make sure you’re using that tool wisely and keeping it under the LCD, not above it like that picture’s showing. It’d be a bummer if it was blocking our view, right? So, keep it under there and you’ll be golden!
Step 14


Remember to carefully guide the top flex cable through the hole before separating the display (not shown).
Step 15

– Time to give that display a little separation from its plastic frame! Gently, gently, now… we don’t want any drama.
– Alright, it’s time to install that new display. Remember, those flex cables are a bit like those old-school phone cords. Give them a little bend to make sure they fit snugly in their spots. You got this!
Success!

