How to Replace Asus Zenfone 9 USB-C Charging Port: DIY Guide
Duration: 45 minutes
Steps: 7 Steps
It looks like your USB-C charging port is playing hard to get! When plugged into reliable chargers and cables, it’s being a bit picky, only charging if the cable is positioned just right and stays still. No worries, let’s get your device back to charging like a champ!
Step 1

– First things first, let’s power down that phone to give it a little break.
– Now, grab your trusty removal tool or a simple paper clip. It’s time to pop open that SIM card tray and take it out completely. You’ve got this!
Step 2


When using a sharp tool, start at the bottom of the phone. This is where the speaker array is all tucked away in plastic, so you’ll be a little safer from accidentally poking around in the guts of your device.
Can’t get the pick under the cover? Try thinning it down or start with something sharper. Once you make a gap, stick to using the pick.
– Grab your trusty iOpener or heat gun and gently warm up the adhesive around the edges of the back cover. This will help soften it up nicely.
– Once it’s all warmed up and cozy, take an opening pick or a guitar pick and carefully slide it around the edge of the phone. This will help you separate that back cover from the phone without any fuss.
Tools Used

Step 3

Kick things off near the battery—it’s the best way to steer clear of any mishaps with those flat cables and camera modules. You’ve got this!
That cheerful screw marked in yellow is hiding a little decal on top. With a flick of a sharp tool, you can pop it right off, just like magic!
– Grab a 000 Philips bit and let’s tackle those nine highlighted screws! You’ve got this!
– Gently pry off the plastic cover using a spudger, opening pick, or even a trusty guitar pick. Easy peasy!
Step 4

Alright, let’s tackle that sticker hiding the screw marked in yellow! A little poke with a sharp tool will do the trick, so go ahead and peel it off with ease!
– Grab a 000 Philips bit and let’s dive in to remove those six shining screws – they’re just begging to be taken out!
– Once those screws are out of the way, give the speaker a gentle nudge with your finger, an opening pick, or even a guitar pick. It’s time for it to pop out and join the party!
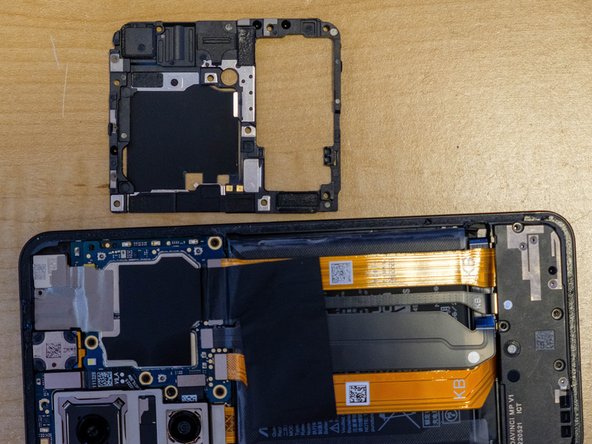
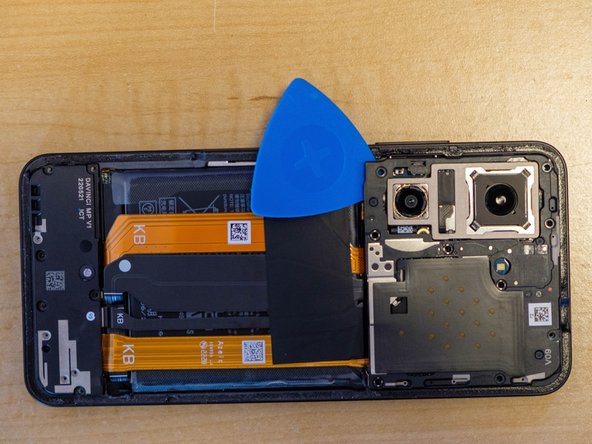
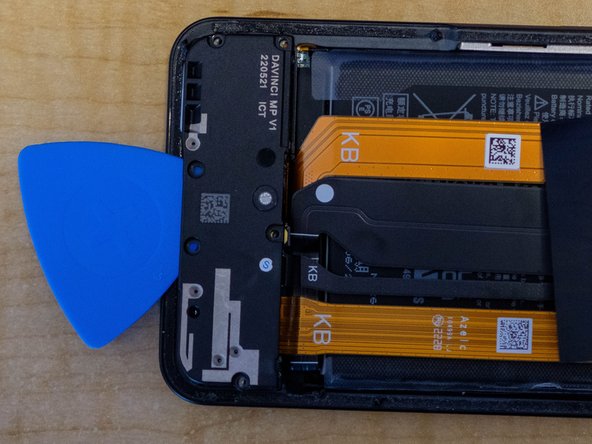
Step 5

No worries, no need to unplug those flat cables, but if you leave ’em connected, keep ’em chill and hanging out loose, know what I mean? Don’t wanna get all bent out of shape!
– With a trusty spudger, an opening pick, or even a guitar pick in hand, gently coax out the circuit board. Remember, this little guy is also home to the SIM card reader, so treat it with care!
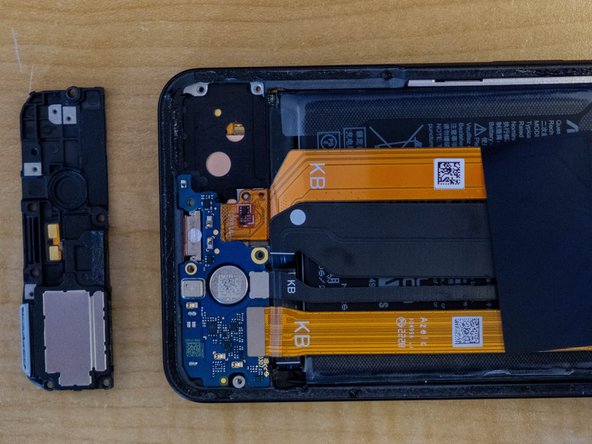
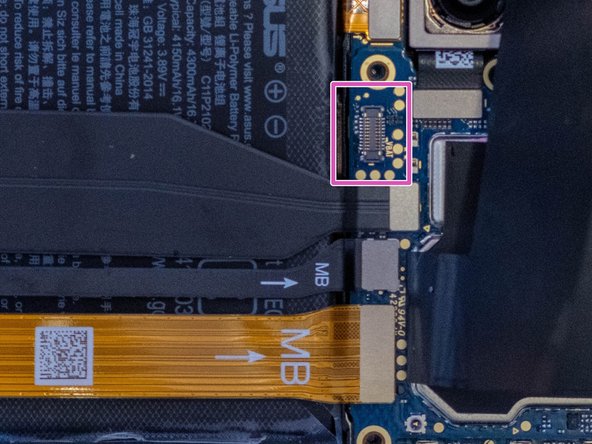
Step 6

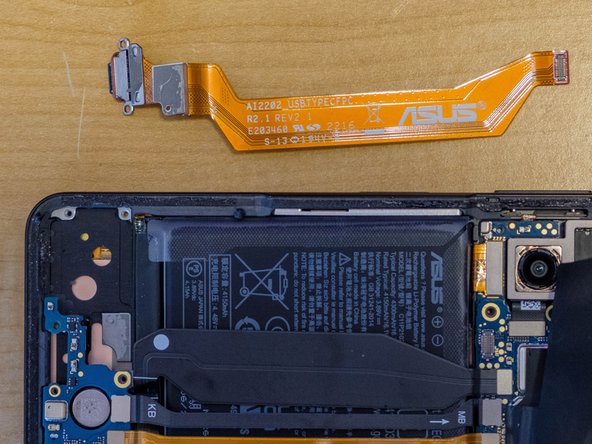
Whoa there, mighty repairer! This step might require a little elbow grease, so pace yourself and make sure you’re being your usual awesome self. Safety first!
– Grab your trusty spudger and carefully tease the old USB-C connector away from the main board, as shown on the right in this photo.
– With a steady hold on the flat cable, gently tug back on the ‘KB’ side to break the adhesive’s grip on the back of the phone case.
– The USB-C port should easily pop out, along with the flat cable, allowing you to remove it completely.
Step 7

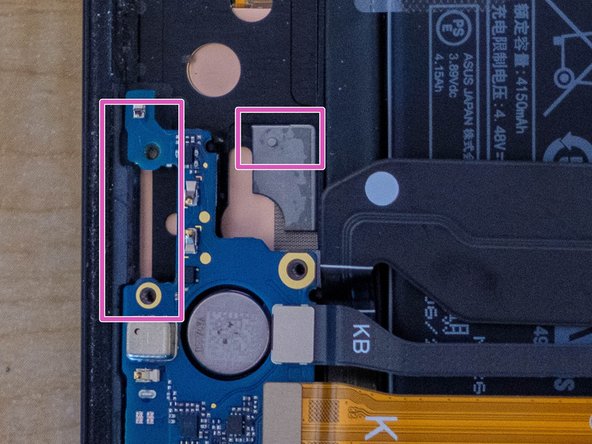
Ensure that the screw holes in your shiny new port line up just right with the circuit board. You’ve got this!
That red gasket is like a super-tight hug, keeping everything sealed up!
The cable’s got a special groove that fits perfectly into the gray plastic peg. You’ll see it in the second picture. Just slide it in like it belongs there.
– Now it’s time to put your device back together! Just retrace your steps and follow these instructions in reverse. You’ve got this!
– If you had a change of heart and didn’t finish this guide, no worries!
– Remember, if you find yourself in a pickle, you can always schedule a repair.
Success!