How to Replace Back Glass Adhesive in Your Google Pixel Fold – DIY Repair Guide
Duration: 45 minutes
Steps: 10 Steps
Hey there, repairer! This guide is just a helping hand from the Salvation Repair crew. We’re here to help you fix your stuff. And if you get stuck, remember you can always schedule a repair.
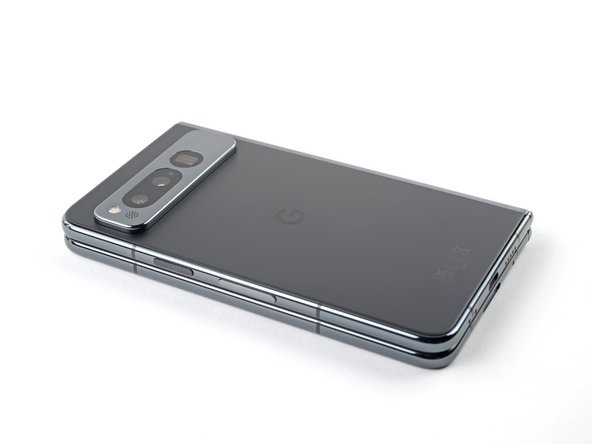
Welcome to your go-to guide for replacing the back glass adhesive on your Pixel Fold after a repair! We’re here to help you get it done. Dive in and follow these steps to remove the rear cover if you haven’t tackled that yet. If you ever find yourself in a jam, you can always schedule a repair.


Step 2


Take it easy during this step! It’s super easy to accidentally stick that adhesive in the wrong place, so just slow your roll and enjoy the process.


Step 4
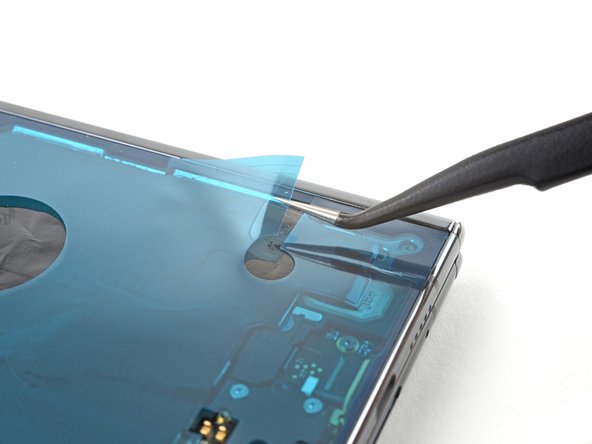

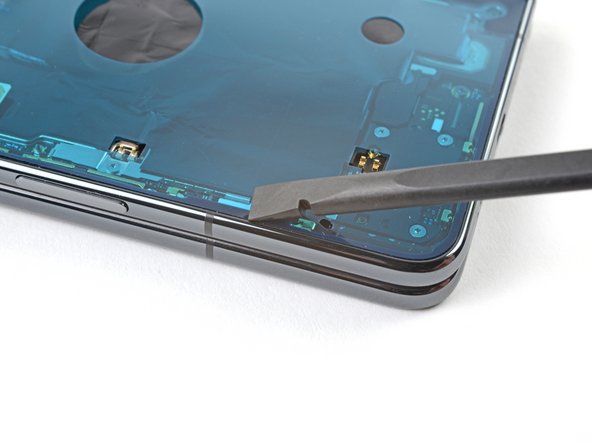
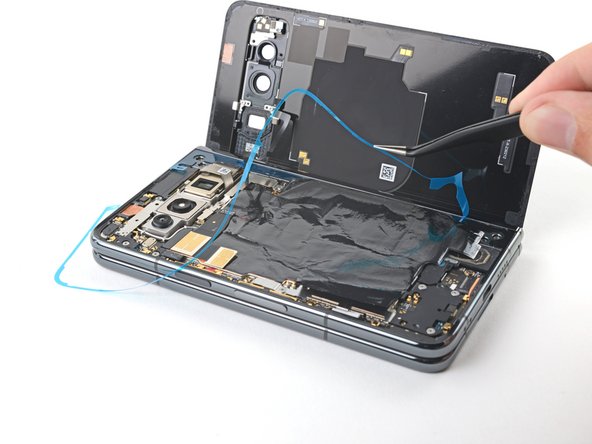
– Lift the funky tab at the bottom right corner of that big blue liner with a gentle peel.
Step 5
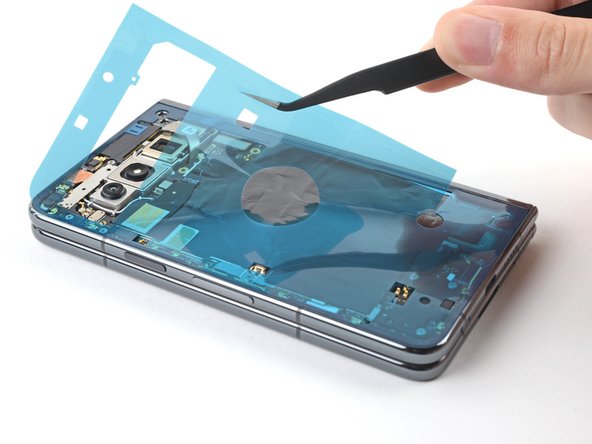

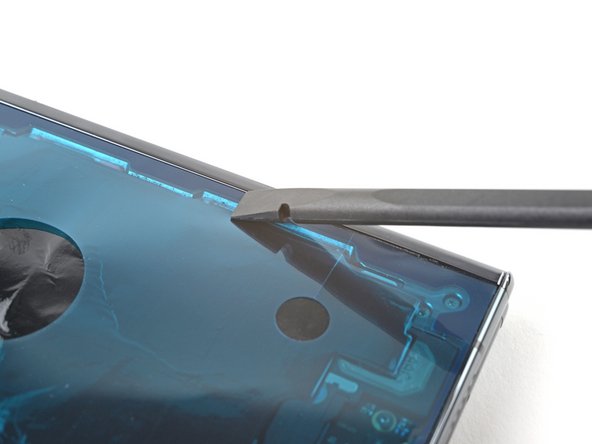
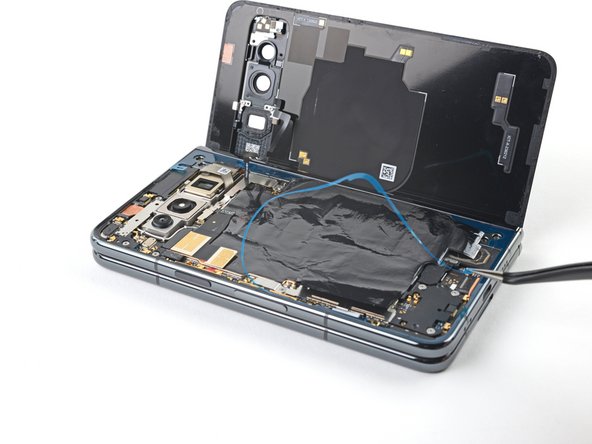
– Flip up the tab and peel away the large blue liner to reveal the secondary liner.
Step 6
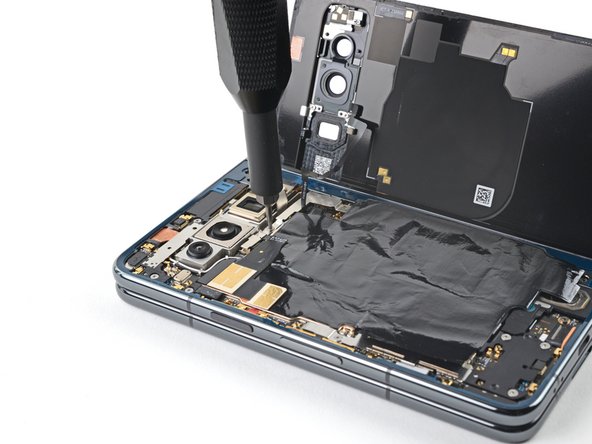

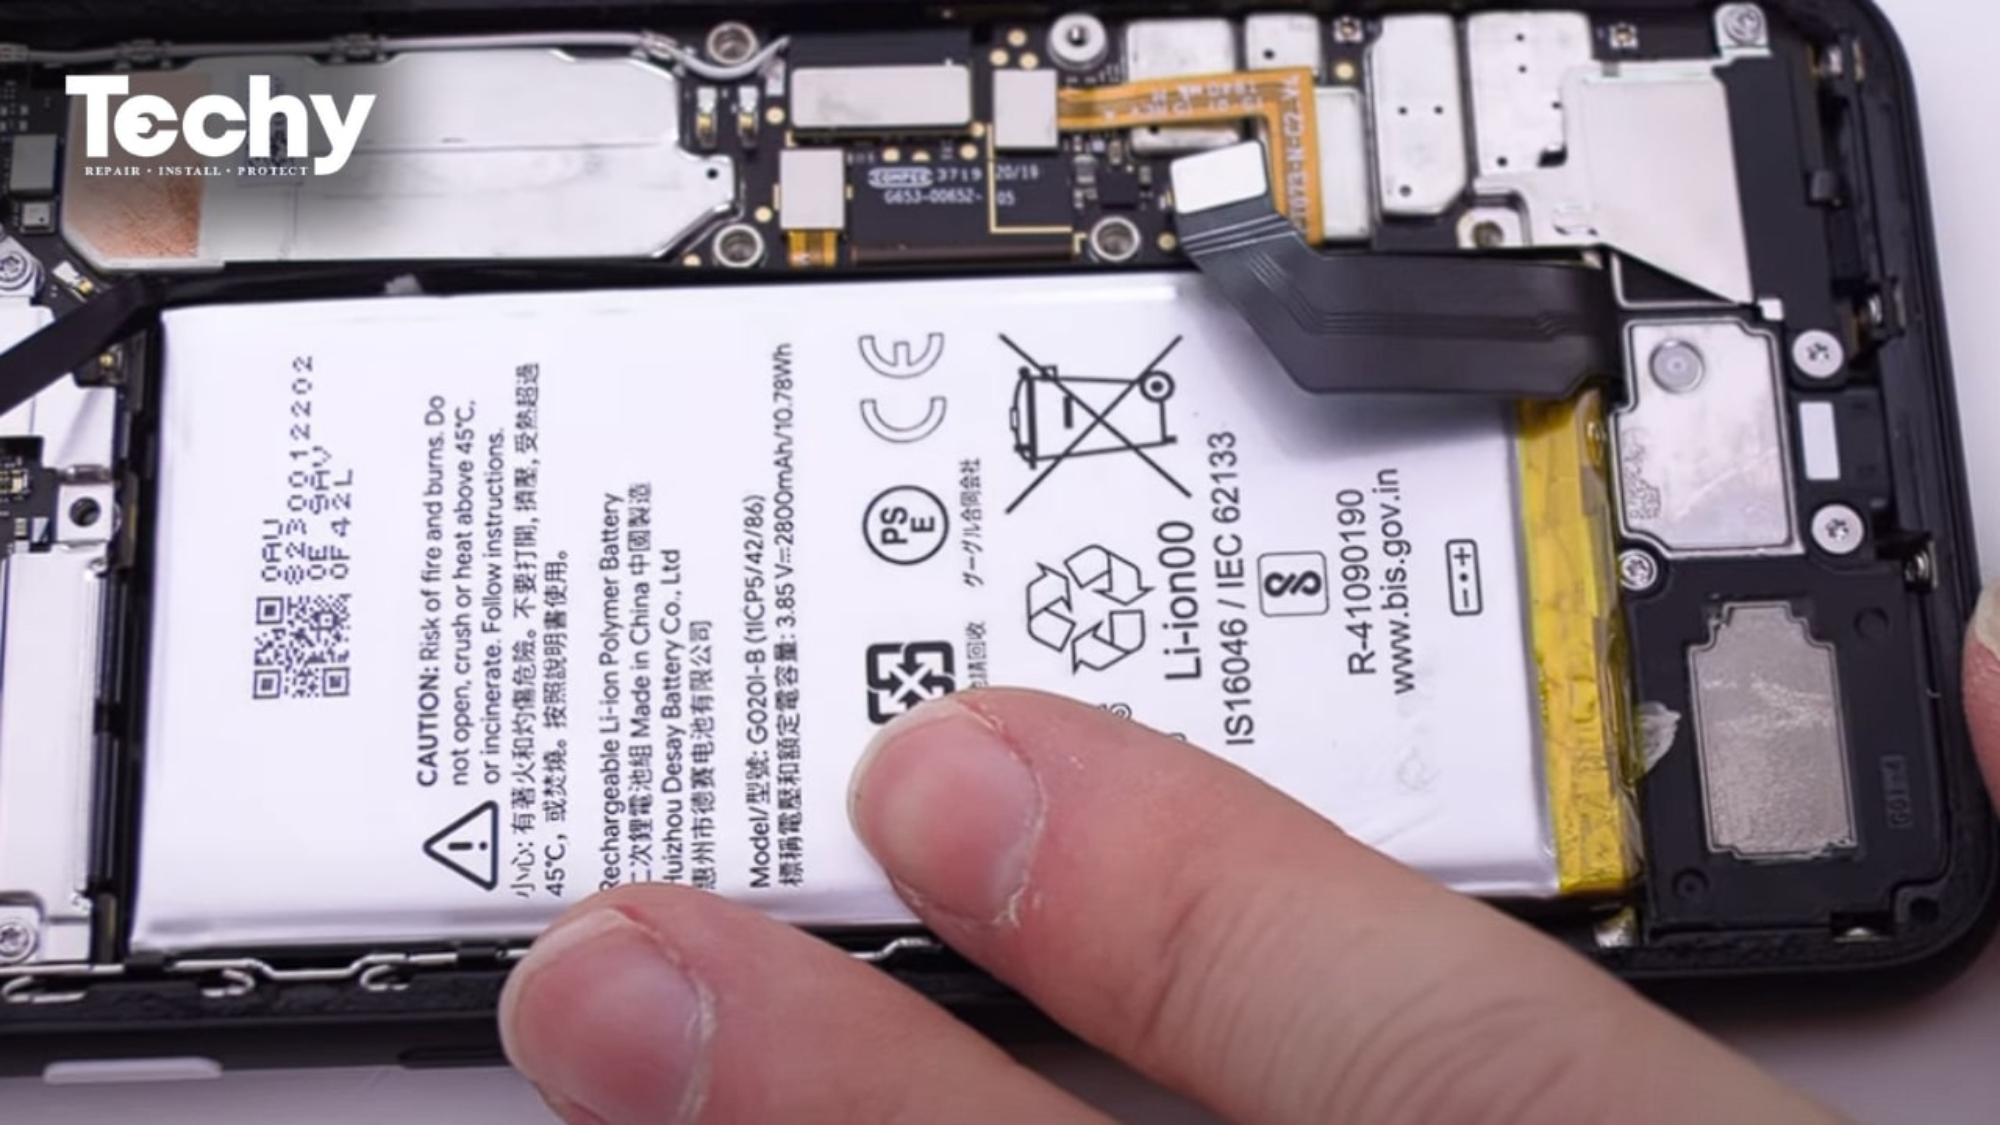
– Keep those fingers steady and strong, buddy! Let’s get this back glass supported and cable reconnected just like a boss. Now, grab your trusty Torx Plus 3IP driver and let’s secure that middle bracket like a pro. Almost there, champ! If you need help, don’t forget you can always schedule a repair!


Step 8

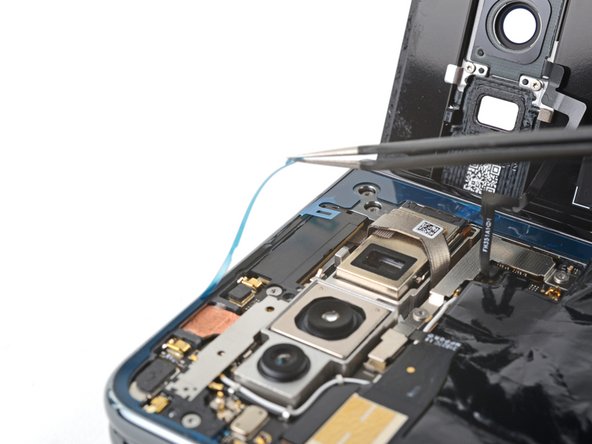
– Give that tab a little lift and peel back the secondary liner to reveal the top adhesive. You’ve got this!
Step 9
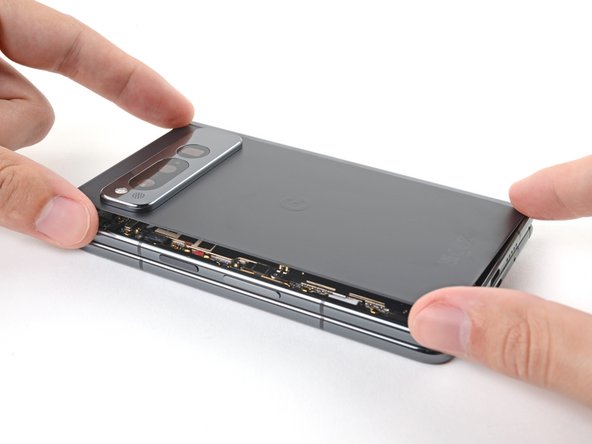

– Get that back glass in line with its cozy little cutout in the frame!
– Gently lay down one long edge of the back glass onto the frame, ensuring everything sits snugly without any sneaky gaps or pesky adhesive poking out.
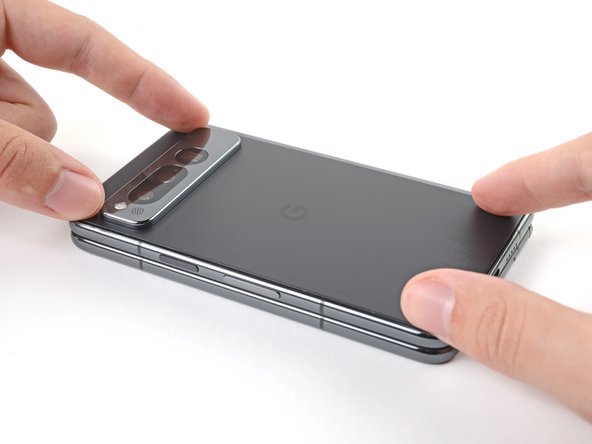
– Now, bring the other long edge of the back glass down onto the frame. You’ve got this!
Step 10

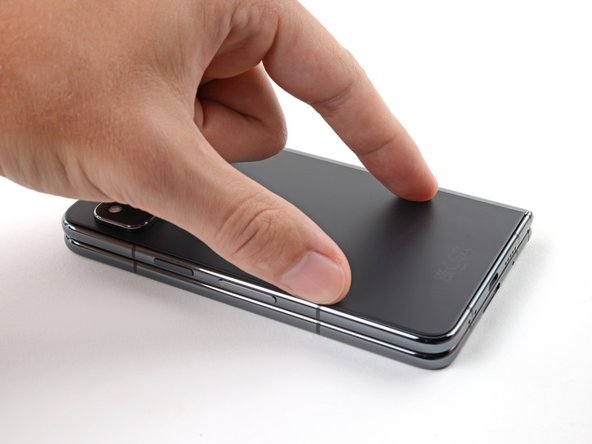
– Rock ‘n’ roll that back glass! Press it smooth along the edges ’til it’s stuck to the frame. Then let your phone chill for a few hours to bond with its new buddy. Looking good, friend!
Success!