How to Replace Battery Adhesive on Device Brand Device Manufacturer
Duration: 45 minutes
Steps: 13 Steps
Heads up!
Ready to tackle replacing that battery? This guide will walk you through cutting and applying fresh stretch release adhesive strips like a pro! Keep in mind that we showcase a variety of phones and batteries along the way. Your adhesive application might look a tad different from our photos, but don’t sweat it—the process is still the same. If you need help, you can always schedule a repair.
Step 1

Make a note of where the old battery adhesive is hanging out. A quick snap with your phone can be super handy for later reference!
Step 2

– Wrap up the surface cleaning with a lint-free cloth (or a trusty coffee filter) and give it a good scrub with some high-octane isopropyl alcohol (90% or higher). You’ve got this!
Step 3


Here’s a handy guide to using stretch release adhesive strips—just a heads up, the placement may differ depending on your phone model. Take a moment to assess what’s best for your particular repair before diving into the adhesive action!
– First things first, let’s give your device a little downtime—power it off. Now, take a moment to check out the battery compartment; it’s time for a little inspection action!
Step 4

Pop those stretch release adhesive strips onto the back of your shiny new replacement battery! You might have to trim them down to size, but hey, a little snip here and there never hurt anyone!
– Place those stretch release adhesive strips next to your new battery, making sure the pull tabs are just a smidge above the top edge of the battery.
Step 5


– Grab a pen and draw a line on the stretch release adhesive, just a smidge above the bottom edge of the battery. You’ve got this!
Step 6


– Grab a trusty pair of sharp scissors or a razor blade and snip those stretch release adhesive tabs right along the dotted line. You’ve got this!
– Once you’ve made the cut, go ahead and peel away the extra adhesive like a pro.
Tools Used

Step 7


– Peel back the little bits of blue film that are hiding the flat ends of those adhesive strips. No need to go all out and remove the whole blue liner—just focus on the small sections covering the pull tabs. You’re doing great!
Step 8


– Gently position the exposed parts of the adhesive strips along the edge of the battery’s front side, and give them a soft press to secure them in place.
Step 9


Sometimes, the blue film can be a little stubborn and refuses to peel off smoothly. If you run into this hiccup, don’t worry! Just toss those strips aside and grab some new ones. You’ve got this!
– Lay the battery down with the face side on a smooth surface, nice and flat.
– Begin at the end of the adhesive strips that has a little cut, and carefully peel away the big blue film that’s hiding the strips. You’ve got this!
Step 10


– With a gentle touch, roll those adhesive strips along the bottom edge of the battery, moving towards the back. You’ve got this!
Step 11


– Gently place the strips flat against the back of the battery, making sure they’re cozy and snug.
Step 12


– Give those strips a good press with your fingers or a cloth to secure them snugly against the back of the battery. You’ve got this!
Step 13


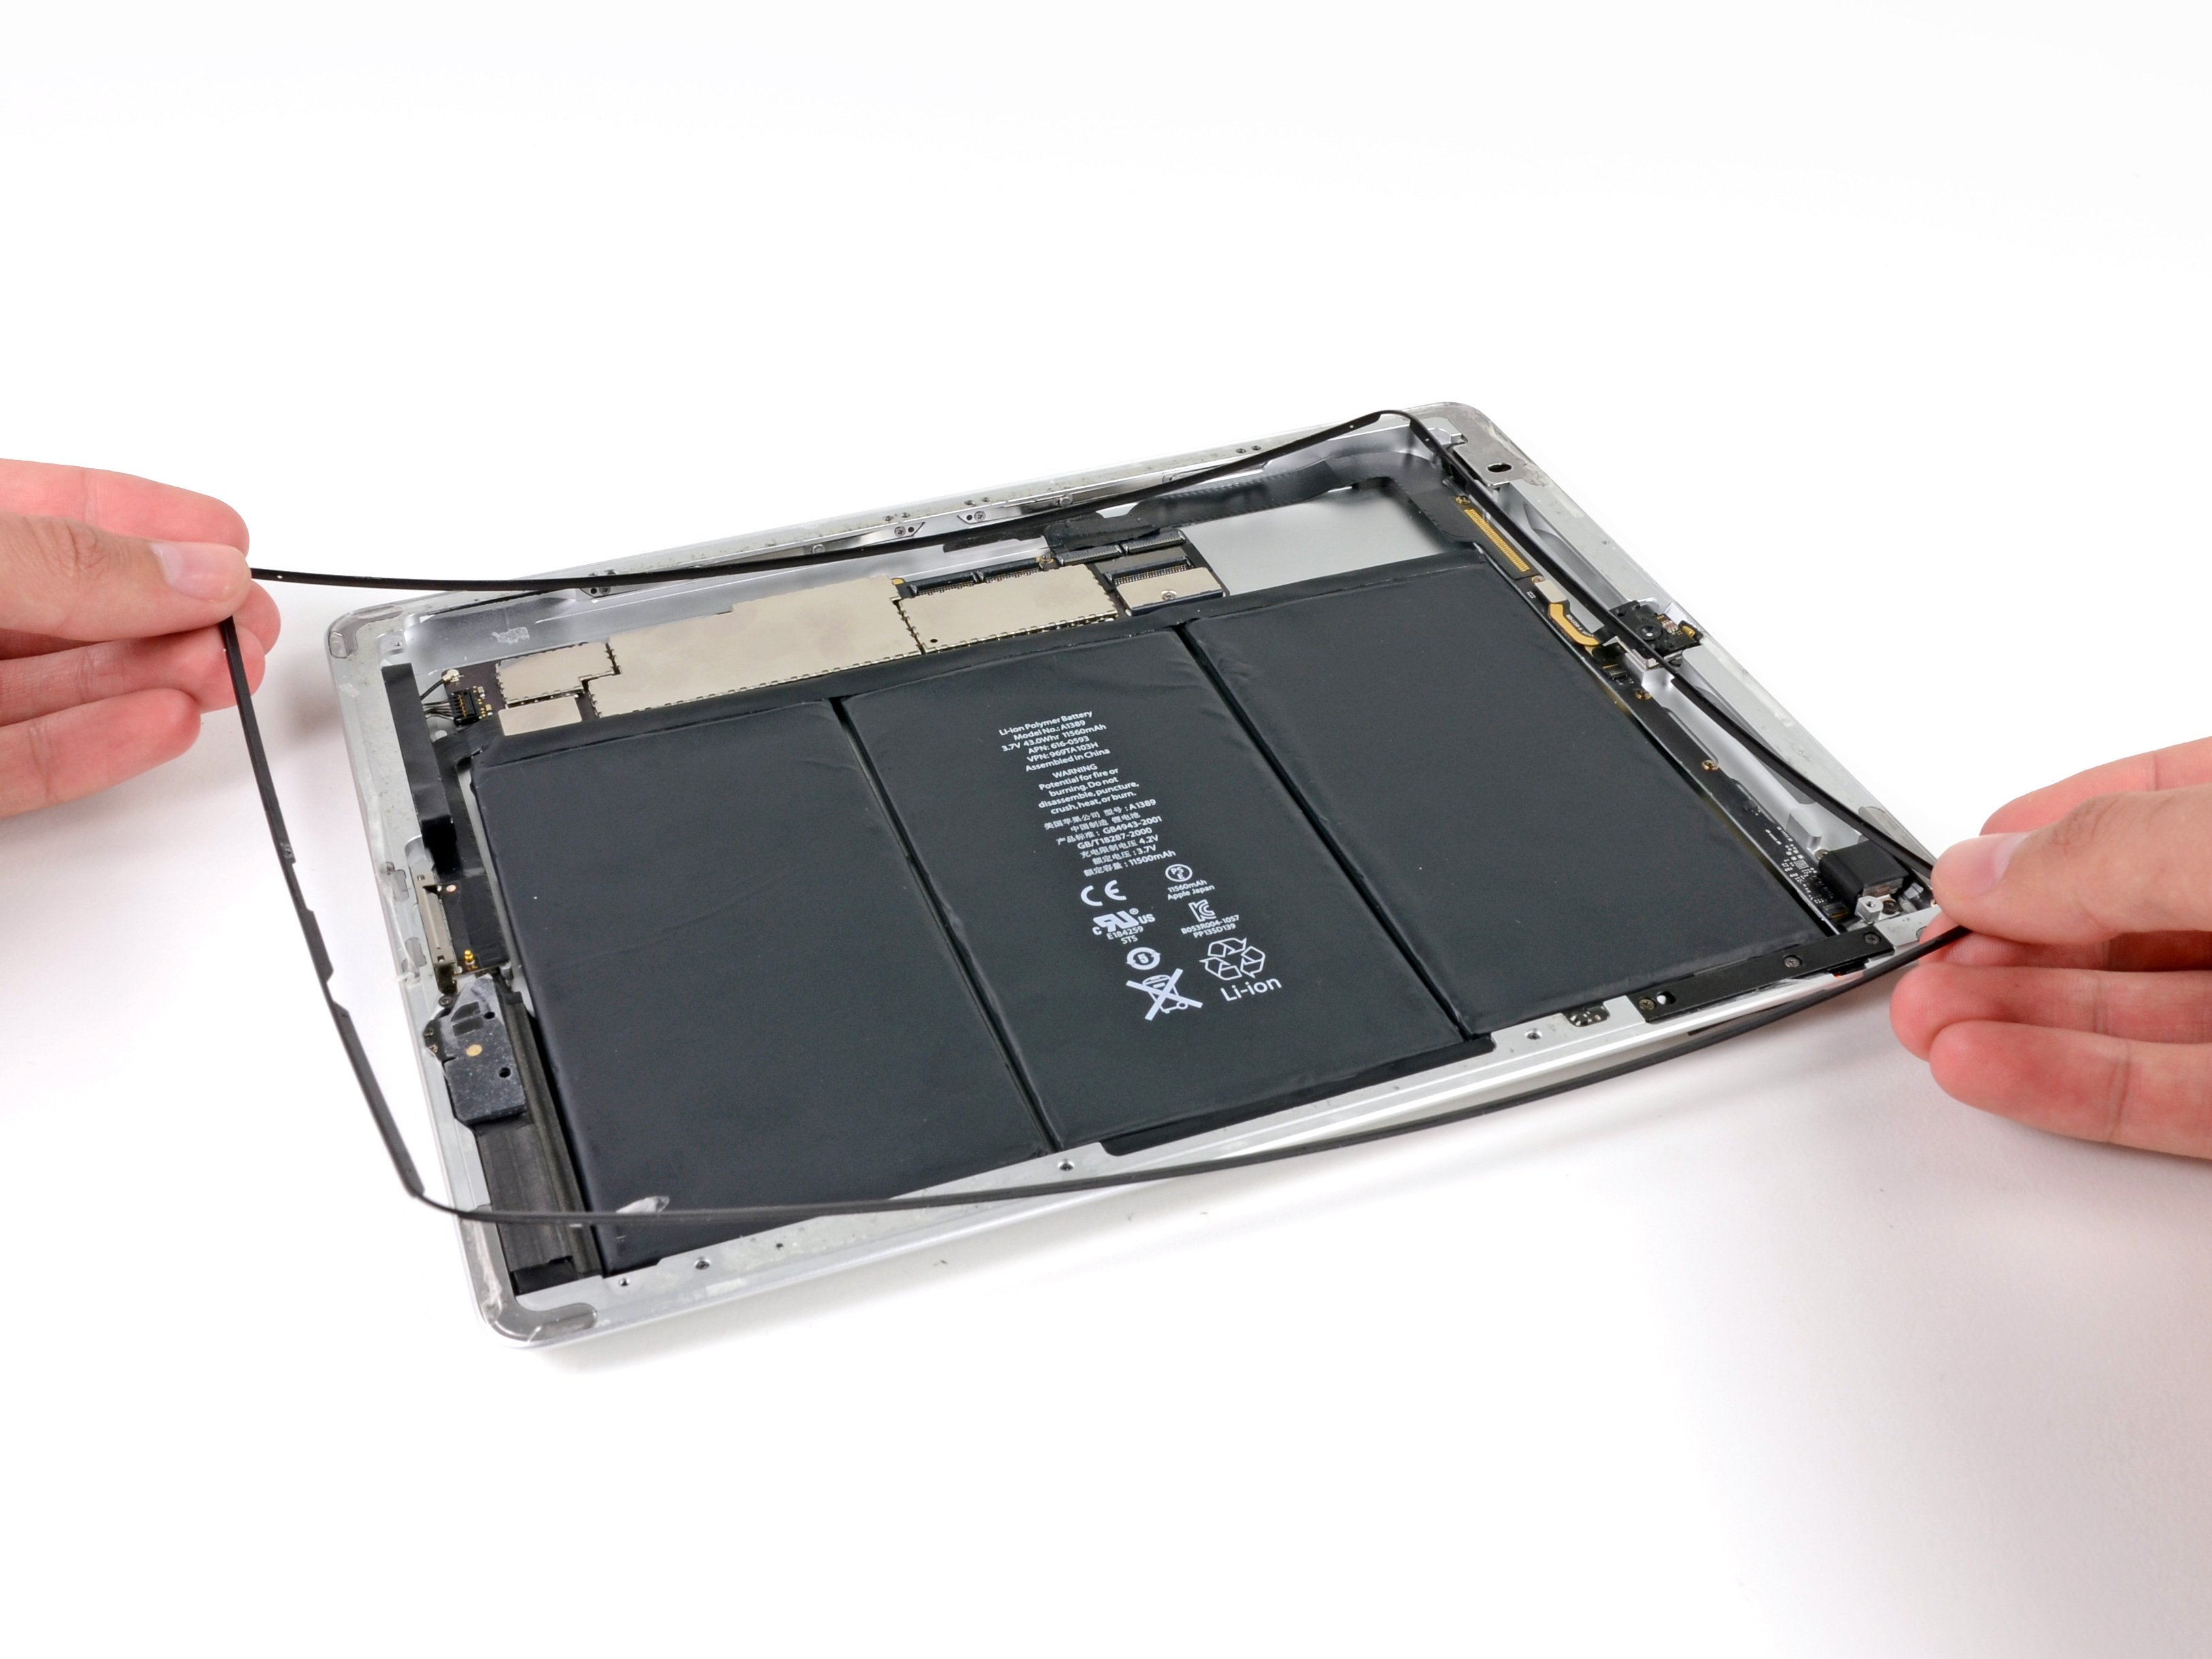
– Gently peel off that last stubborn bit of film to reveal those adhesive strips in all their glory!
– Carefully place the battery where it belongs in your device, like it’s settling into a cozy chair.
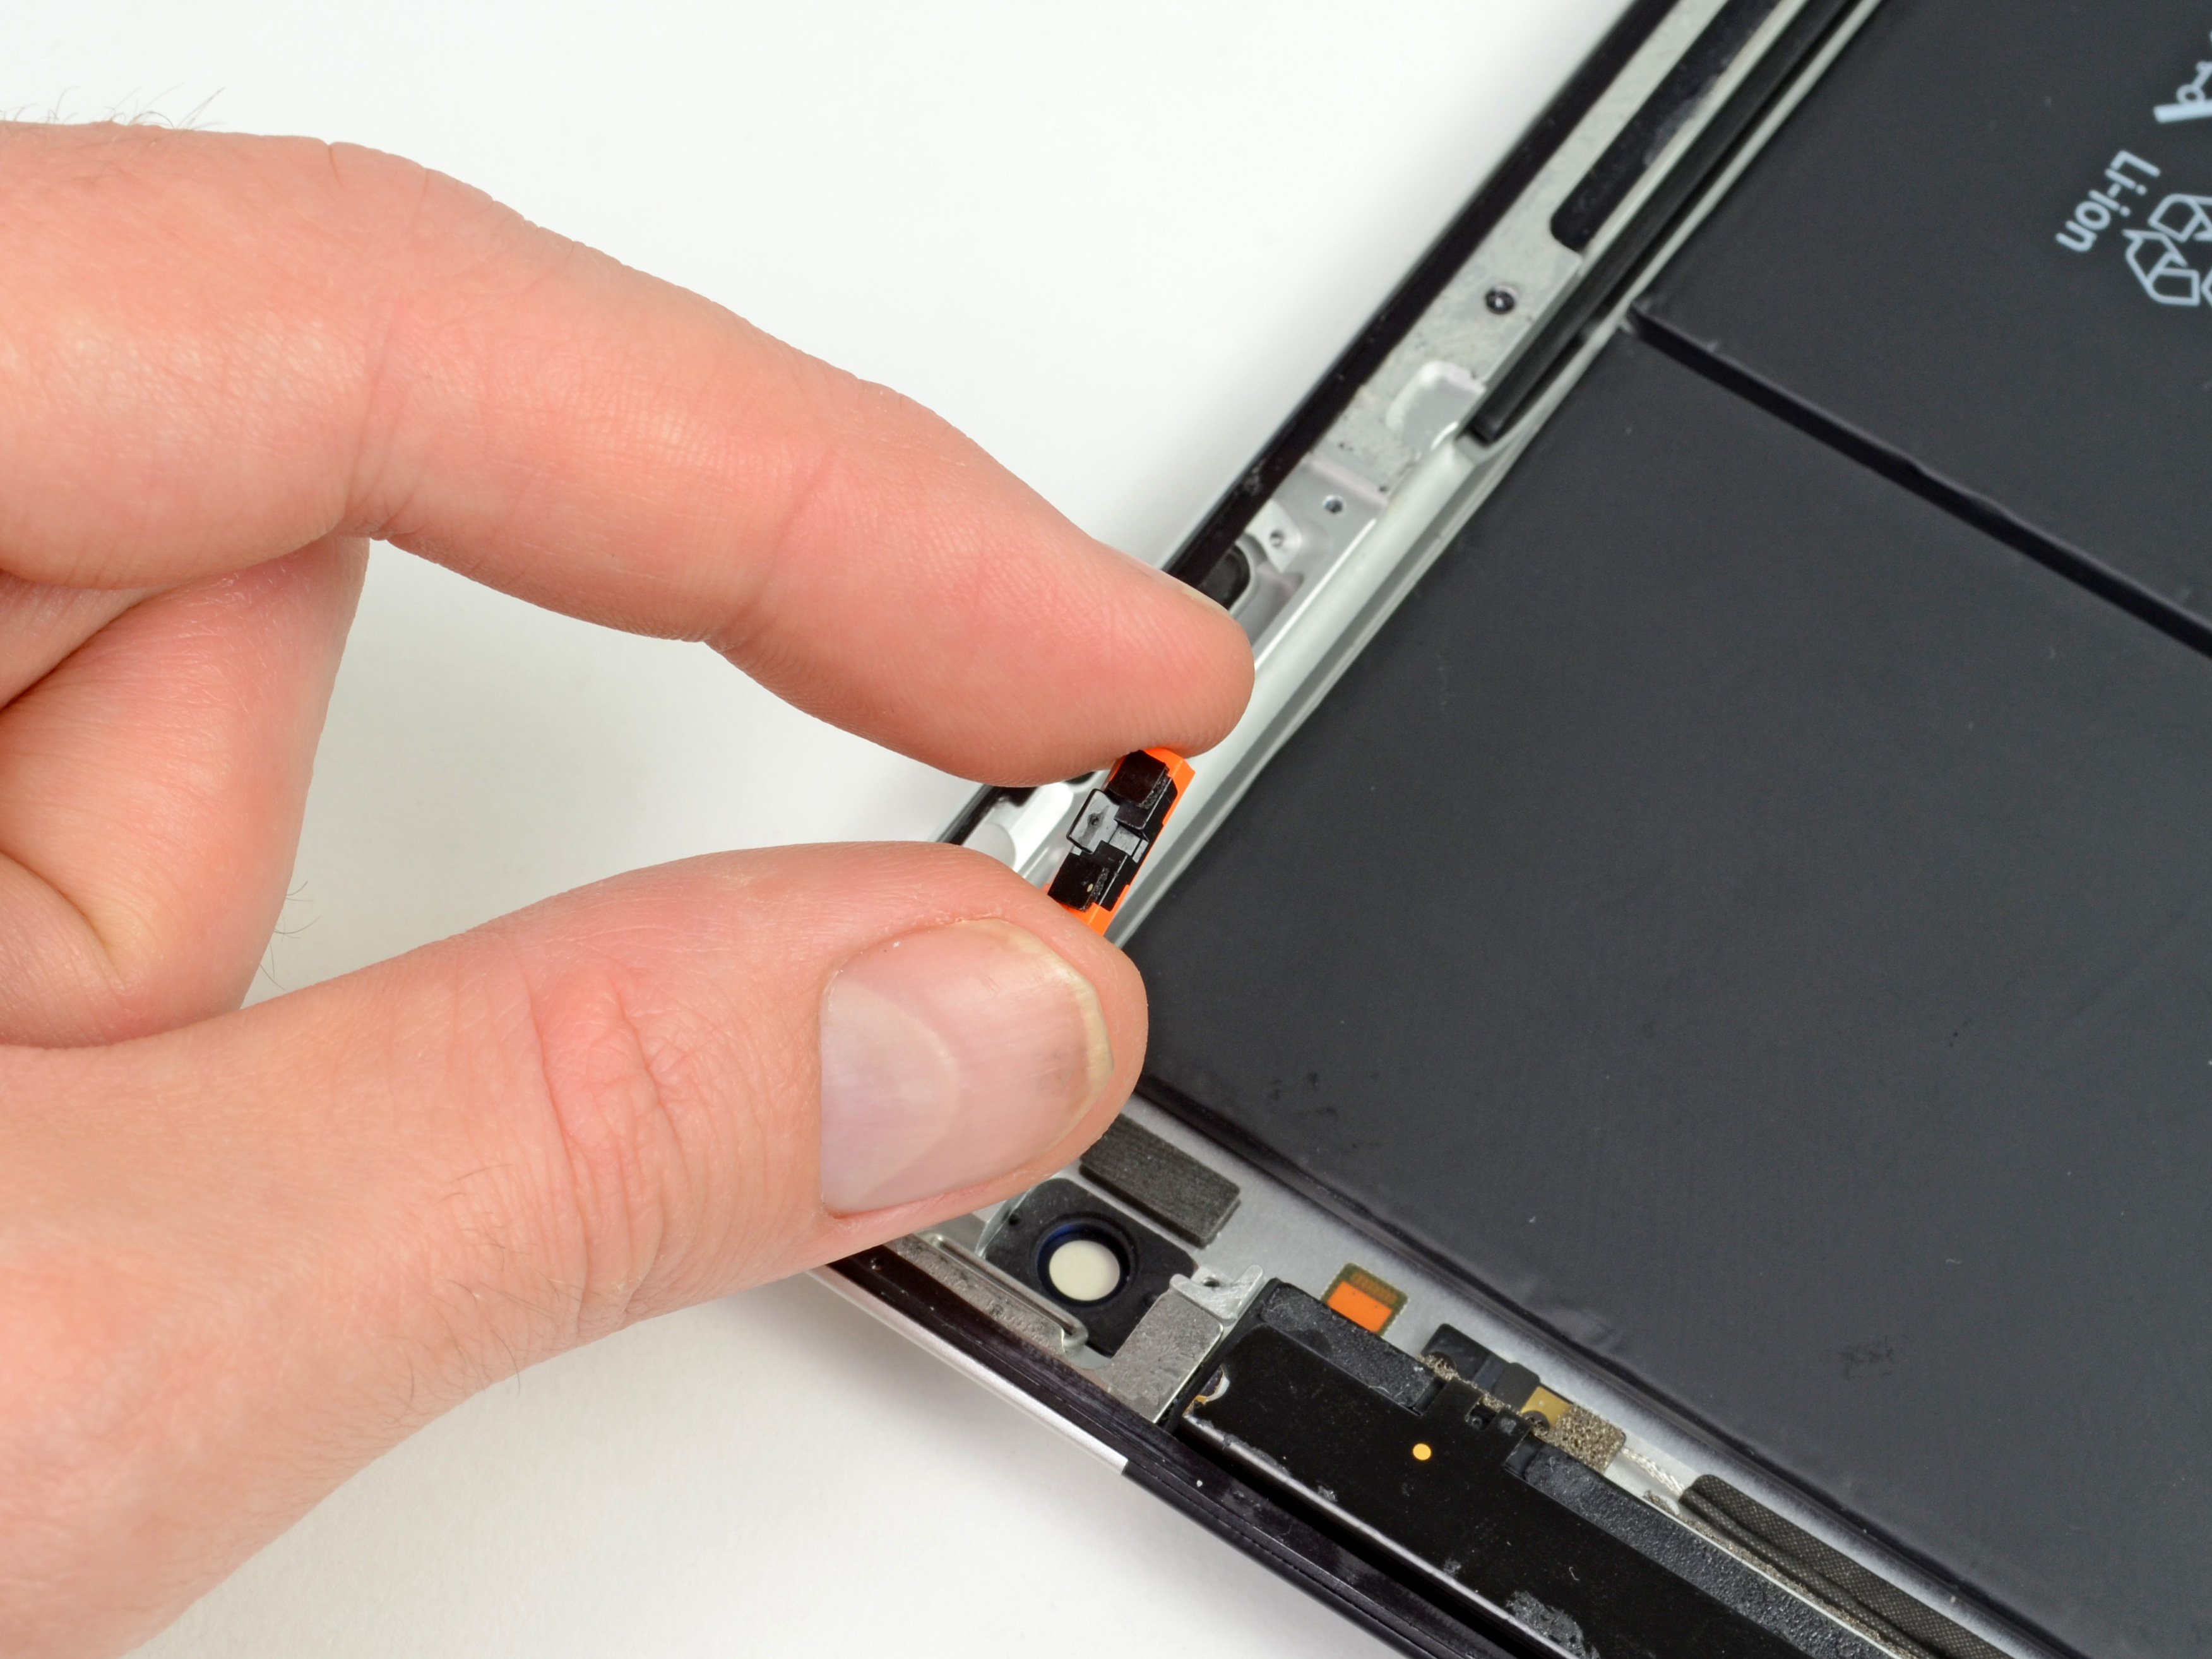
– Temporarily connect the battery connector to make sure the cable is long enough to reach the socket. Remember to disconnect it before you continue putting everything back together!
– Press the battery snugly into place and keep rolling with your repair!