How to Replace Galaxy S7 Screen – Step-by-Step Guide
Duration: 60 min.
Steps: 19 Steps
In this repair guide, we’ll walk you through the steps to replace your Galaxy S7’s faulty display all by yourself! If your screen is cracked, the touchscreen is playing hard to get, or the LCD is just being moody and stays black or flickers, then it’s time to get your hands a little dirty. Remember, if you need help, you can always schedule a repair.
Step 1
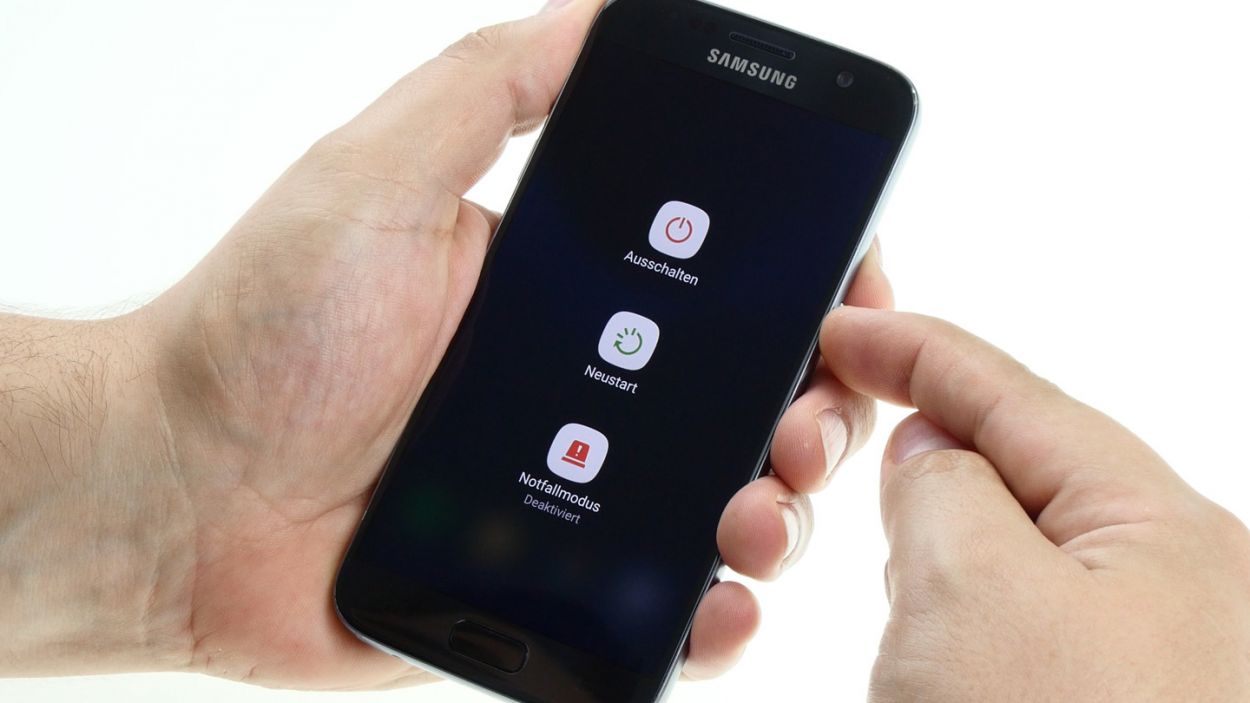
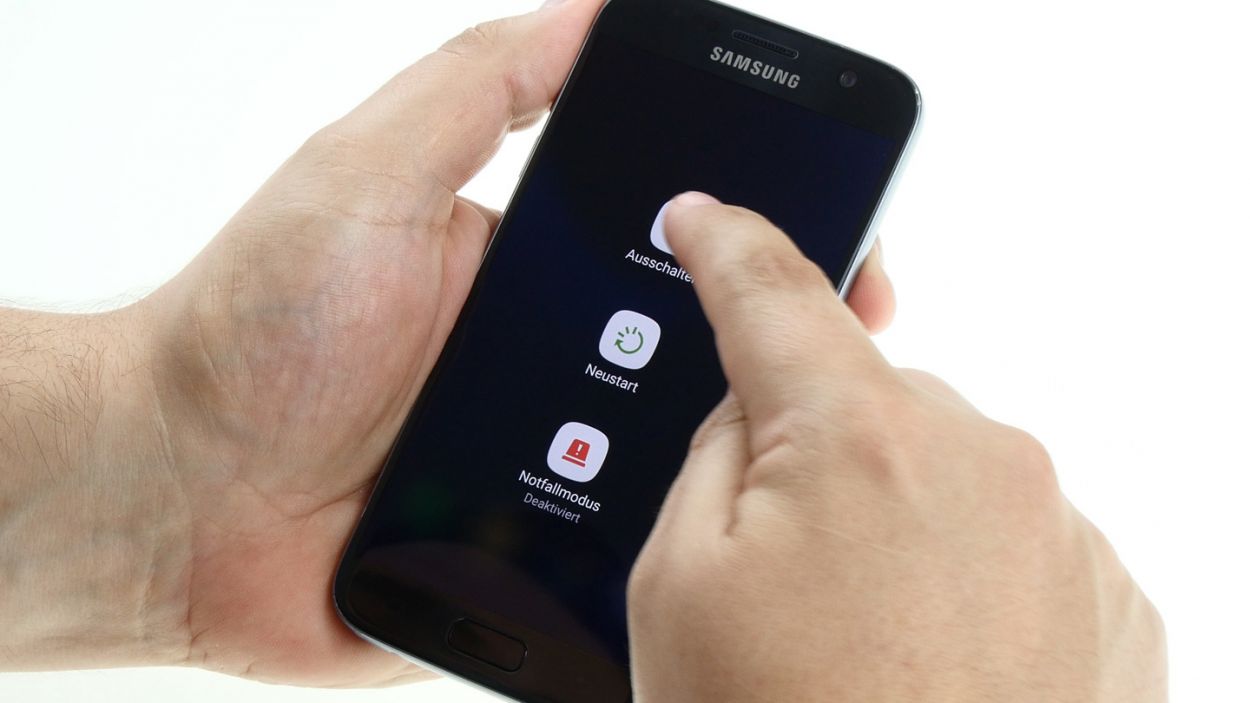
– Power down your device by pressing and holding the power button until the ‘Power off’ option pops up.
– Give the screen a tap to confirm you’re ready to shut down your Galaxy S7, then just hang tight until the screen goes dark.
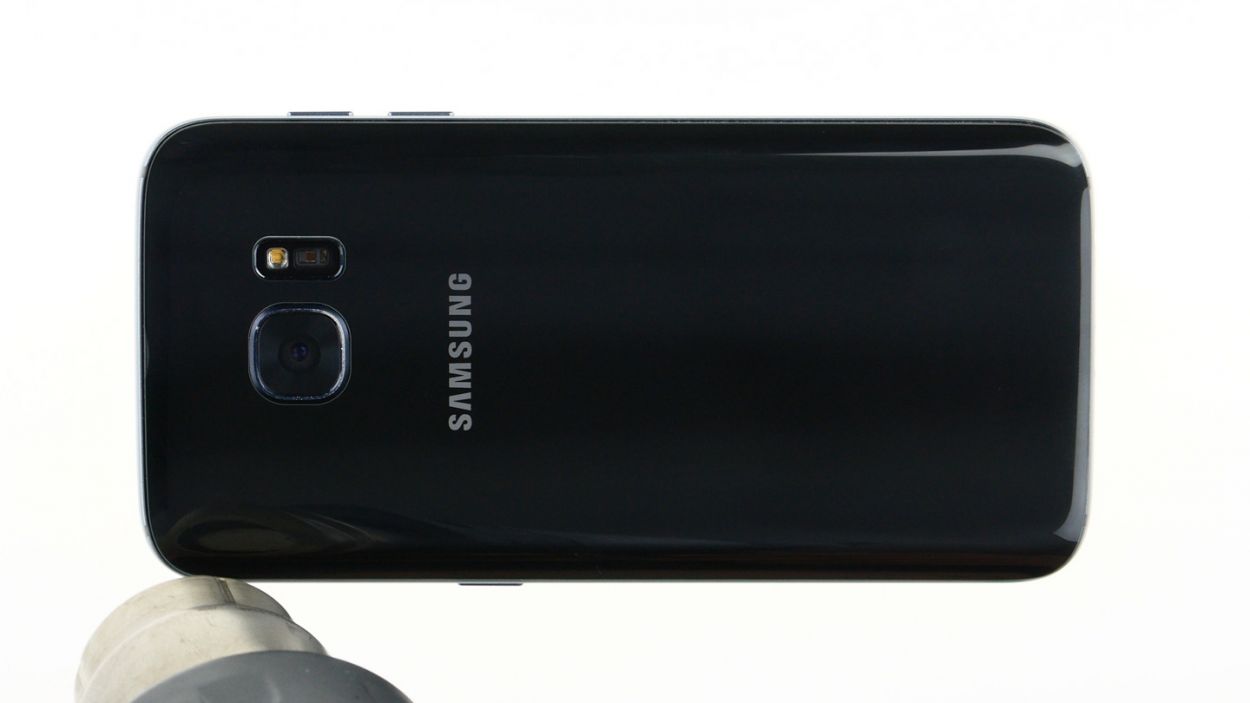
Step 2


The back cover has a slick paint job on the inside! When you’re removing any sticky residue, do it gently to keep scratches and cracks at bay. You’ve got this!
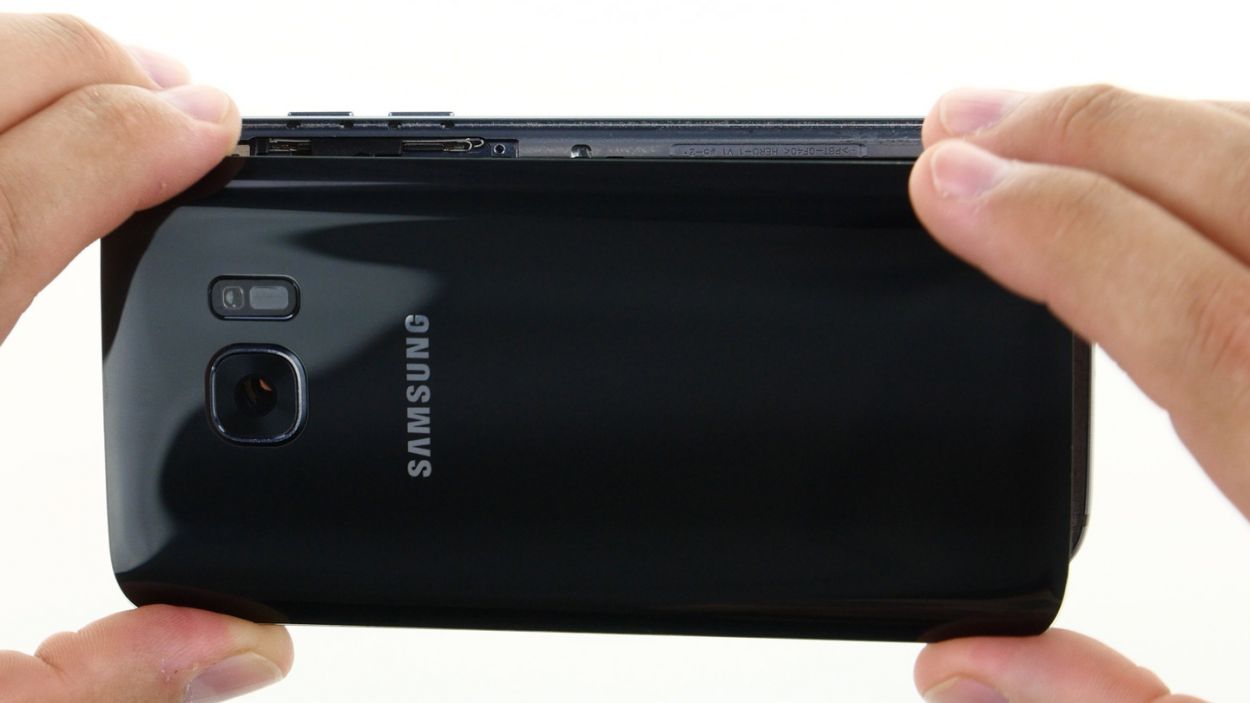
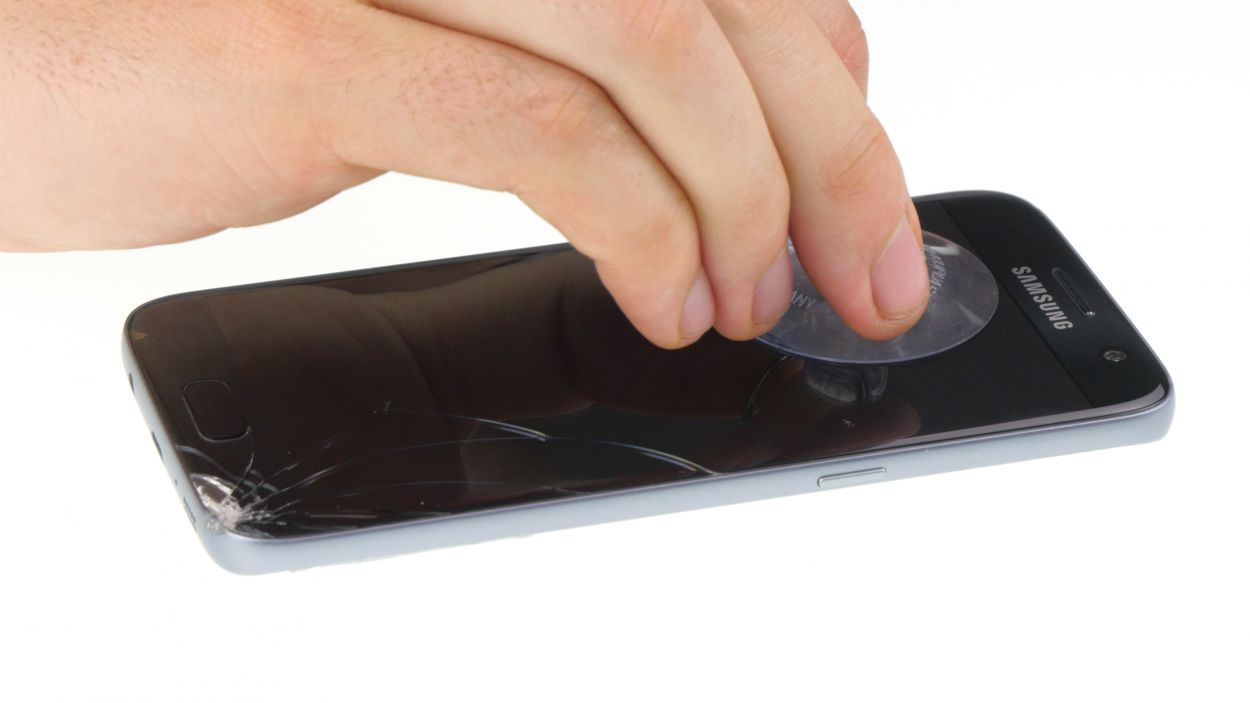
– The glass back cover is snugly glued to the chassis. To get it off, grab a suction cup and give it a gentle pull. A pick can help you nudge it away from the frame. Don’t forget to warm up your device with some hot air first; it’ll make the glue much easier to handle.
– Once you see a little gap forming between the back cover and the chassis, slide that pick in to separate the two parts.
– Use additional picks to work your way around, detaching each corner one at a time.
– Remove the back cover as soon as all the glue has given up the fight.
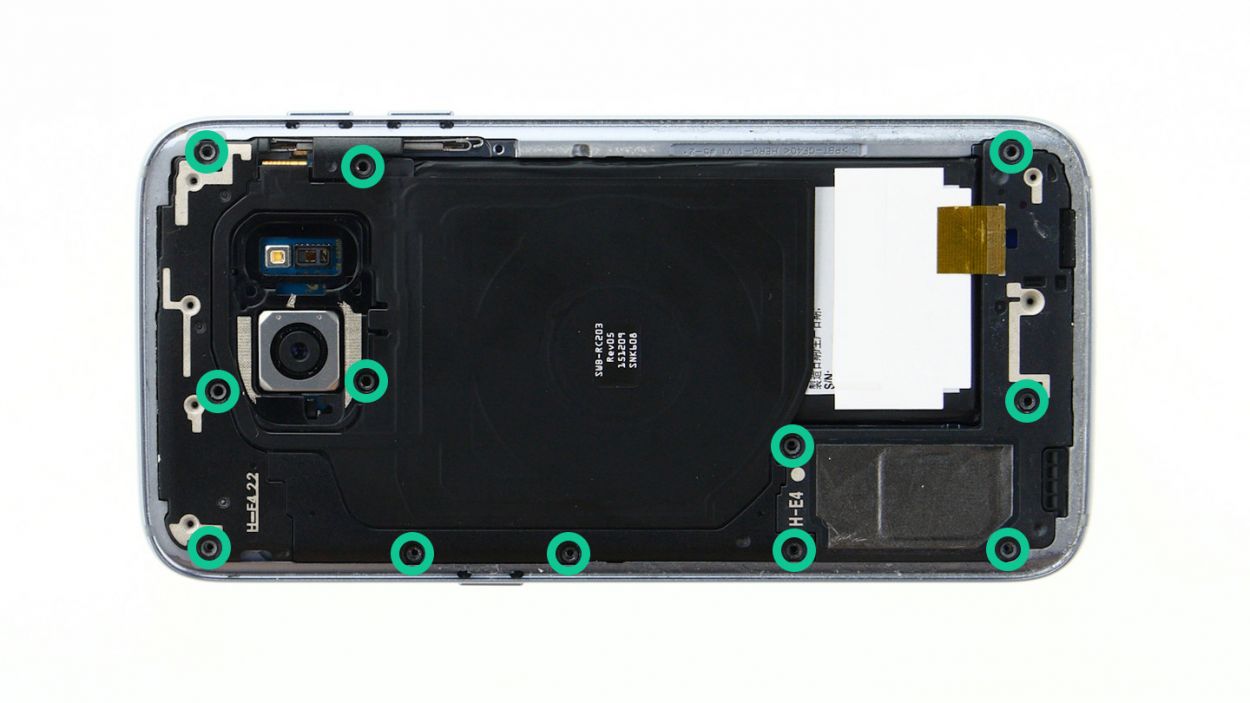
Step 3
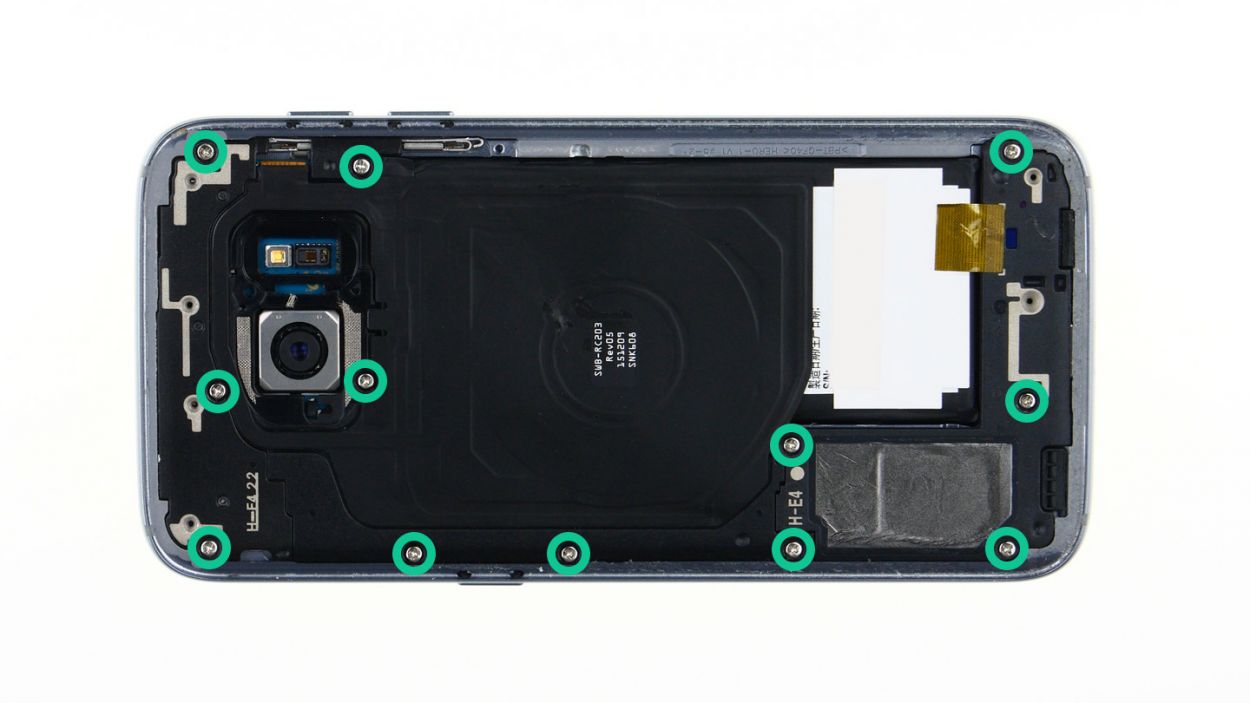
– Let’s ditch those twelve tiny screws holding the antennas and speaker! (They’re 3.3 mm PH00 Phillips screws, in case you were wondering.)
– Time to say goodbye to that pesky yellow adhesive strip. Easy peasy!
Step 4
– First things first, let’s disconnect that upper antenna from the enclosure! It’s just hanging out there, so start at the upper right corner and give it a gentle tug.
– Once you’ve freed the right side, give a little lift in the middle to coax the left side off too. Easy peasy!
– Now, go ahead and remove the antenna completely from the enclosure. You’re doing great!
Step 5
– Gently wiggle the middle antenna free from its snug little home in the enclosure. Just a heads up, it’s got a cozy connection with the lower antenna, so be careful not to pull too hard!
Step 6

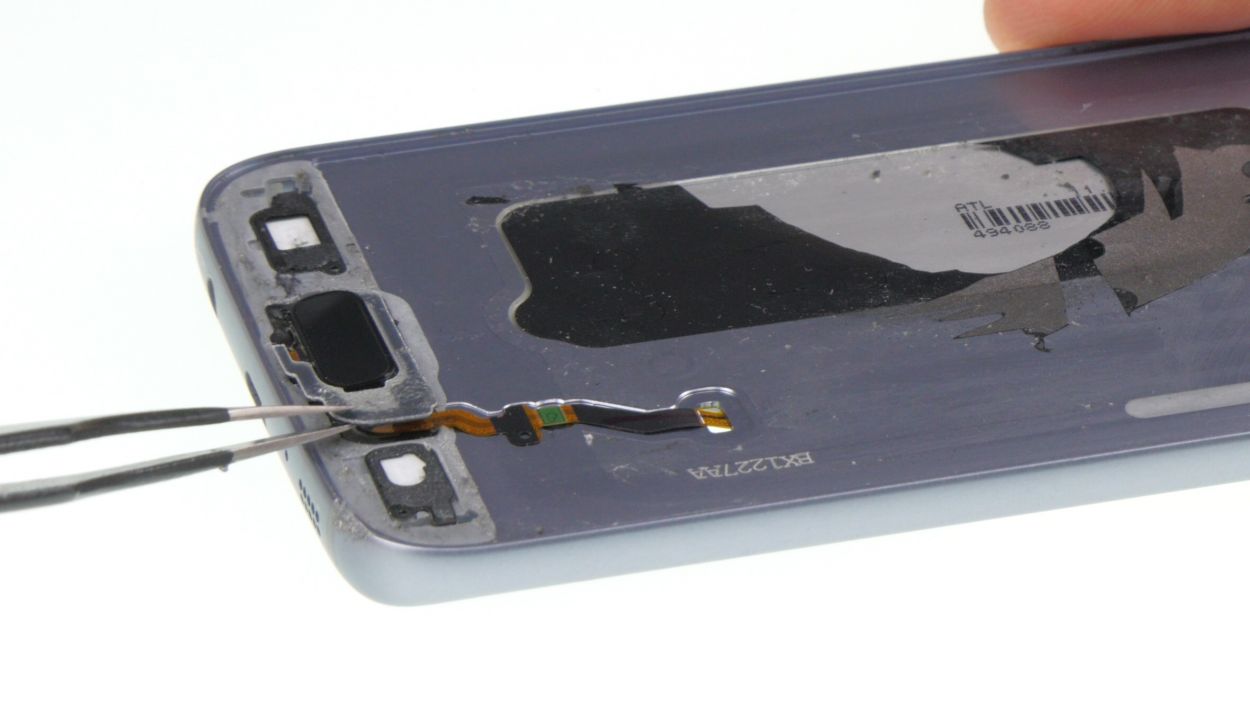
– Grab those tweezers and gently unhook the speaker from the left side. It’s like a little dance move, just a bit of finesse!
– Now, carefully lift the speaker out of its cozy home in the enclosure. You’re doing great!
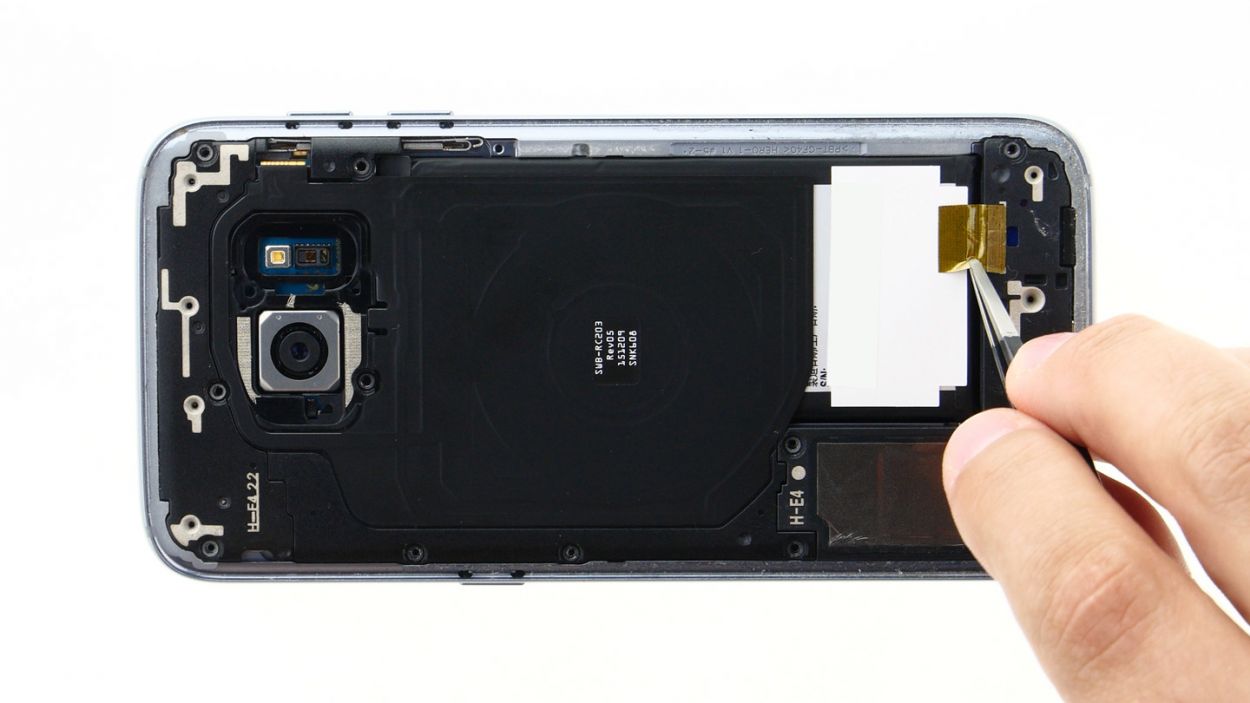
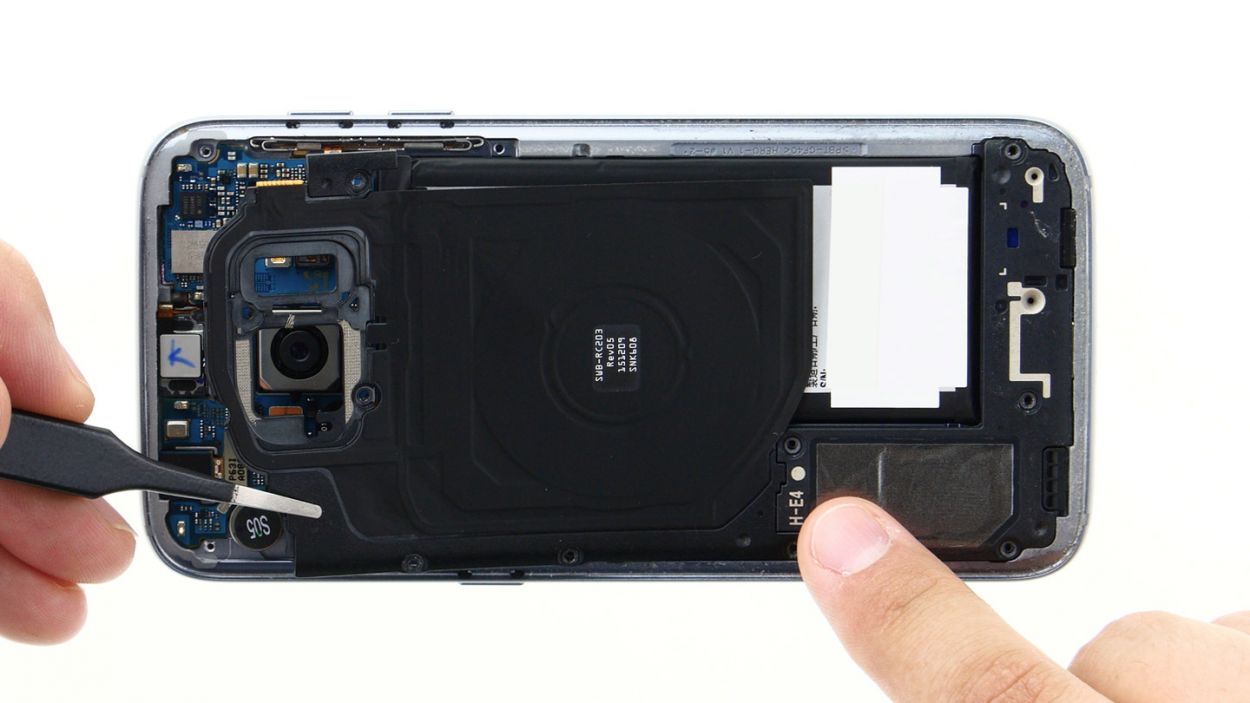
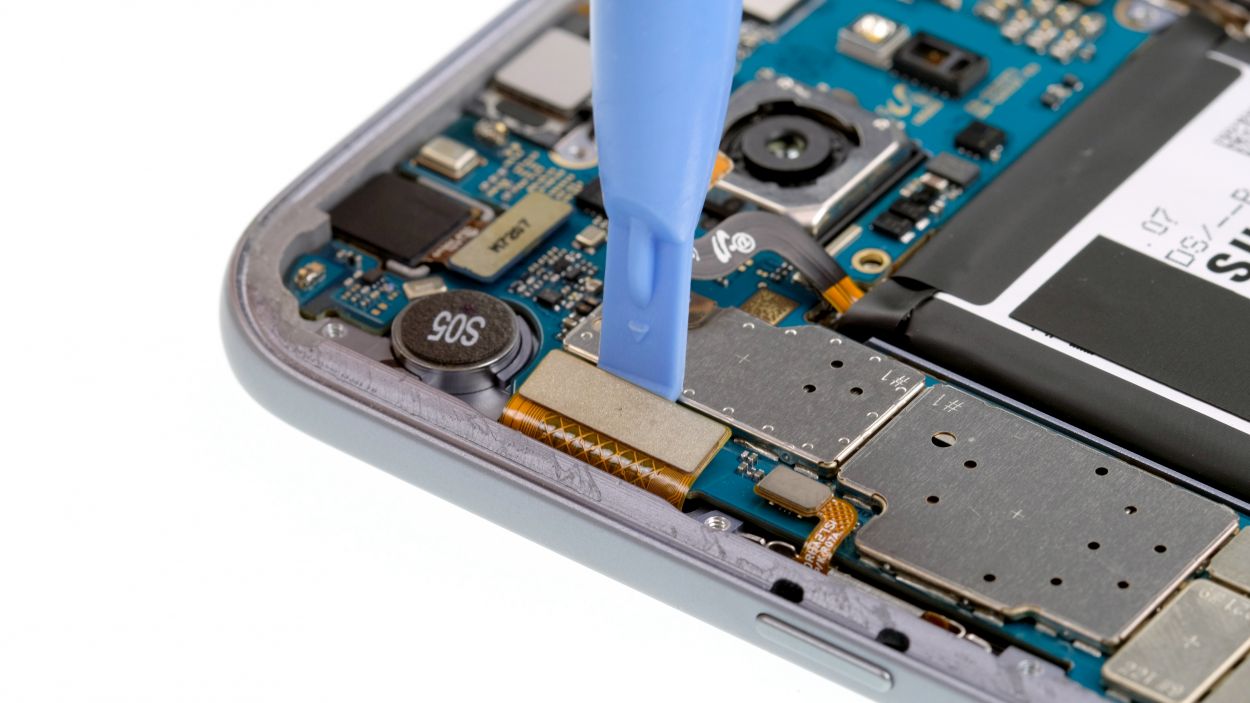
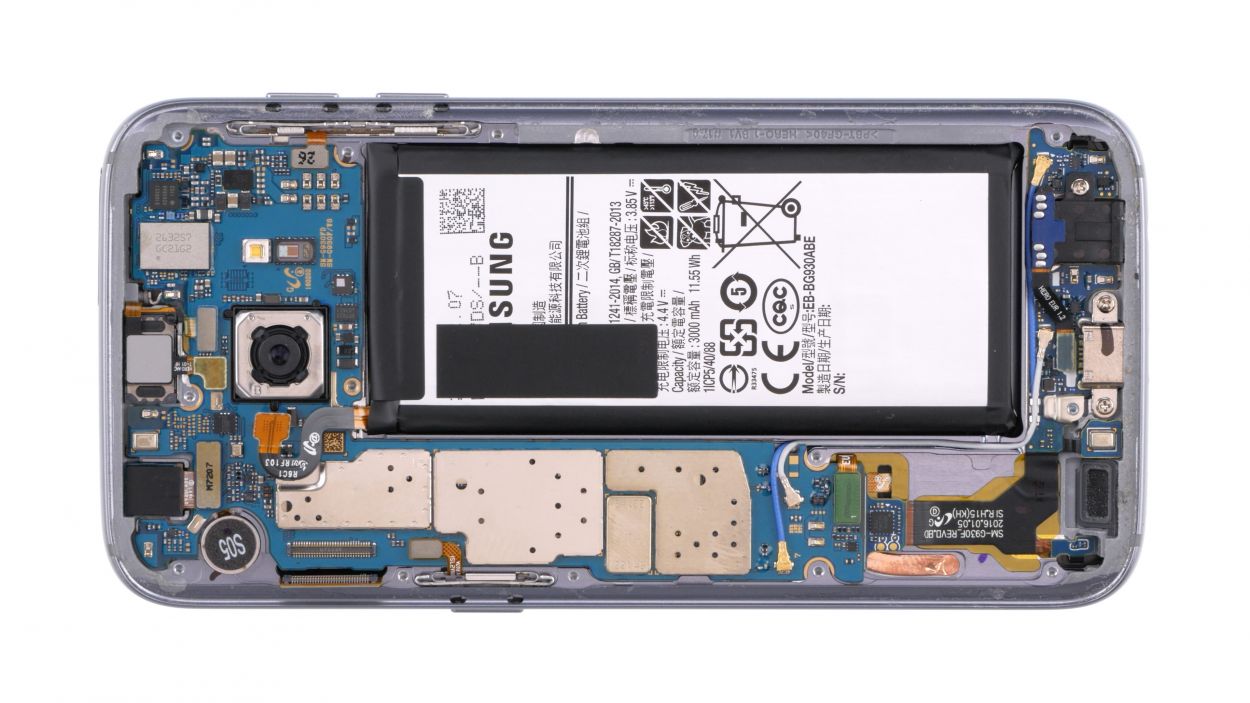
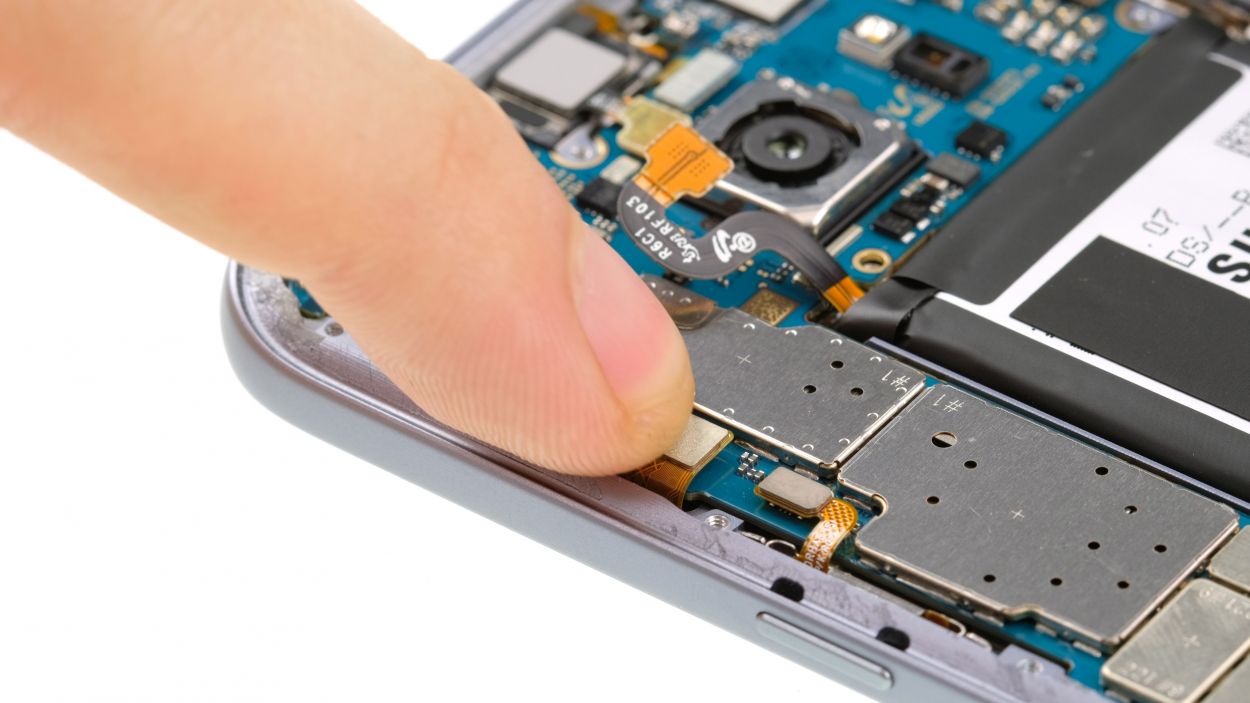
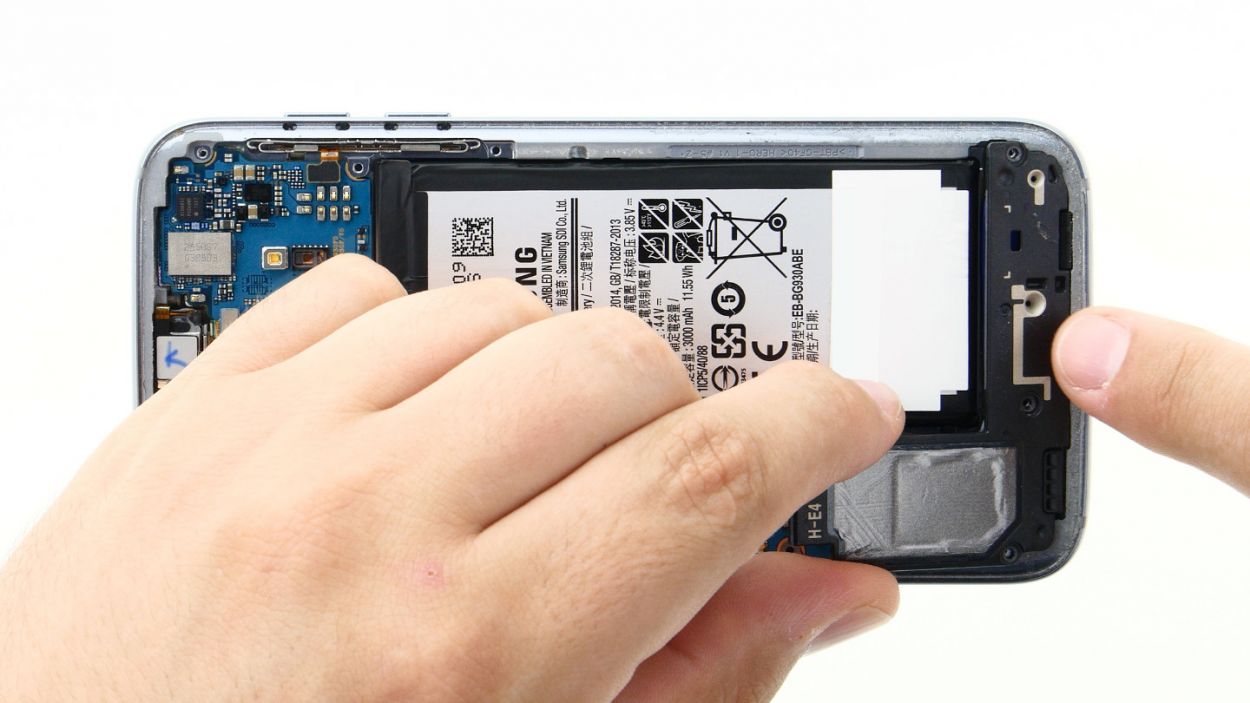
Step 7
– Grab your trusty spudger and gently disconnect the battery contact from the motherboard. Take your time and carefully wiggle that contact out of its cozy socket.
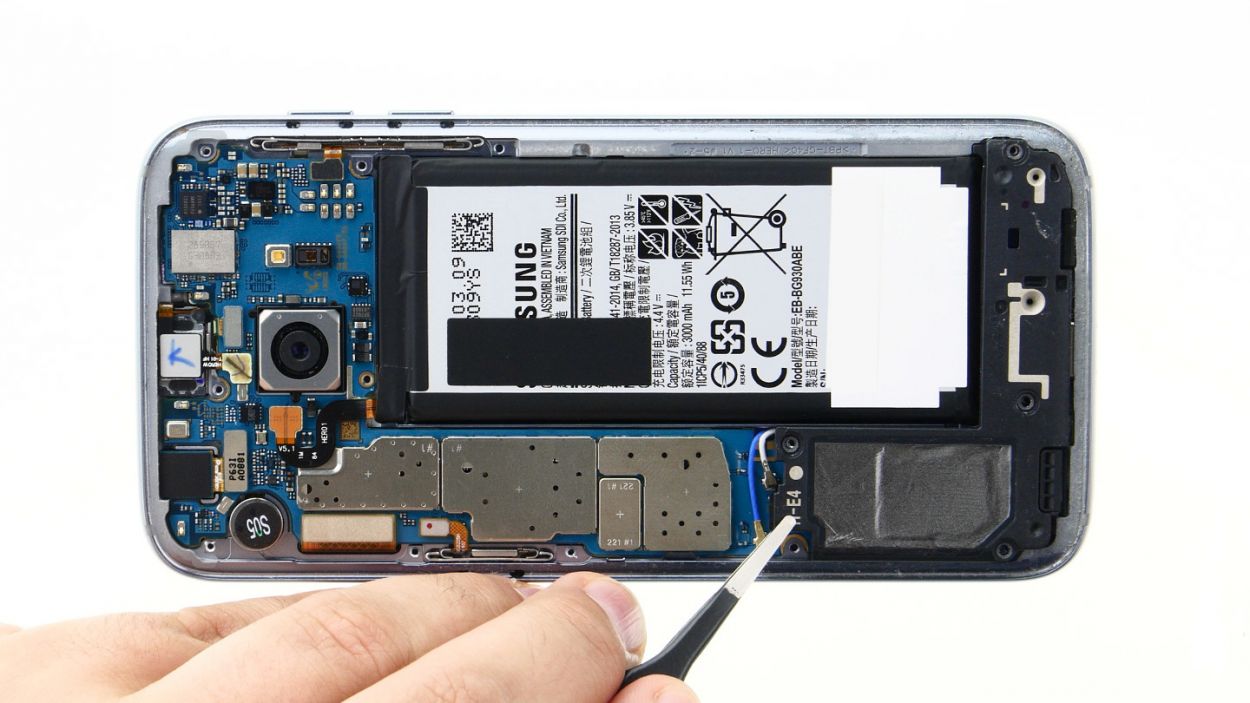
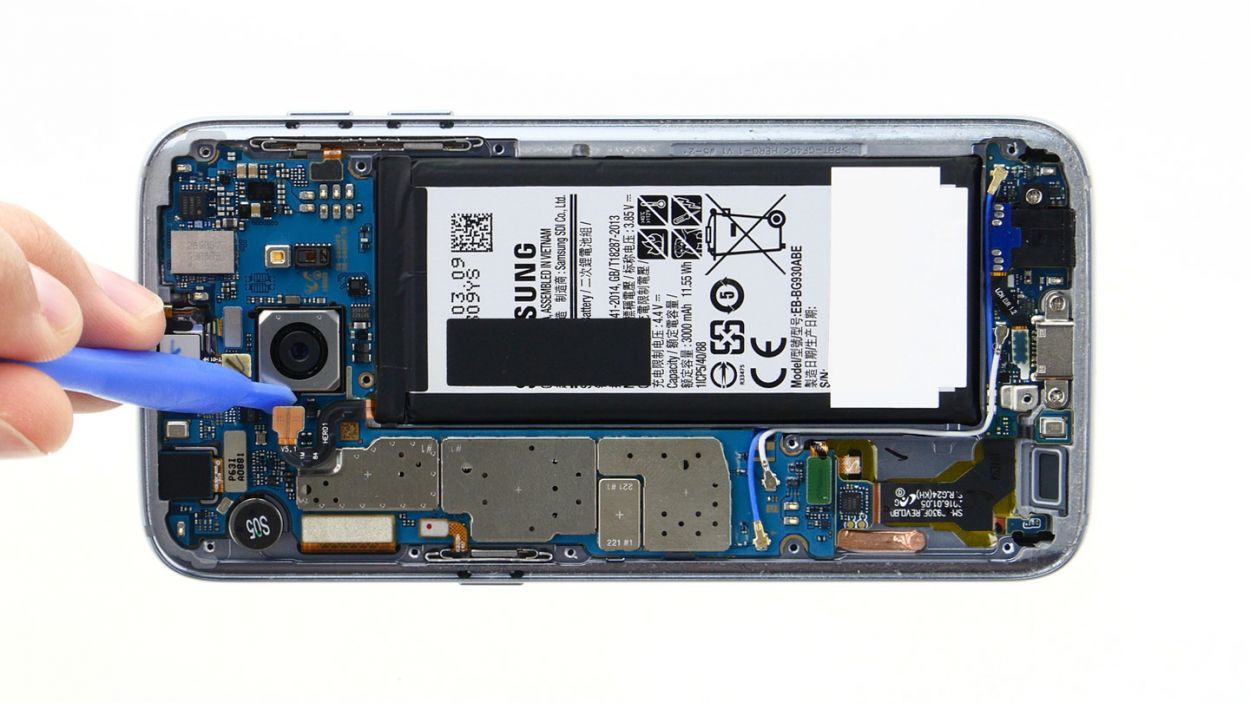
Step 9
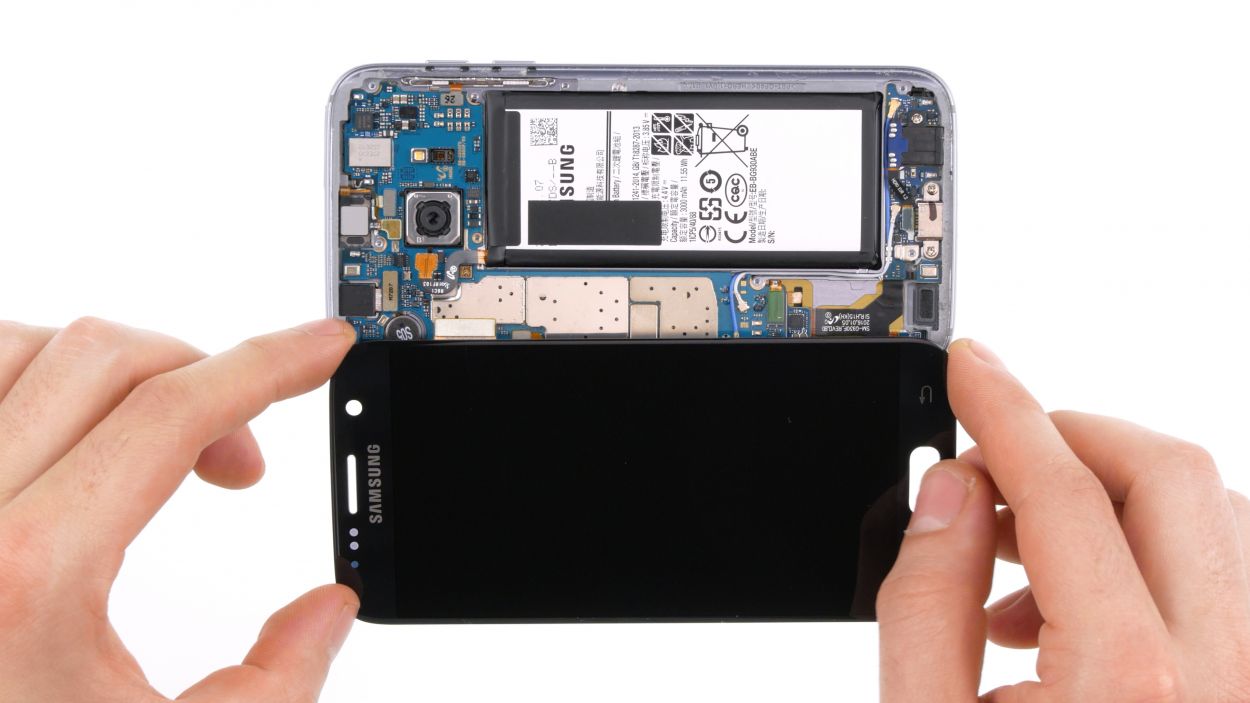
Display Connector
Battery Connector
– Set the display beside your device and plug in that connector.
– Connect the battery to give your device some juice.
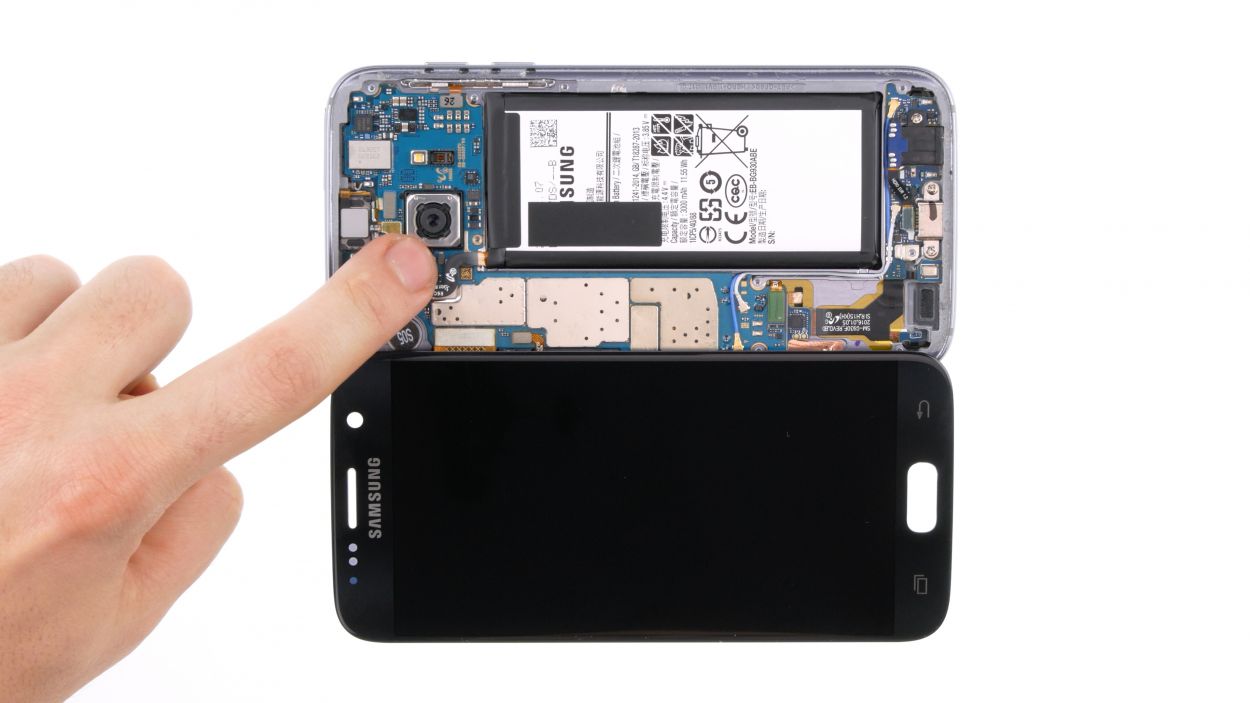
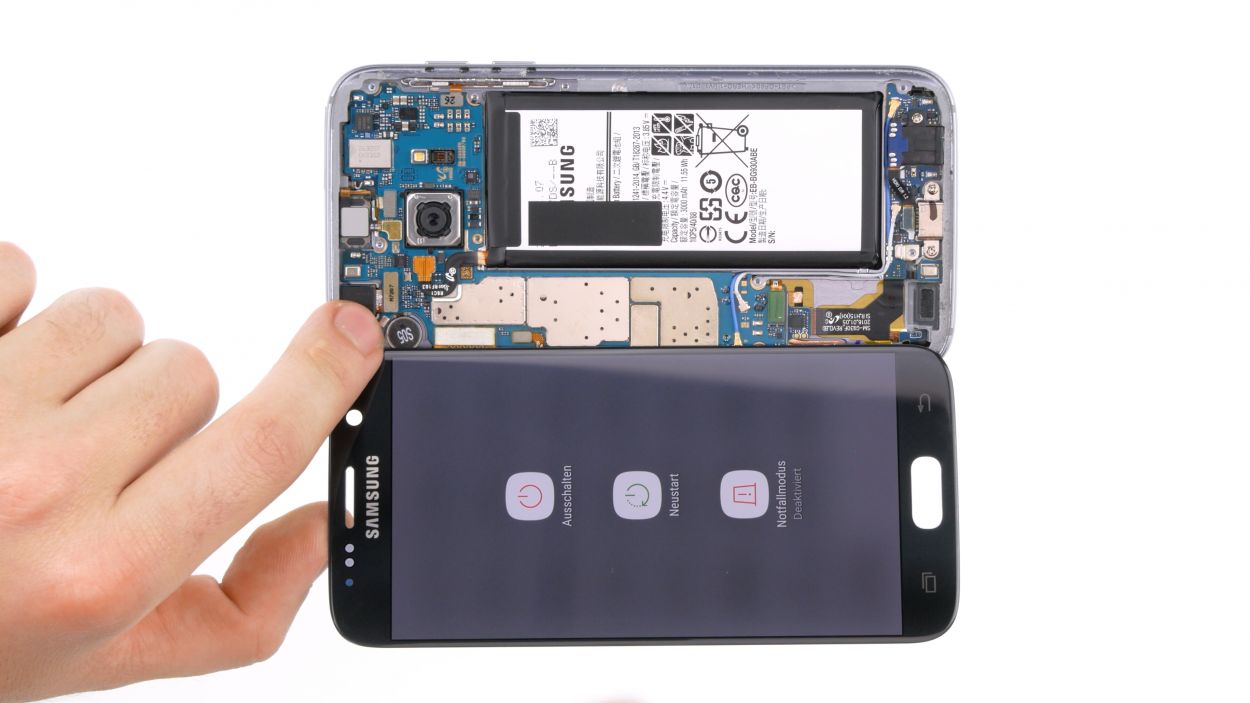
– Press and hold the power button to fire up your device.
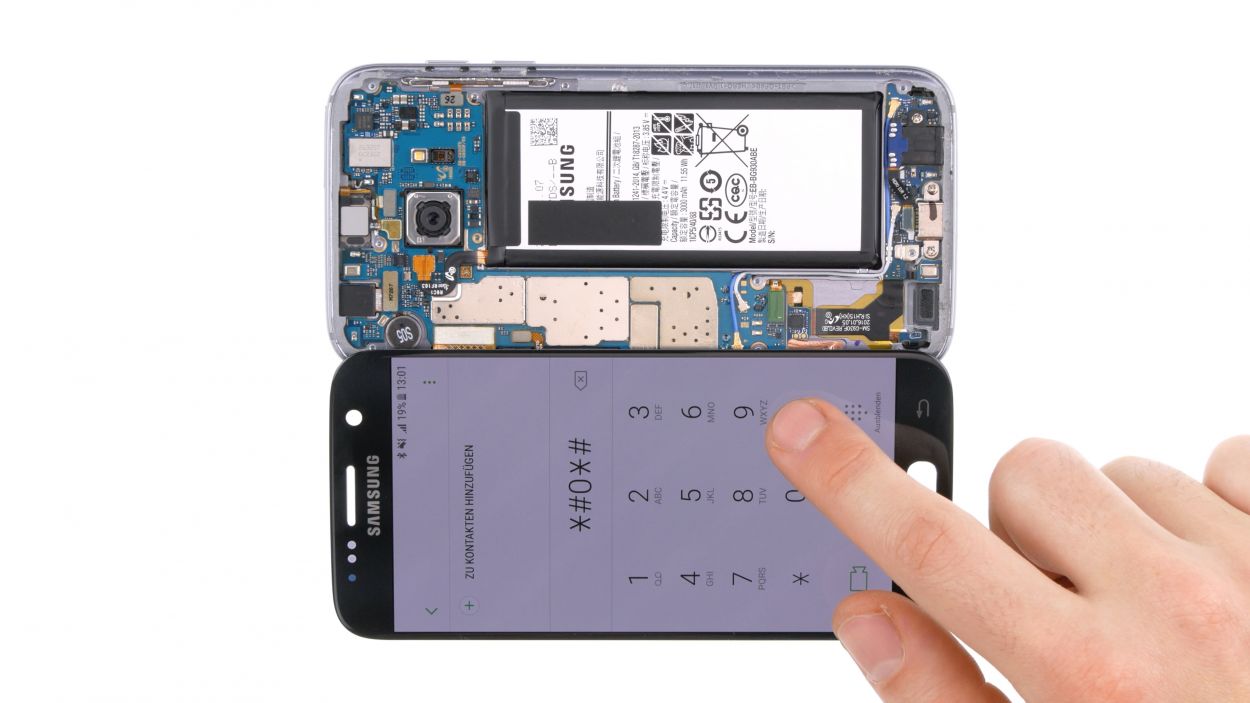
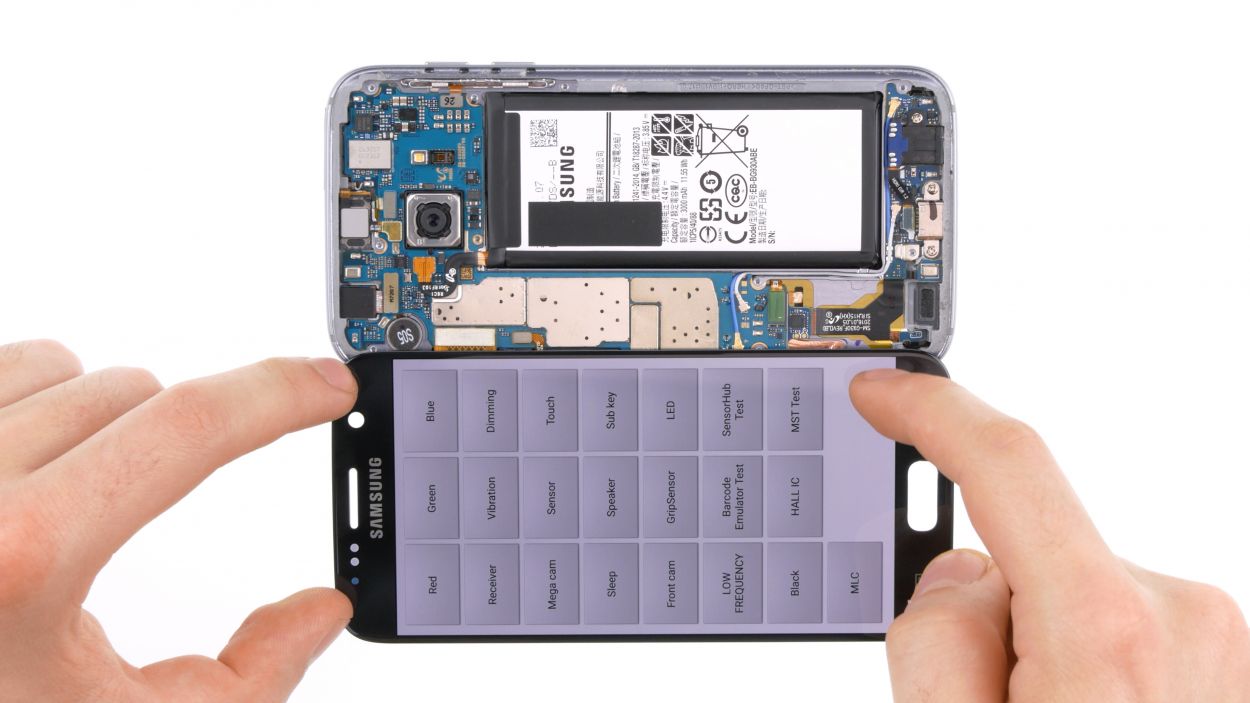
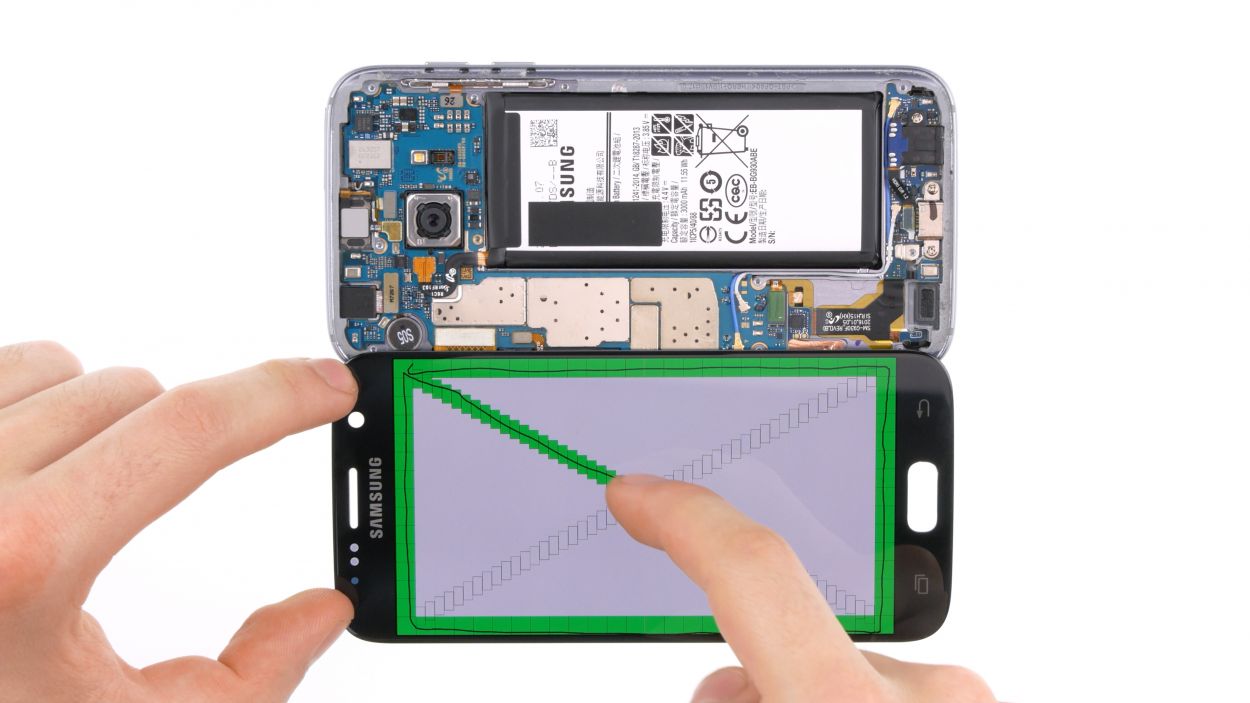
– Launch the phone app and dial *#0*# to access the testing menu.
– Check out the touch screen and the colors ‘red’, ‘green’, and ‘blue’ to ensure there are no pixel issues and that every area responds to your touch.
– When you’re done, press and hold the power button to turn off your device.
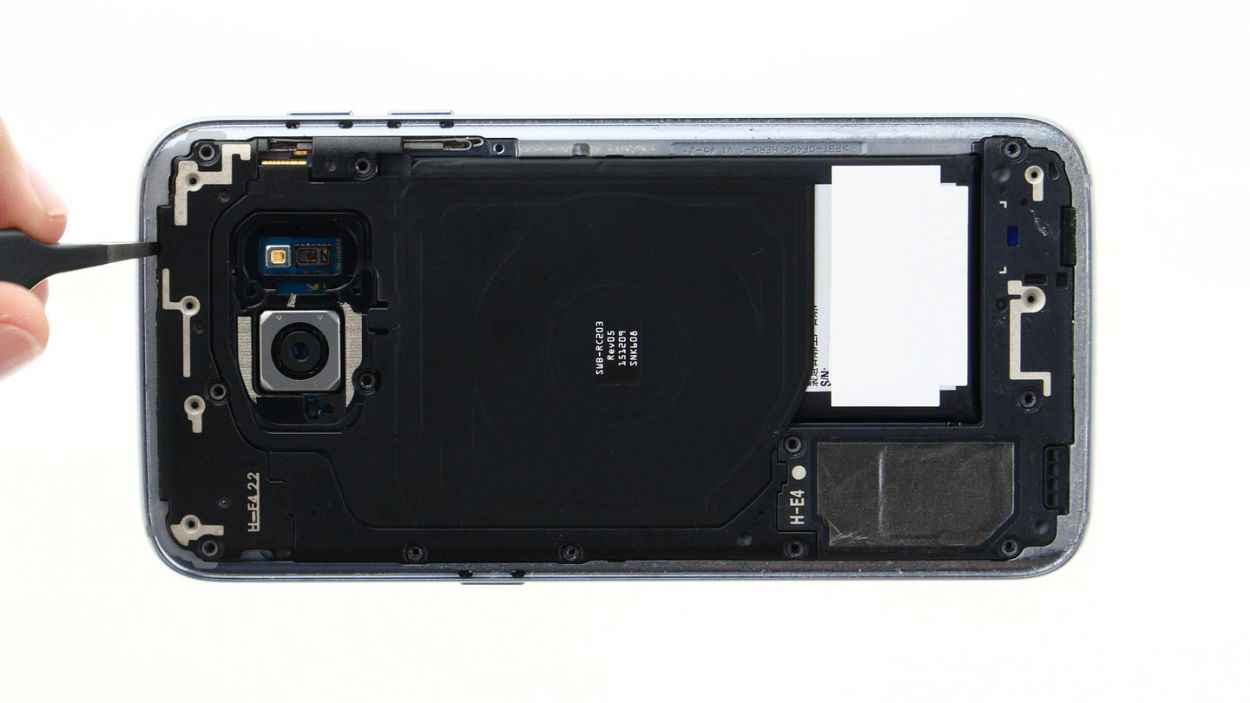
– Start by disconnecting the battery, then follow up by unplugging the display.
Step 10
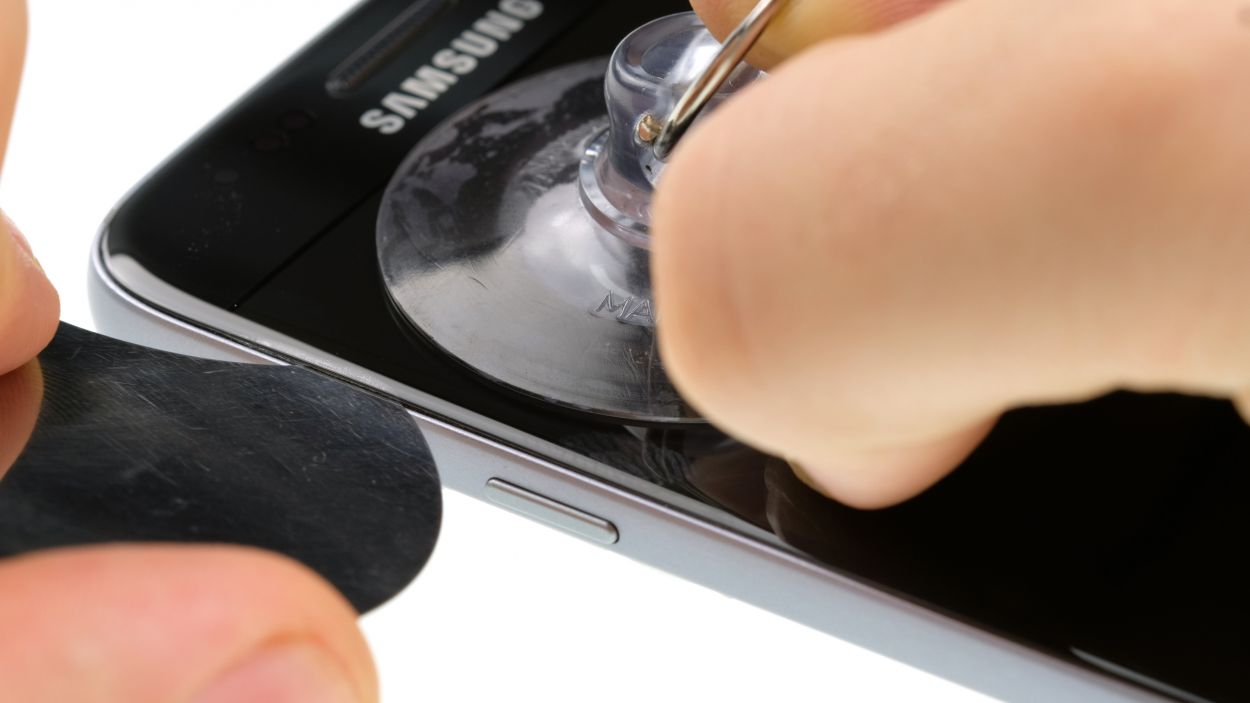
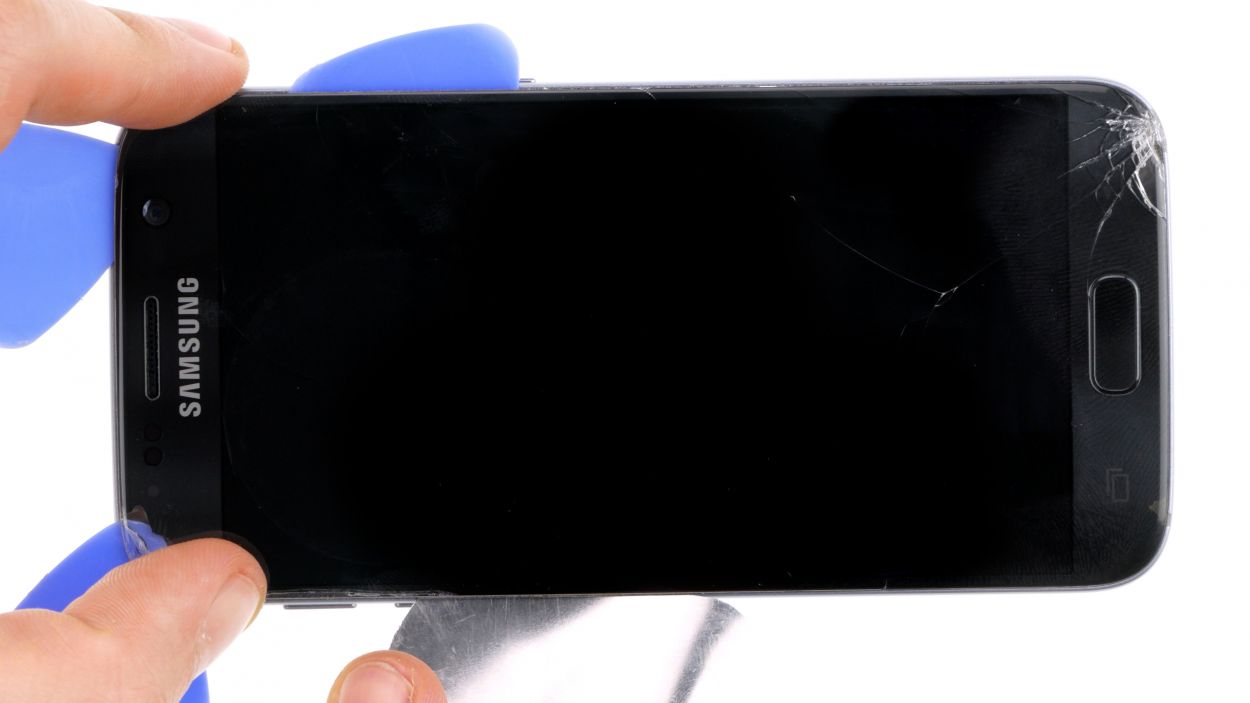
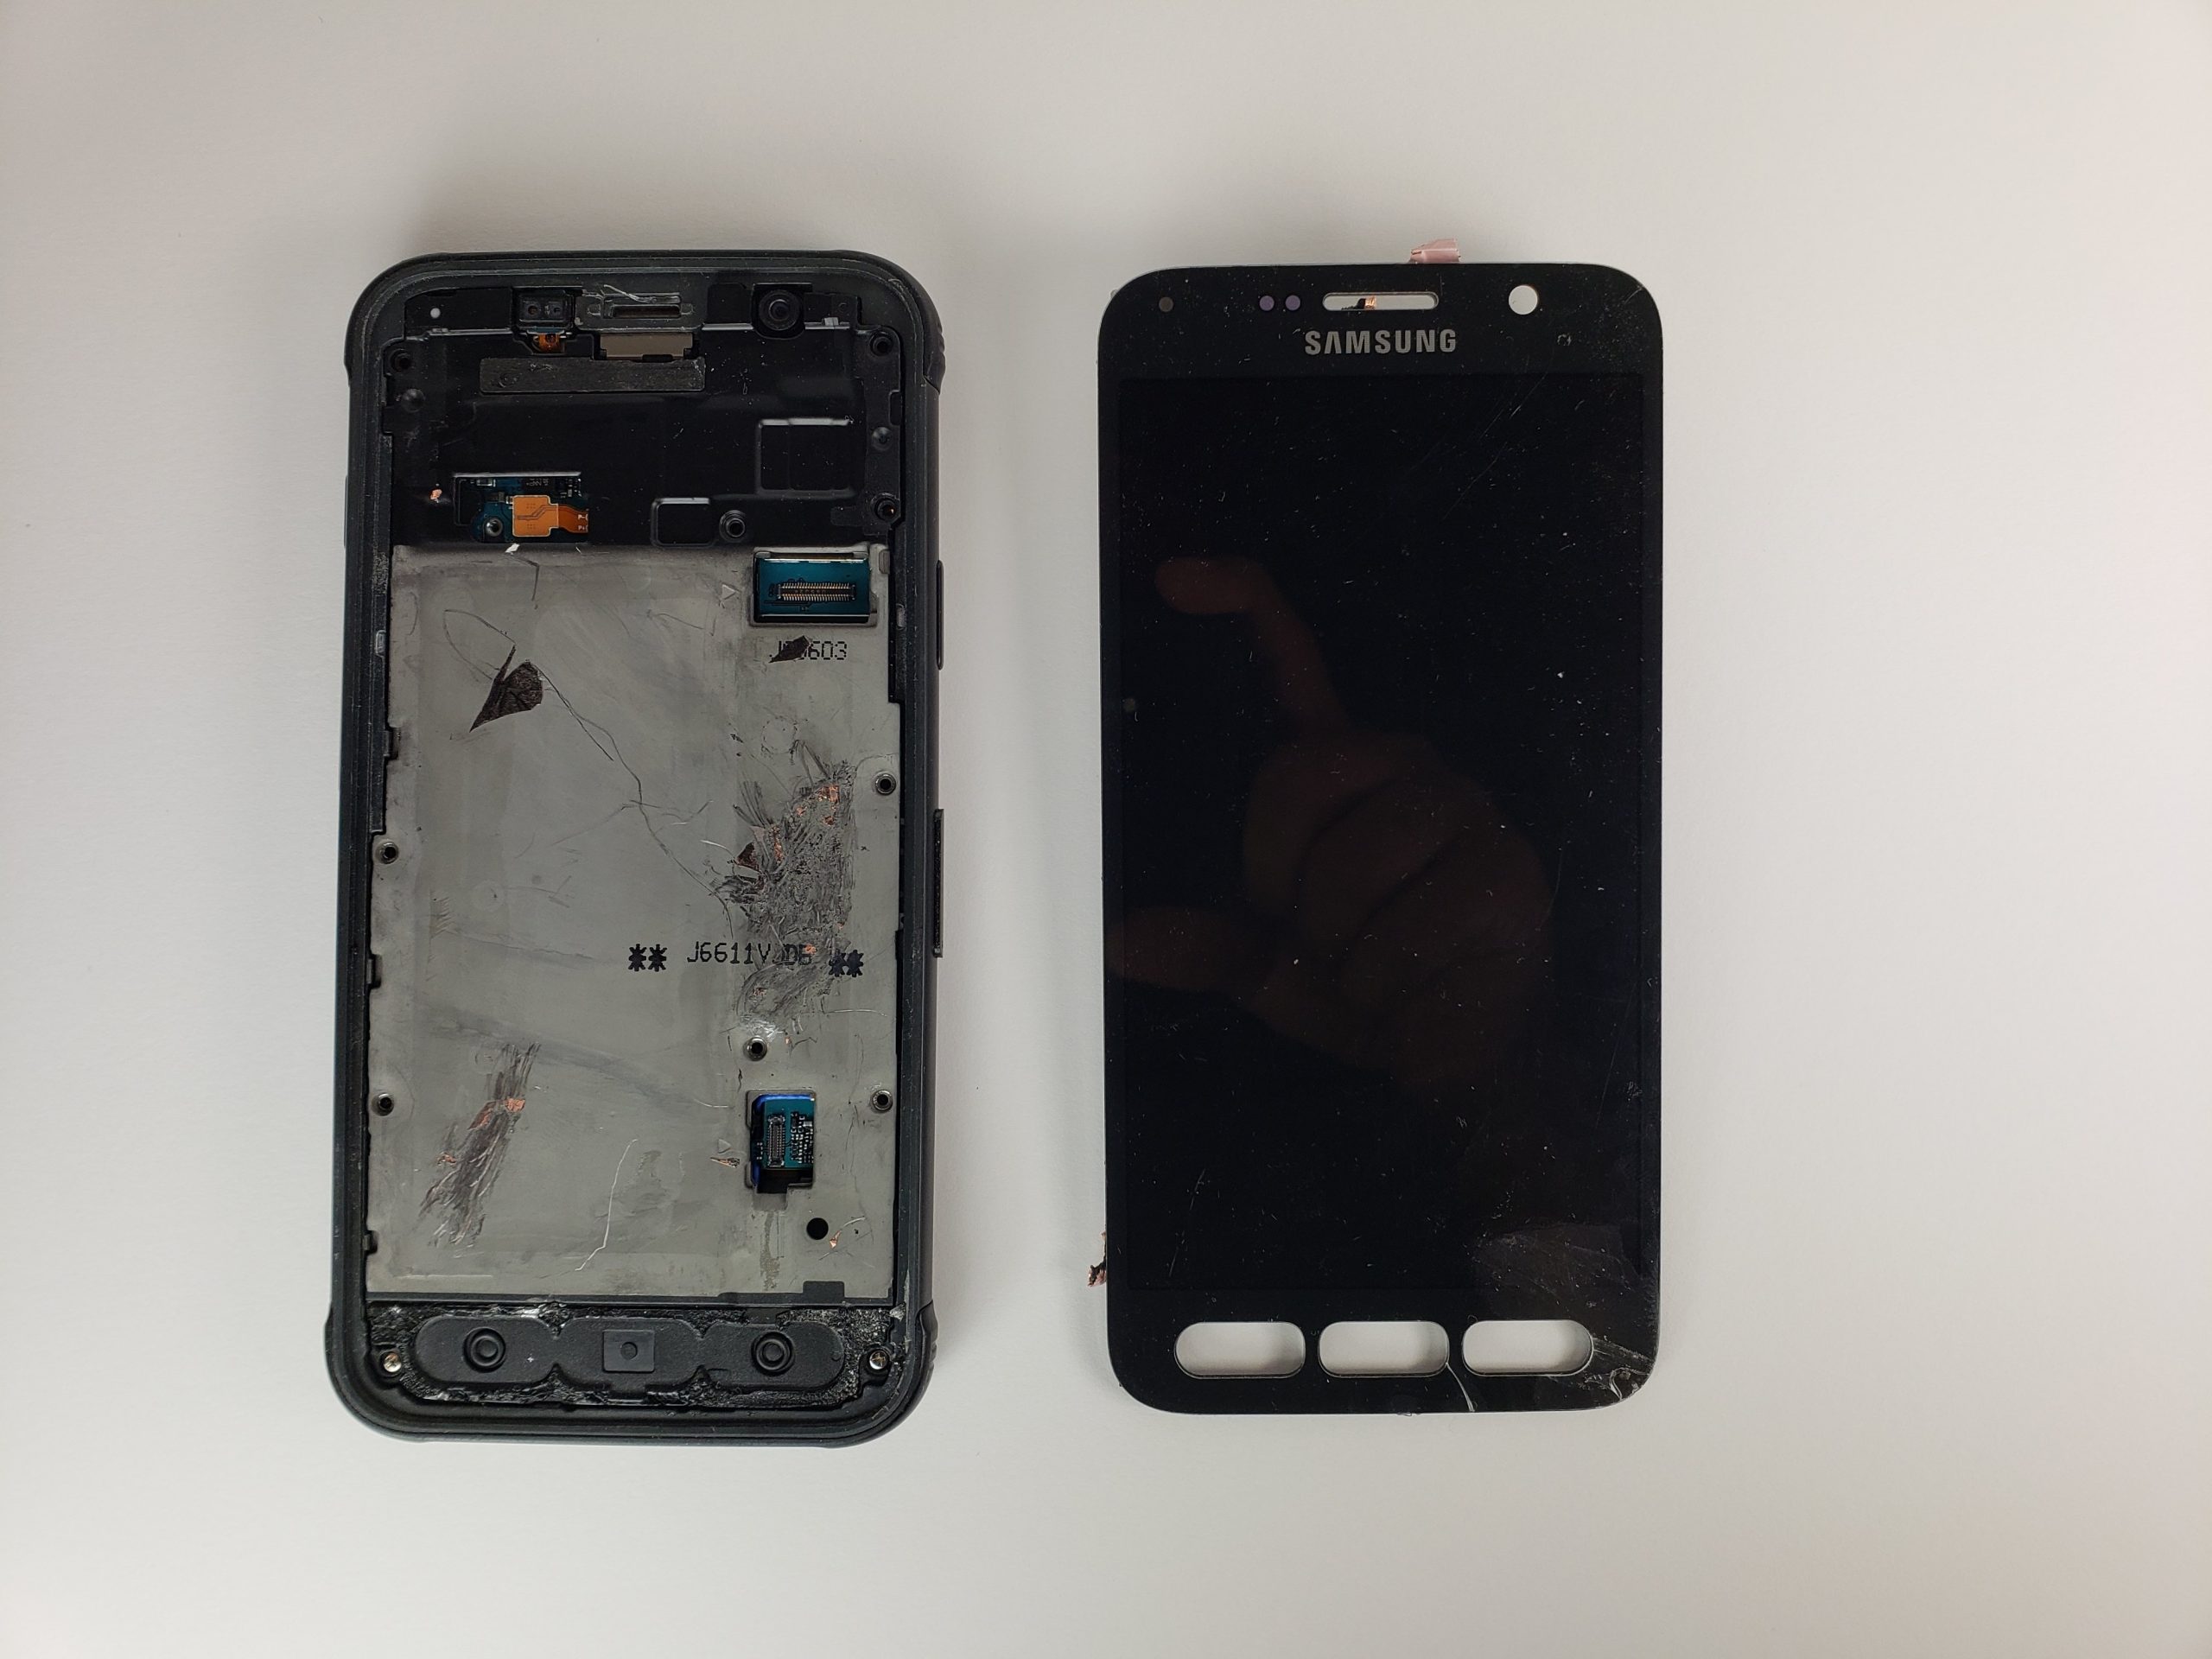
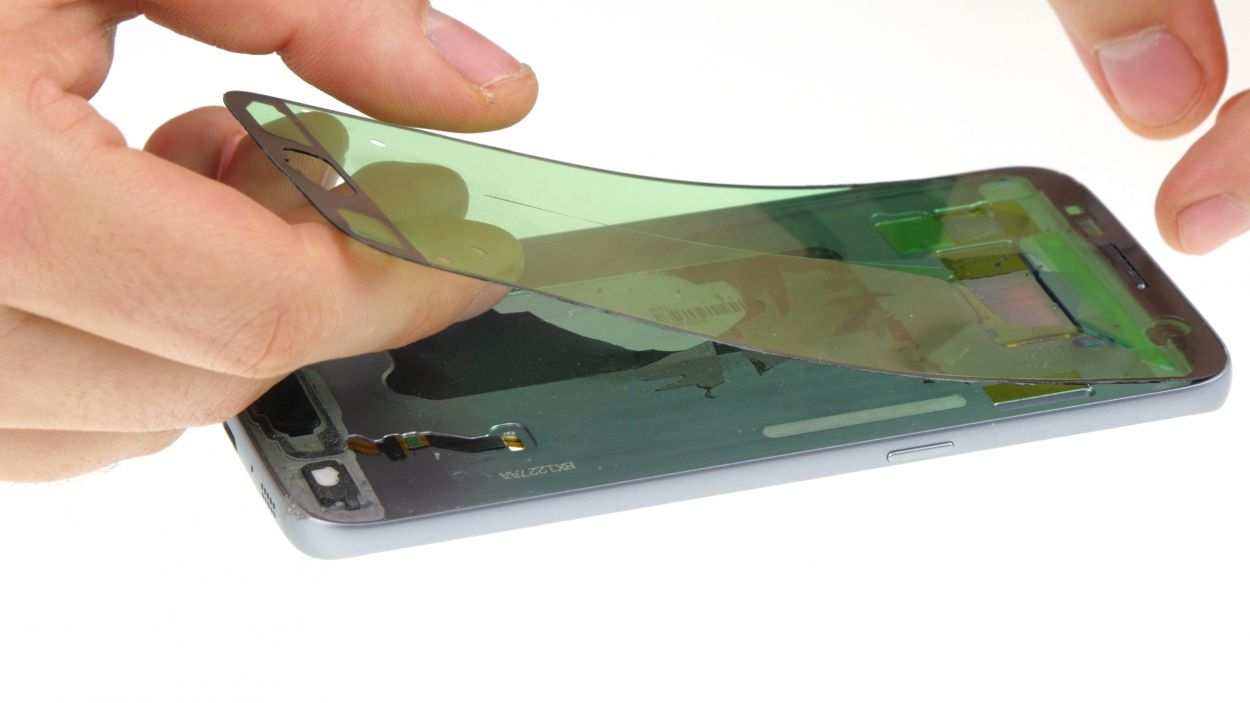
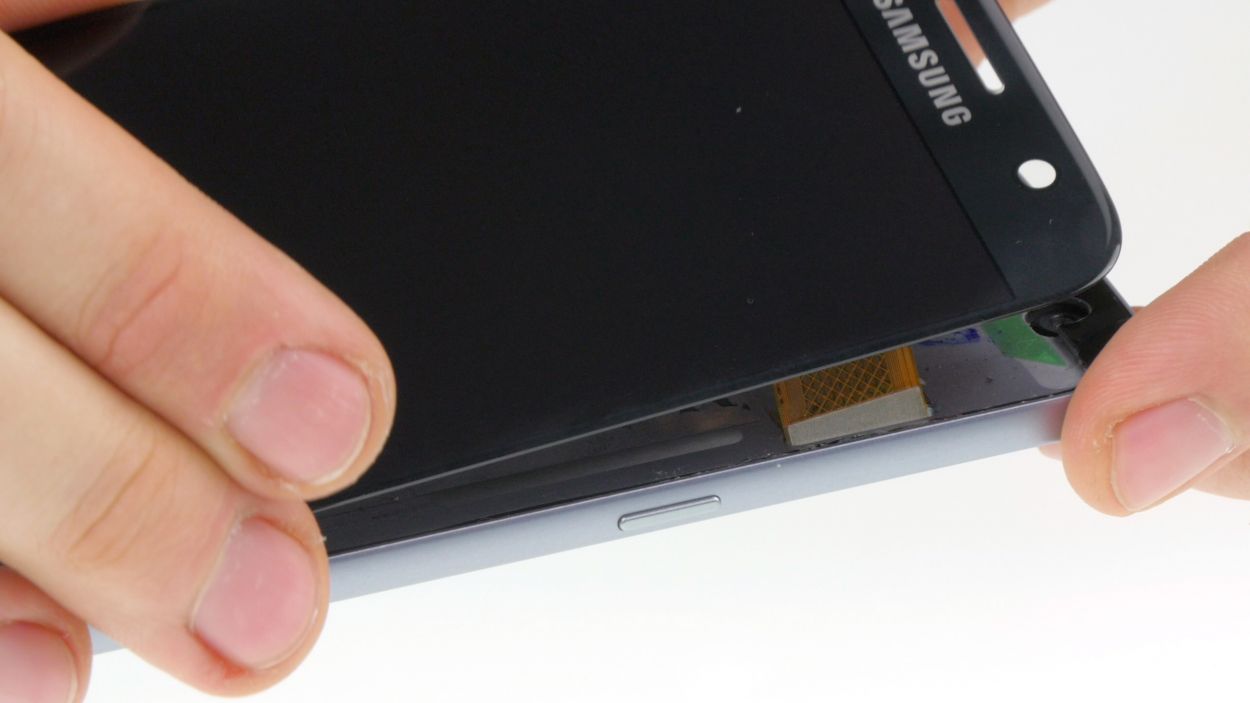
– Alright, folks! The display on your Samsung Galaxy S7 is stuck on there pretty well with some adhesive magic. Grab a heat gun or a trusty hairdryer and warm it up a bit to loosen that sticky stuff. Once it’s nice and toasty, carefully pry off the display. A handy tool like the iFlex or iSesamo will be your best buddy here—just slide it into the little gap between the frame and the display to break that adhesive seal.
– Start at the top half, since we want to treat the home button and navigation buttons like the precious gems they are—handle them with care!
– Now, use a suction cup to lift the display gently while using your tool to press down on the frame, creating a tiny gap. Slide that tool right in there.
– Keep loosening the adhesive all around and pop in some flat plastic picks into the gap to keep the display from sticking back to the frame. You’re doing great!
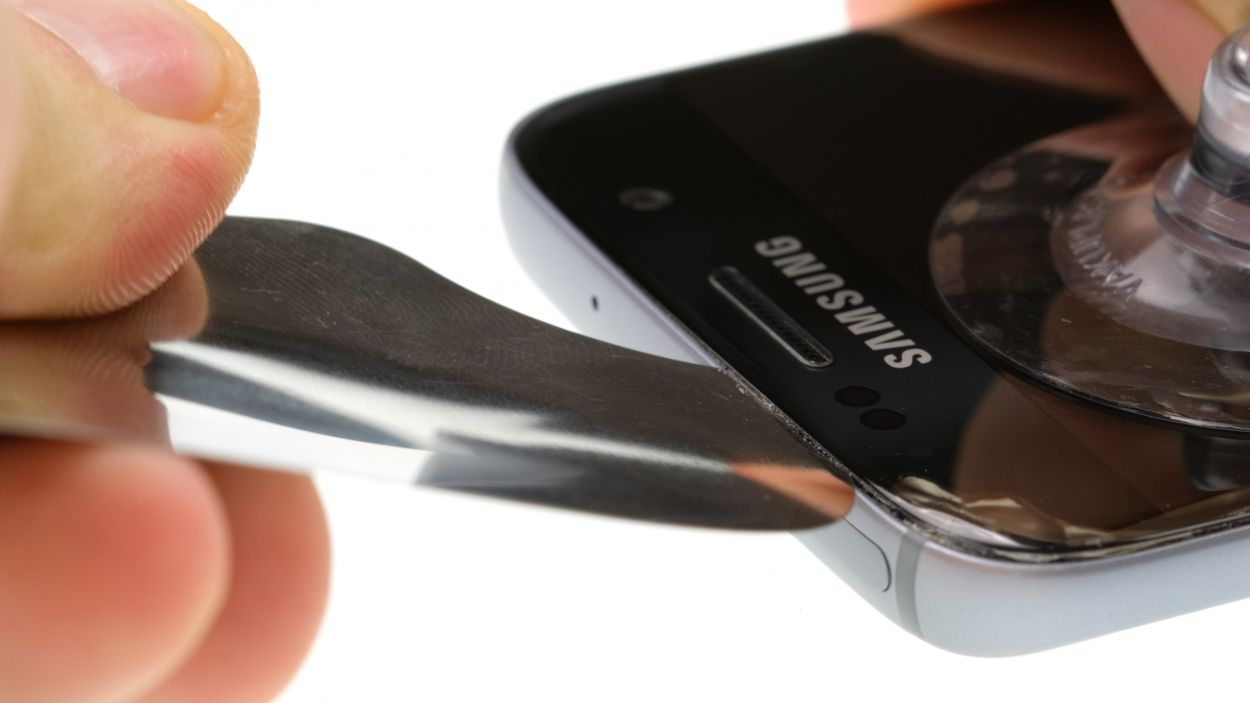
Gently slide the tool in just 2 mm around the home button and navigation buttons. Remember, those navigation buttons are glued to the back of the display and can come off if you go too deep. So, take it easy and be careful!
Uh oh! Home button frame feeling loose and clingy to the screen? No worries! A little heat, a gentle lift, and a confident re-stick should do the trick. Get that frame back where it belongs! If you need help, you can always schedule a repair
Step 11


Alright, champ! Let’s get that frame sticker lined up perfectly. Use those handy camera, home button, and navigation button holes as your guide – they’ll show you exactly which way is up, down, left, and right. Easy peasy! If you need a hand, you can always schedule a repair
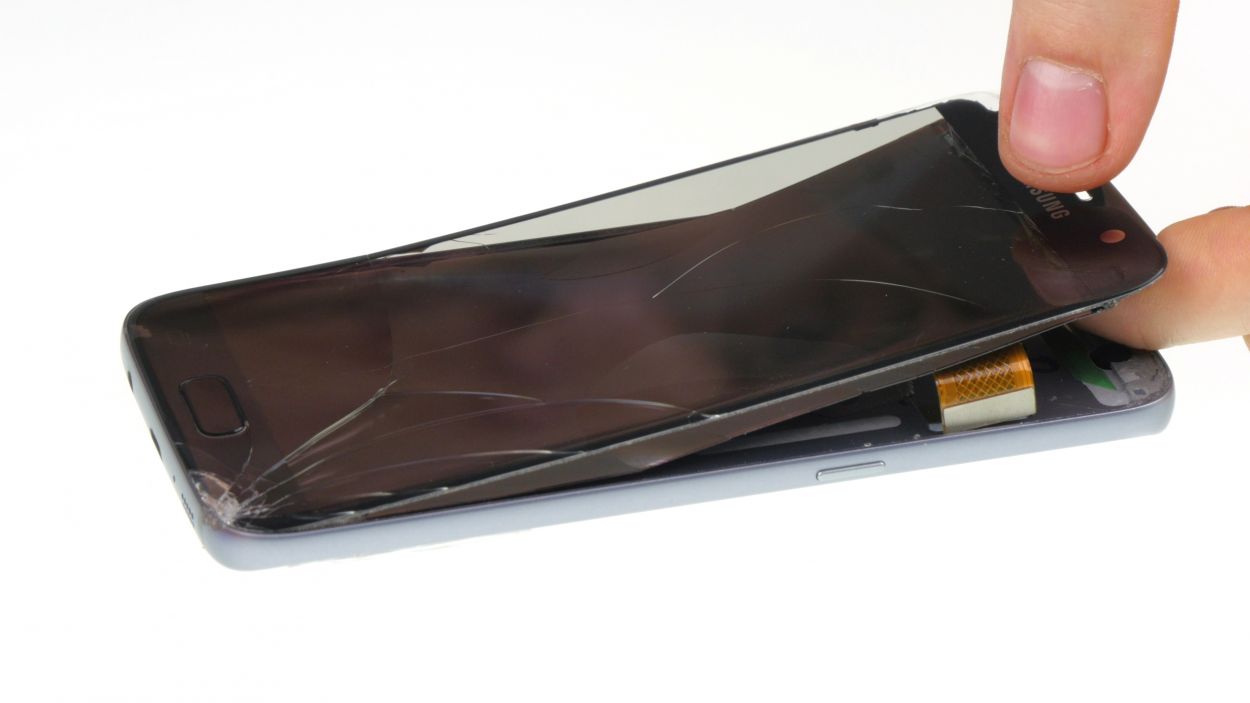
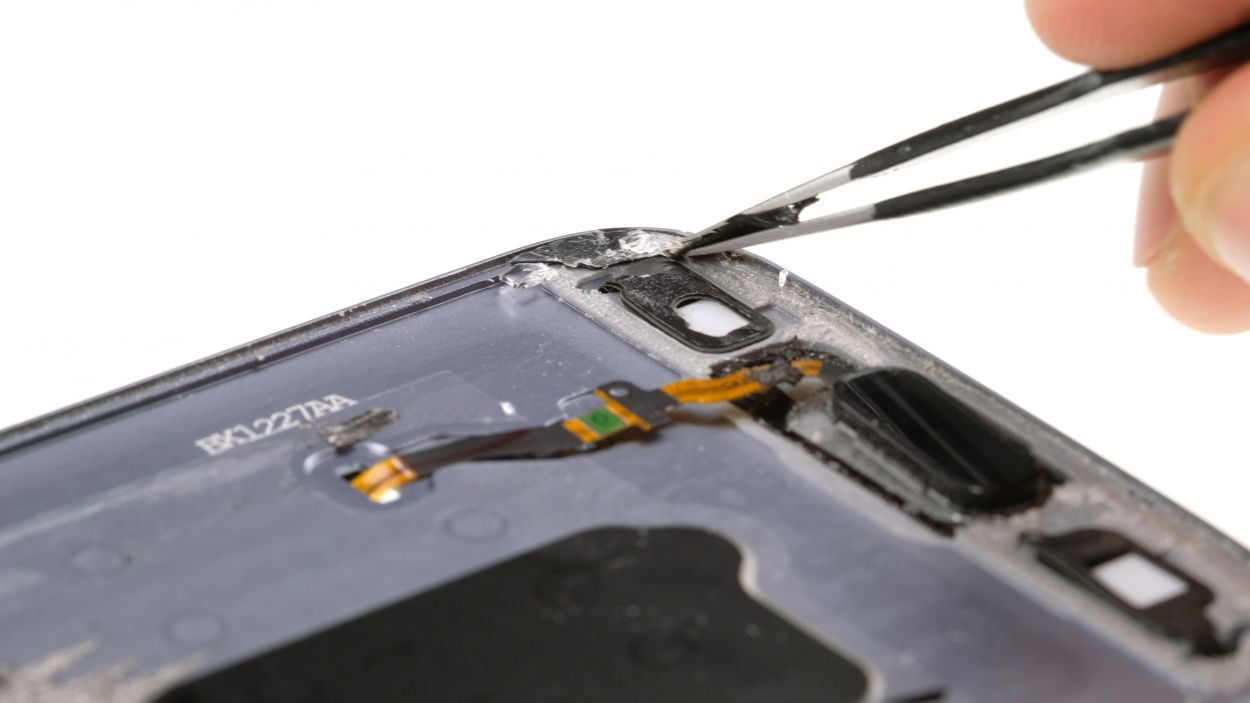
– Say goodbye to any leftover bits of the broken display. Grab your tweezers and gently pick away those pesky glass shards.
– Take a handy tool and glide it along the frame’s edge to peel off as much of that sticky adhesive residue as you can. Easy does it!
– Now, it’s time to put on the new frame sticker. Apply it smoothly and make sure there are no wrinkles. Give it a gentle rub with your finger to smooth out any bumps. You’re doing great!
Step 12
– Gently guide that flex cable with the connector through the metal frame’s opening like you’re threading a needle.
– Set the display on the frame, using the earpiece and home button as your trusty guides.
– Ensure no adhesive is peeking out, then carefully press the display onto the frame, sticking it down just right.
– Give the display a firm press so the adhesive can do its magic and bond securely.
Step 13
– Gently set the display connector onto the circuit board contact and give it a little press to secure it in place.
Step 14

– Plug the battery into the motherboard. Firmly press the connector into the socket until you hear a satisfying click, letting you know it’s securely in place.
Step 15
– Nestle that speaker snugly at the bottom of the enclosure.
– Give it a gentle press with your fingers until you hear that satisfying click as it locks into place.
Step 16
– Carefully place the antenna back into its cozy home after you’ve attached it to the lower antenna.
– Give the antenna a gentle press with your fingers until you hear that satisfying click, letting you know it’s snug in its enclosure.
Step 17

– Slide the antenna back into its cozy spot in the enclosure. Start by placing it on the left side and give it a gentle but firm push with your fingers.
– Listen closely! You should hear a satisfying click as the antenna locks into place.
Step 18

– Time to stick that yellow adhesive strip back in place!
– Now, let’s secure everything with those trusty screws. You’ll need 12 of those 3.3 mm PH00 Phillips screws to get the job done!
Step 19
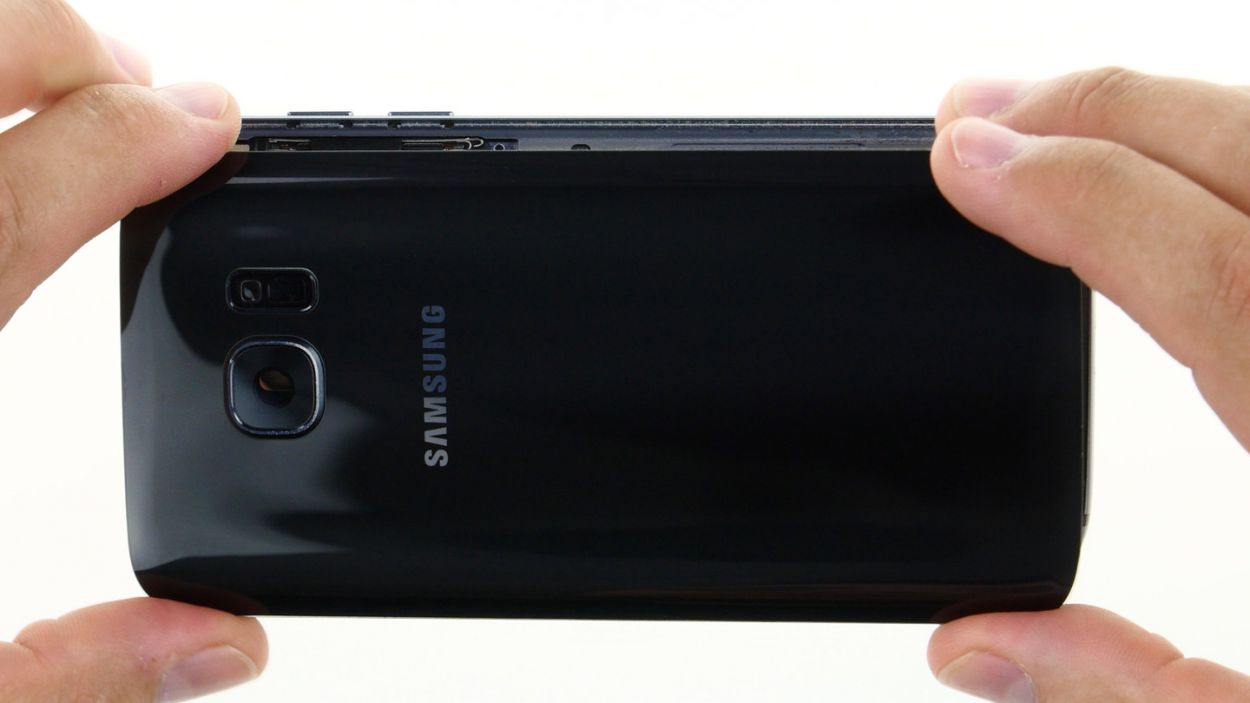
– Carefully place the back cover back where it belongs.
– Give the back cover a good press all around to help that glue do its job.
– For an extra boost, warm up your device with some hot air, then weigh it down with a couple of books or clamp it to help the glue stick even better.