How to Replace Galaxy S8+ Battery: Step-by-Step Guide
Duration: 45 min.
Steps: 13 Steps
Ready to tackle that pesky battery issue on your Galaxy S8+? In this guide, we’ll walk you through the steps to swap out that worn-out battery all by yourself! This handy fix is perfect if your phone tends to crash during those intense gaming marathons, refuses to charge, or just can’t seem to keep up with your busy day. Let’s get started and breathe new life into your device! And remember, if you need help, you can always schedule a repair.
Step 1

– Ready to give your device a breather? Start by pressing and holding the power button until you see the ‘Power off’ option pop up on your screen.
– Now, tap on that option like you mean it! Confirm you want to power down your Galaxy S8 Plus and hang tight until the screen fades to black. You’ve got this!
Step 2


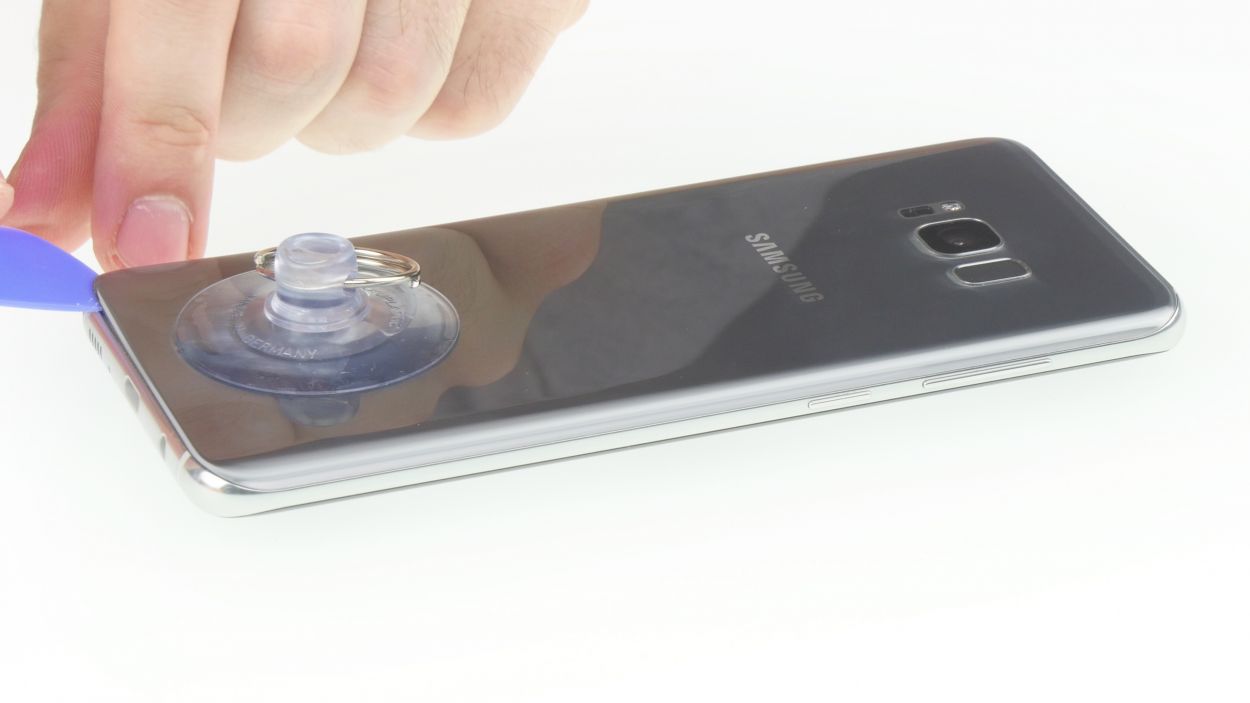

Hang tight! This step might take a little while. You might need to warm up that rear glass or the glue a few extra times before it finally decides to let go. Patience is key!
If you’re having trouble finding a spot to slip in your tool, grab a suction cup and give that glass a gentle lift. You’ve got this!
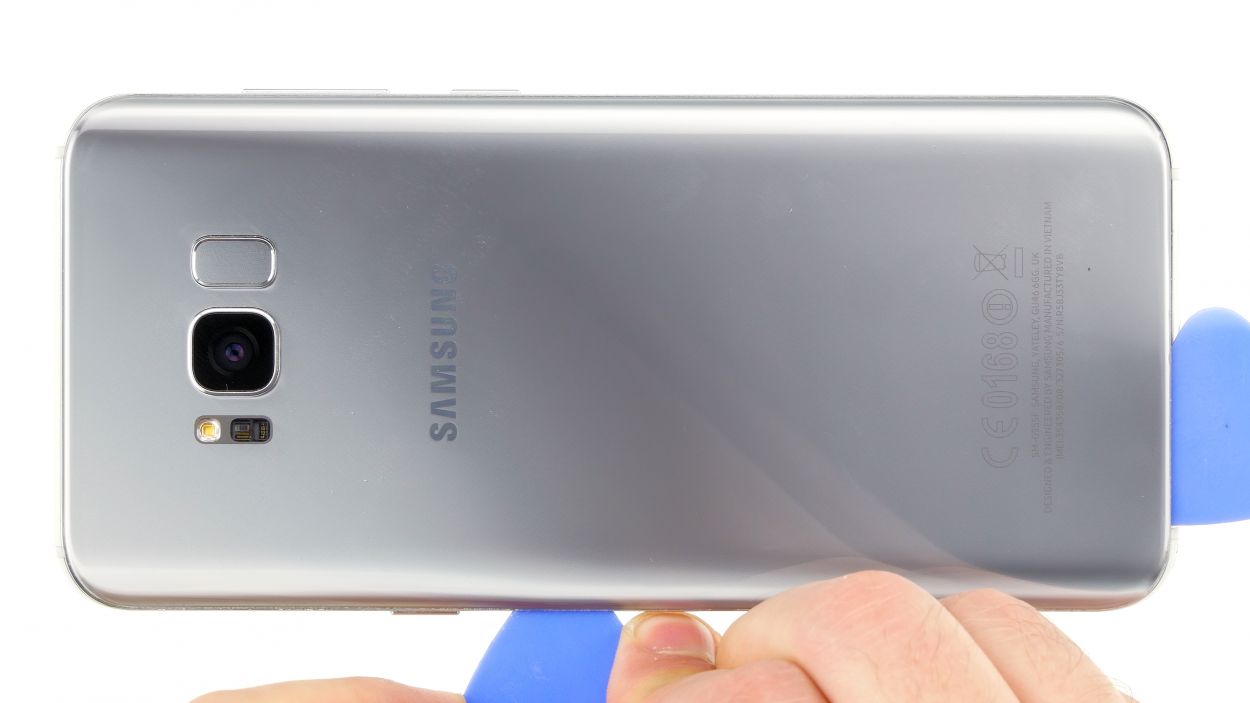
– Alright, the back cover is really stuck to the chassis. Let’s warm things up a bit! Use hot air to evenly heat the device and soften that stubborn glue.
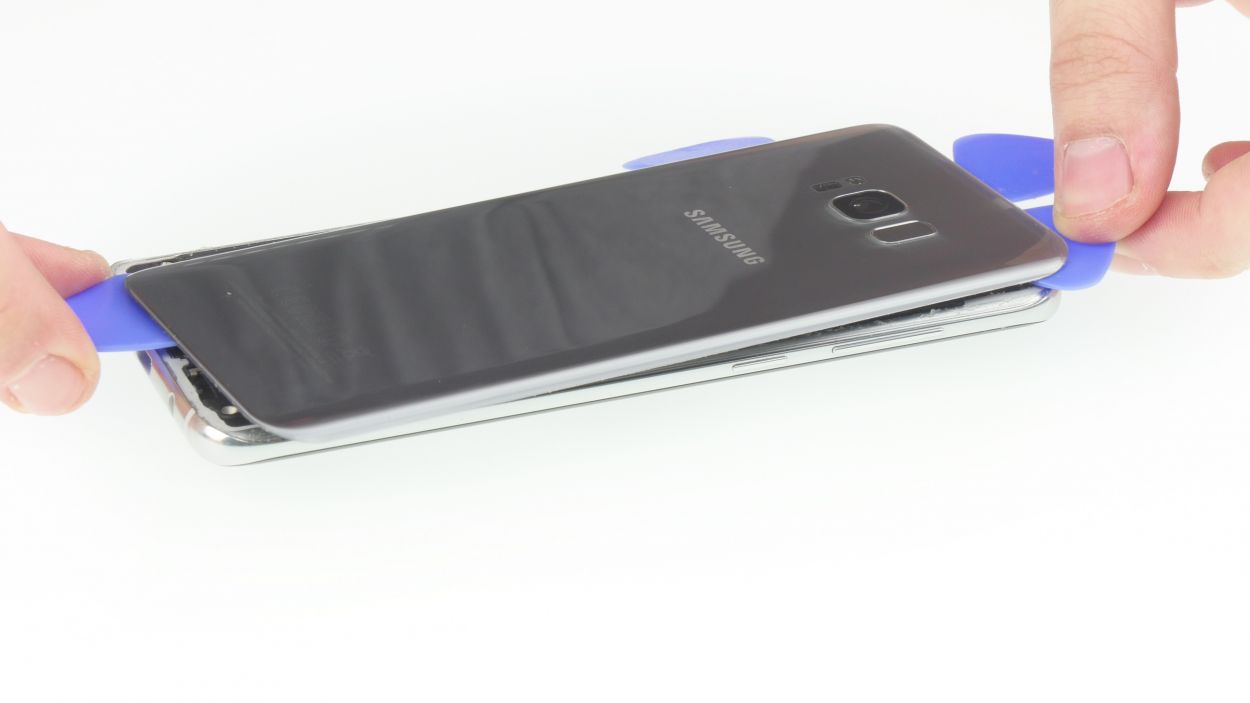
– Once it’s nice and toasty, gently try to lift the rear glass with a flat, blunt tool. It’s best to find a spot that’s already a little loose to get your first pick in. Then, just work your way around the device, step by step. You’ve got this!
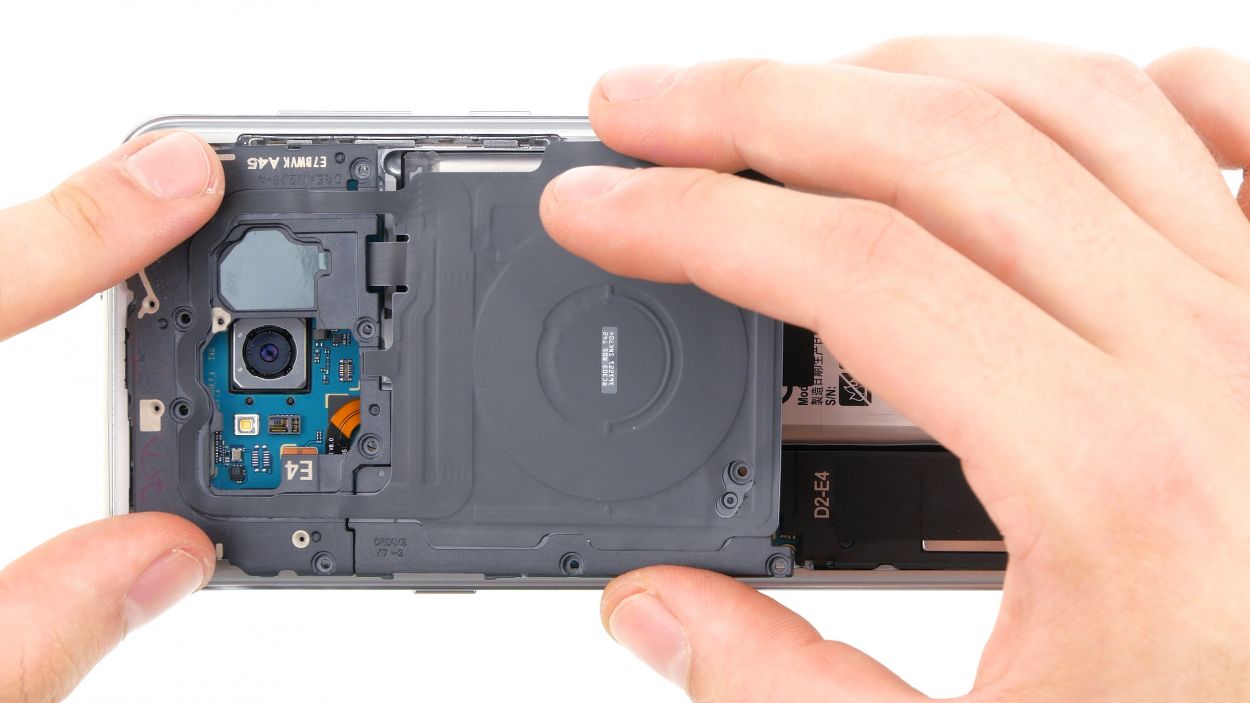
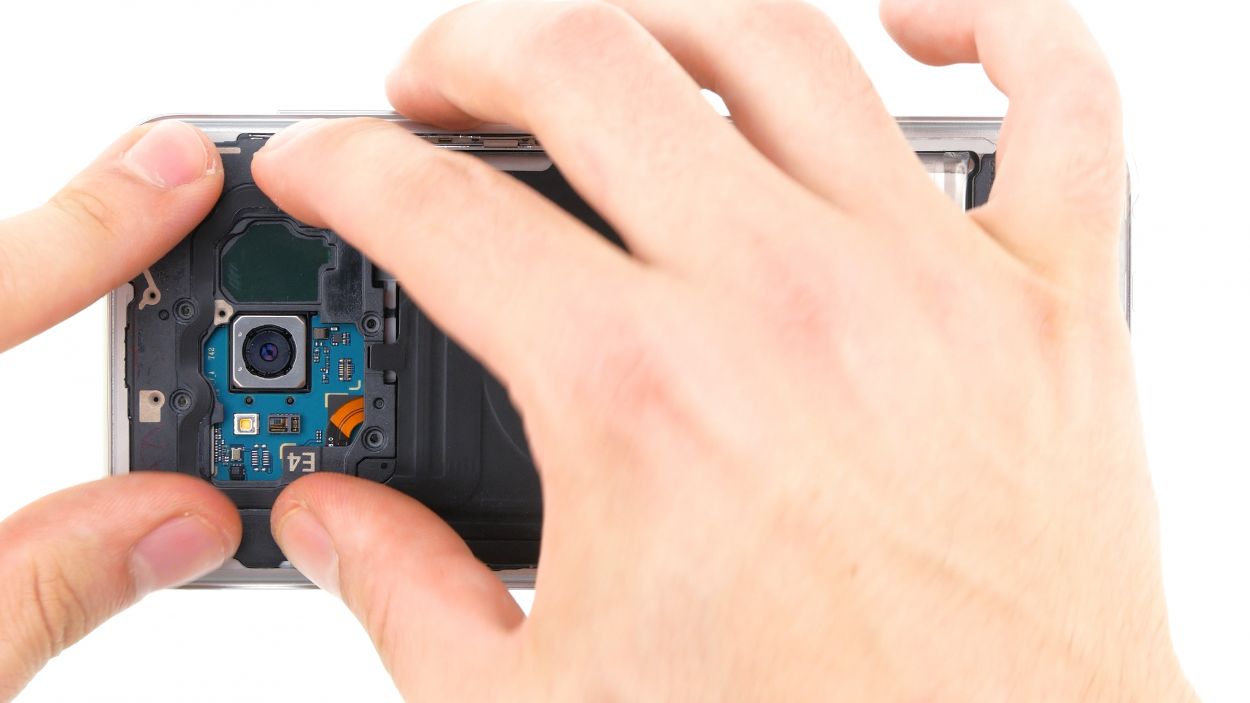
Step 3

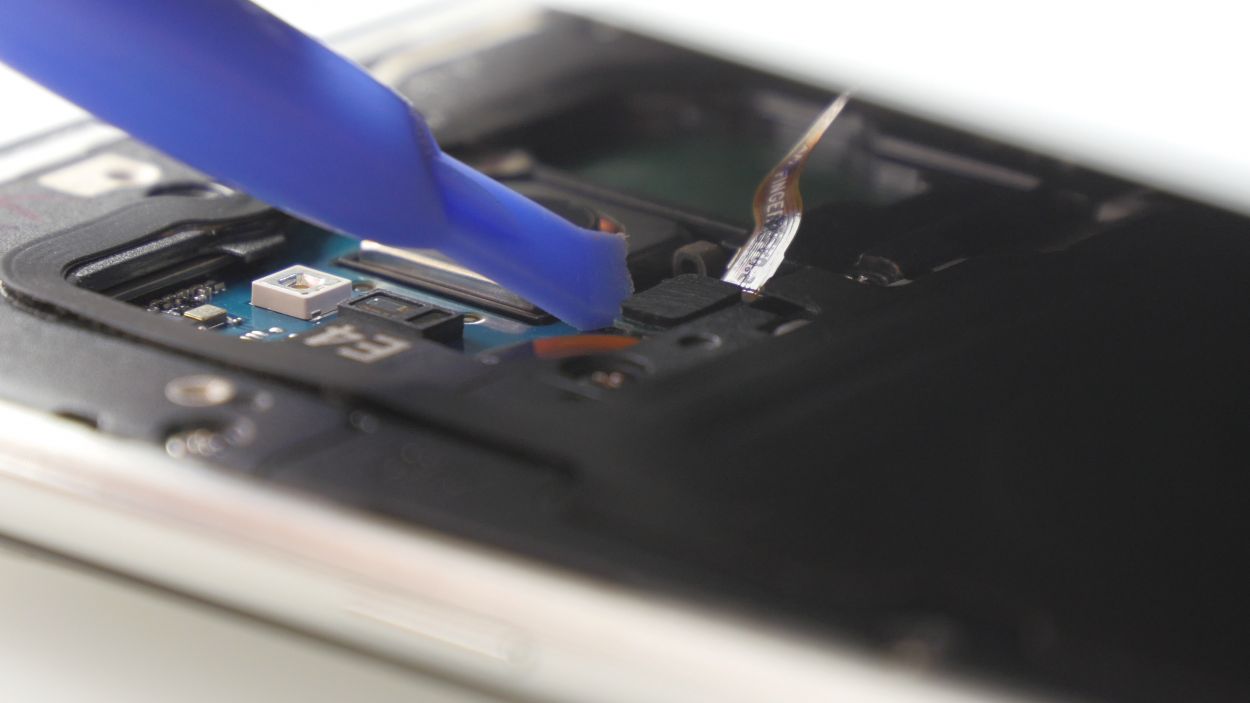

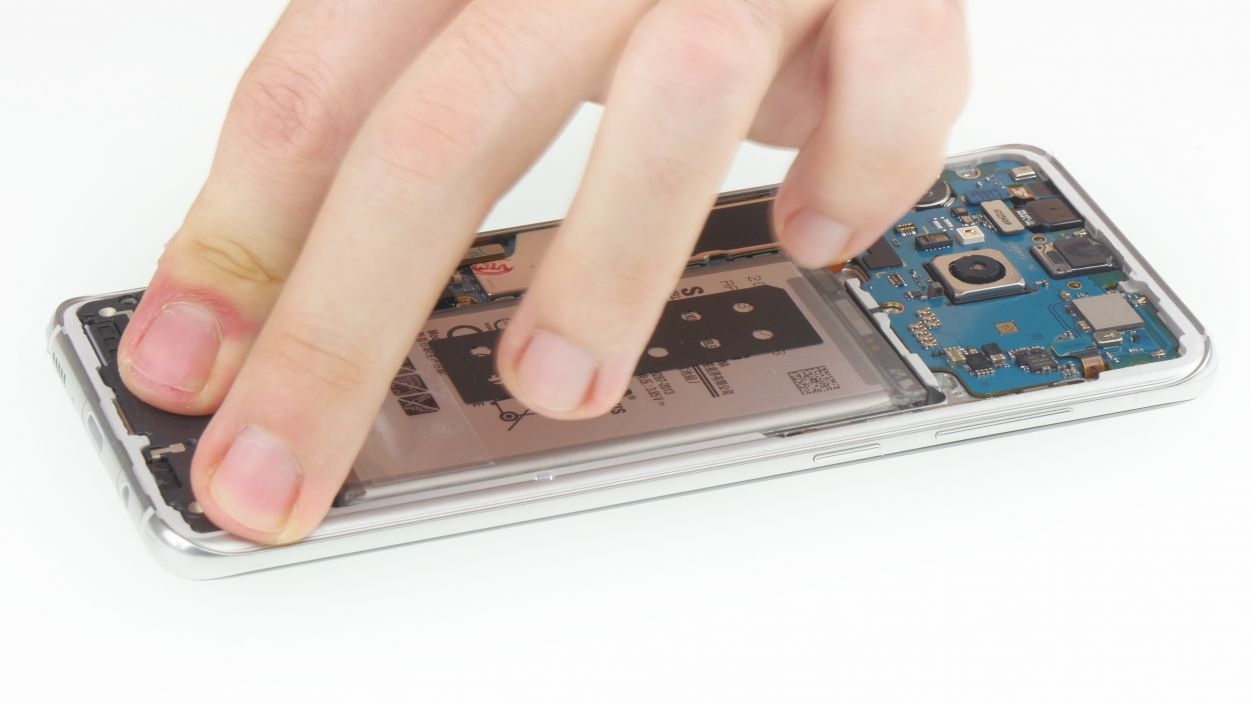
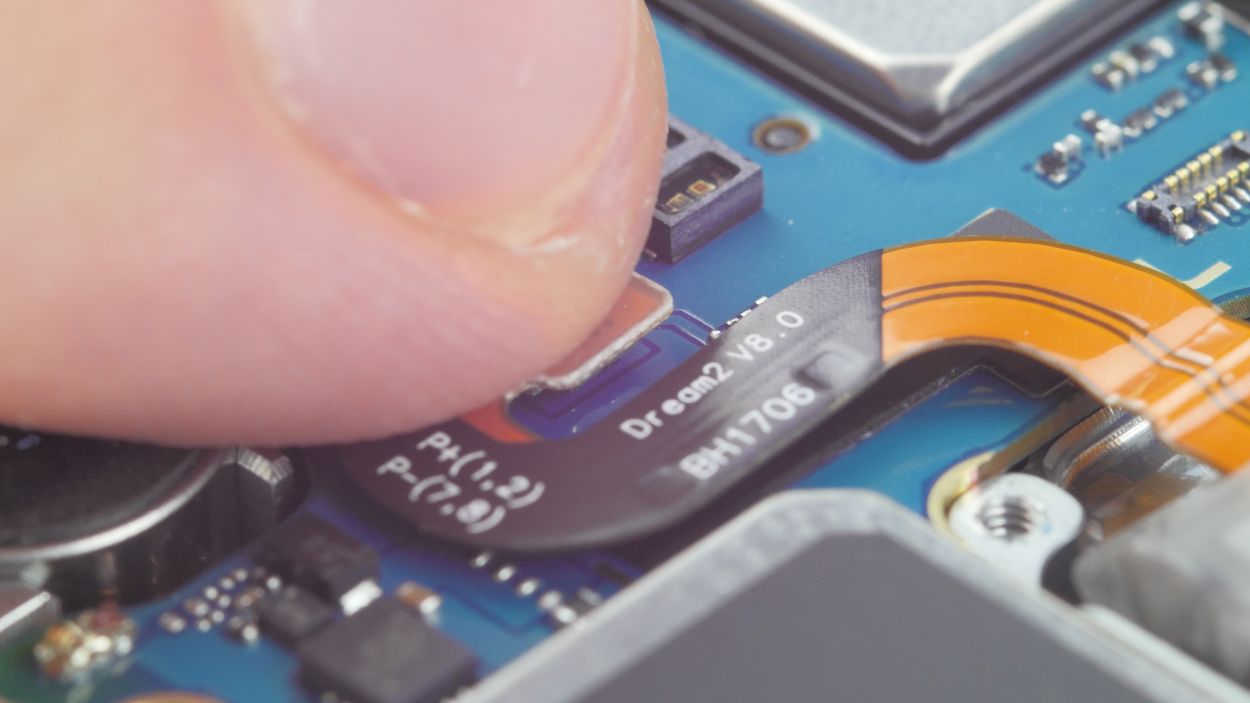
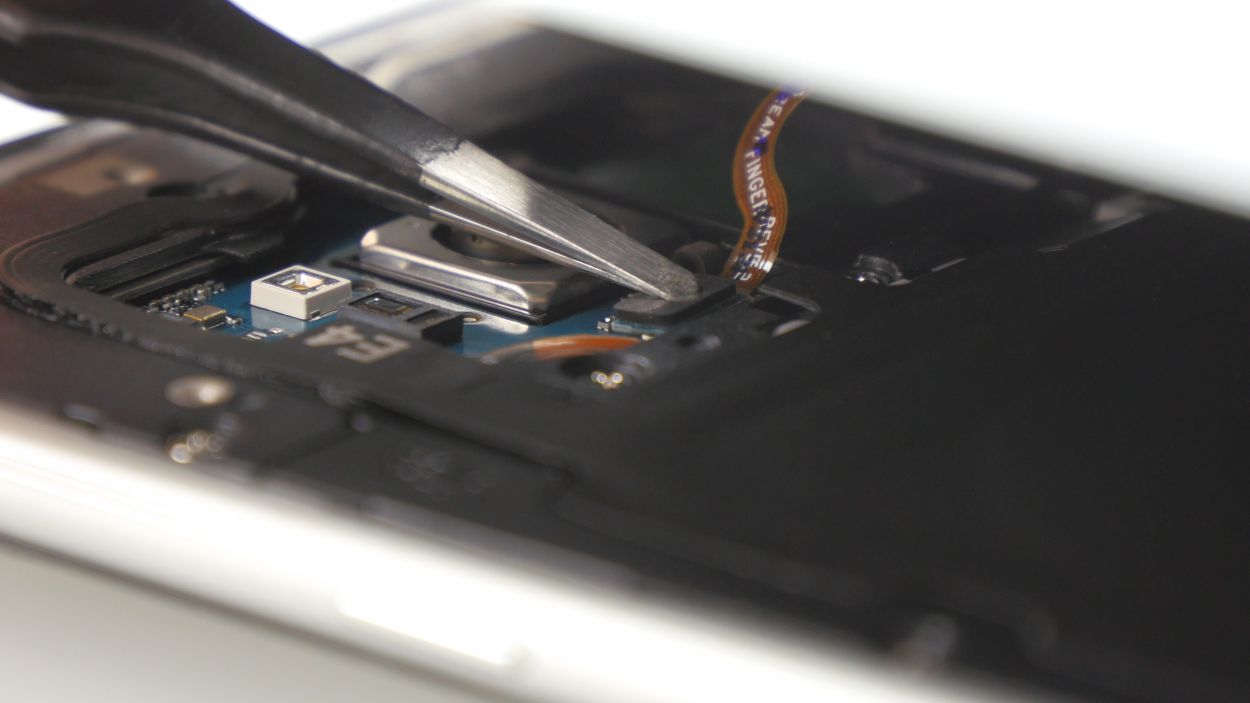
– Once you’ve popped off that back cover, gently lift it up and disconnect the fingerprint sensor using your trusty spudger.
– Now, you can fully remove the back cover and place it safely aside for the next step!
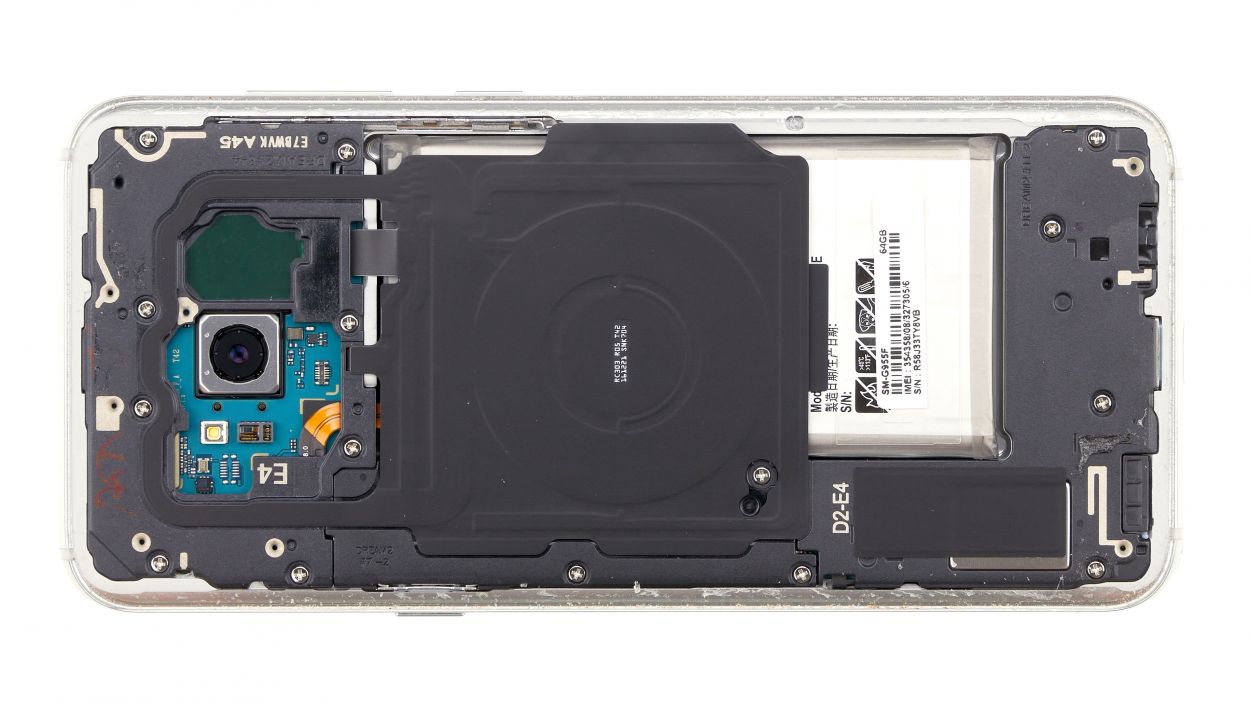
Step 4

11 × 3,8 mm Phillips Schraube
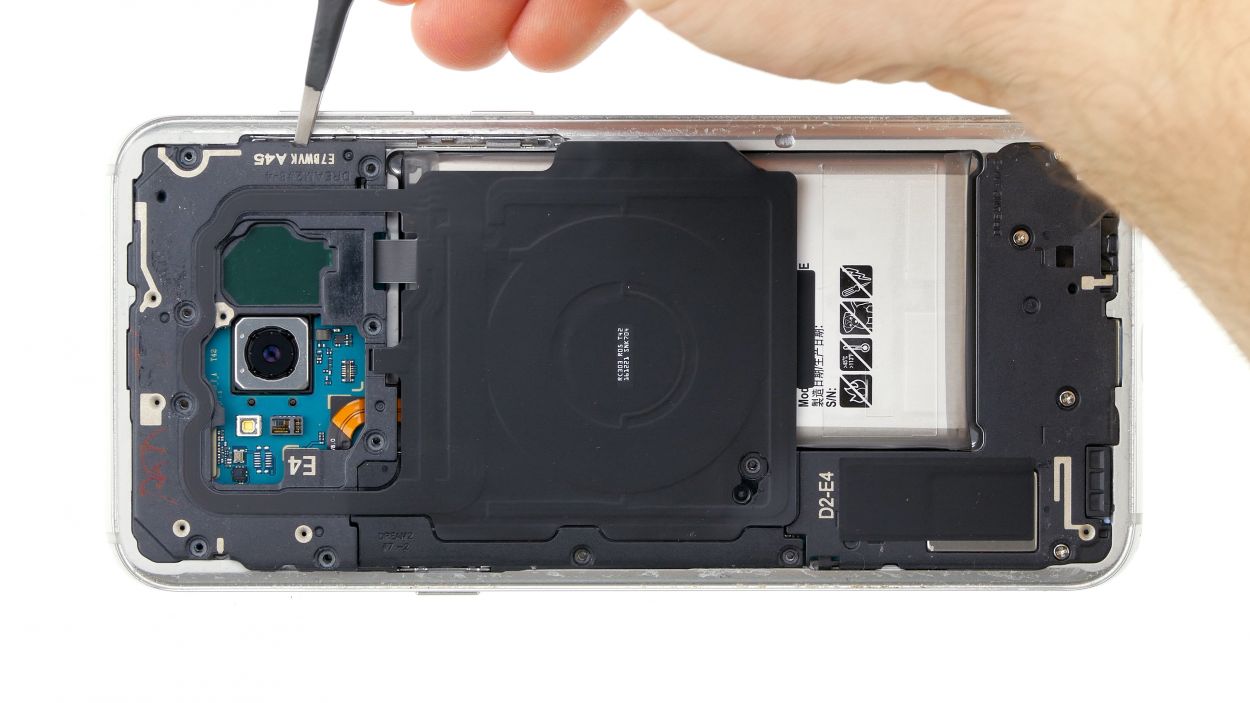
– First up, let’s tackle those screws holding the upper cover to the display. Time to get them out of there!
– Next, the cover is snugly latched onto the case. Grab a flat tool and gently slide it under the latches to free them.
– And now, it’s antenna time! Carefully remove the antenna and keep it safe.
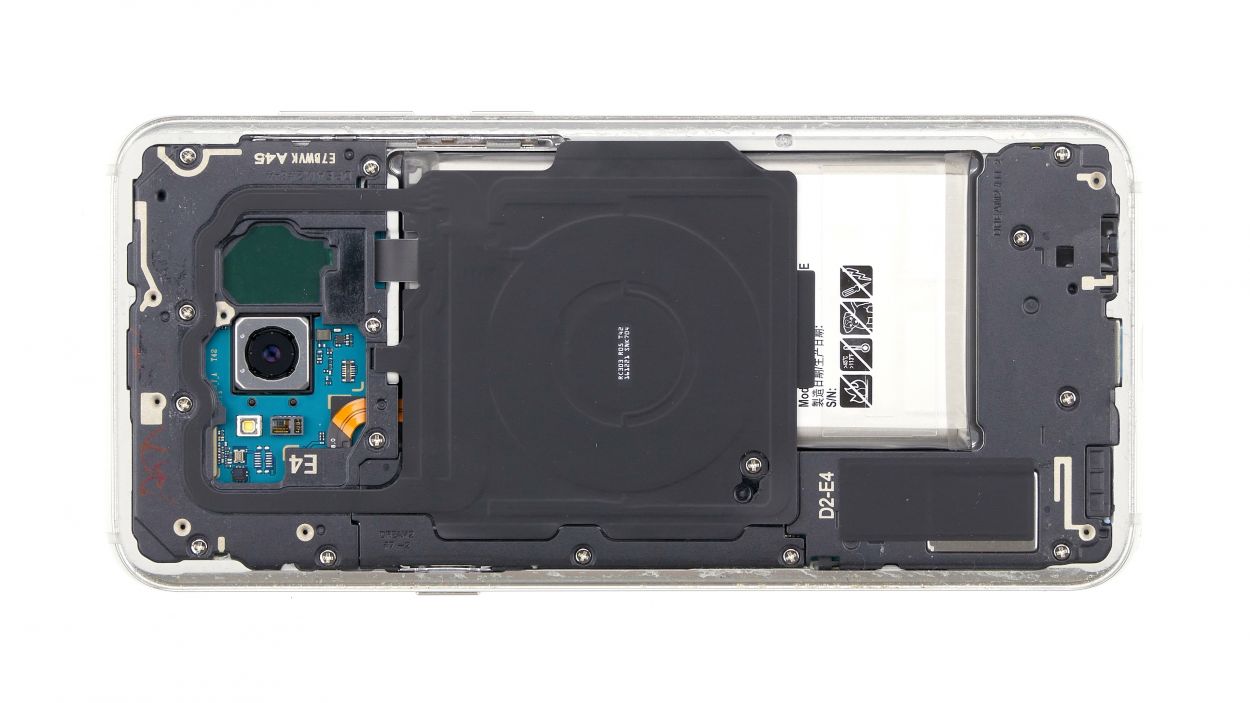
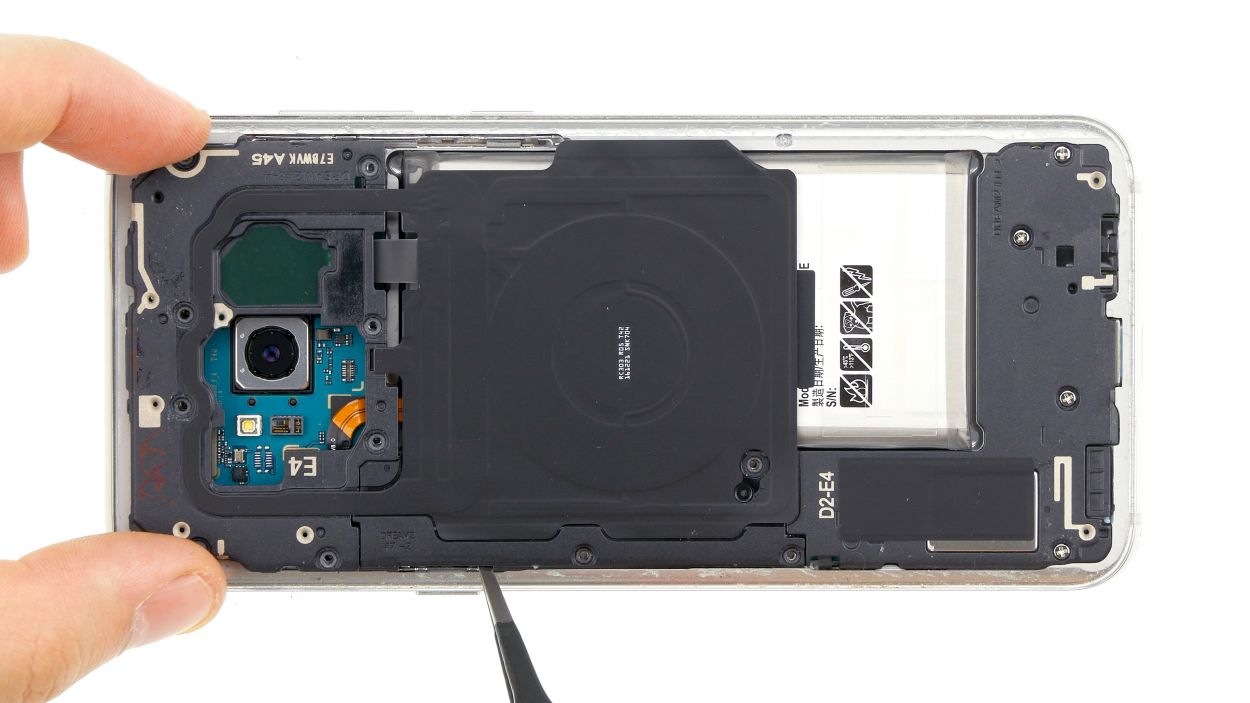
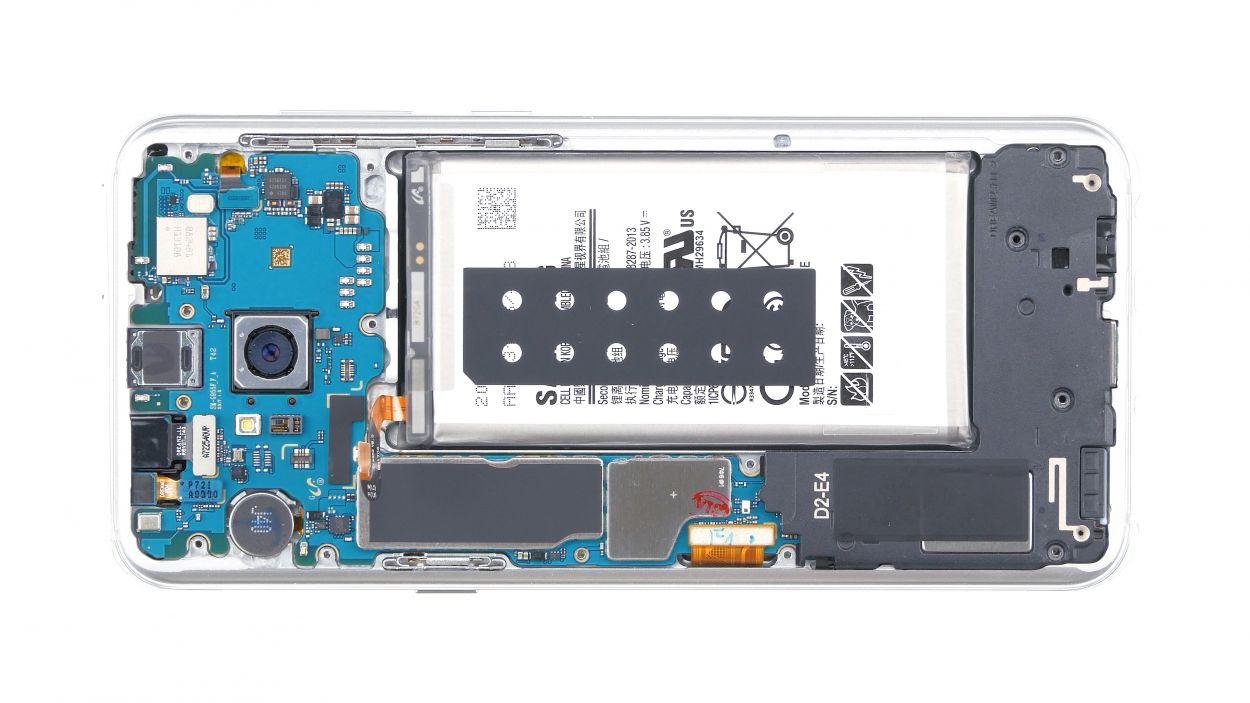
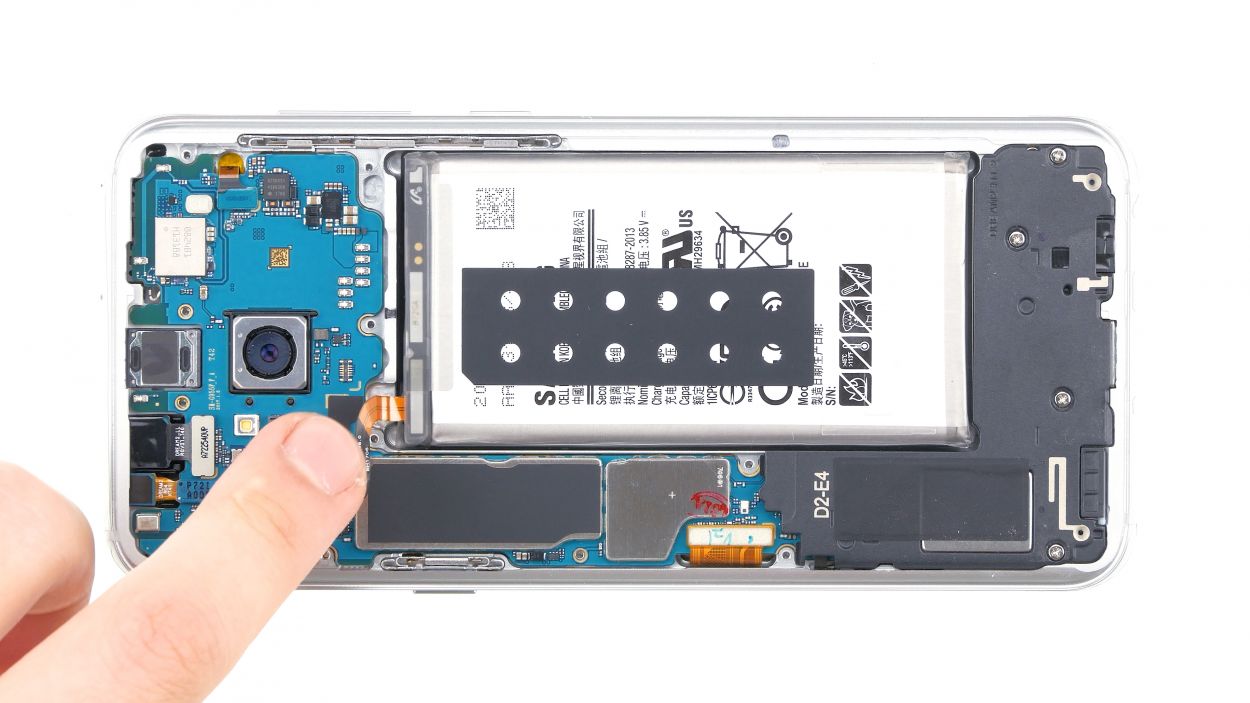
Step 5

– Grab your trusty spudger and gently pop that battery contact away from the motherboard. You’ve got this!

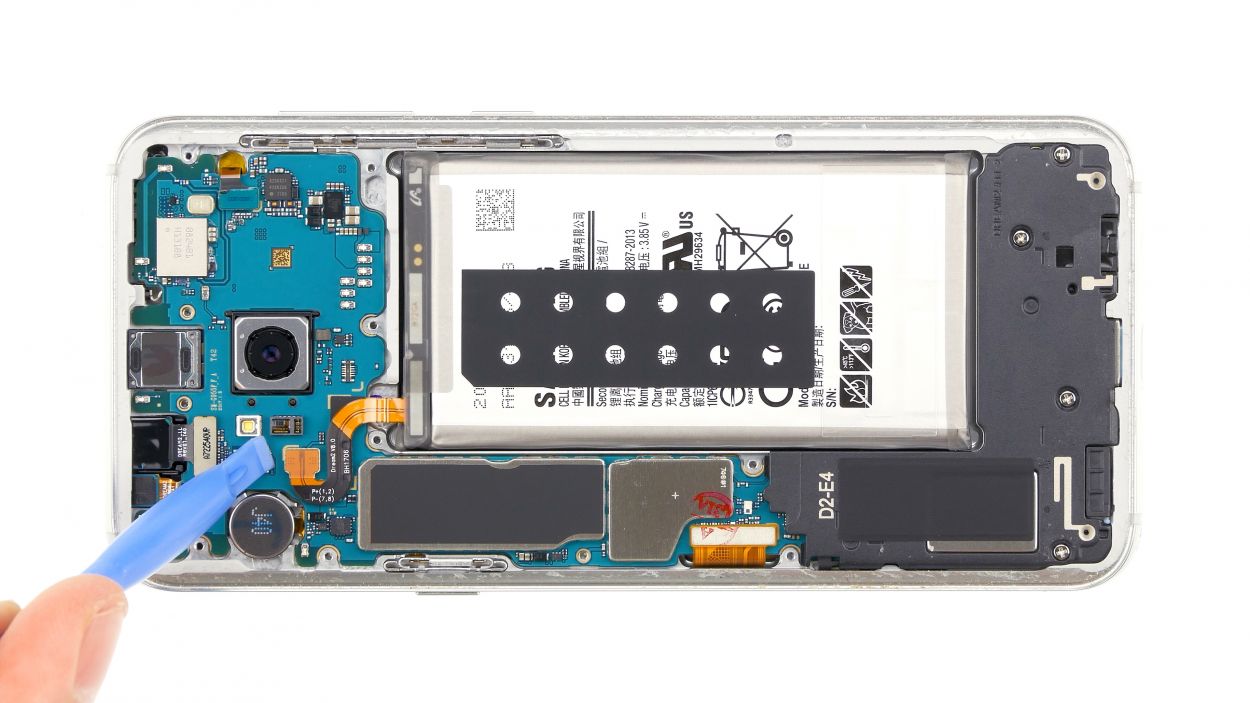
Step 7
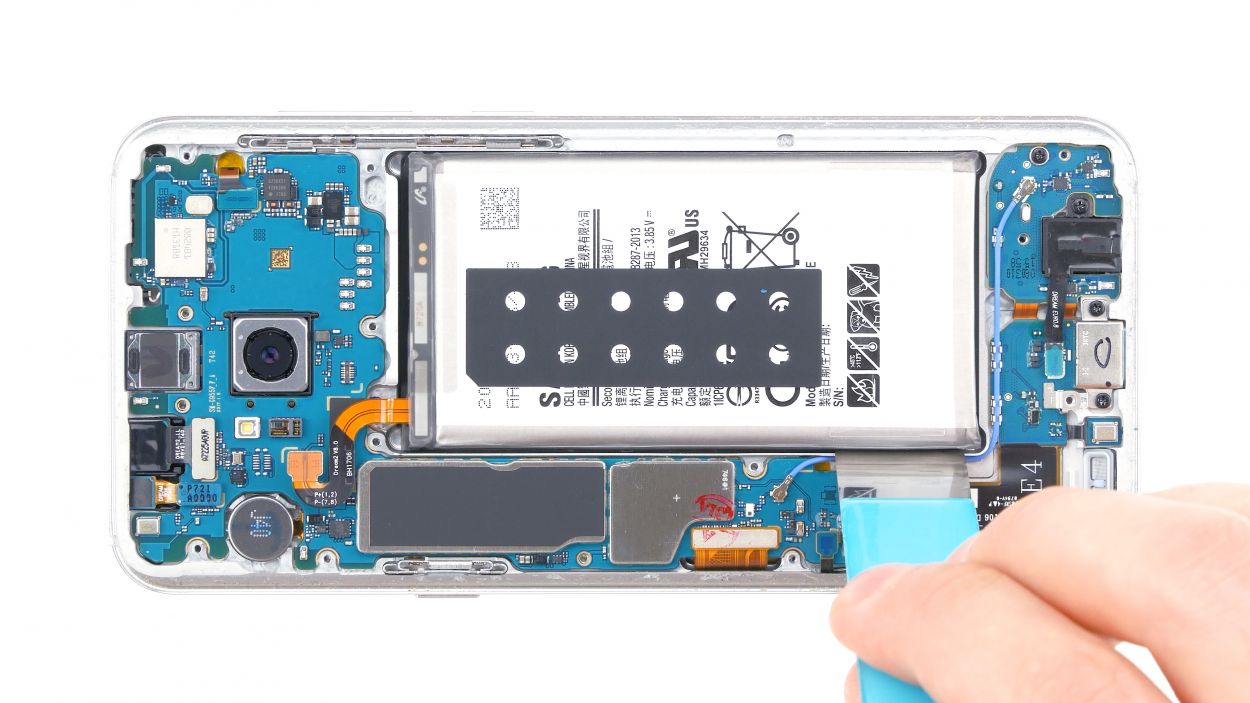
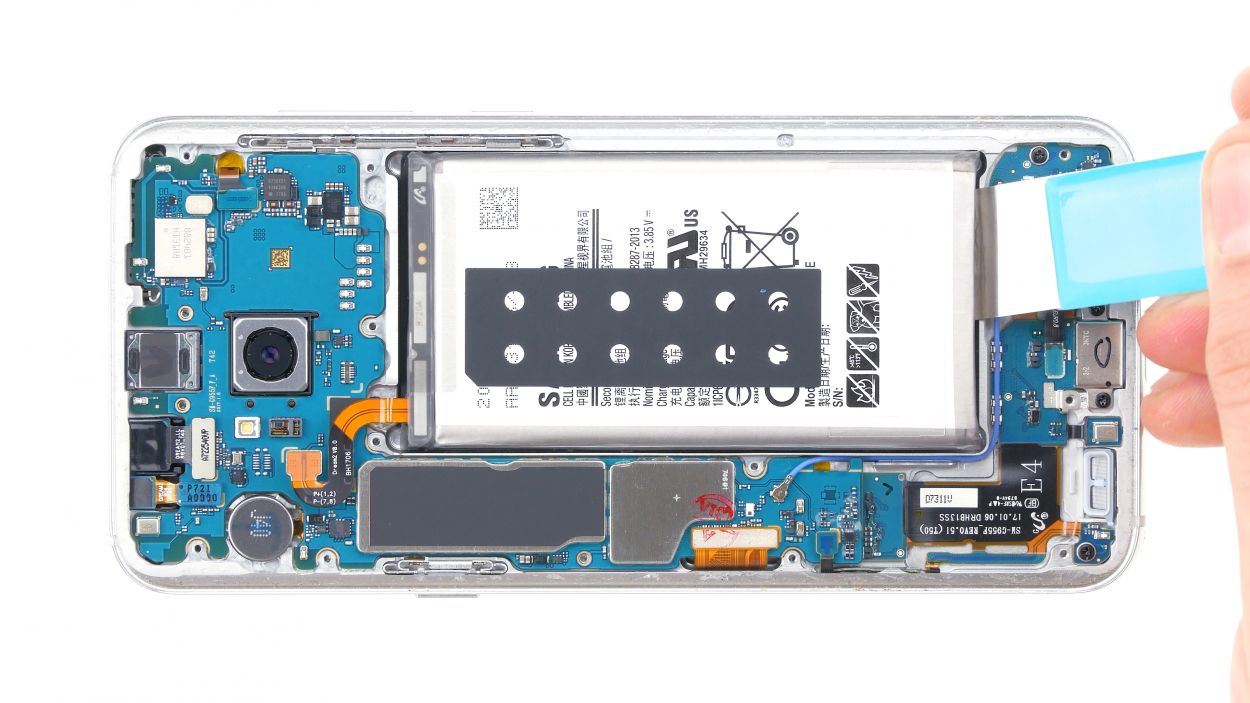

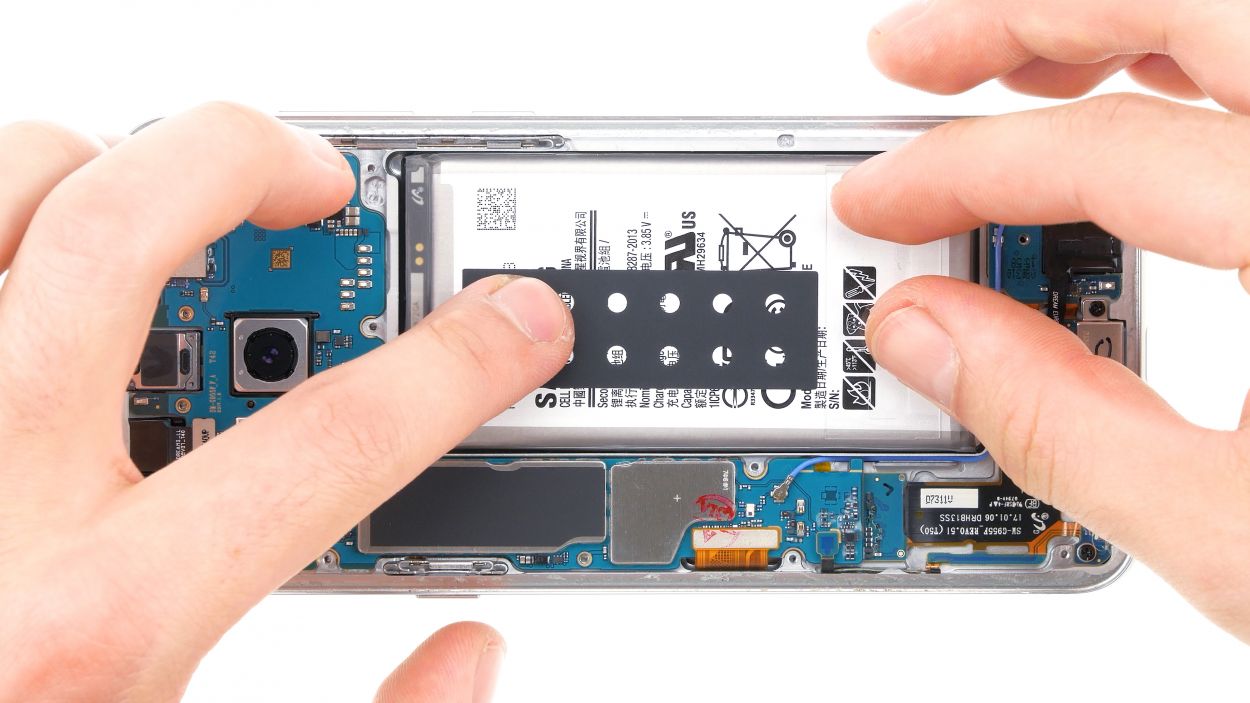
Take it easy during this step! Grab a flat, blunt tool like the iSesamo, and handle with care to keep that battery safe and sound.
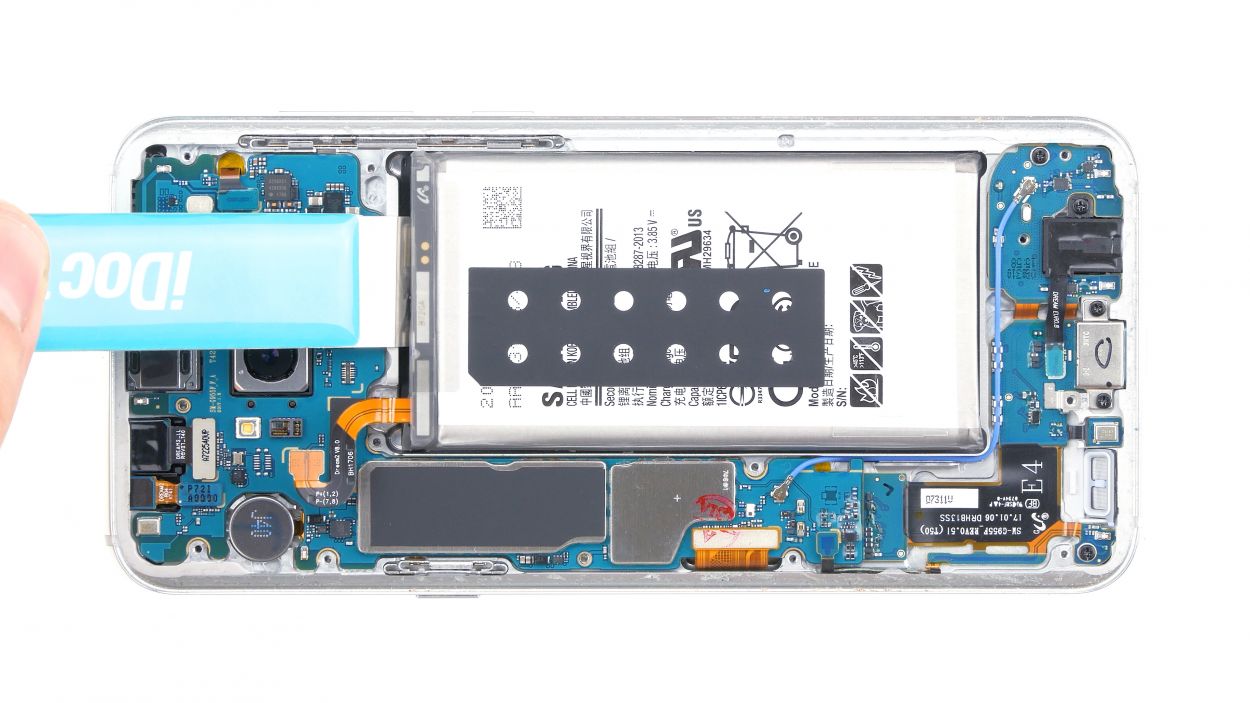
– Alright, here we go! The battery is really stuck to the enclosure, so let’s take it easy while we work on removing it. Start by gently inserting your tool on the side between the battery and the enclosure. With a steady hand, pry that battery out carefully.
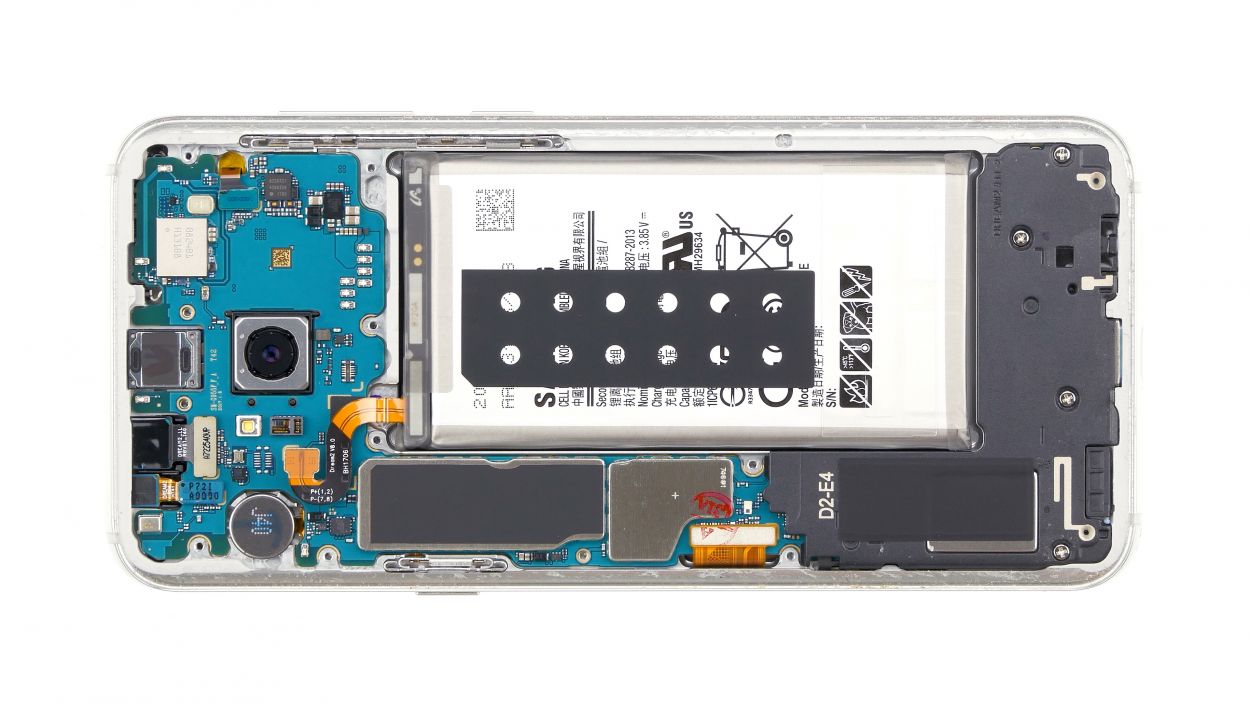
– Now, don’t forget to repeat this gentle process on the other sides of the battery. We want to keep the motherboard and other components safe and sound, so take your time!
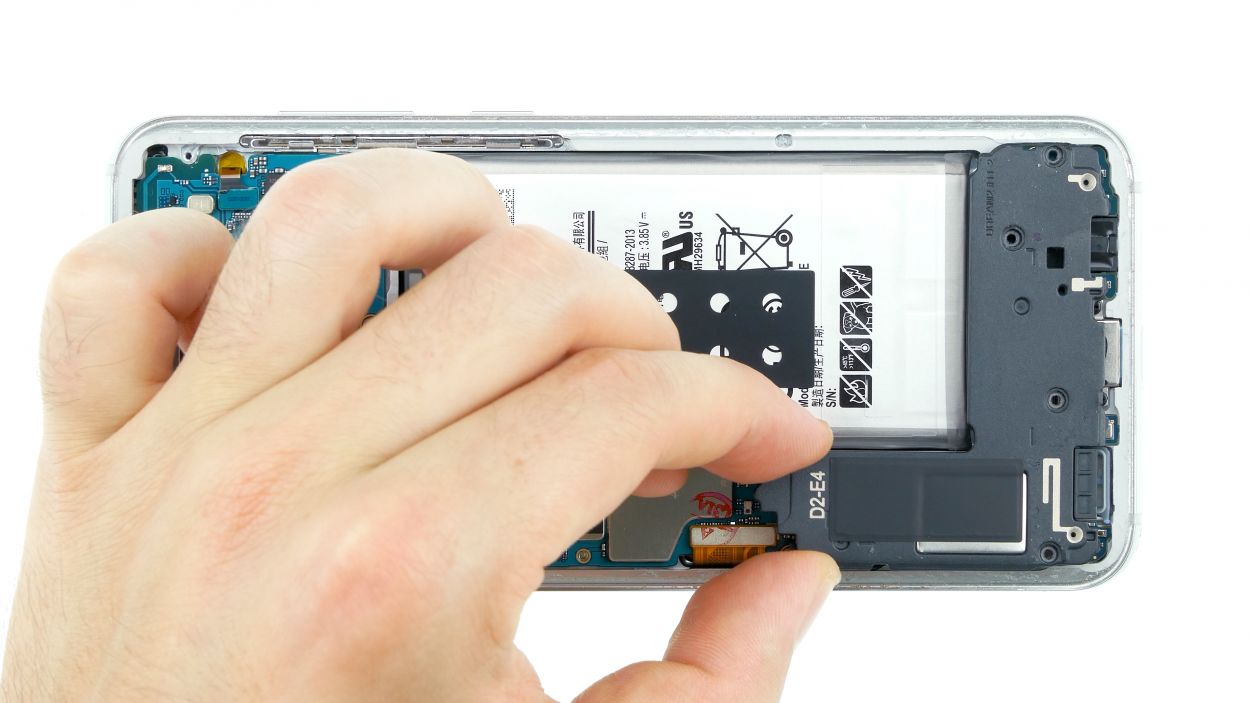
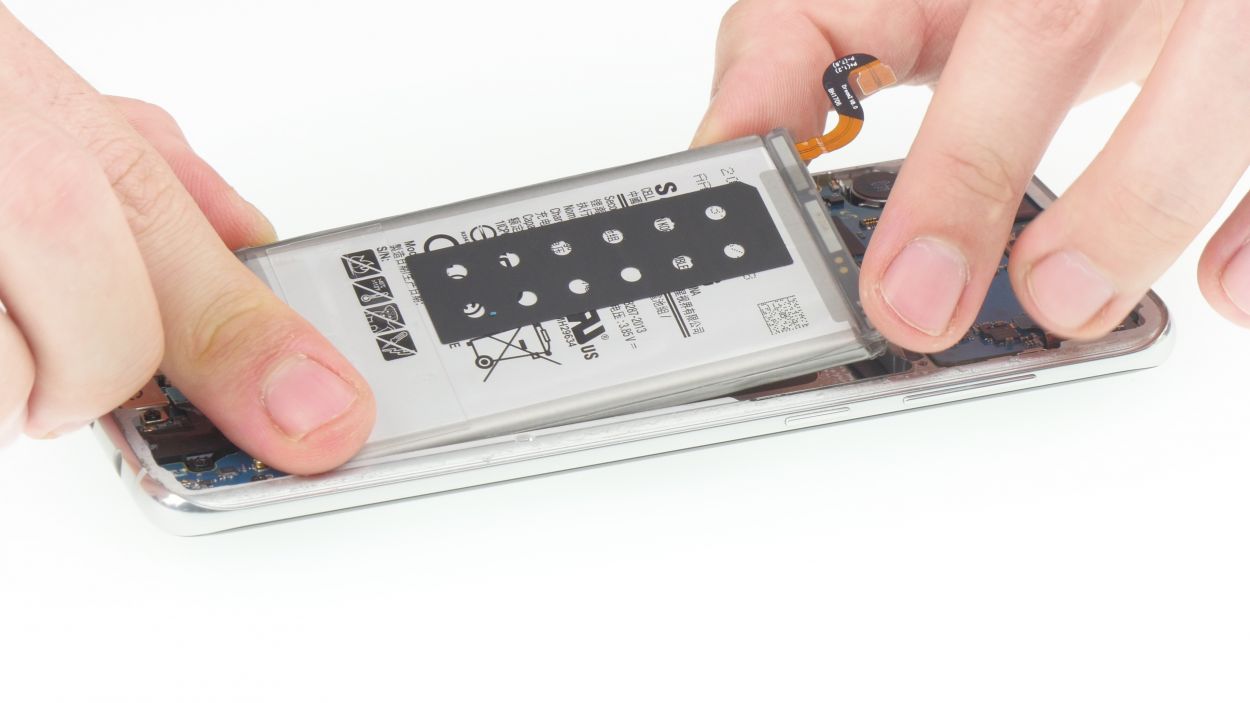
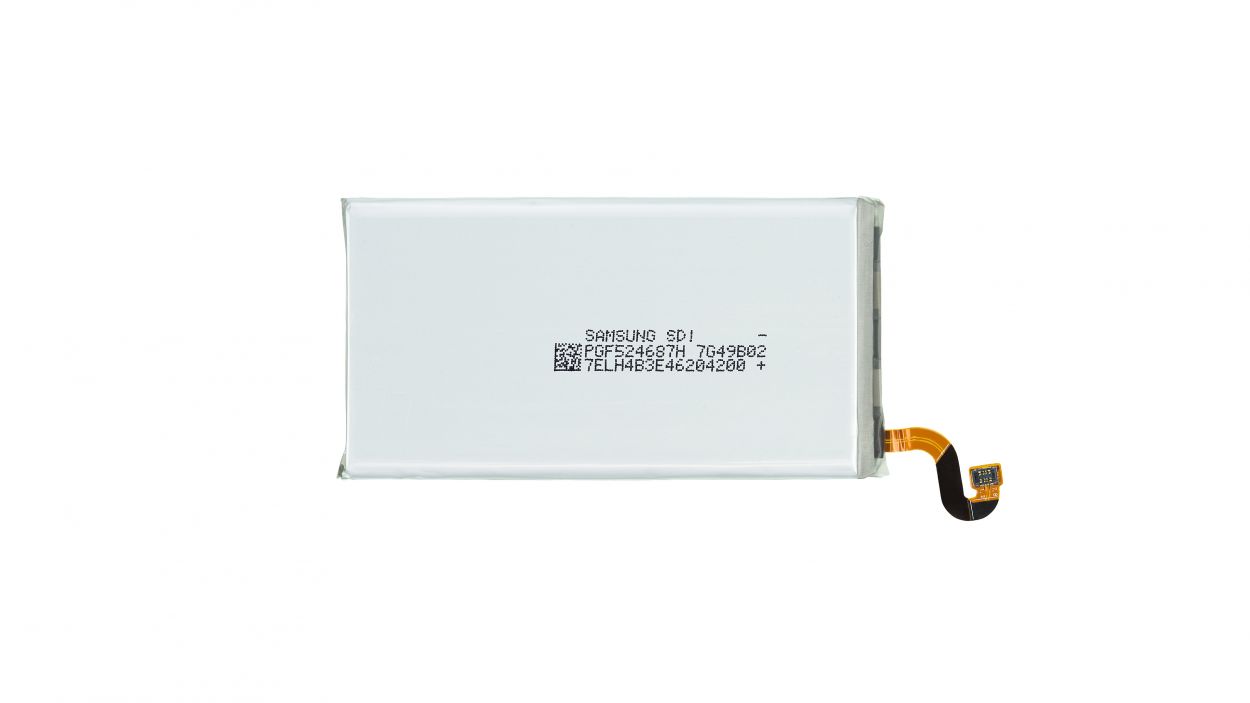
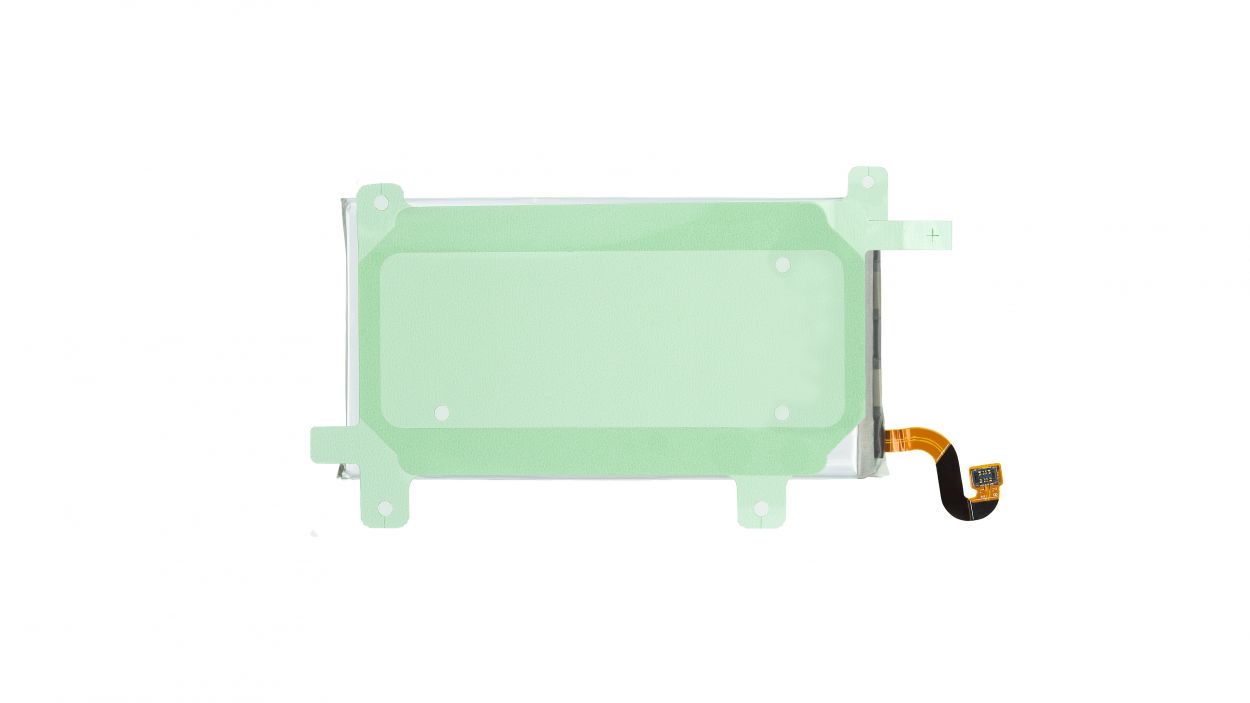
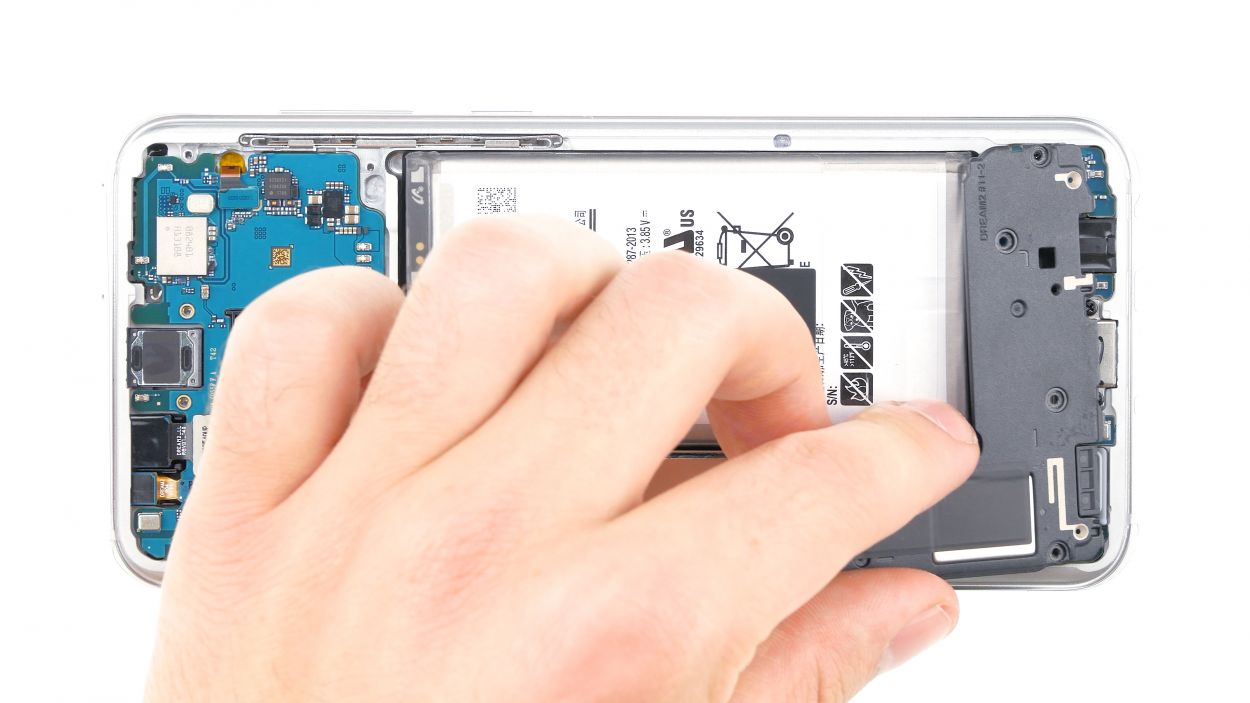
– Once you’ve successfully loosened the glue, you can happily lift the battery out of the enclosure. You’re doing great!

Step 10
4 × 3,8 mm Phillips Schraube
– Start by placing the speaker at the bottom of the enclosure.
– Gently press it down with your fingers until you hear it click snugly into place.
– Lastly, put the screws back in their marked spots.
Step 11
– Plug that battery right into the motherboard! Give it a gentle press until you hear a satisfying click, letting you know it’s snug and secure.
Step 12
11 × 3,8 mm Phillips Schraube
– First, let’s get that cover back in its cozy home! Hook it onto the top of the enclosure like a pro.
– Give it a little love tap with your fingers all around until you hear that satisfying click.
– Time to tighten things up! Fasten those Phillips screws snugly and you’re golden.
Step 13


To give your device a little extra love, try warming it up with some hot air, then give it a gentle press or weigh it down with a couple of books. This way, the glue will really grab on tight!
– Gently place the back cover back where it belongs, just like tucking in a cozy blanket.
– Reconnect the fingerprint sensor, making sure it’s snug and ready to roll.
– Press down on the back cover all around to ensure the glue sticks like a champ.