How to Replace Google Nexus 5 USB Connector Guide
Duration: 30 min.
Steps: 12 Steps
In this guide, we’ll walk you through replacing the faulty dock connector on your Google Nexus 5. If your Nexus 5 is playing hard to get—like your computer won’t recognize it or it just won’t charge—this repair is just what you need. Let’s get to work and bring that device back to life!
Step 1
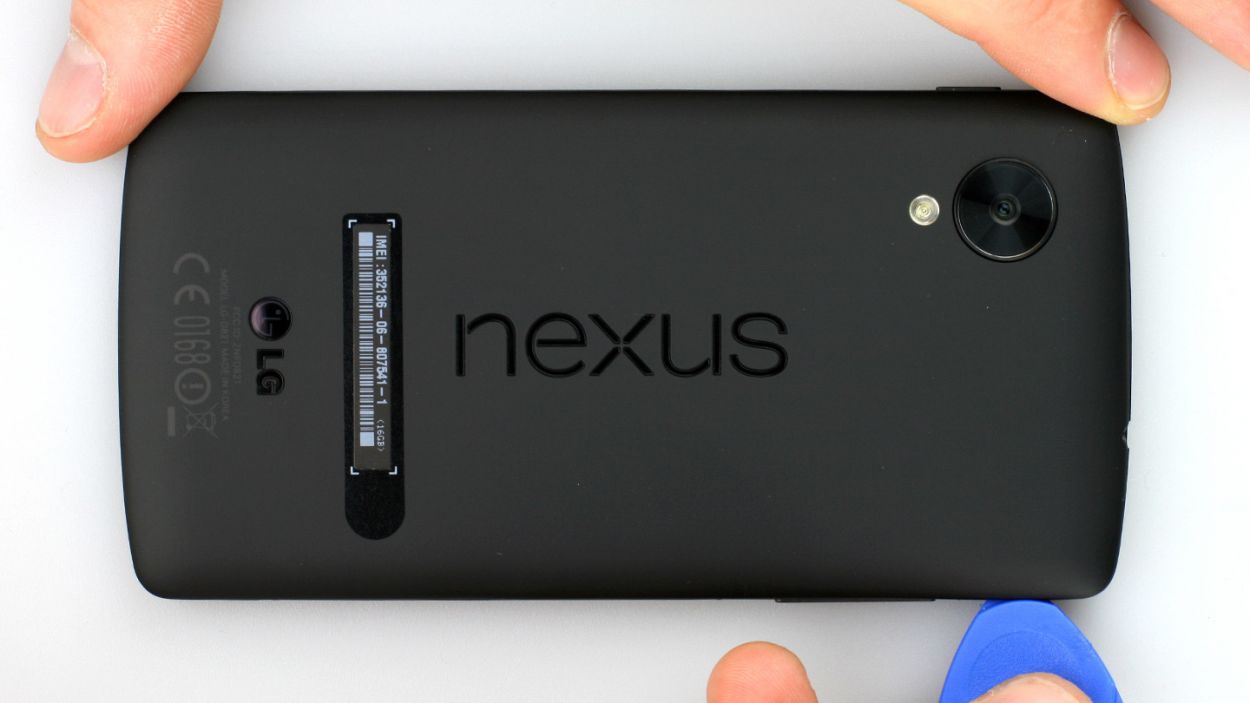
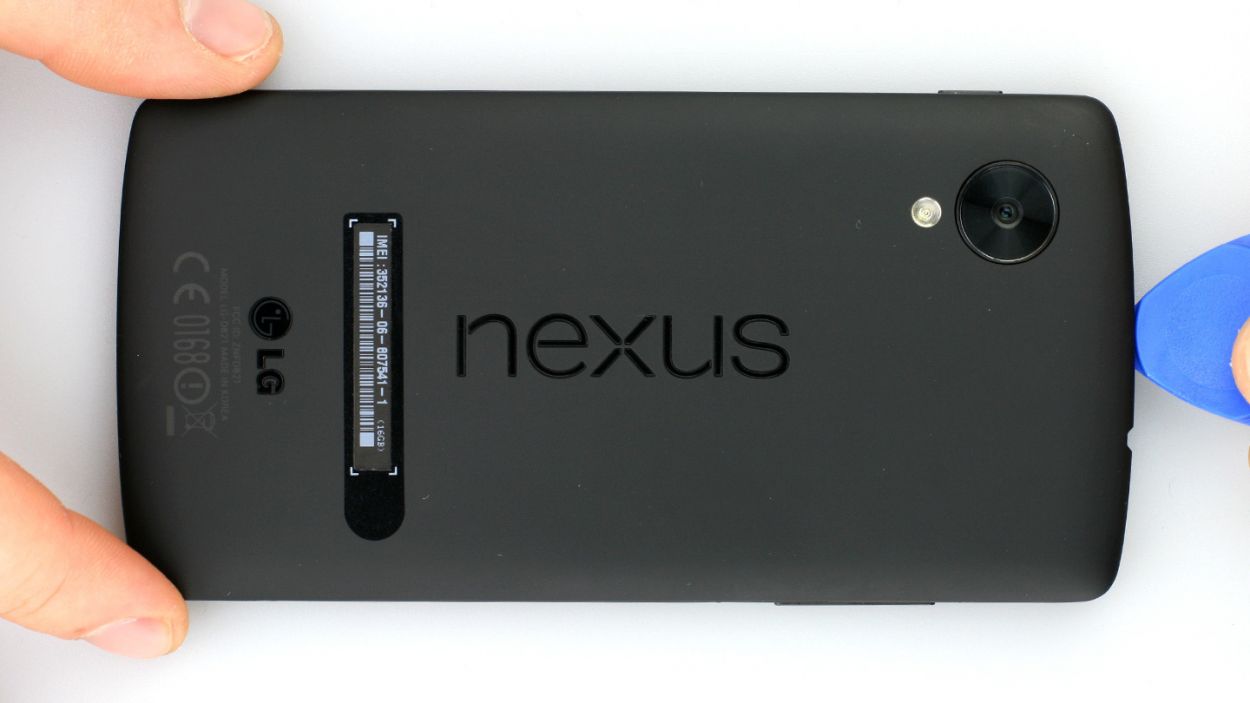
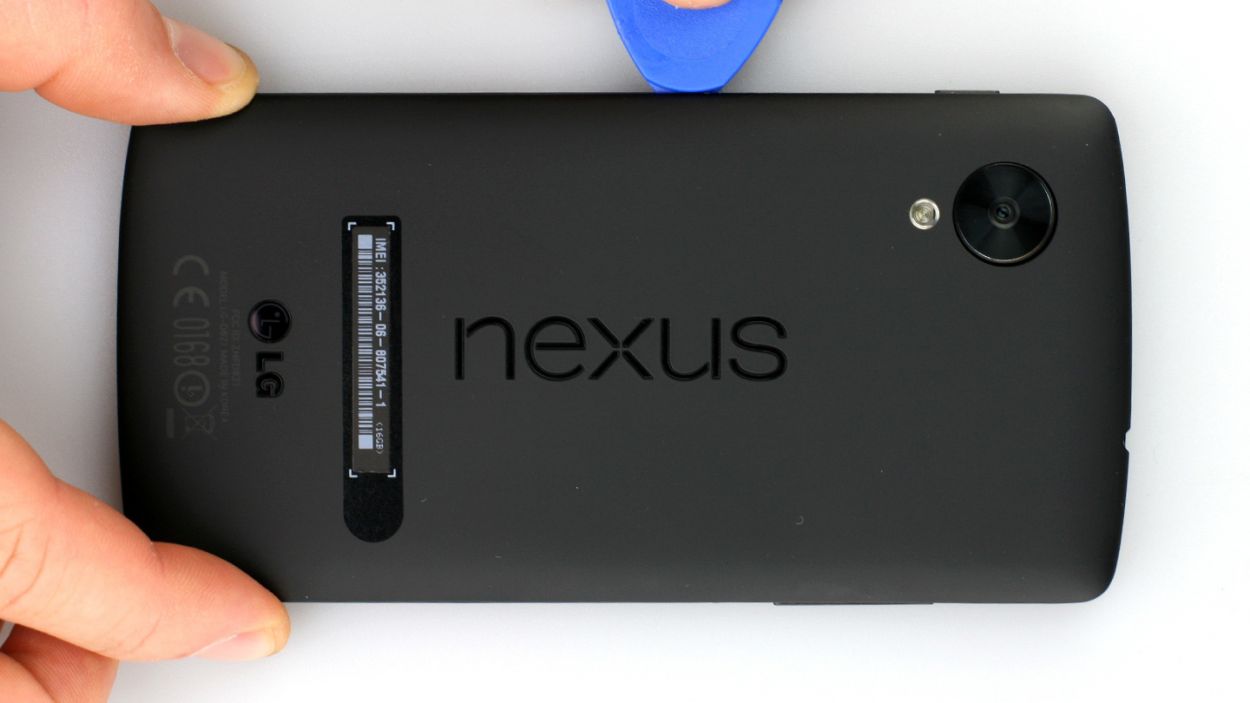
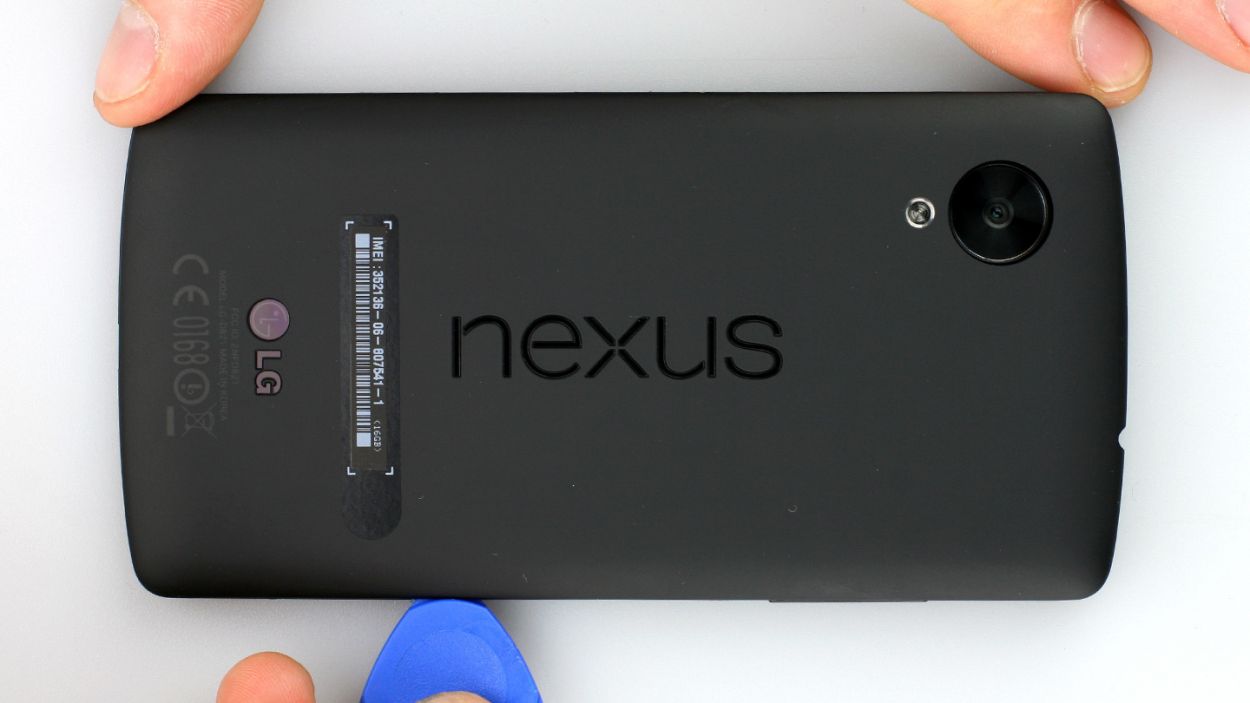
– Insert the hard plastic pick into the gap next to the volume button. You have to disconnect the 18 retaining clips on the outside under the back cover. Move the pick once around the entire smartphone. Work your way from the volume button past the headphone output to the SIM card tray. The back cover is easier to detach at that point. You have to use a little more force at some spots.
– Then you can take off the back cover.
Step 2

– Hey there! If your Google Nexus 5 is still powered on, let’s give it a little break. Hold down the standby button for about two seconds and follow the cheerful prompt on the screen to turn it off.
– Next up, let’s tackle those pesky Phillips screws! Grab your trusty screwdriver and remove the 4 screws that are keeping the speaker snug (check out figure 1 for a visual). We’re talking about 4 x 4.0 mm Phillips screws here.
– Now it’s time to make way for the speaker! Use your spudger to gently lift it—insert that tool next to the USB connector input (figure 2 will be your guide) and carefully remove the speaker. You’ve got this!
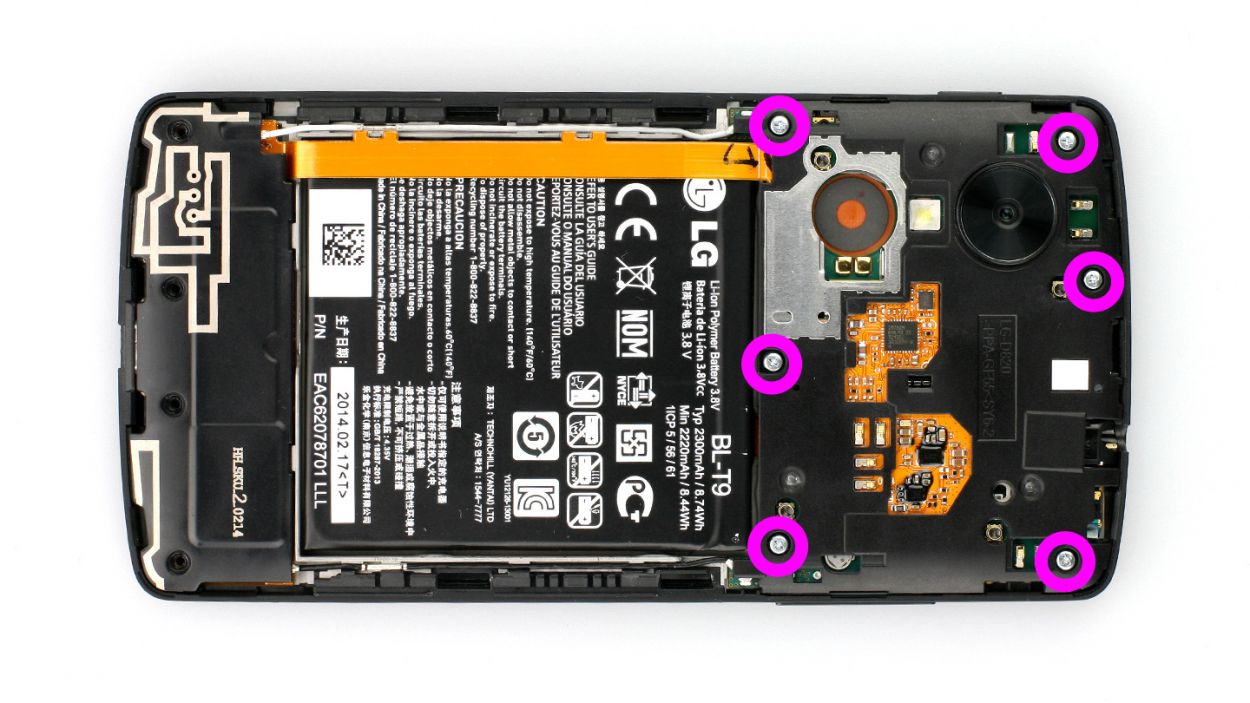
Step 3

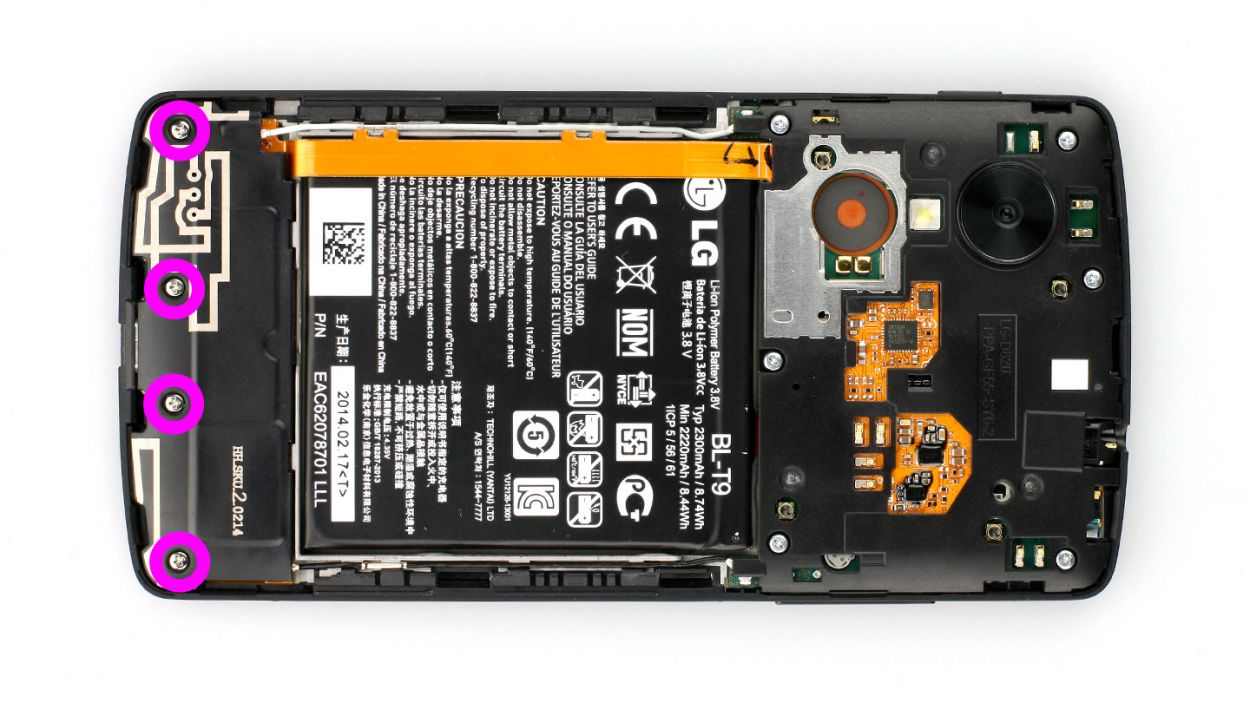
– Remove the 6 Phillips screws that hold the plastic cover in place (see figure 1).6 x 4.0 mm Phillips screws
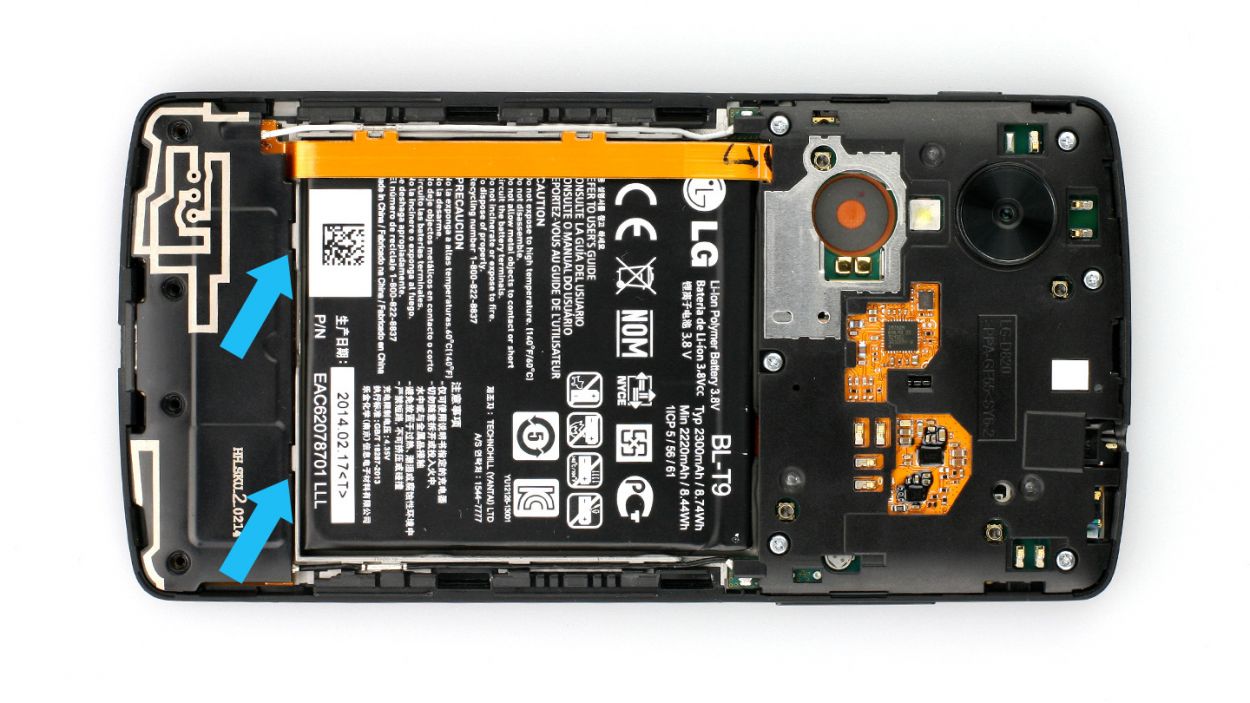
– Now lift the cover off the logic board by inserting the spudger into the gap next to the headphone output (see figure 2). If necessary, use other leverage points.
Step 4


LCD
USB port
Battery
Front camera
Rear camera
4 × Antenna
Be super careful not to accidentally snap off those tiny resistors soldered onto the logic board! They’re little champs and need to stay put.
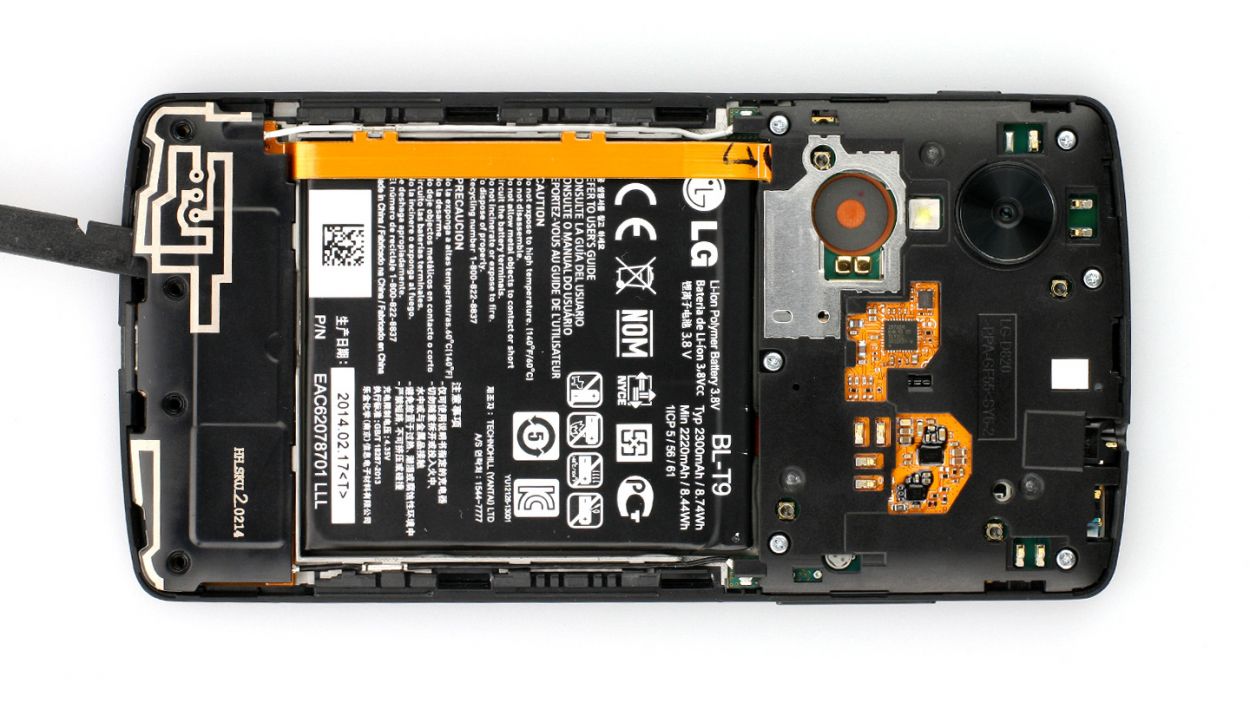
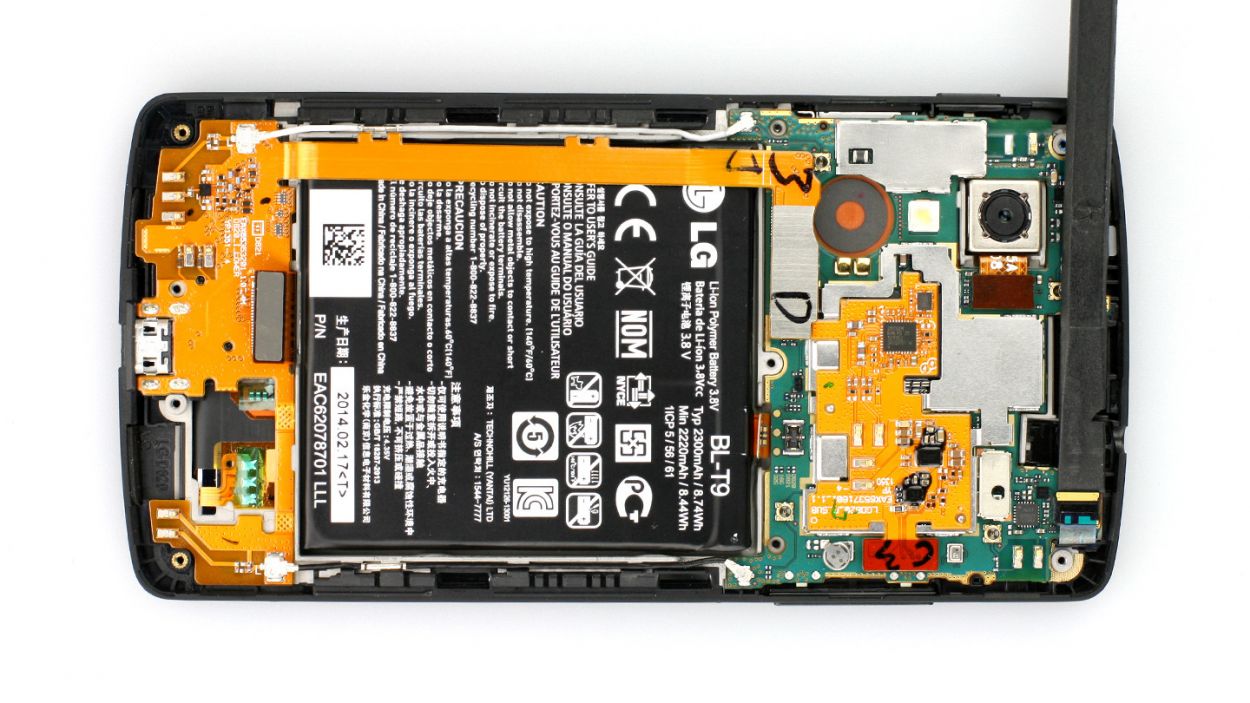
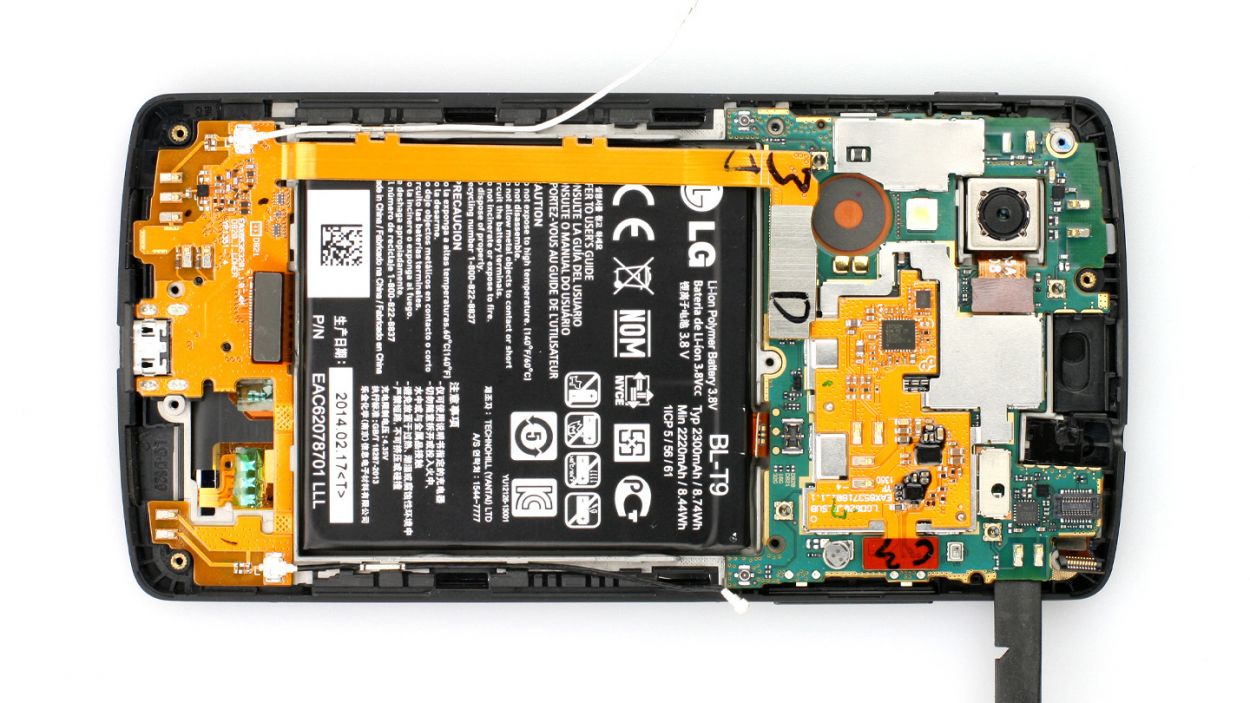
– Get ready to shine, repair heroes! Now you can finally disconnect those highlighted connectors. Just take a deep breath and remember, we’ve got your back. Keep those little resistors safe and sound (see figure 1)!
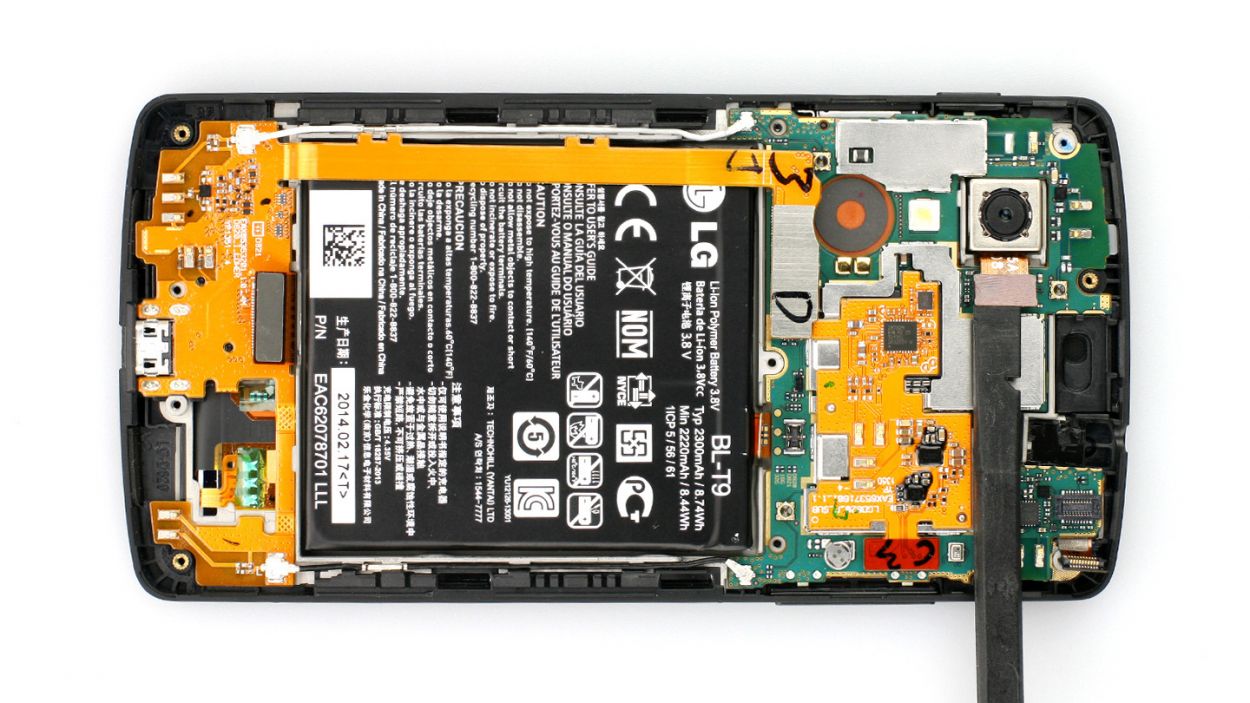
– Time to get spudgy! Place the flat end of your trusty spudger just below those connectors and gently pry them off. Our pictures will be your guides to avoiding any slip-ups (see figures 2 to 6). Don’t worry, we’ve got figs for that.
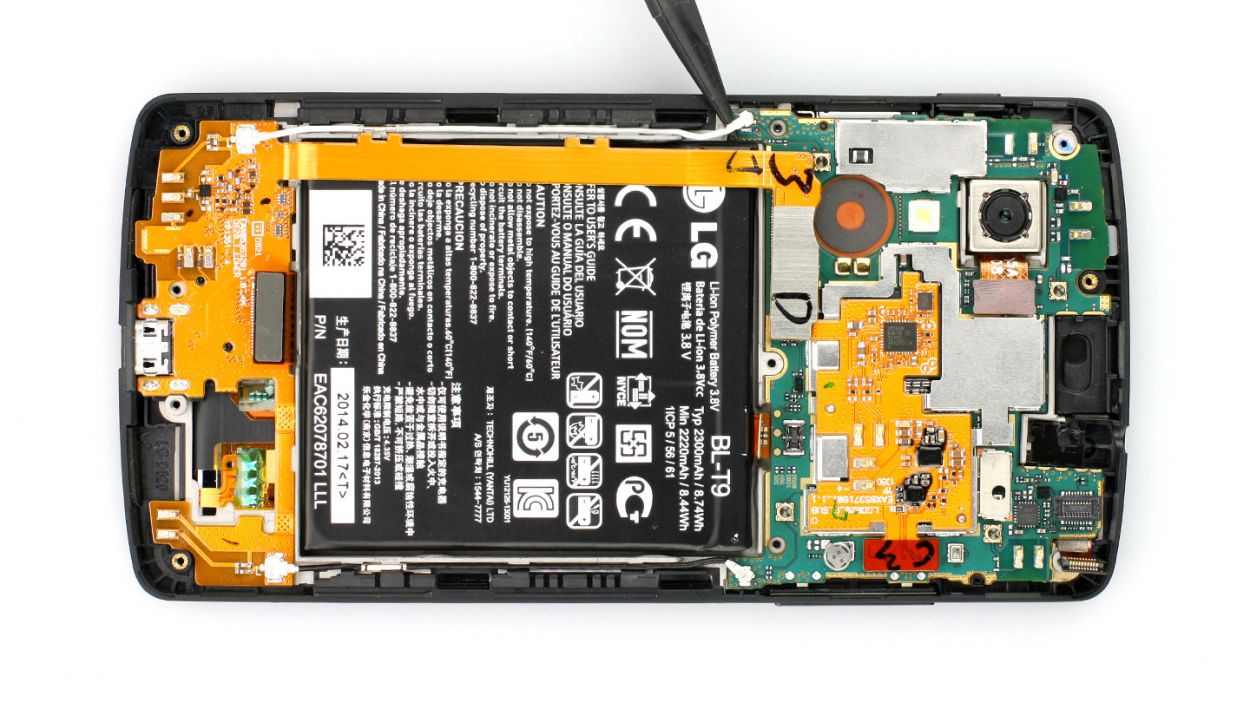
– Last but not least, let’s disconnect those teeny-tiny antenna connectors from the logic board (see figures 7 and 8). Easy peasy, lemon squeezy!
Step 5

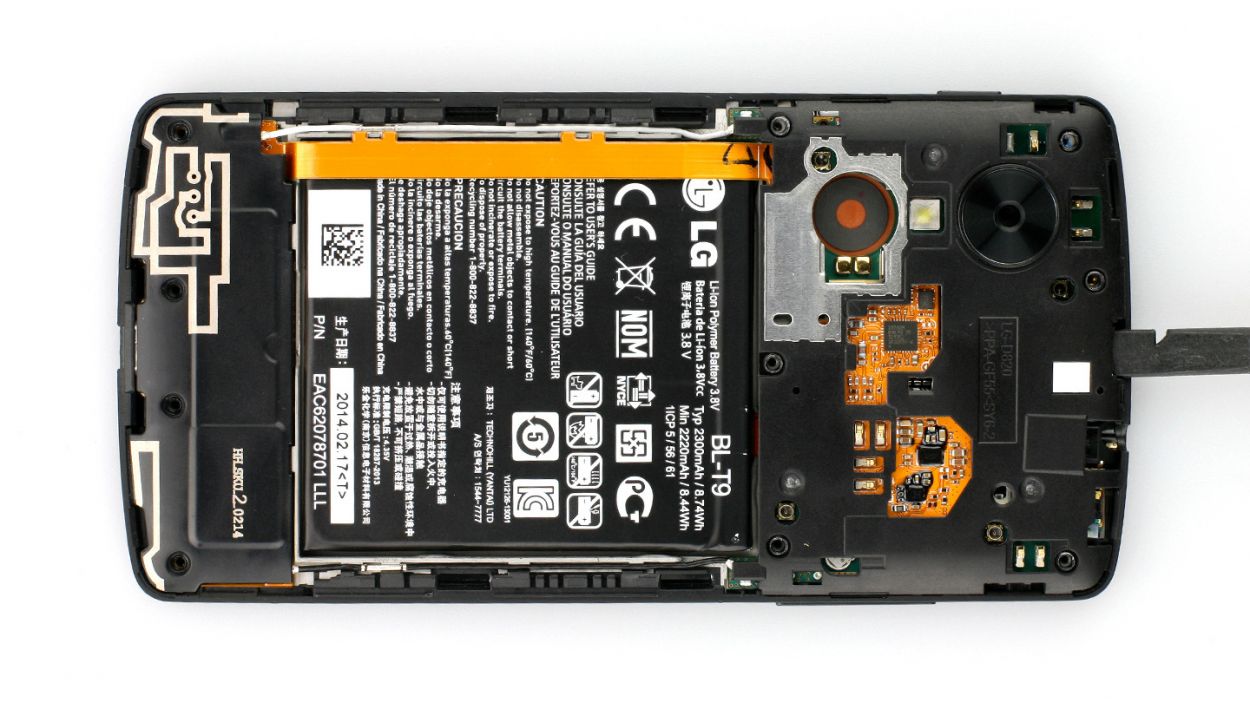
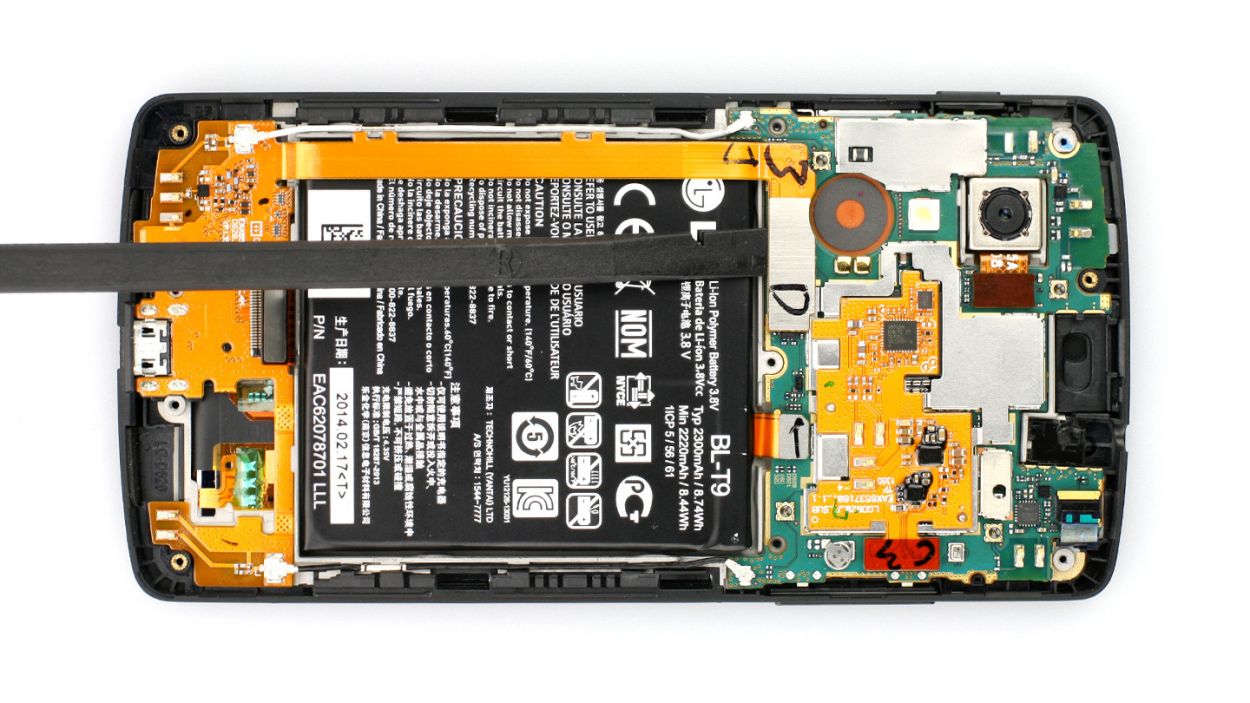
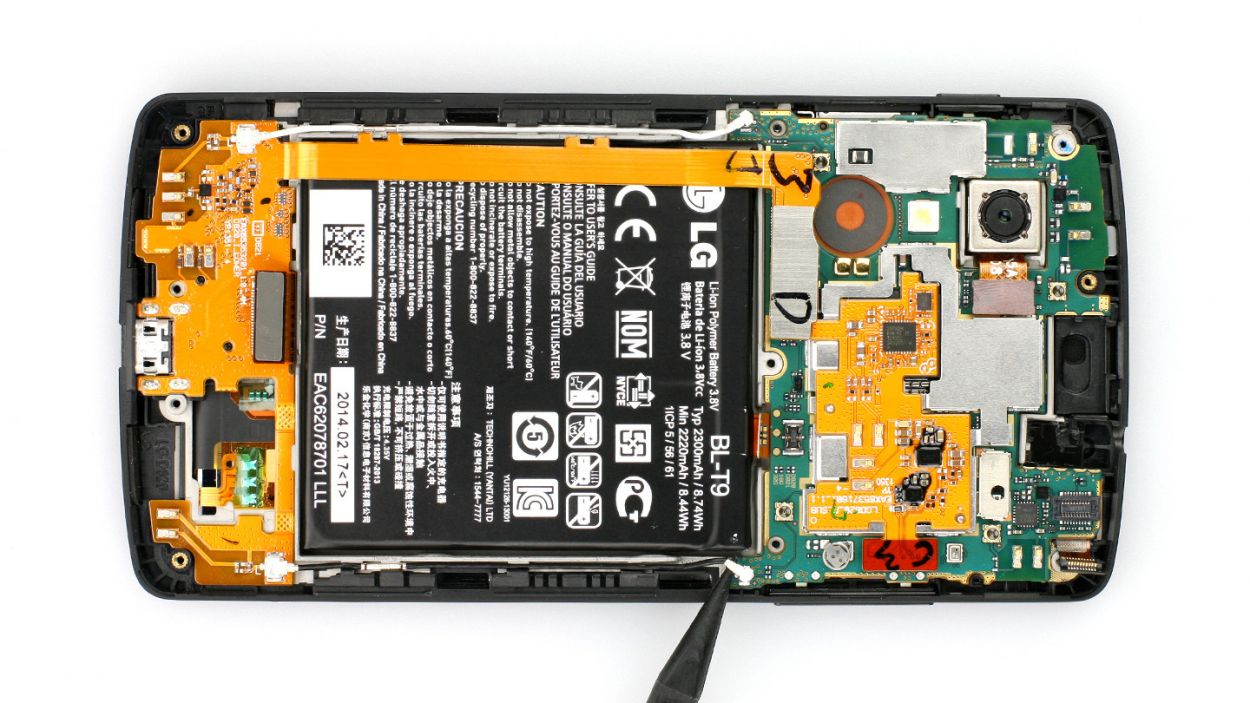
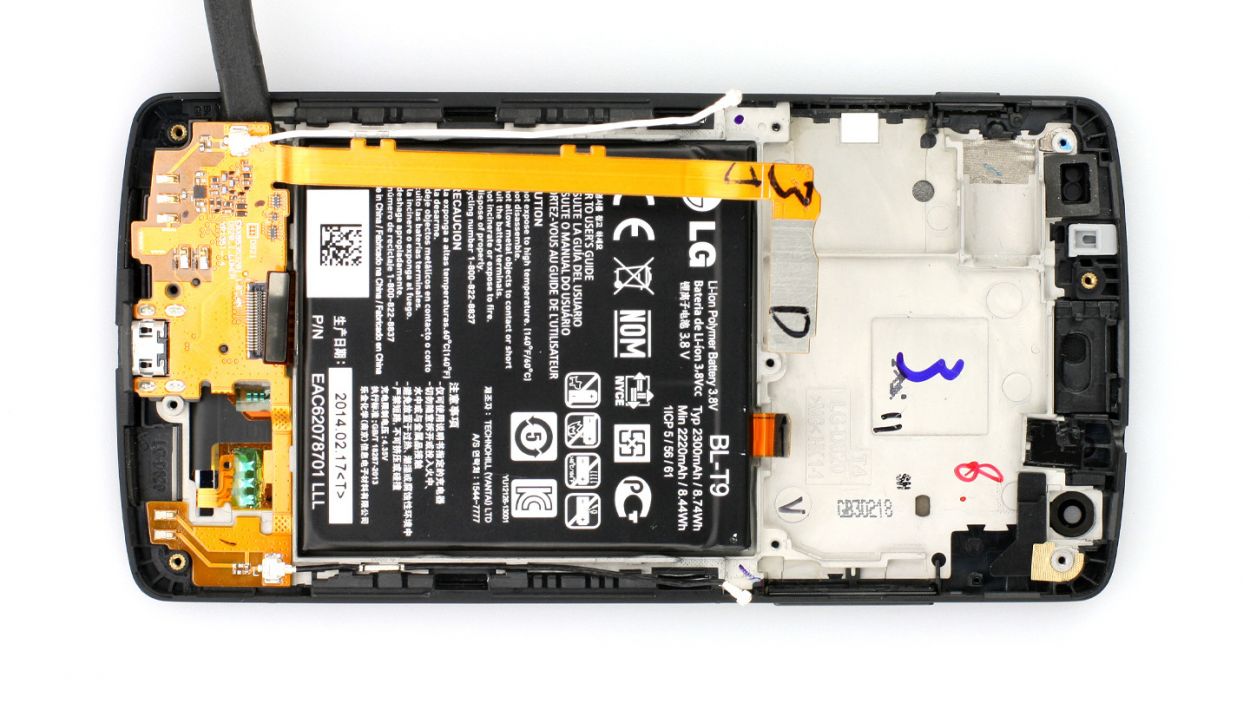
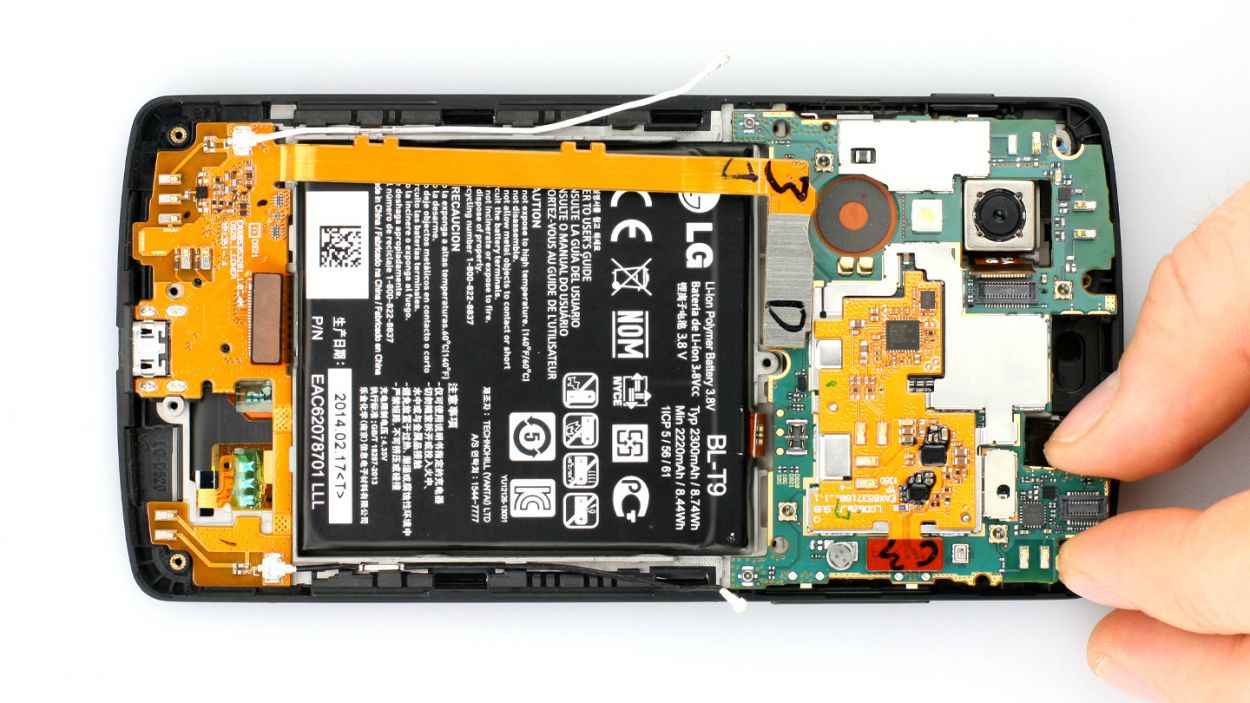
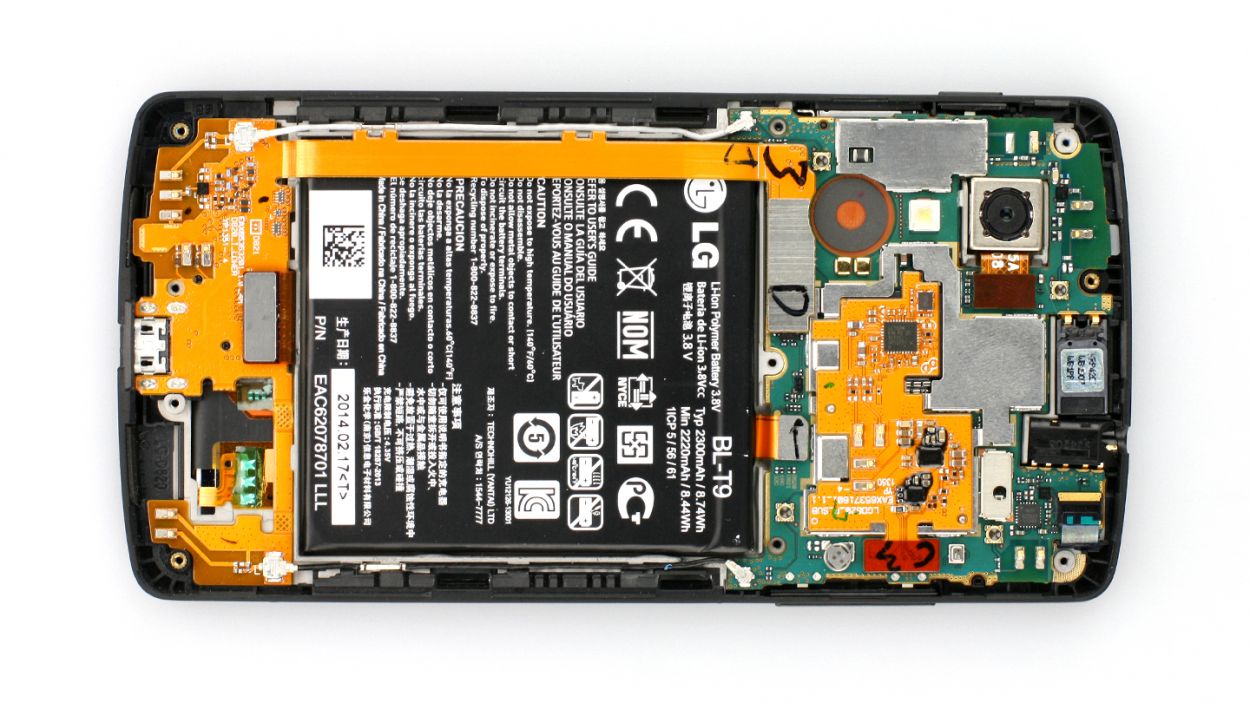
– Now you can carefully lift the logic board using the spudger (see figure 1). Insert the flat end of the spudger below the GPS antenna’s contacts, carefully lift it and then remove it by hand (see figure 2).
Step 6
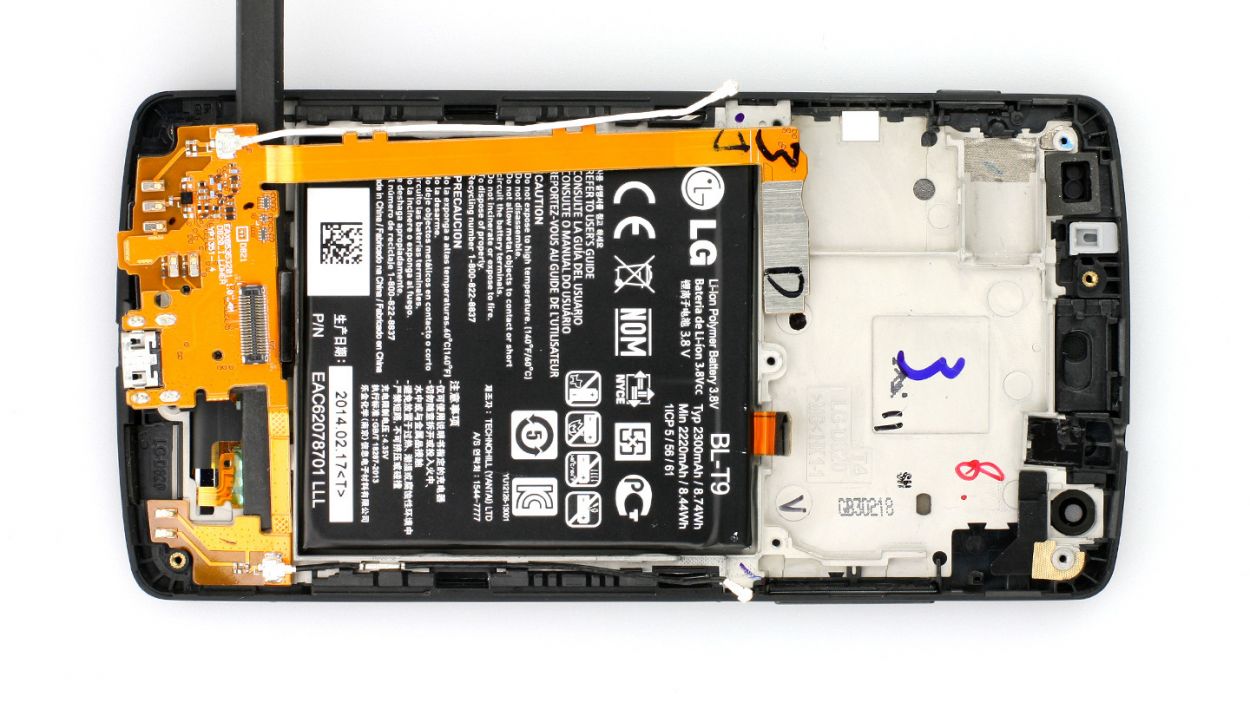
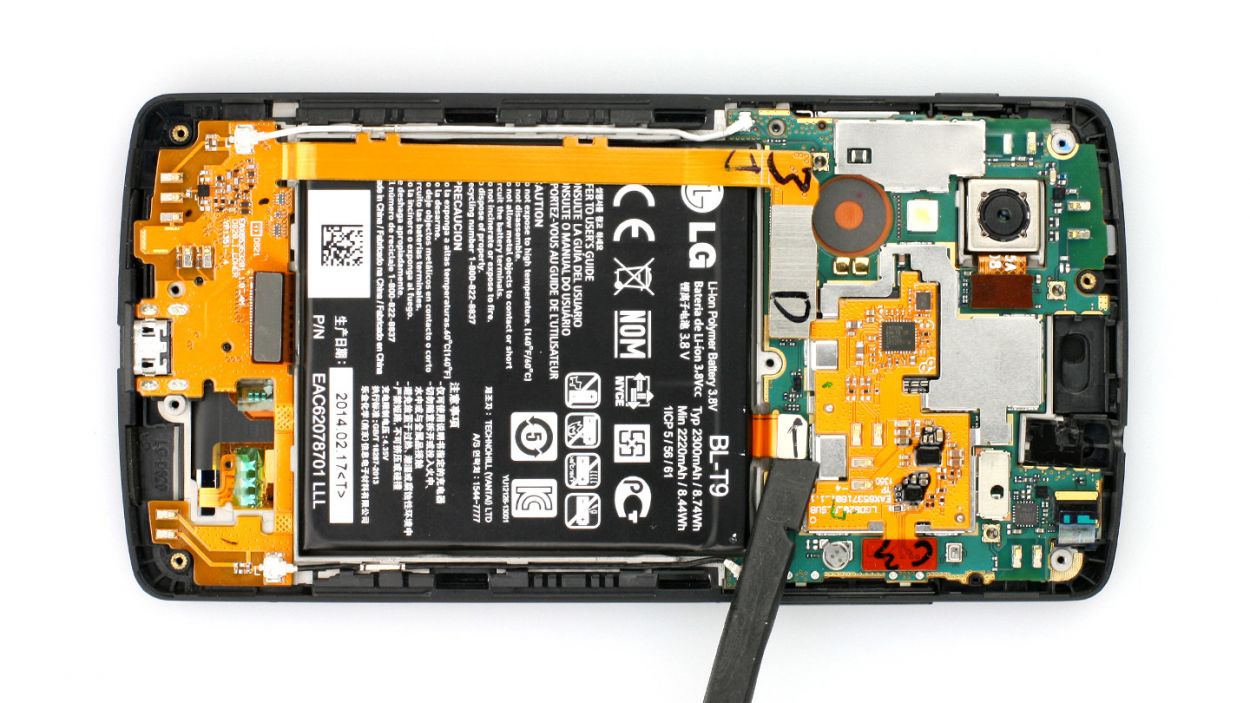
– Insert the spudger below the USB connector cable and carefully detach it from the base (see figures 1 and 2). It’s lightly glued in place.
– Now carefully remove it by hand.
Step 8
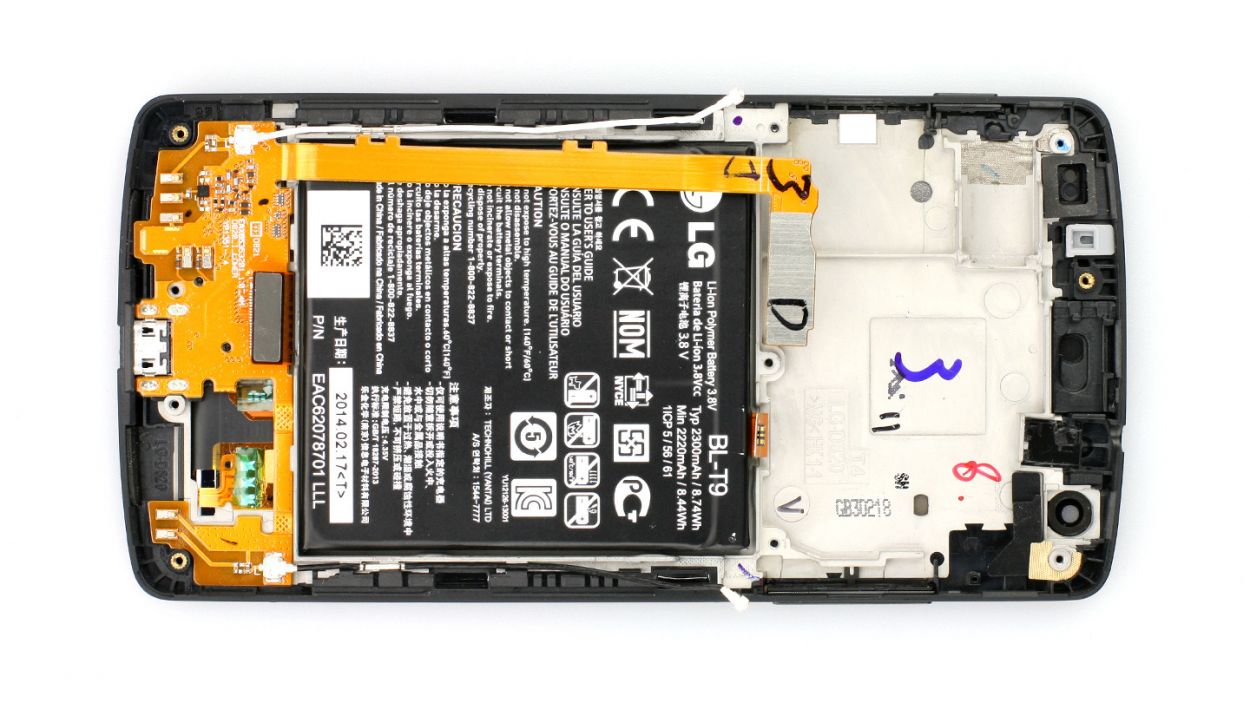
– Carefully put the logic board back in, making sure it’s in the right position.
– Make sure the antenna connectors don’t get under the logic board.
Step 9
LCD
USB port
Battery
Front camera
Rear camera
4 × Antenna
– Alright, it’s time to reconnect those contacts! Gently plug them back into their sockets and give them a little nudge with your finger until you hear that satisfying click. Remember, just enough pressure to get them snug, no need to go overboard!
– If your device needs it, go ahead and connect the antenna connectors too!
Step 10
– Carefully place the black plastic cover onto the logic board and give it a gentle press to secure it.
– Now, grab those 6 Phillips screws and fasten them back in place to keep everything snug and secure. Remember, we’re using 6 x 4.0 mm Phillips screws here!
Step 11
– Gently place the speaker back in its cozy spot and ensure it’s snugly fit (check out figure 1 for guidance!).
– Secure the speaker by tightening those 4 Phillips screws that keep it in place (see figure 2 for a visual cue). 4 x 4.0 mm Phillips screws are your friends here!
Step 12
– Yaaas, it’s finally time to put that back cover back on! Place it in the right spot and give it a squeeze – click it all the way around until it’s secure. Boom, you’re done!
