How to Replace Google Pixel 2 XL Screen Tutorial
Duration: 45 min.
Steps: 9 Steps
Ready to tackle the Google Pixel 2 XL repair? With this easy-to-follow guide, you’ll be replacing the touch screen and screen in no time! Just a heads up, you might need to snag a few small parts from your old display, depending on how the new one is set up. We suggest giving your spare part a good look before diving in. The great news? Swapping out the Pixel 2 XL display is a breeze since you can pop it off without disassembling the entire device first. Just remember to take your time and plan ahead when removing the display. Don’t forget to back up your data, work on a clean surface, and give yourself plenty of time. If you have any questions, feel free to reach out via live chat on our website or drop a comment. And if you need help, you can always schedule a repair!
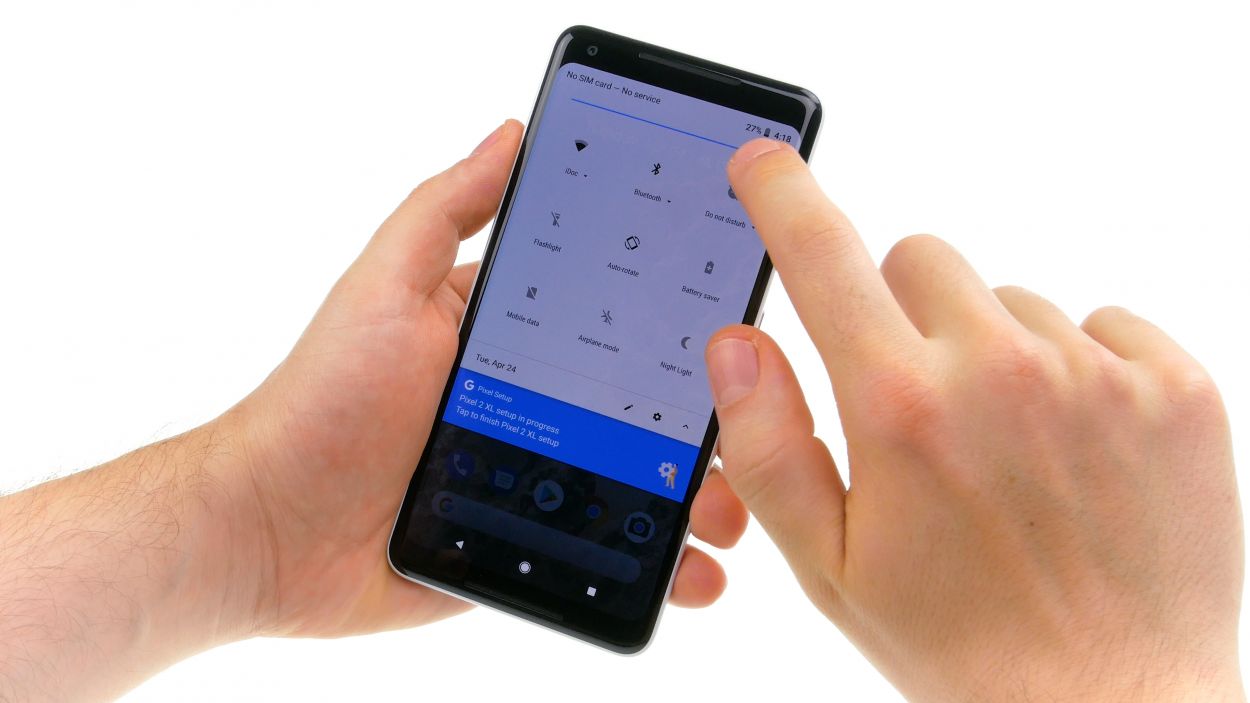
Step 1
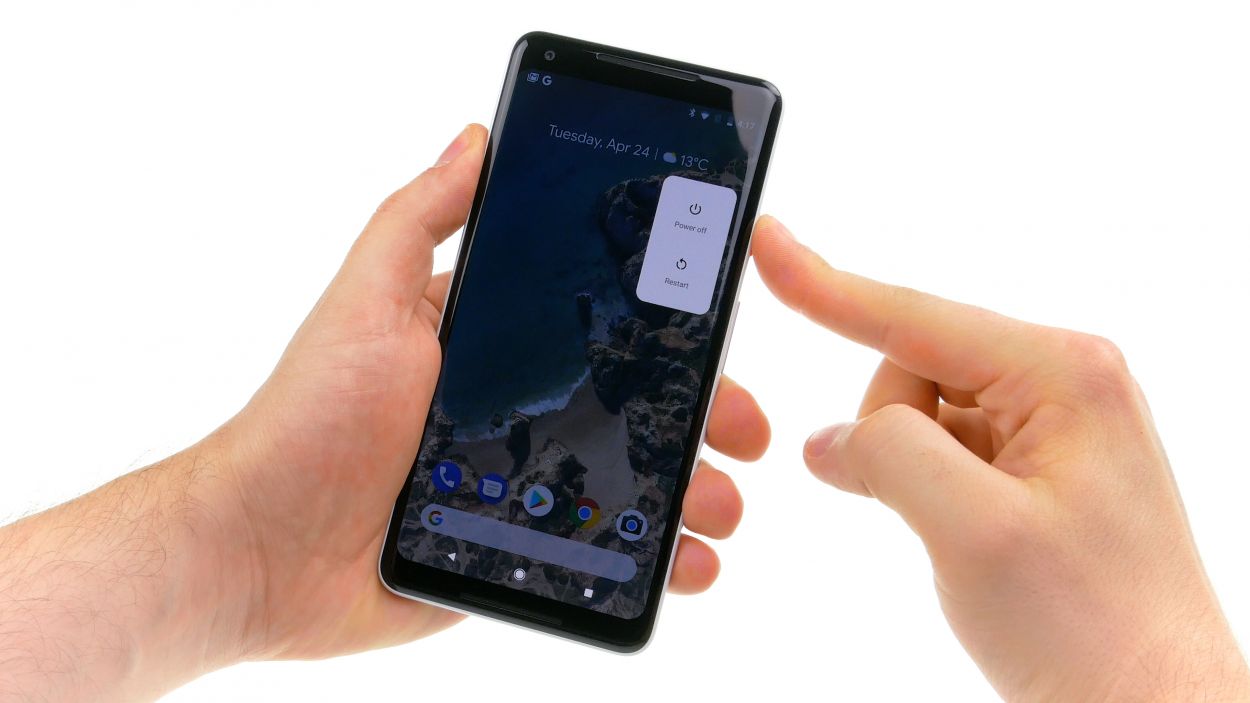
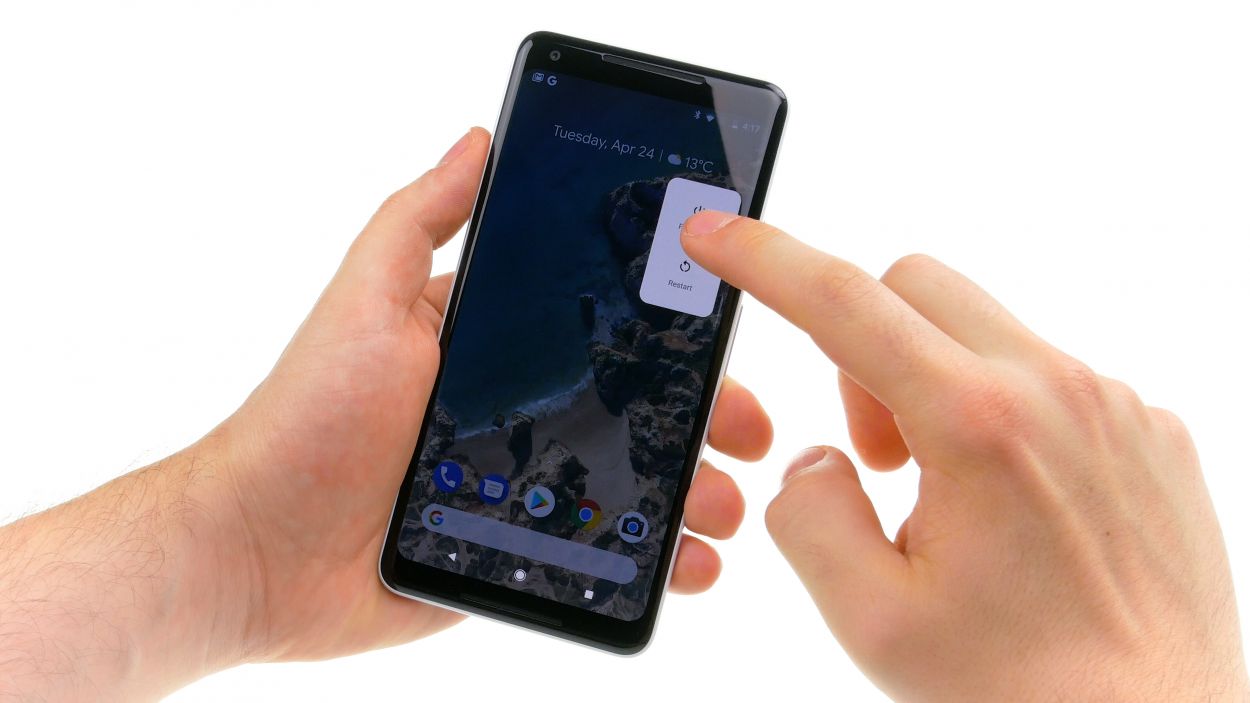
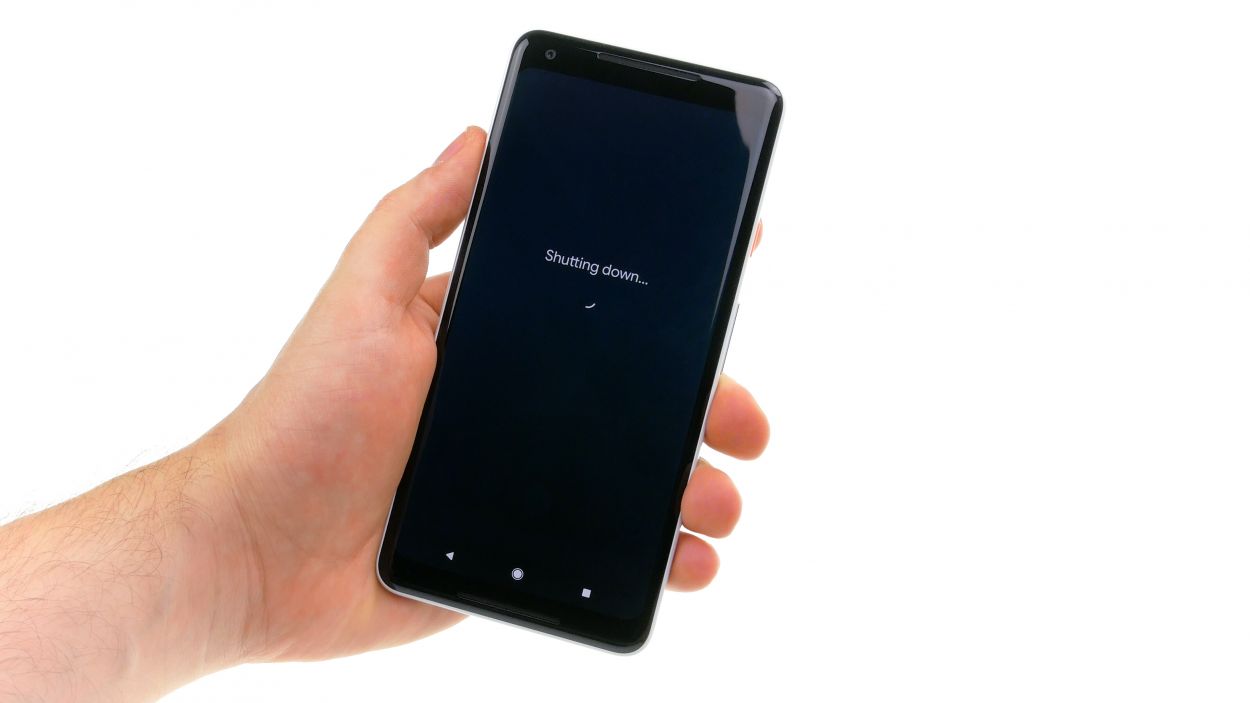
– Give that standby button a good press and hold until you see “Power off” pop up on your screen.
– Tap it once more to confirm and hang tight while your device takes a little nap.
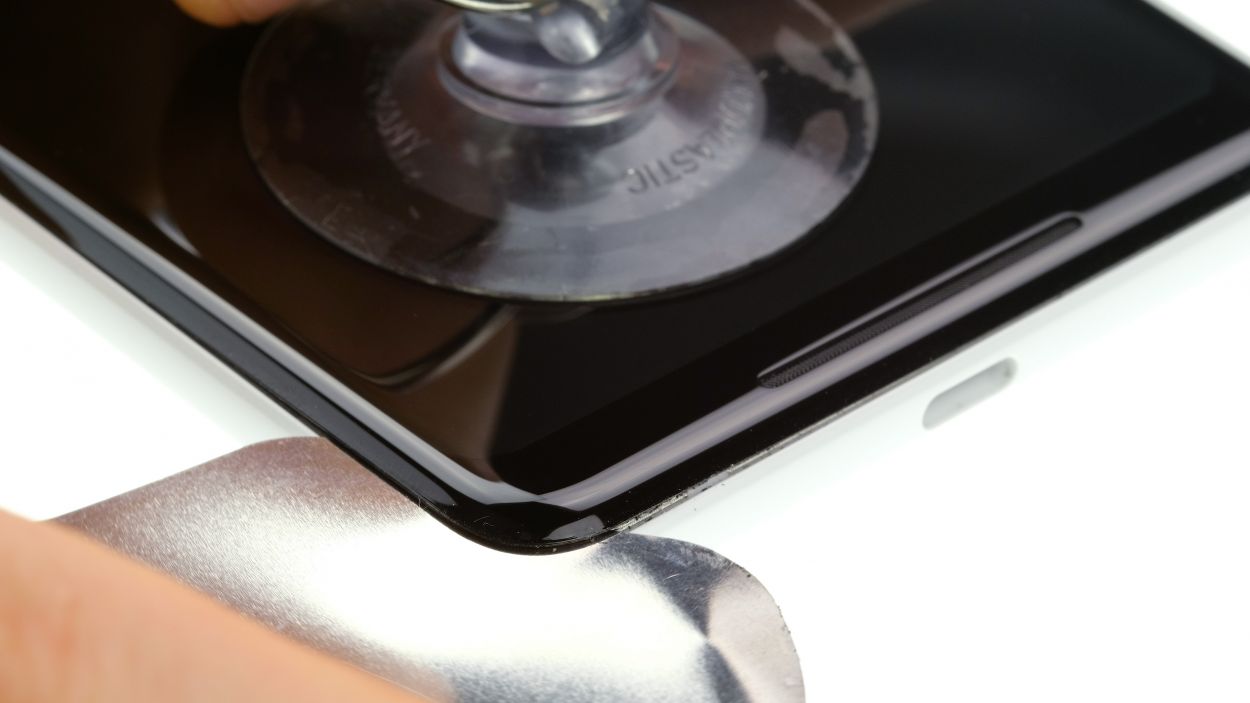
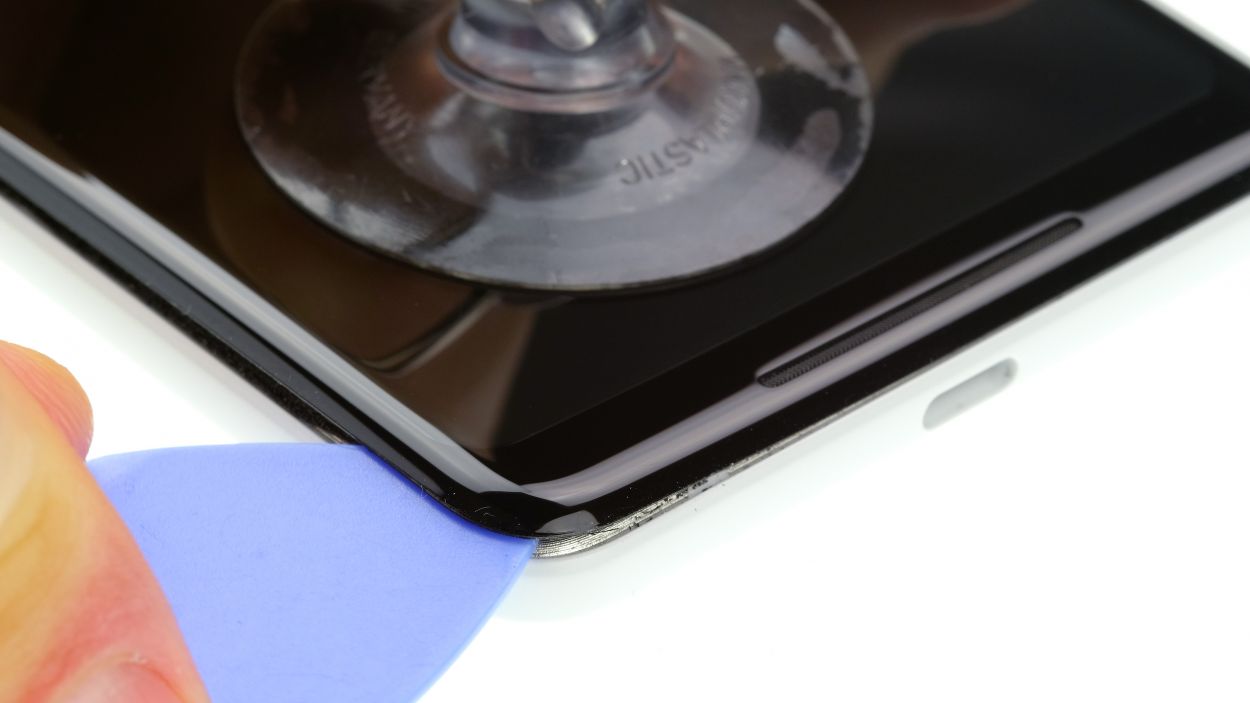
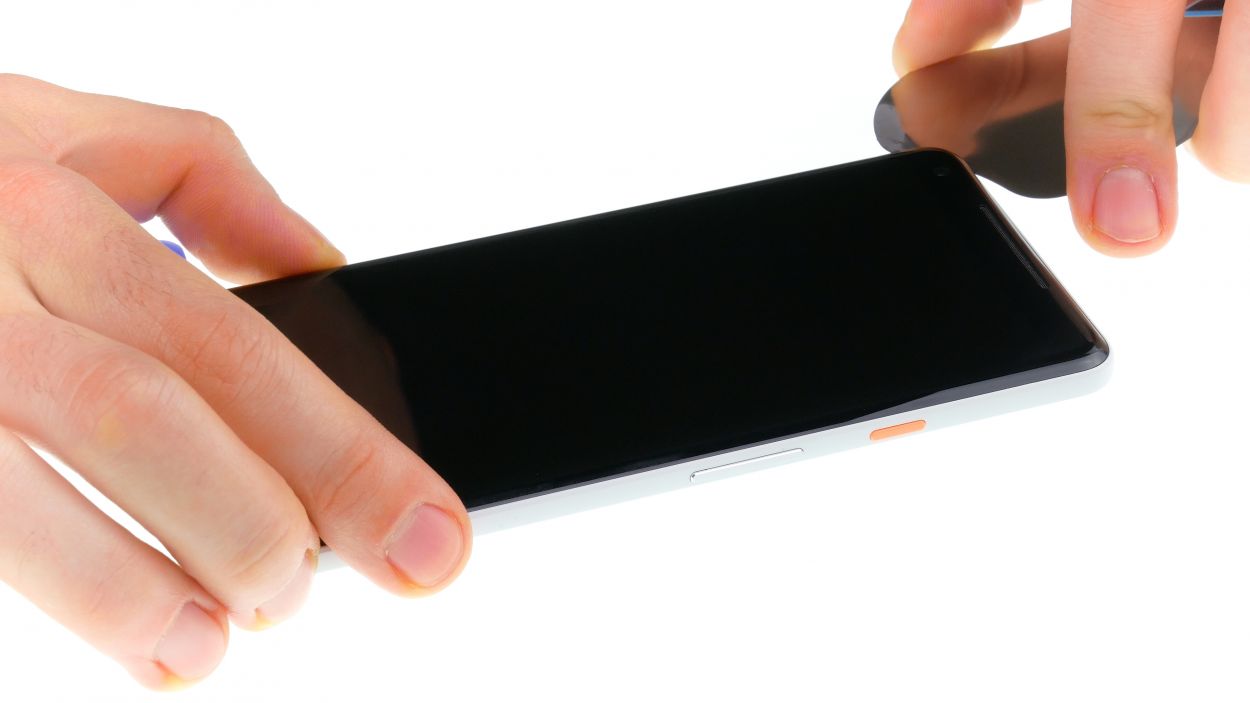
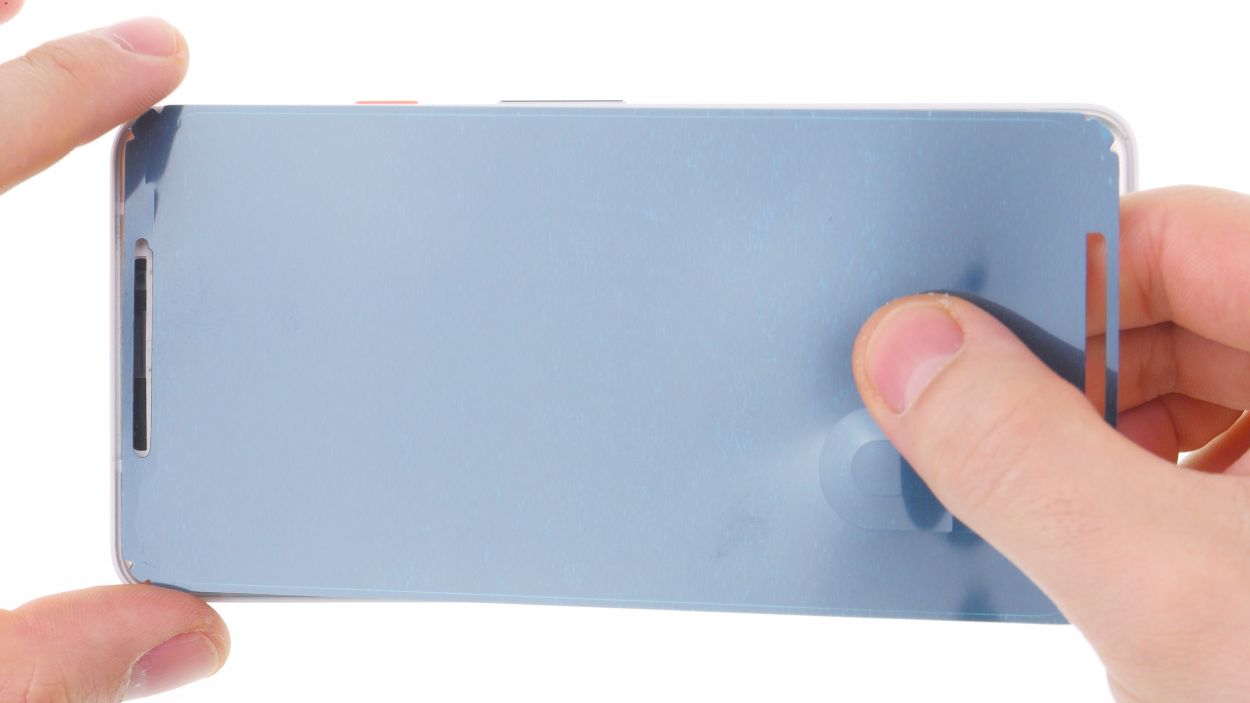
Step 2
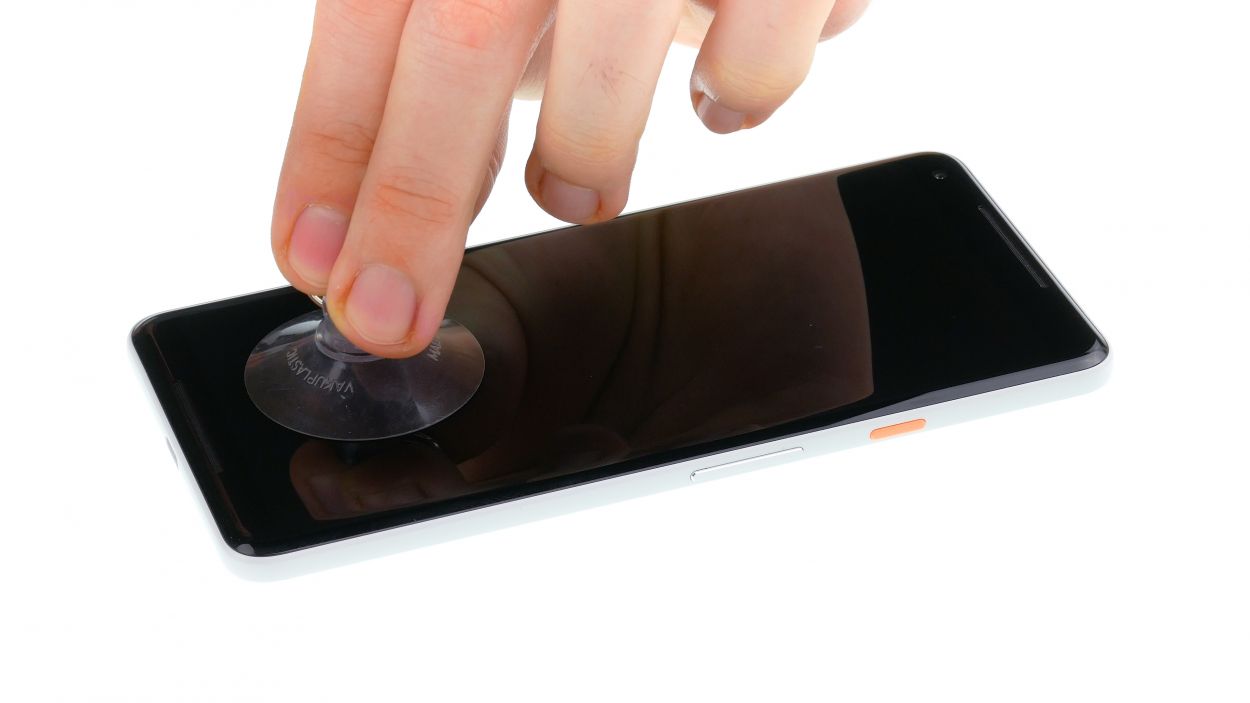
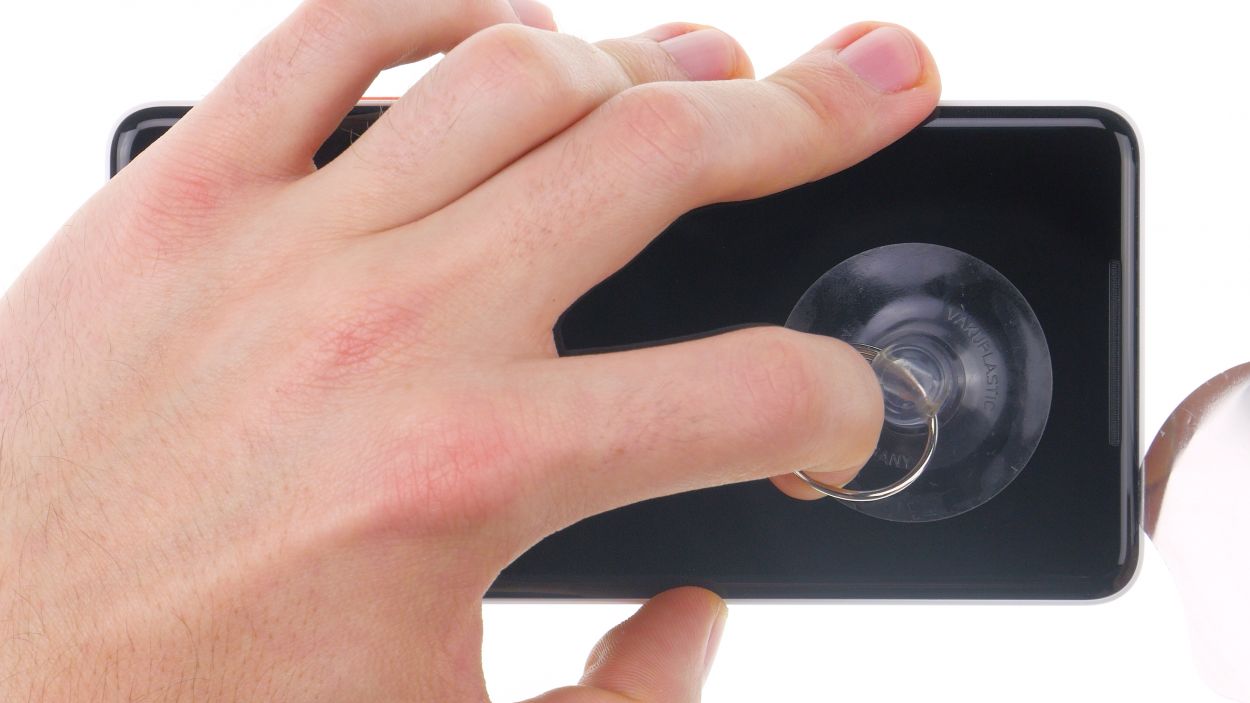

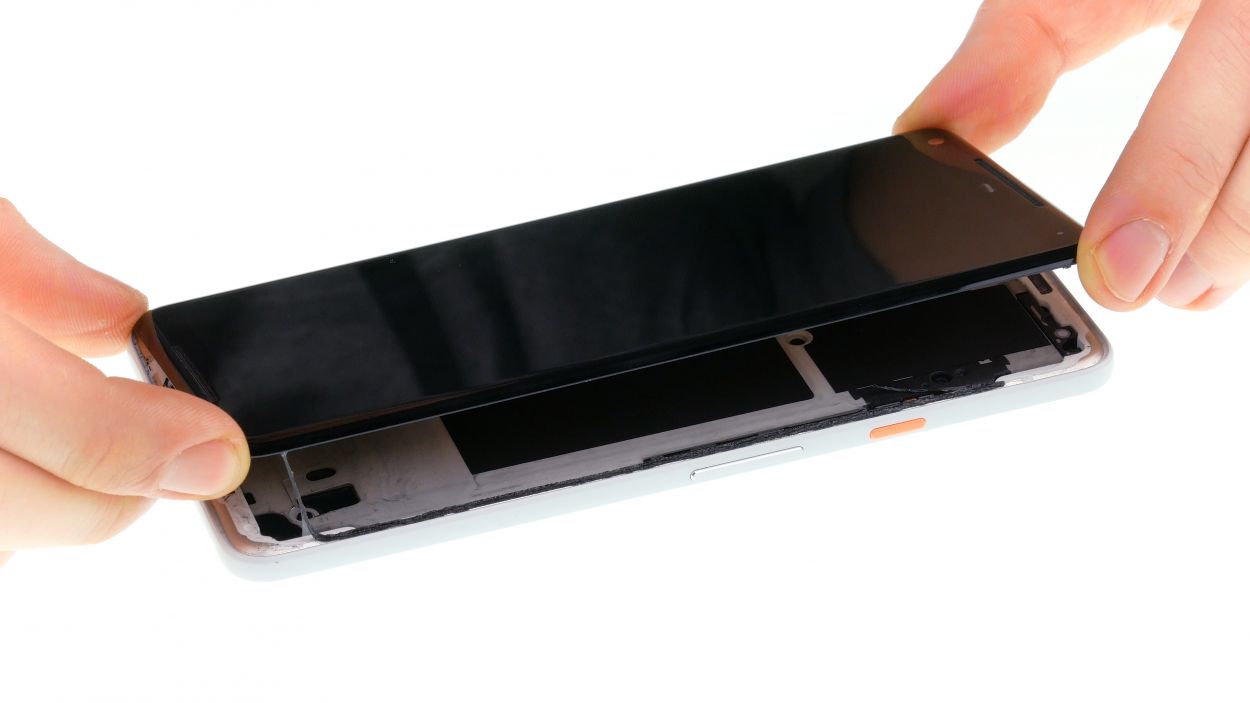
– First heat the glue around the edges with a hot air tool to about 60°C. Repeat and heat the display to the point where you can barely touch it.
– Then attach a suction cup at the bottom of the display over the USB connector and pull on it.
– Then slide a very thin, flat tool between the display and the frame and slide it around the edge to release one corner of the display.
– Then slide a pick between frame and display. You can use other picks to get off the display all around. Don’t insert any tool more than 5 mm!
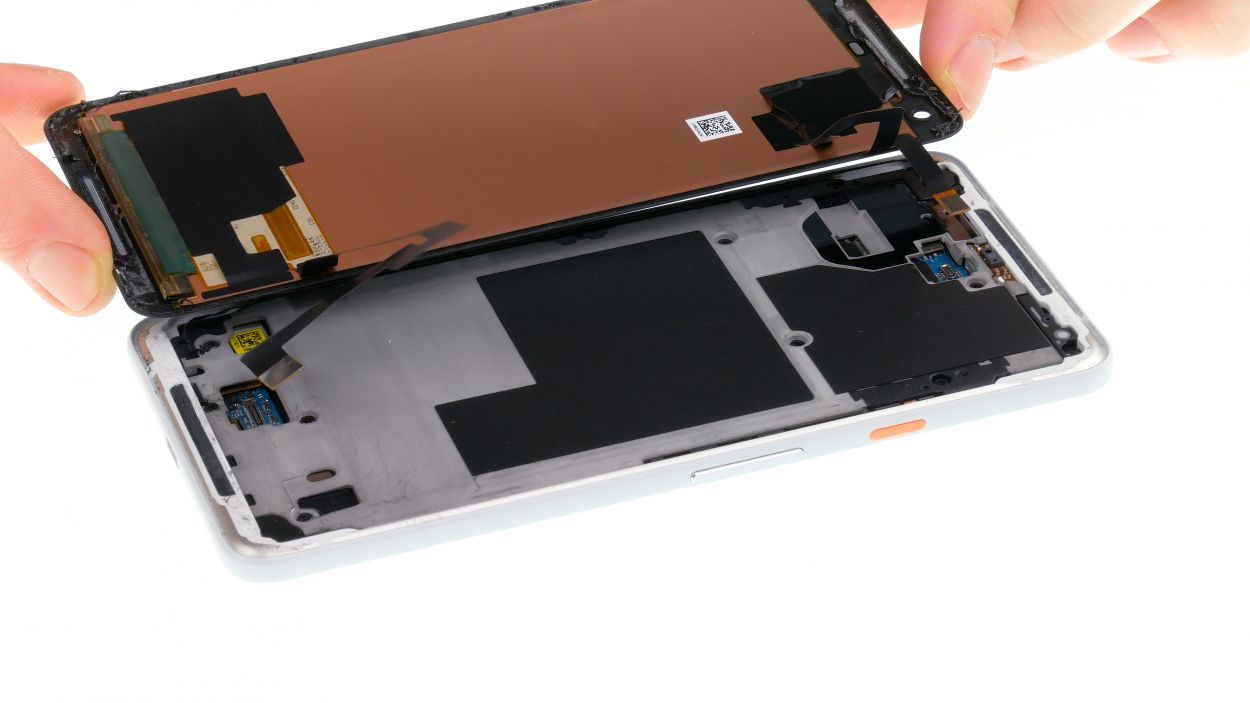
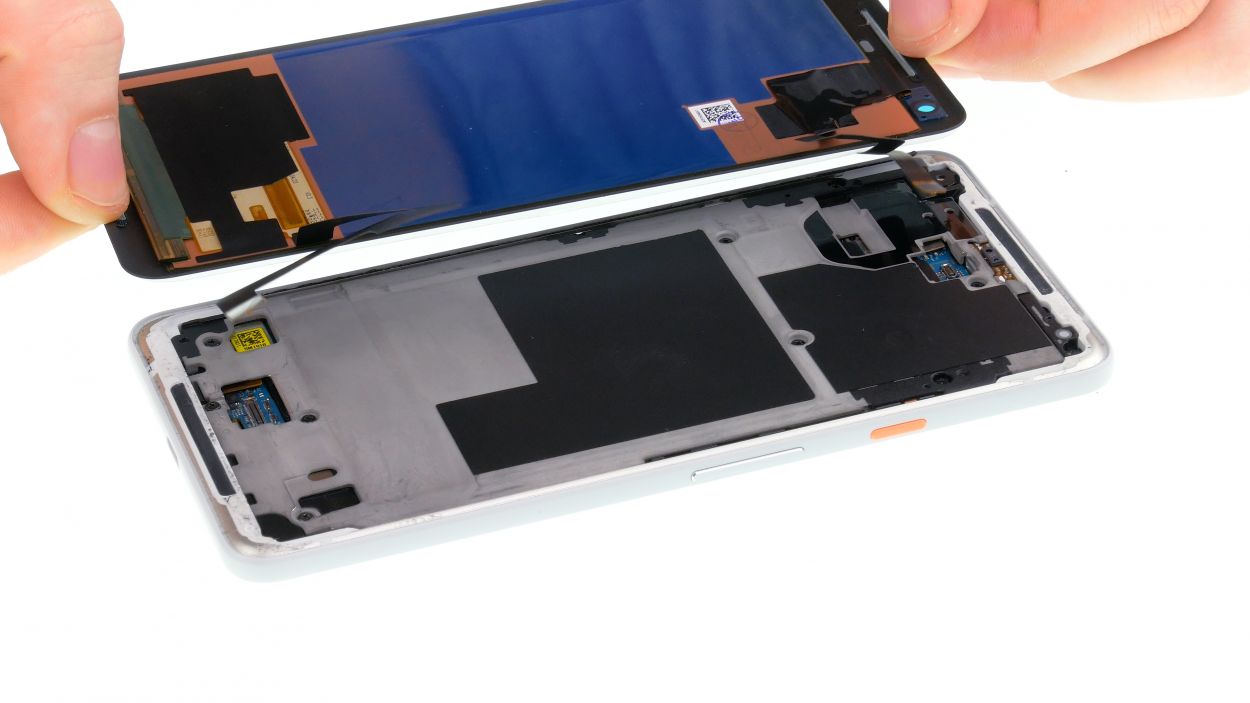
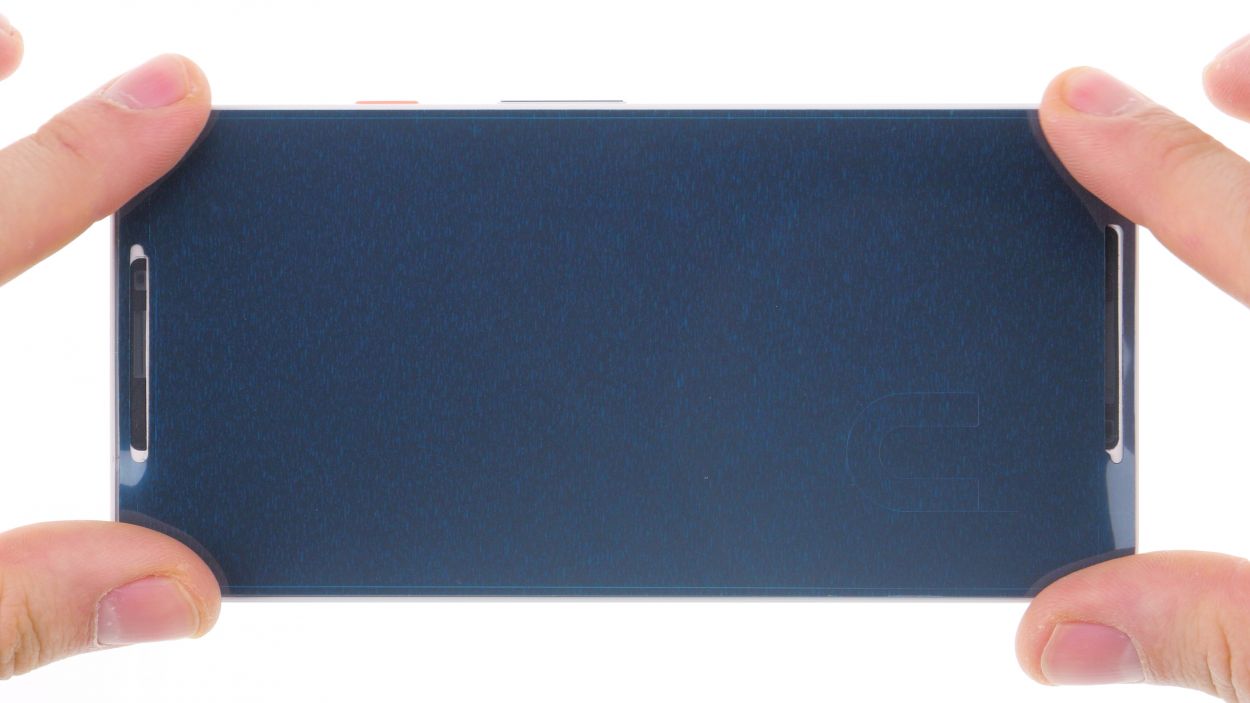
– When the glue is detached everywhere, you can lift the display off. Carefully fold the display to the top (as seen in the image), as there are still 2 flex cables attached.
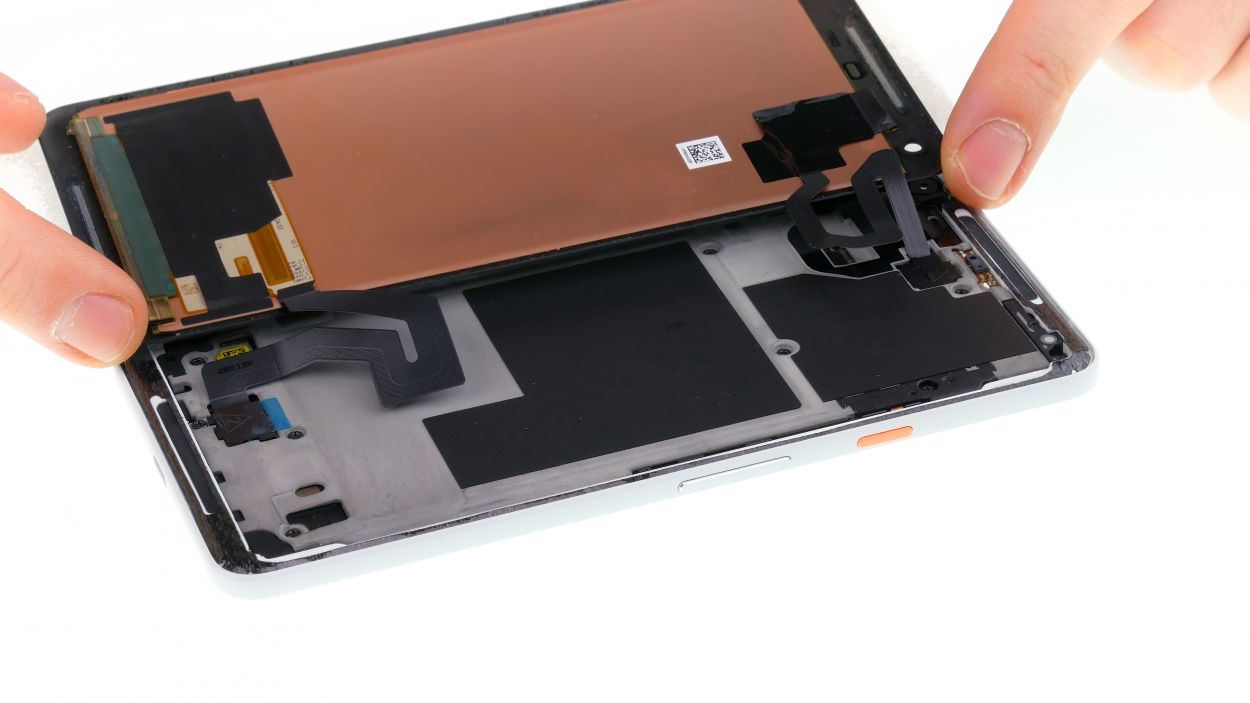
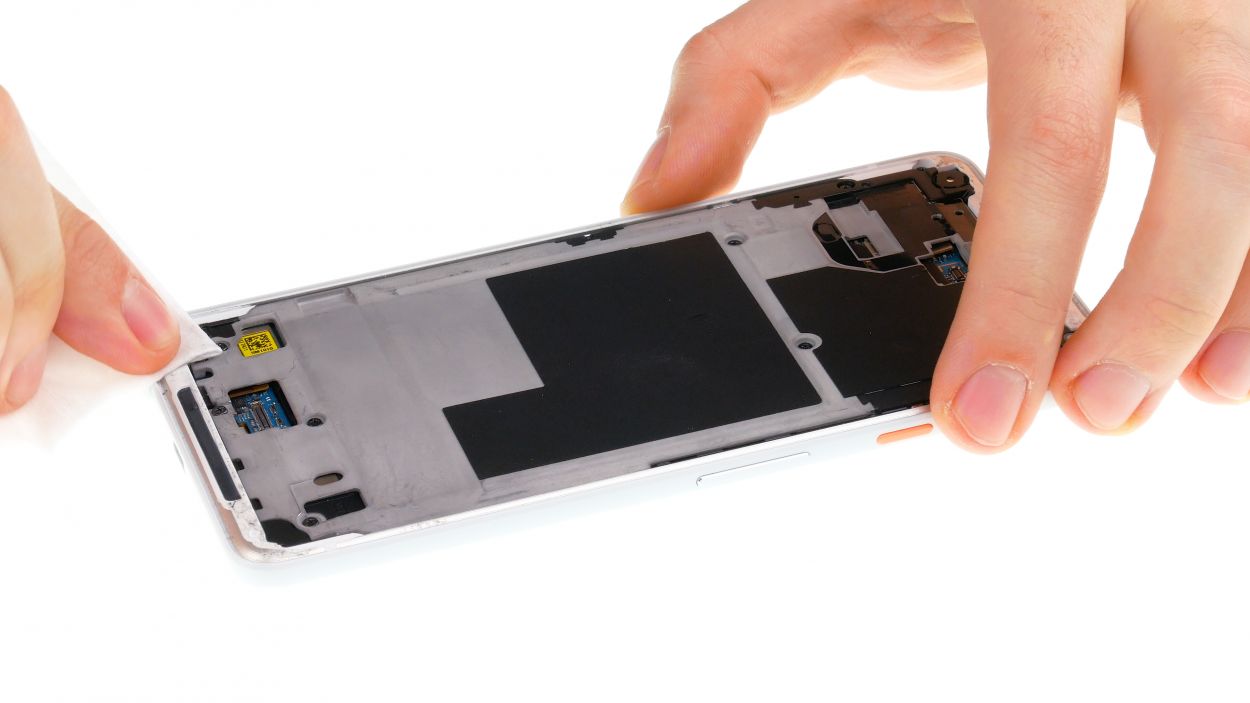
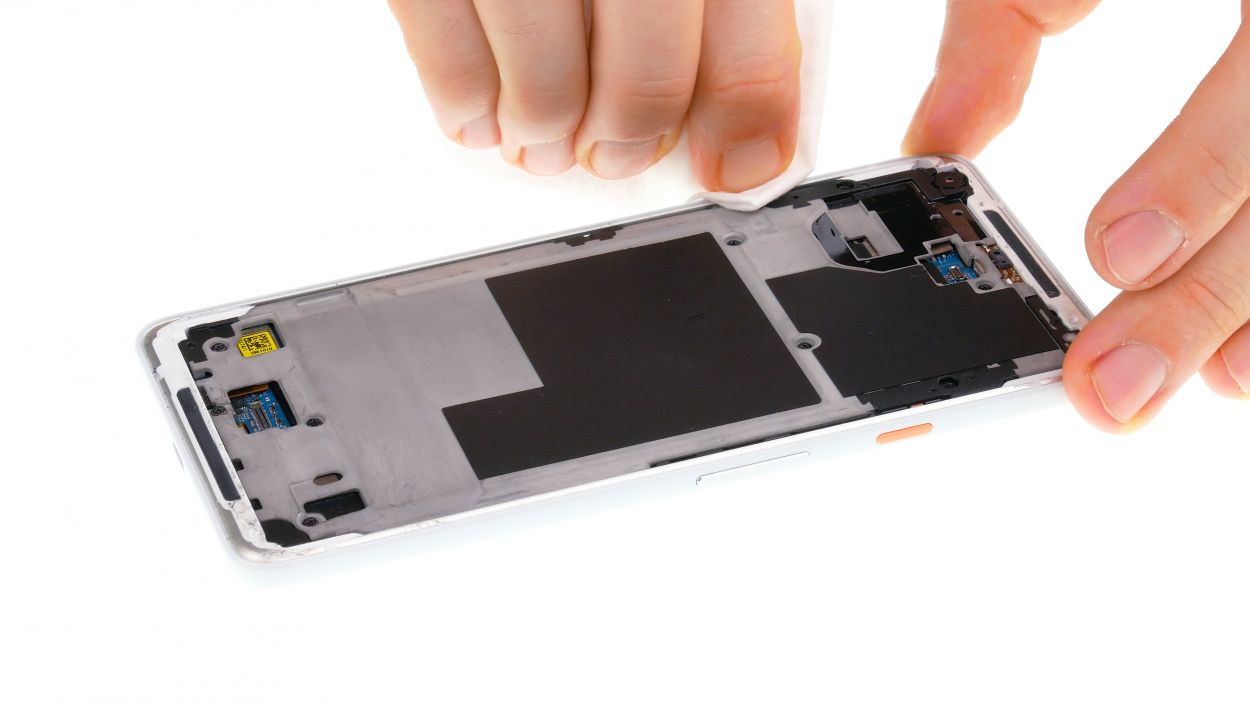
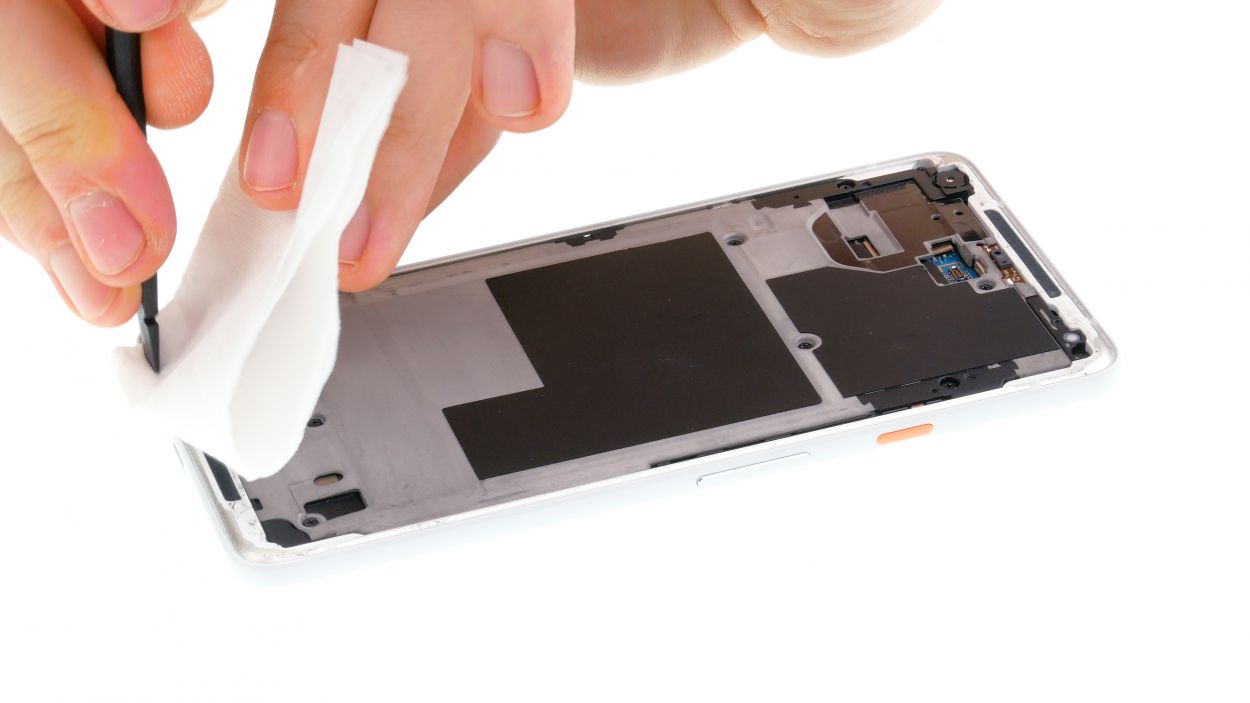
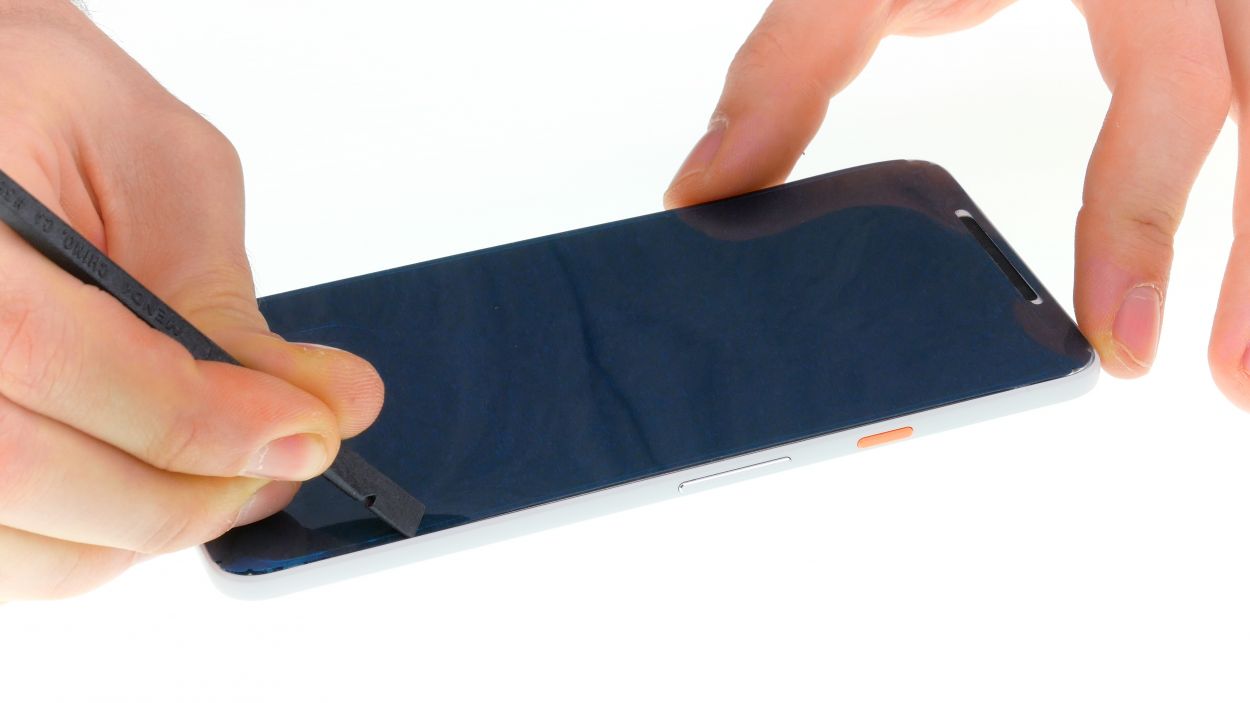
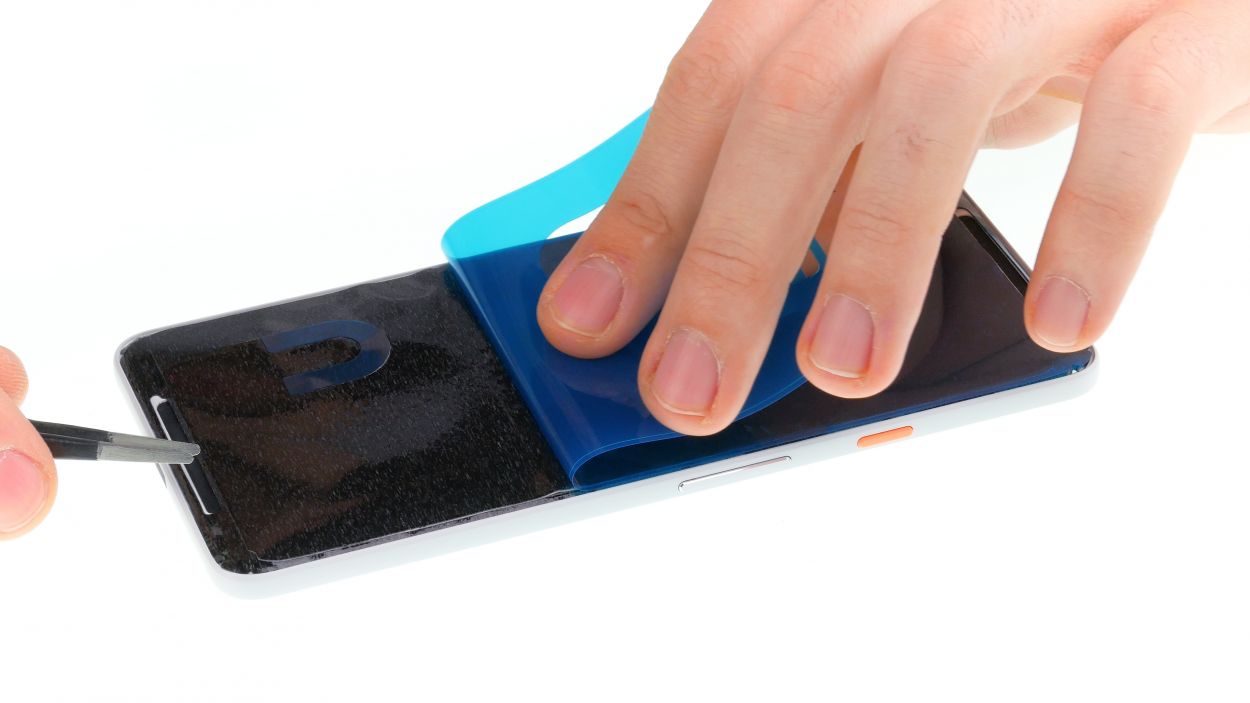
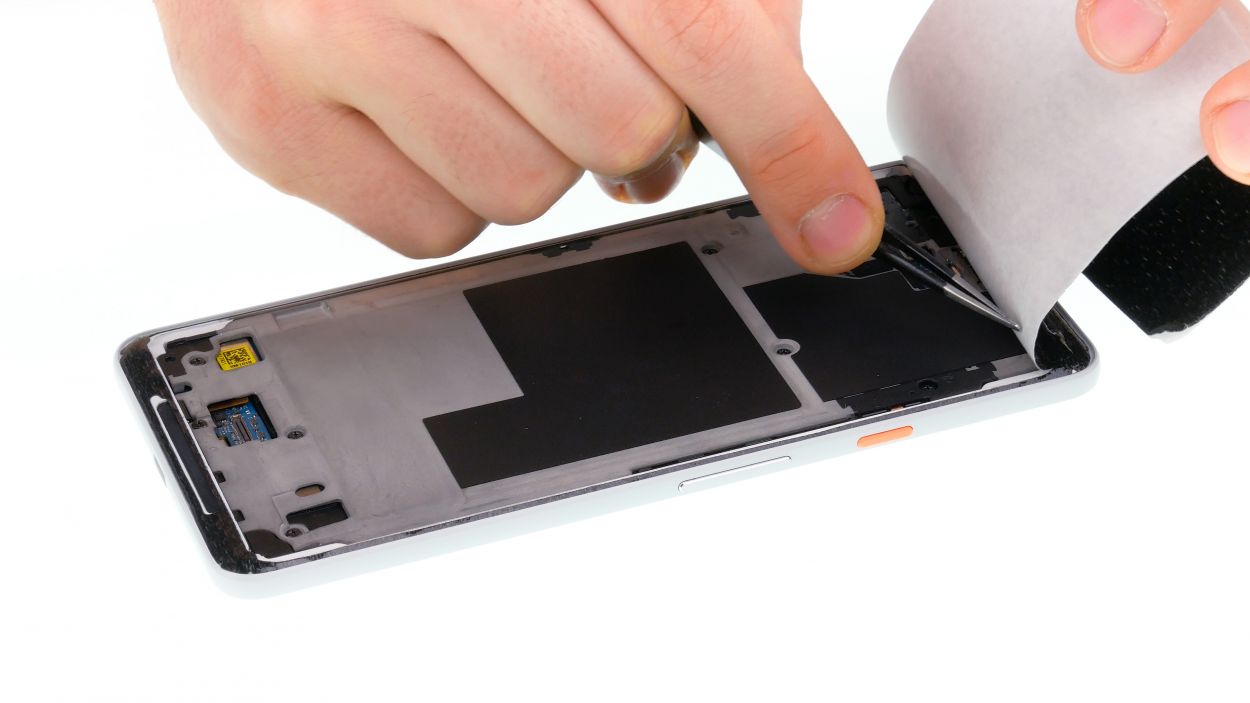
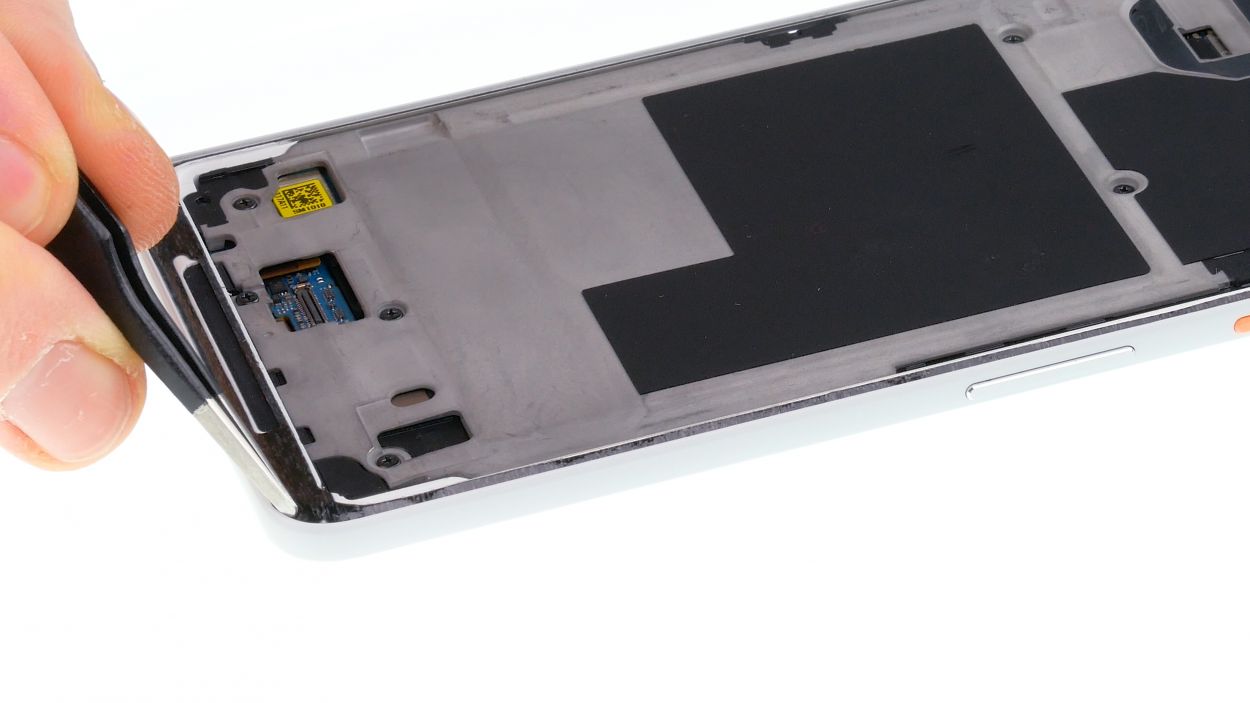
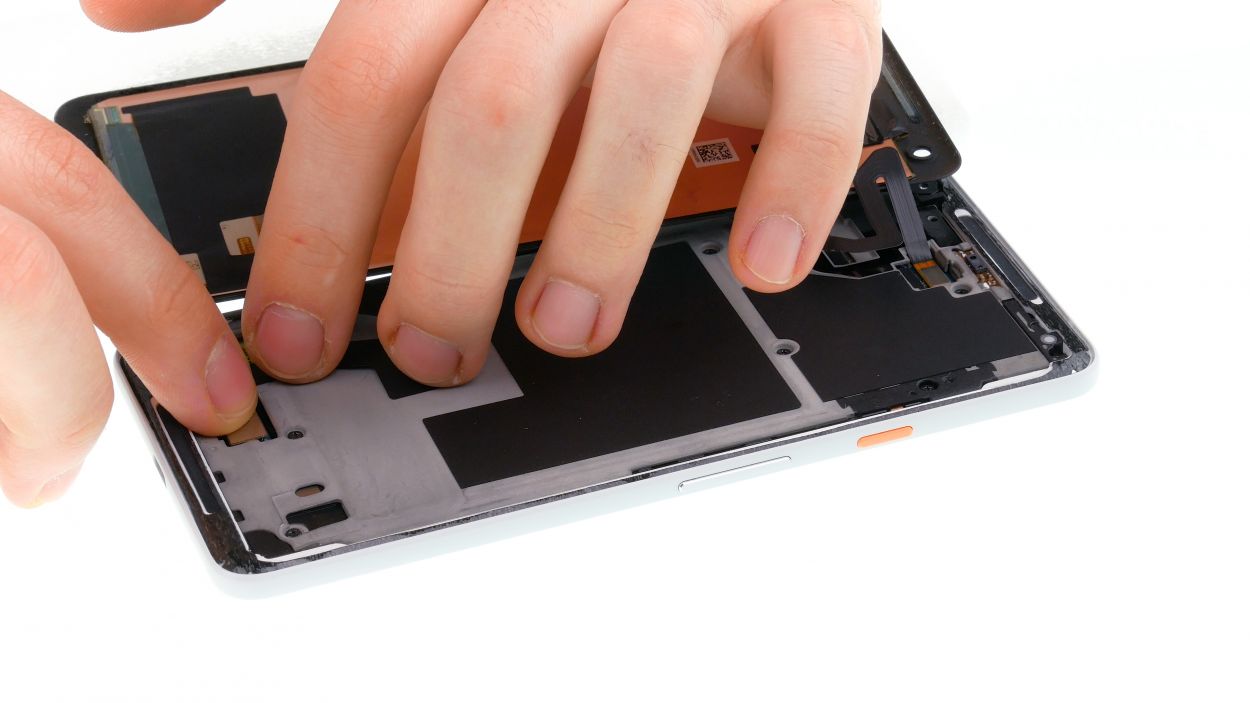
Step 3
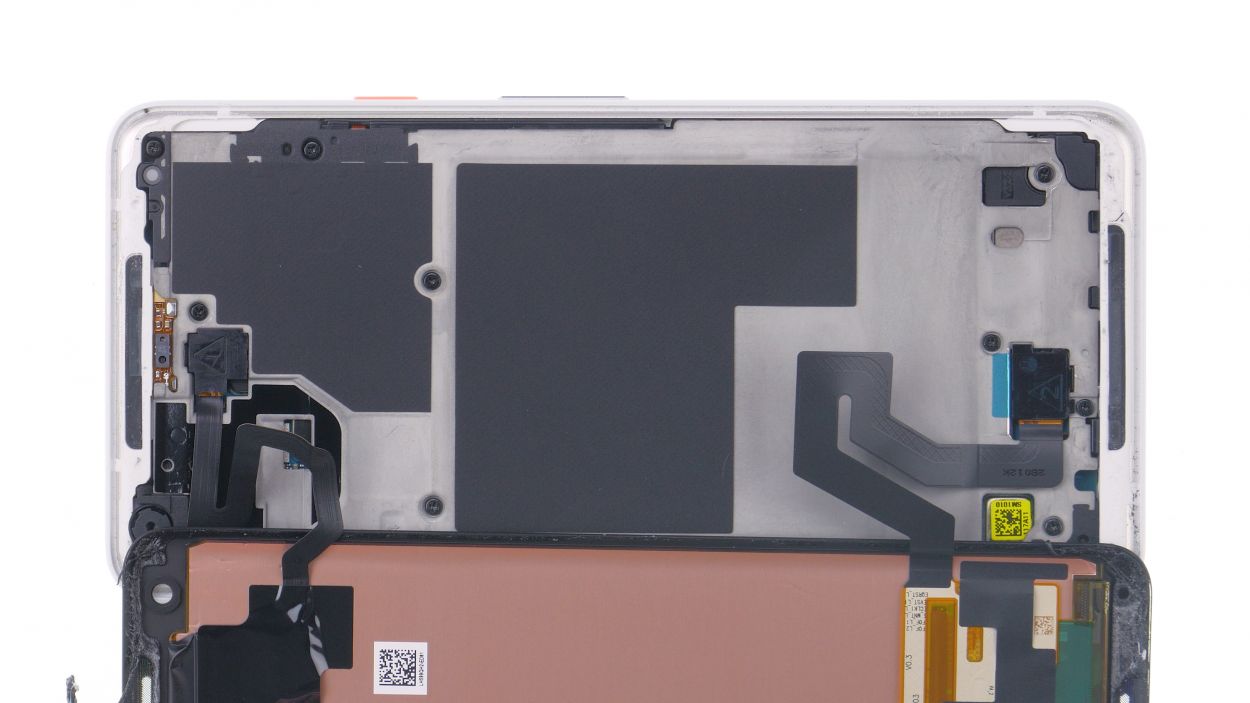
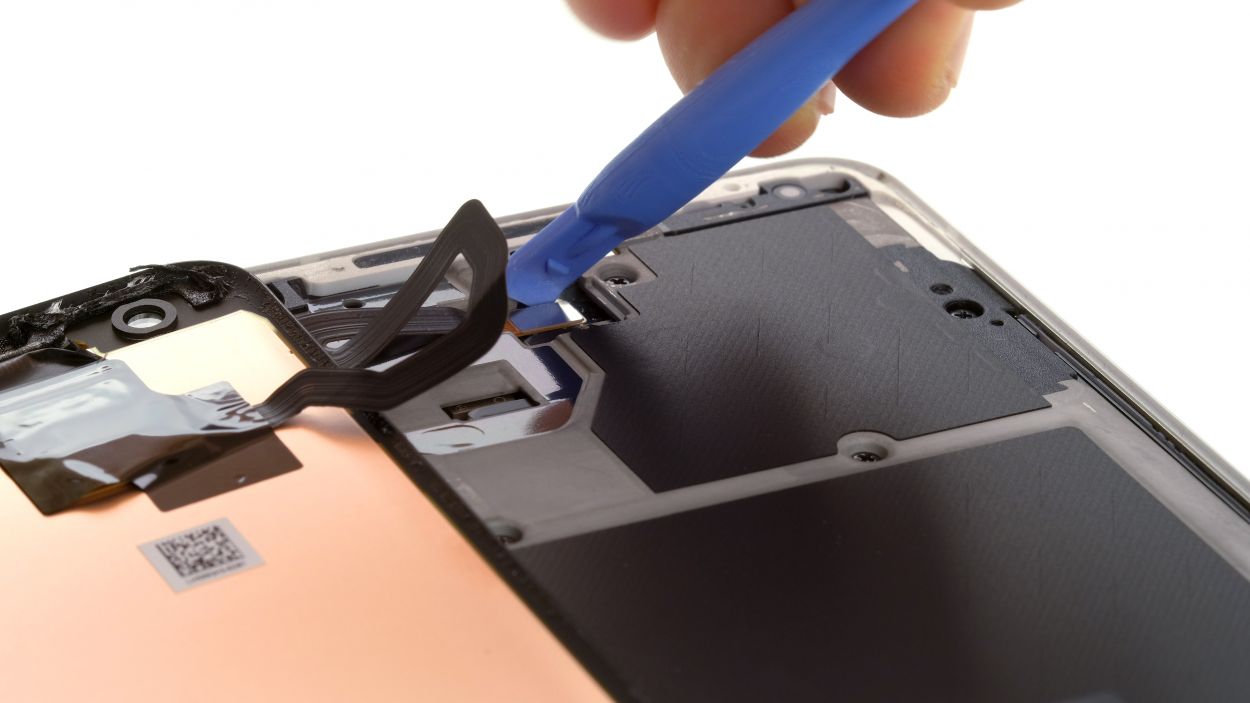

– Under the screen there are two very delicate flex cables. Fold up the display carefully, so you don’t strain them.
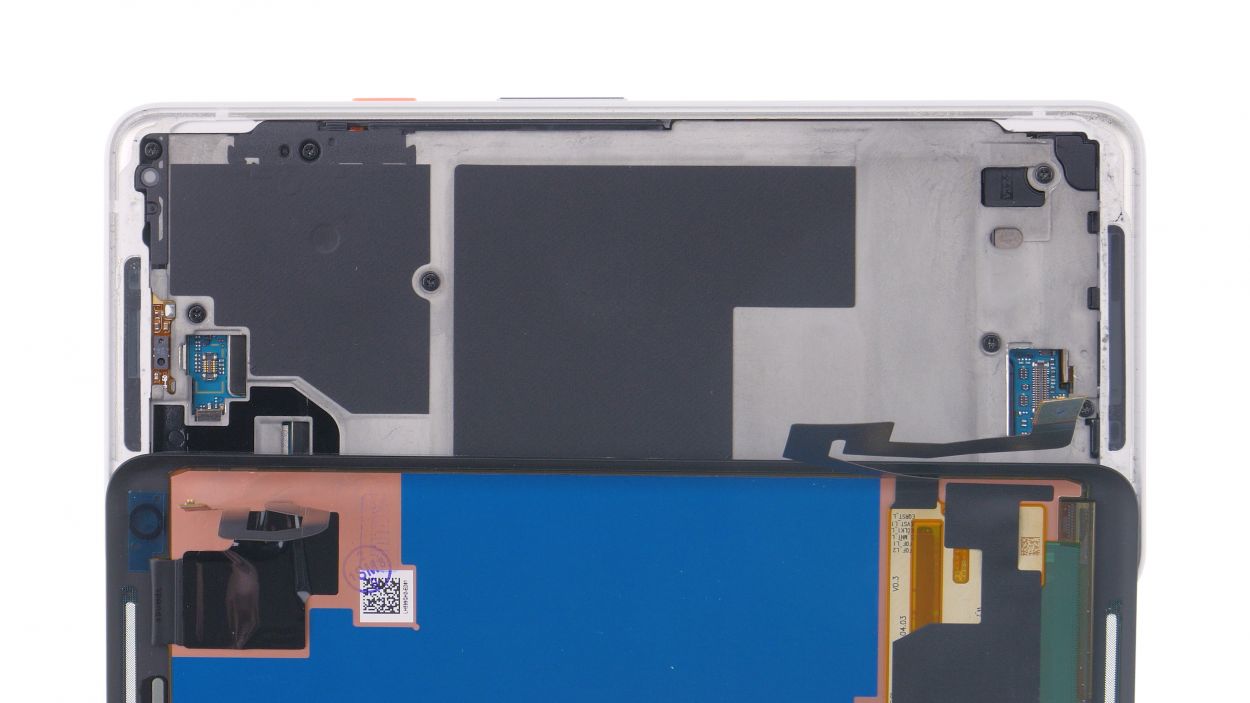
– Remove the plastic cover marked with “1” by sliding a flat tool into the gap and prying it out.
– Then remove cover no. 2. It has a small tape strip that you also need to detach.
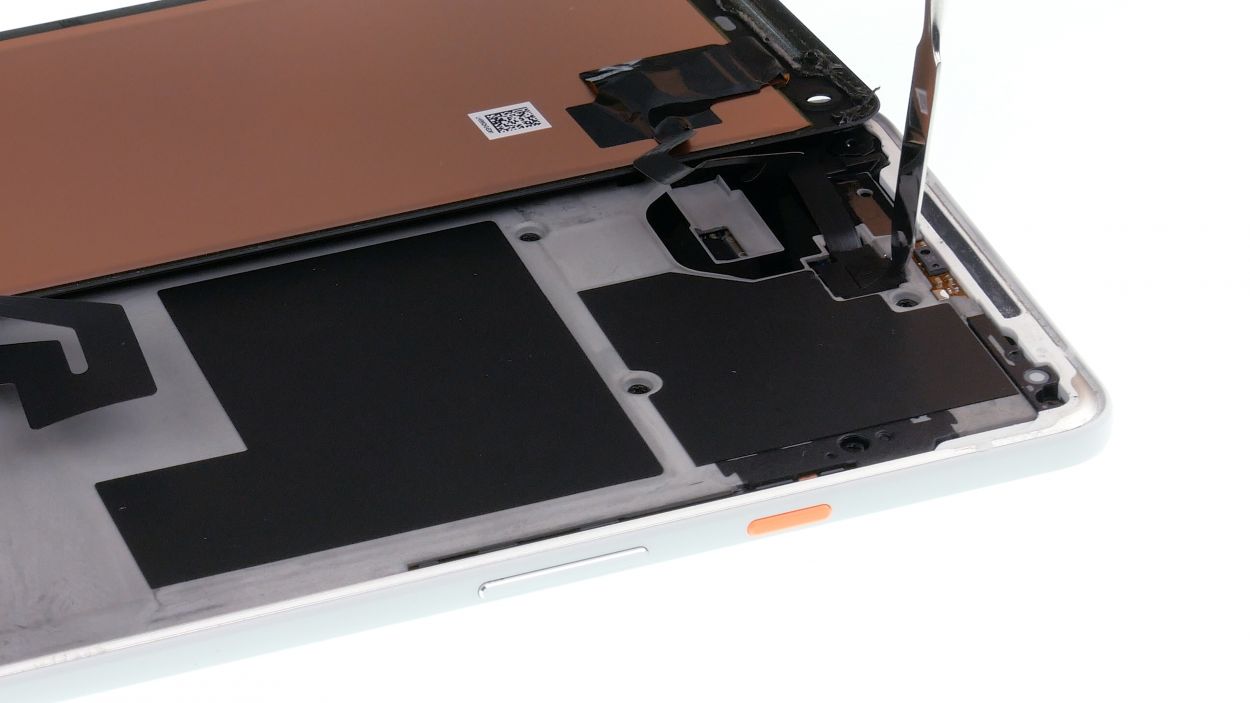
– Unplug both connectors using a spudger.
Watch out for that lower contact! Right next to the connector, there are delicate components on the circuit board that are super easy to mess up. Handle with care, and if you need help, you can always schedule a repair.
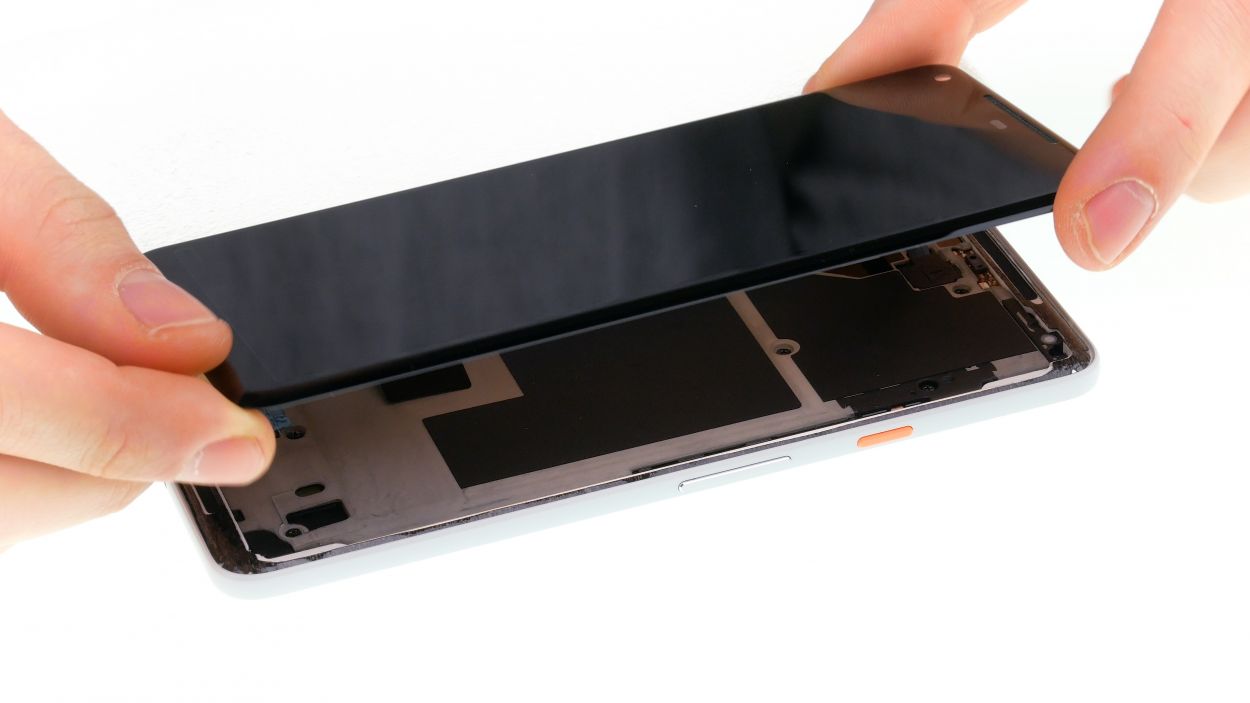
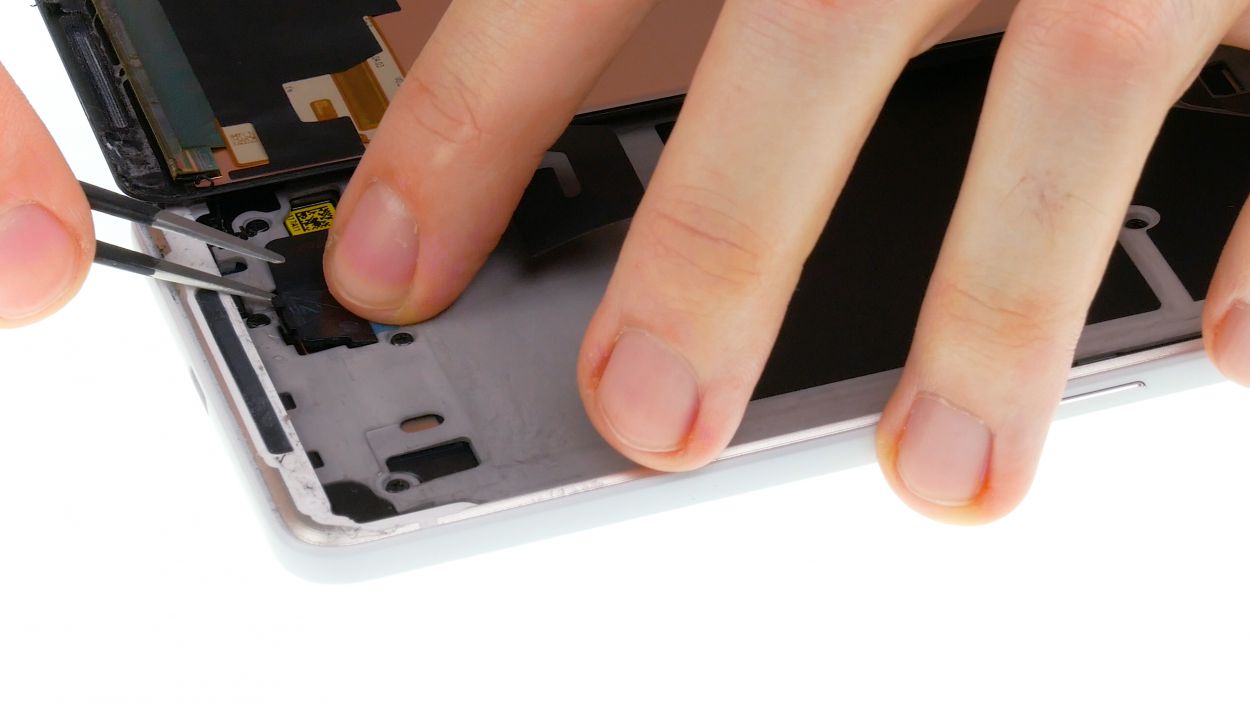
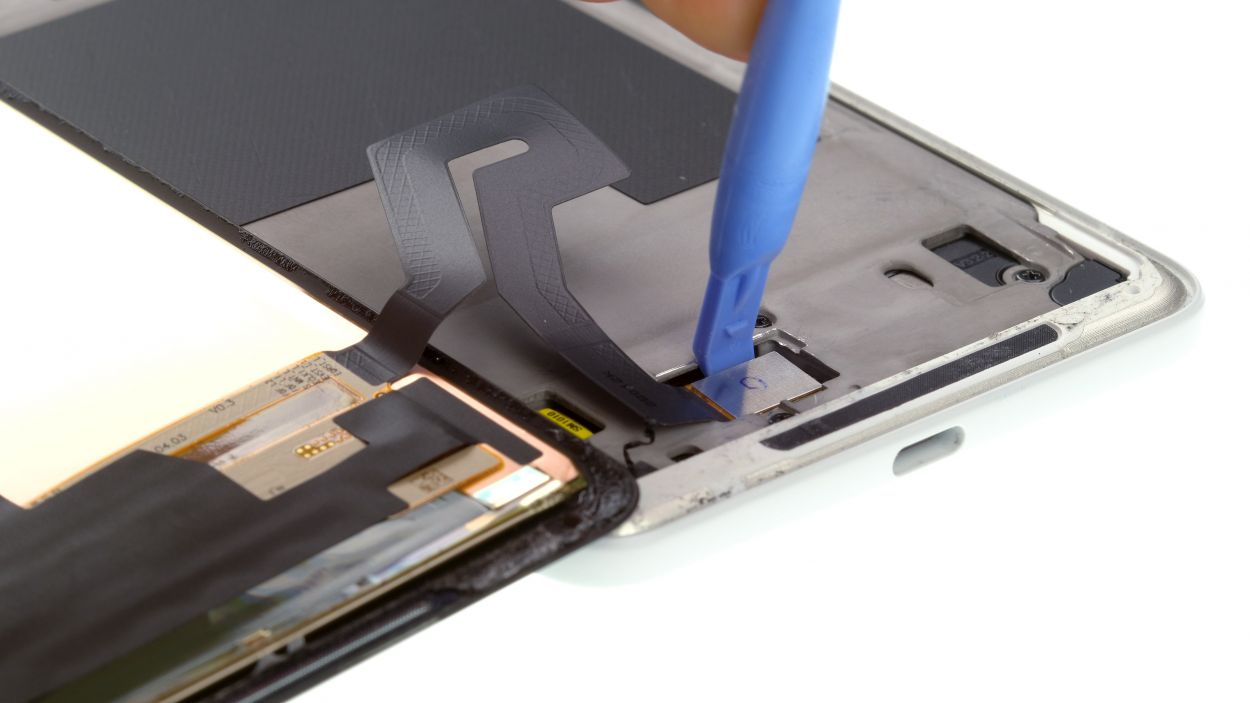
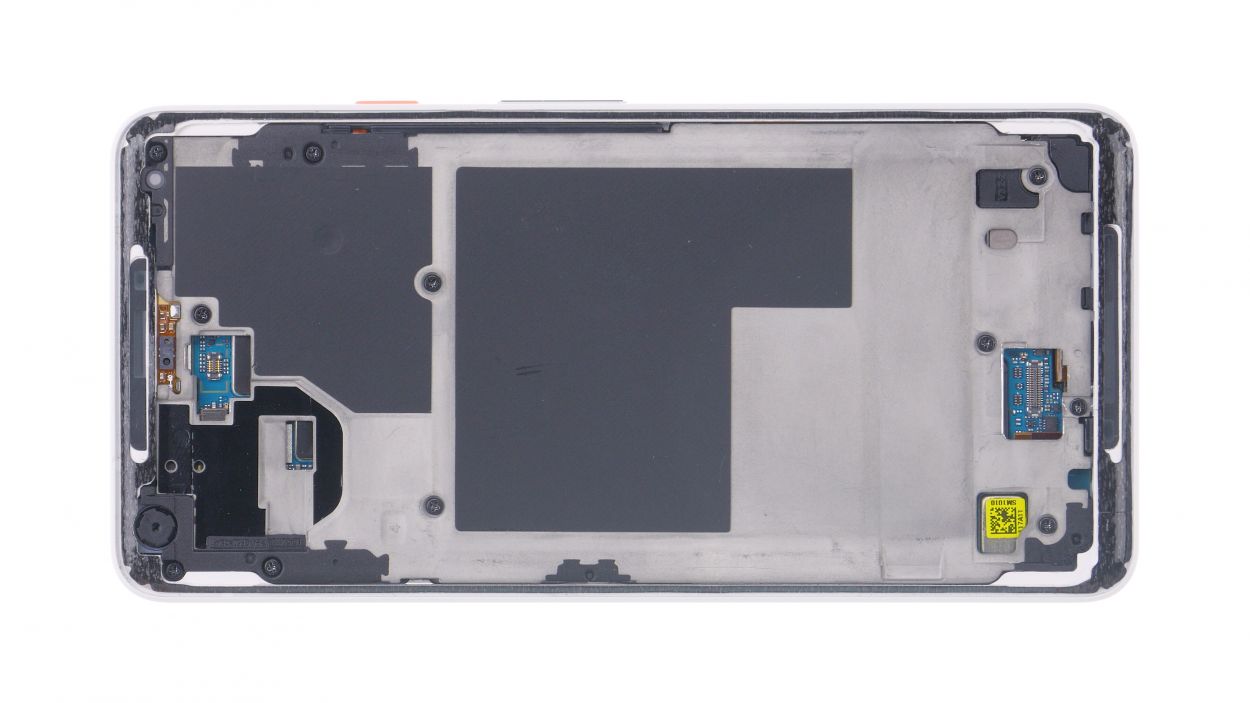
Step 4


Display connector
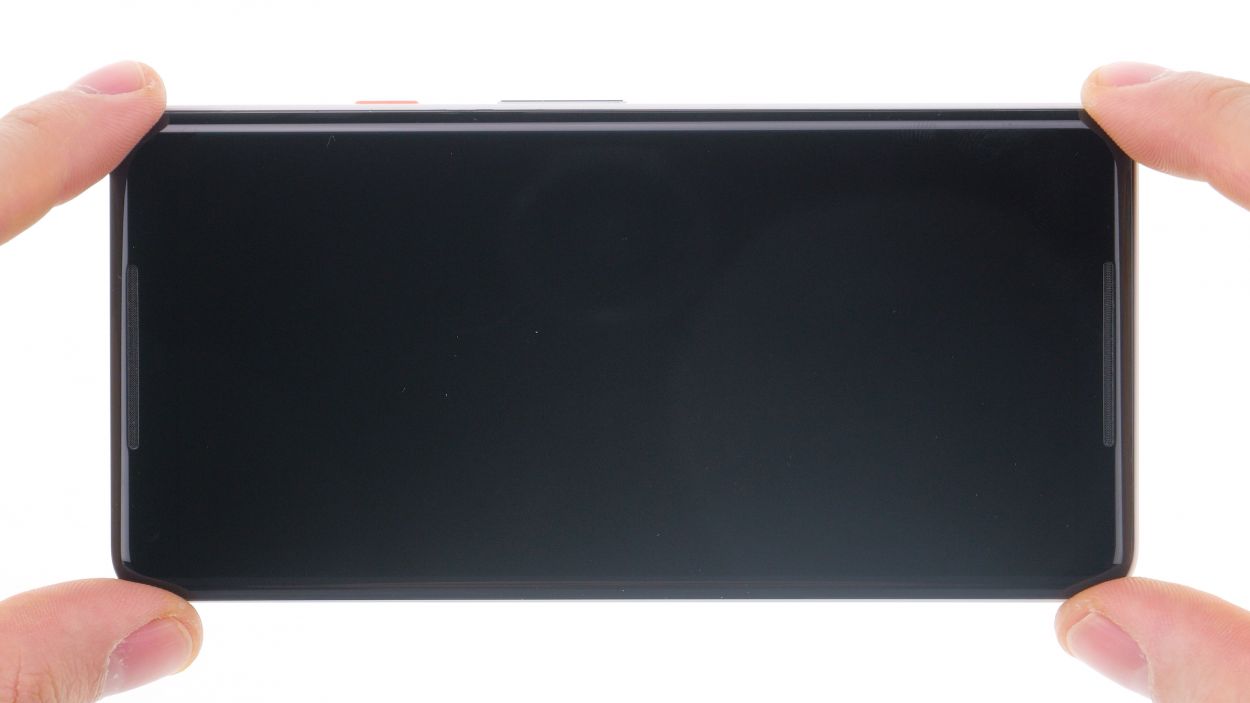
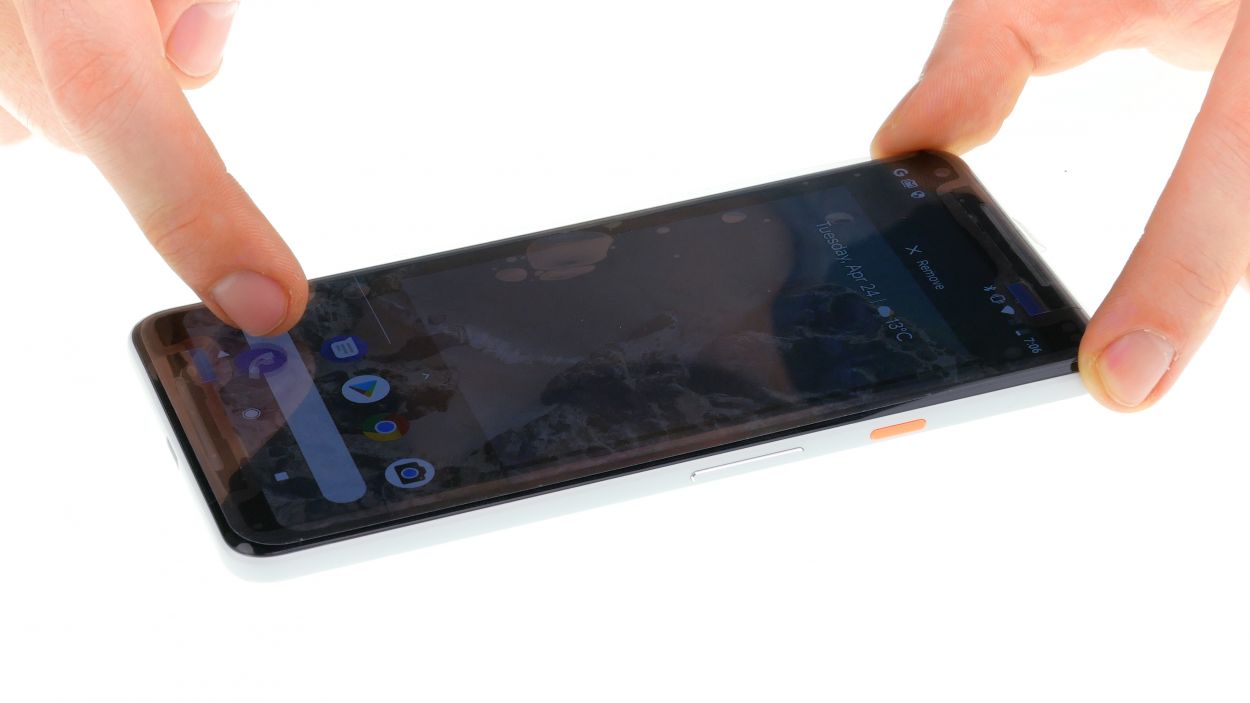
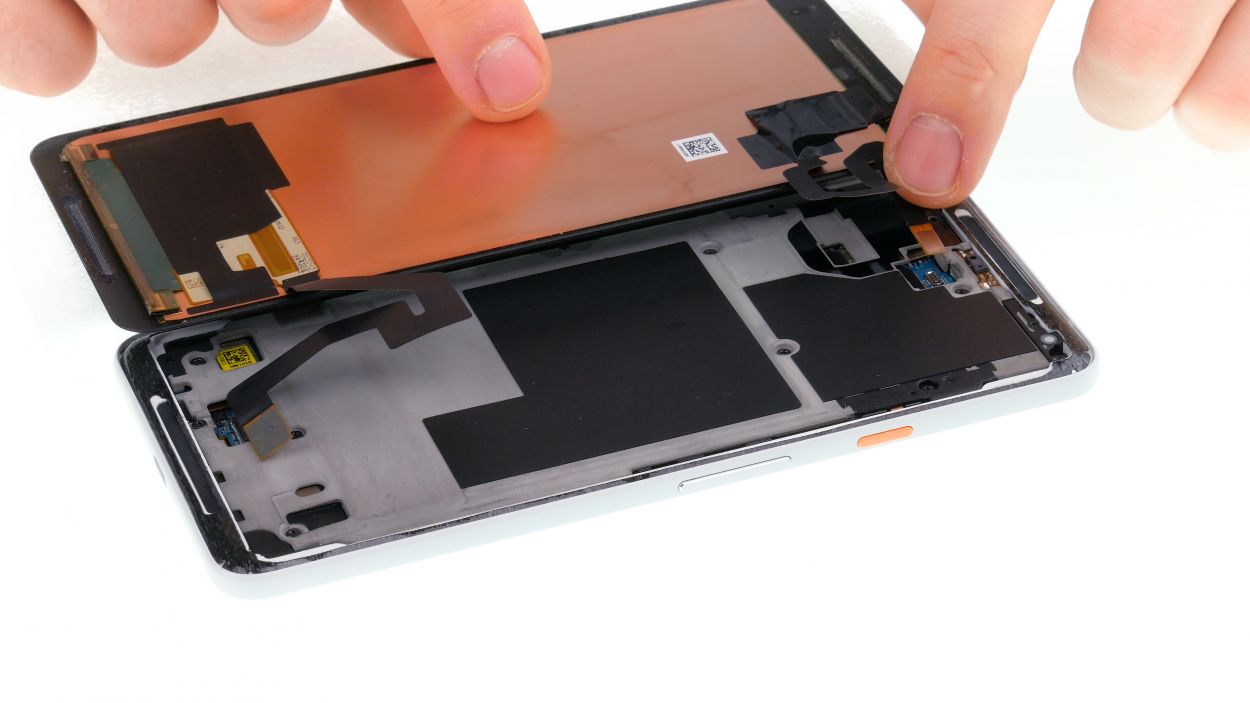
Before you dive into the installation, give that display a quick test run! You want to make sure you didn’t end up with a dud. If something seems off, don’t sweat it—just reach out to your vendor and return the part if needed. Better safe than sorry!
– Let’s check your screen’s brightness! Turn it all the way up, then all the way down. Keep an eye out for any mischievous pixels.
– Time for a touch screen boogie! Zig-zag an app across the screen. No jumpin’? Touch is A-OK!
– Sweet! Everything’s lookin’ good. Power down your device and unplug those connectors.
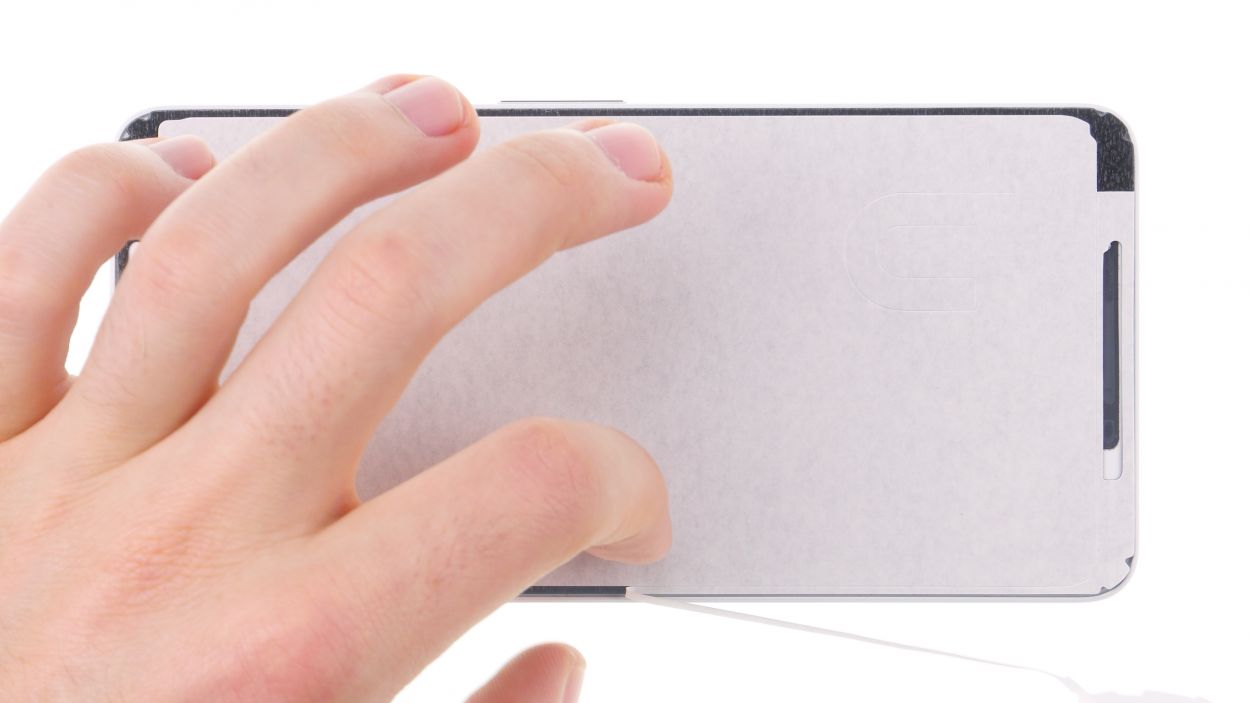
– Now, peel off those pesky backing films. You’re almost there!
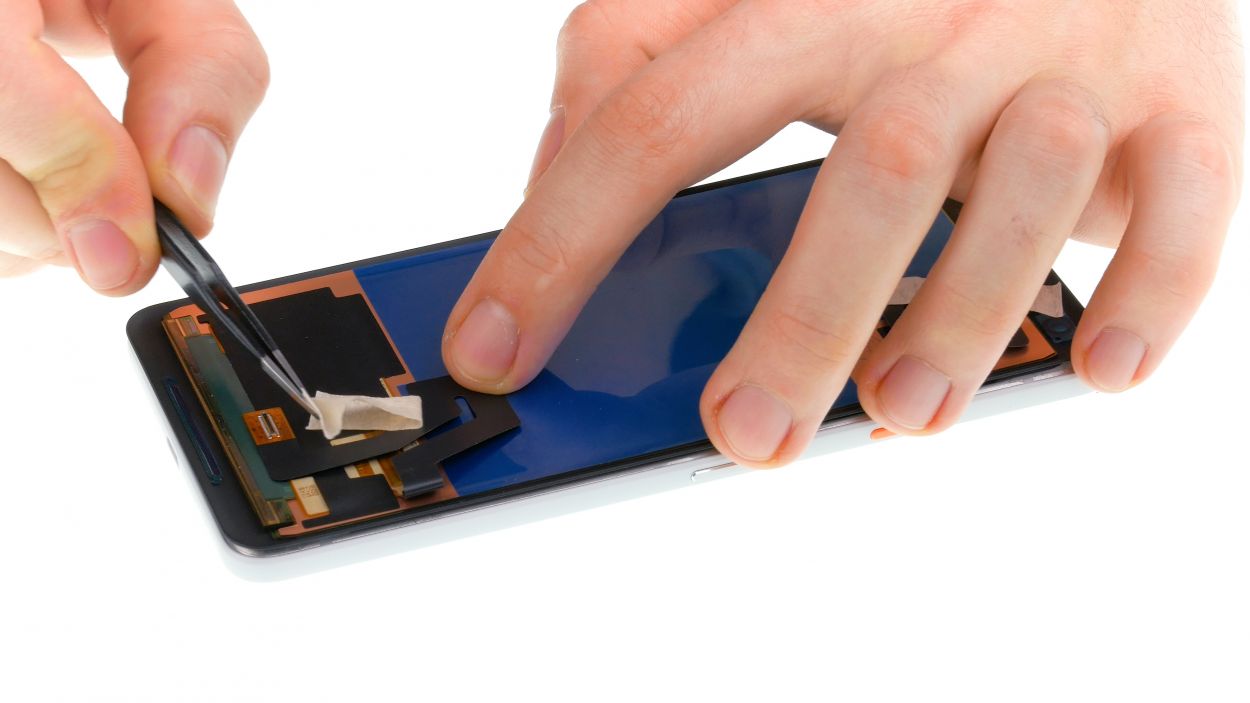
Step 5
Hey there, champ! Safety first! Grab some gloves if you’re feeling cautious, and let’s get this done without any boo-boos.
– Carefully remove all bits of broken glass.
Step 6
Step 7
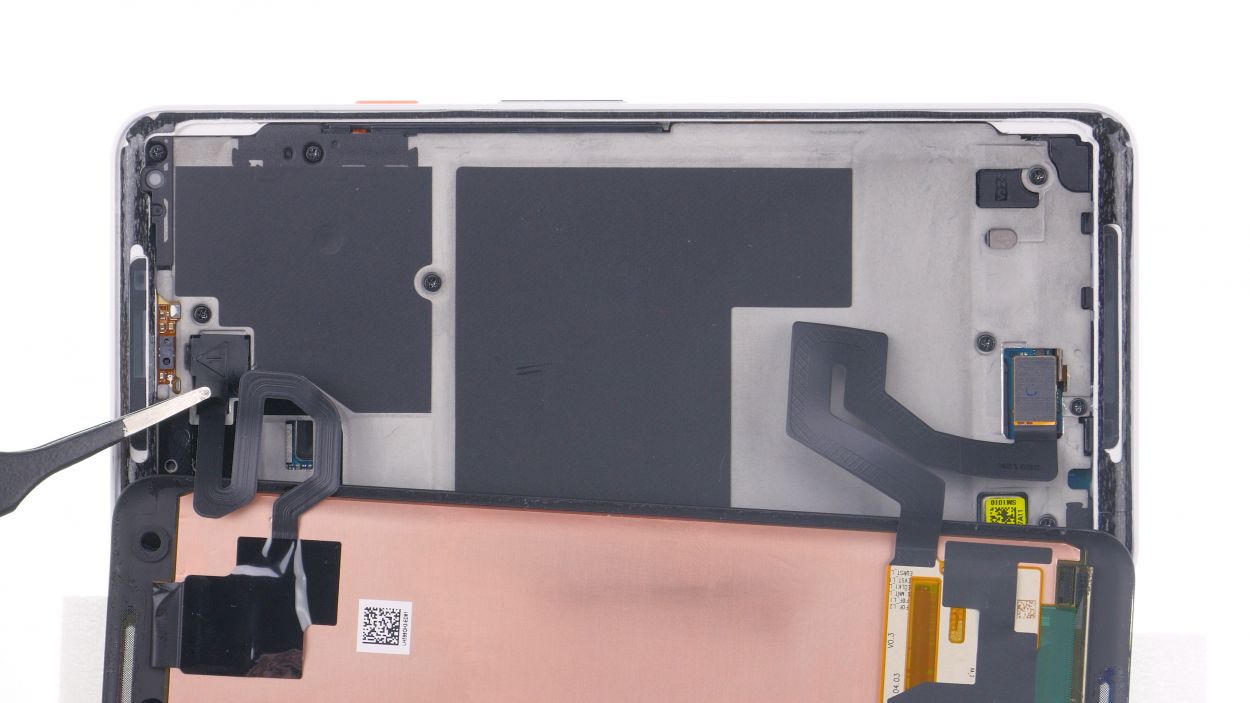

Display connector
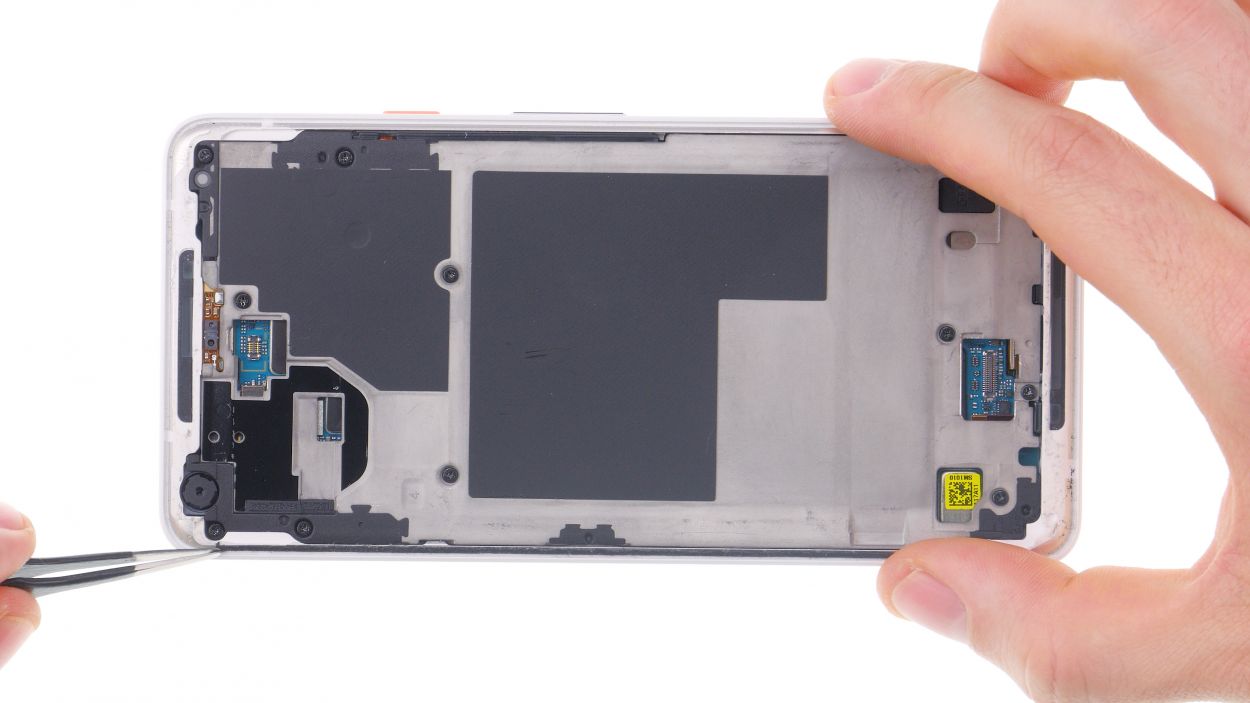
– Time to reconnect those display connectors! Gently press the contact onto the motherboard connection until you hear that satisfying click.
– Now let’s put those two plastic covers back where they belong! Snap them in and don’t forget to attach the tape on the second cover.
Step 8


Keep an eye on that display so it doesn’t take a tumble, but hold off on pressing it down just yet!
Step 9