How to Replace Google Pixel 9 Pro Rear Cameras – Step-by-Step Guide
Duration: 45 minutes
Steps: 38 Steps
This repair guide was put together by the Salvation Repair crew. If you need help, you can always schedule a repair.
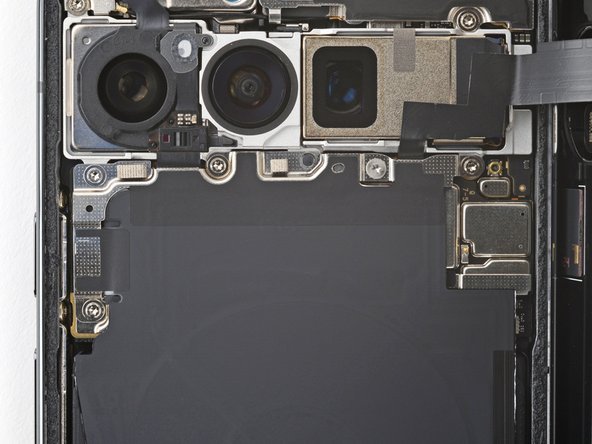
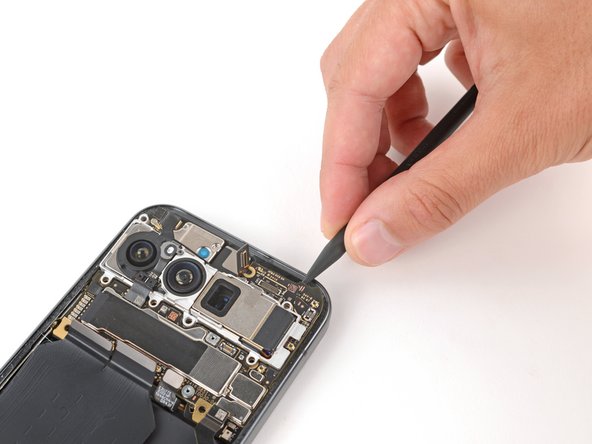
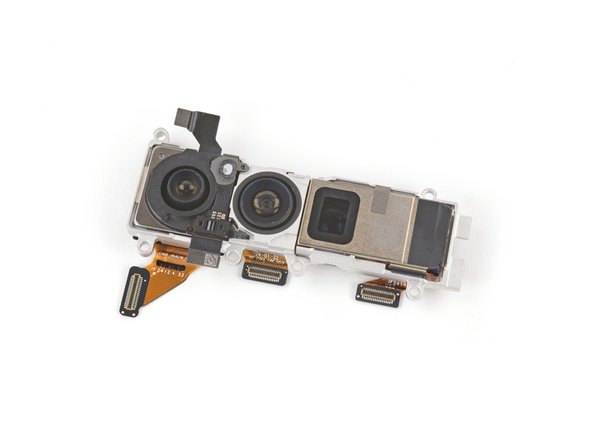
Get ready to dive into a fun repair adventure! This guide will help you swap out the rear cameras (wide, ultrawide, and telephoto) on your Pixel 9 Pro. The cameras come as a complete package, so when you decide to swap one out, it’s a team effort—meaning you’ll be replacing all three. If your photos are looking a bit wonky, blurry, or your camera is just playing hide and seek, it might be time for a change! Don’t forget, you’ll need some replacement autofocus sensor and rear cover adhesives to wrap things up nicely. A quick heads-up: any repair could affect your phone’s water resistance, so make sure to reapply that adhesive carefully to keep the splashes at bay!
Step 1
– Alright, let’s get started! First things first, give your phone a little break and unplug all the cables. Then, power it down completely. You got this!
Step 2
When tackling the adhesive, be sure not to dive more than 3 mm beneath the rear cover. We want to keep those internal components safe and sound!
Measure 3 mm from the tip and give your opening pick a little love by marking it with a permanent marker. If you’re feeling crafty, you can even stick a coin to the pick, 3 mm from the tip, to make things easier!
Step 3
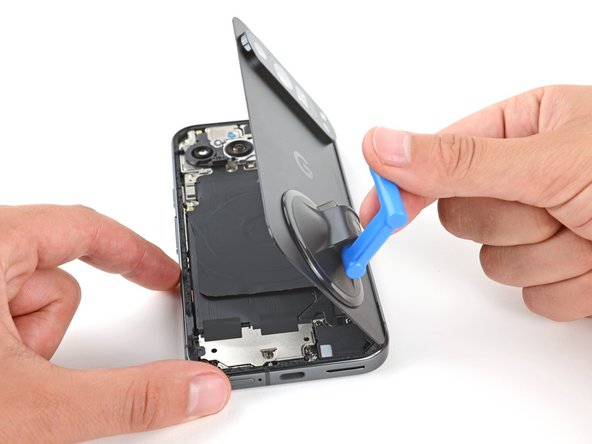
– Grab a suction handle and gently affix it to the bottom edge of the rear cover, making sure to get as close to the edge as you can. You’ve got this!
Tools Used
Step 4
– With a steady and firm pull, lift the suction handle to create a small gap under the rear cover.
– Slip the tip of an opening pick into the gap.
Tools Used
Step 5
Hey! Remember, don’t push that opening pick too deep. Keep it at 3mm or less. You got this! 😎
– Gently glide your opening tool along the bottom edge to break free from the sticky stuff holding it in place!
Step 6
– Alright, let’s get this party started! Take your opening pick and slide it along the left edge, then up the top edge, gently separating the adhesive.
Step 7
– Gently slide your pick down the right side to free up the last of that sticky adhesive. You’ve got this!
Step 8
Hold your horses! No need to yank off that rear cover just yet—there’s a ribbon cable on the right edge that keeps it cozy with the phone.
If you’re running into a snag, take a moment to inspect the edges for any stubborn adhesive. Grab your handy opening pick and gently pry it apart. You’ve got this!
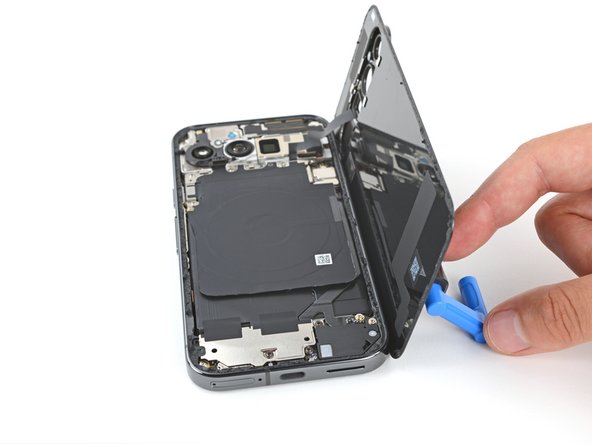
– Grab that suction handle and gently lift the left side of the rear cover, swinging it open like you would a book. Easy peasy!
– Now, keep that rear cover propped up with the suction handle so you can easily reach the ribbon cable chilling near the top right corner.
Tools Used
Step 9
Stay groovy and keep those screws safe and sound!
Torx Plus or not, let’s rock this repair!
Fear not, shiny but non-magnetic friends – tweezers are here to help!
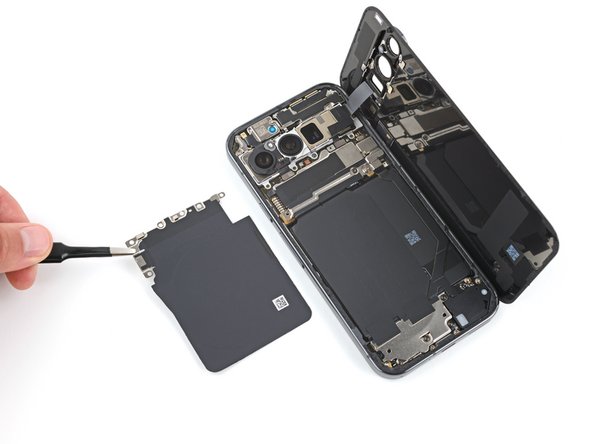
– Grab your trusty Torx Plus 3IP screwdriver and let’s dive into the fun. You’ll need to unscrew five little buddies holding the wireless charging assembly in place:
– Four screws that are about 5.4 mm long, just waiting to be released.
– And one tiny screw that’s just 1.5 mm long, ready to join the party.
Step 10
Handle with care, friends! We don’t want to mess up those little spring contacts tucked under the top left corner of the wireless charging assembly. Keep your cool and take it easy!
– It’s time to get your hands dirty! Carefully use those tweezers or your fingers to unlatch that pesky wireless charging assembly and set it free!
Step 11
– Carefully slide the tip of an opening pick underneath the left edge of the rear cover press connector. Give it a gentle pry straight up to disconnect it. You’re almost there!
Step 12
– Let’s pop off that rear cover, shall we? It’s like peeling back a layer of mystery!
– When it’s time to piece everything back together, make sure to check this guide for tips on applying fresh adhesive and snugging your rear cover back in place. You’ve got this!
Step 13
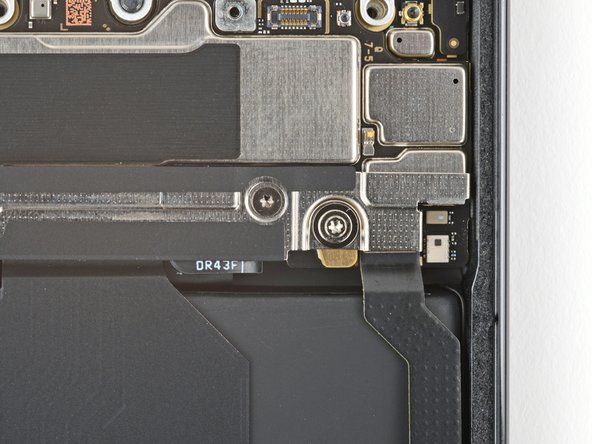
– Grab your trusty Torx Plus 3IP screwdriver and let’s get to work! Start by loosening the two screws holding down the cable cover:
– One screw measuring 2.3 mm long
– One screw measuring 5.4 mm long
Step 14
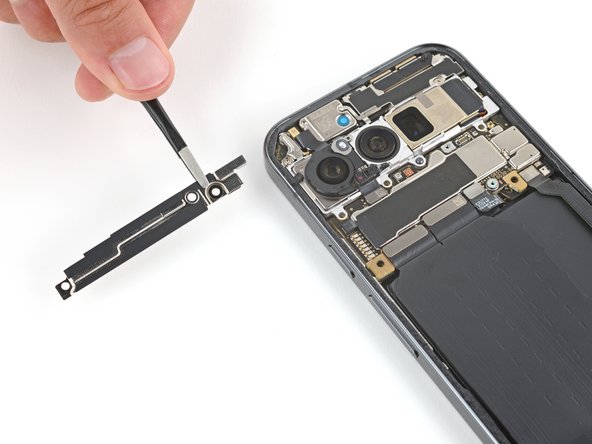
– Go ahead and gently coax that cable cover off using either tweezers or your fingers. You’ve got this!
Step 16
– Let’s get this show on the road! First, grab your trusty Torx Plus 3IP screwdriver and give that 5.4 mm-long screw holding the mmWave antenna cover a little nudge. You got this!
Step 18
– With a gentle tug, pull the right edge of the cover down towards the bottom of the phone and give it a little wiggle to pop it off.
– When you’re putting it back together, just slide the two tabs at the top corners into their cozy little spots in the frame, then press down on the cover until you hear that satisfying click!
Step 19
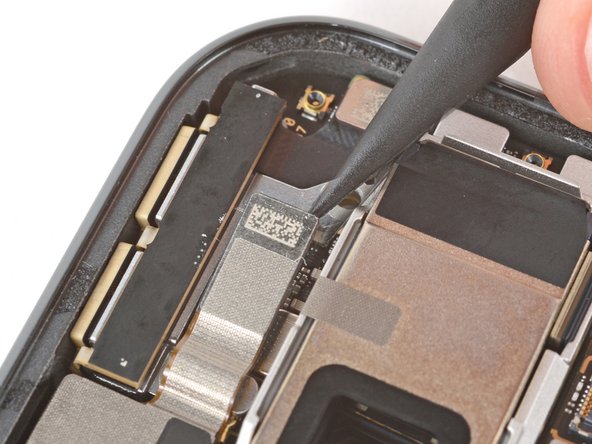
– Gently use the tip of a spudger to lift and detach the mmWave antenna press connector from the top right corner of the logic board. You’ve got this!
Tools Used
Step 21
Watch out for those cameras during this step! If you happen to brush against them, just give them a gentle wipe with a clean microfiber or lint-free cloth to keep them sparkling.
– Gently nudge the front facing camera cable aside so you can get to the mmWave antenna screw.
– Grab your trusty Torx Plus 3IP screwdriver and take out that 4.3 mm screw holding the mmWave antenna.
Step 22
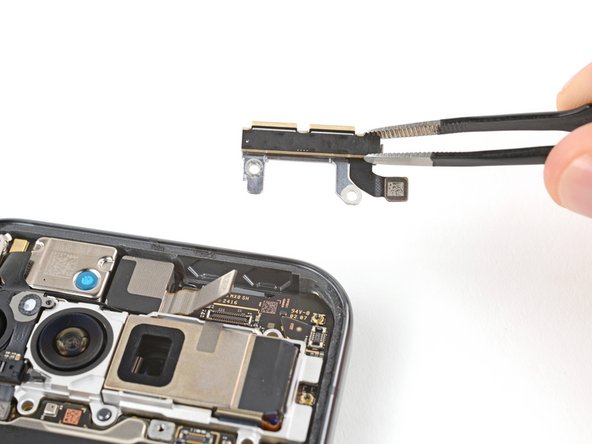
– Grab those tweezers or your trusty fingers and gently remove the mmWave antenna. It’s like a little dance, so take your time!
– When it’s time to put everything back together, make sure the mmWave antenna snuggles under the front-facing camera cable. It’s all about that perfect fit!
Step 23
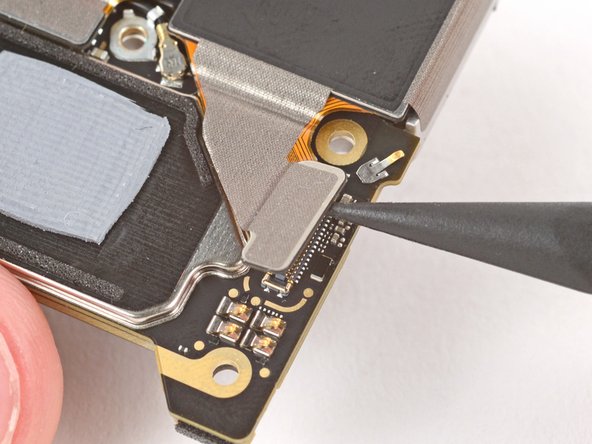
– Use the flat end of a spudger to gently pry up and disconnect the press connector near the bottom left corner of the logic board. It’s just like a little party for the connector!
– Now, use the point of a spudger to disconnect the press connector right next to the one you just disconnected. Two down, more to go!
Tools Used
Step 24
Those tiny components over there? Yeah, they’re kinda delicate. Be extra careful around them, okay? No need to get all rough and tumble.
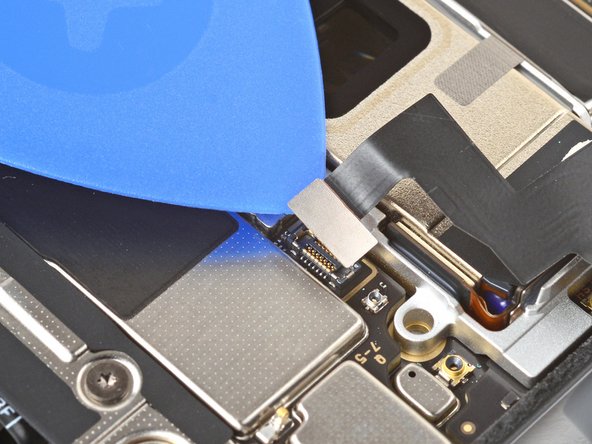
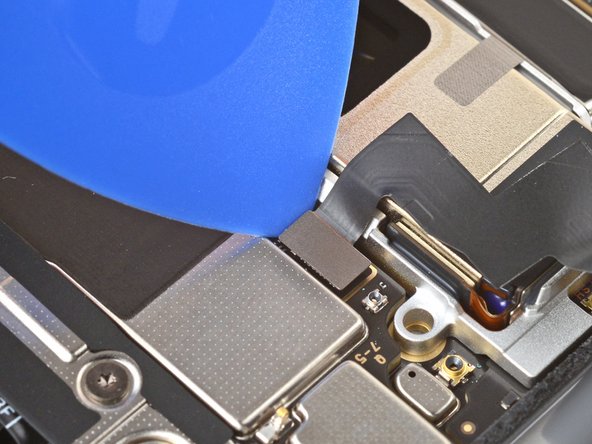
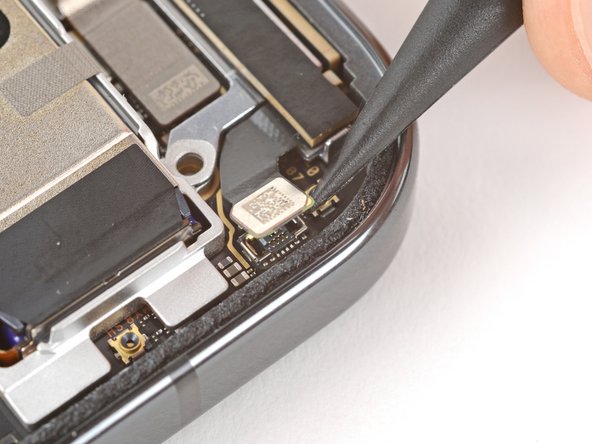
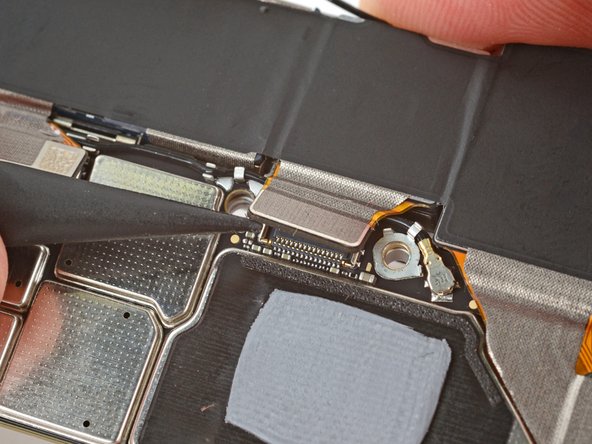
– Gently slide the tip of your trusty opening pick right under the top edge of that press connector, located just a hair above the bottom right corner of your logic board.
– Once you’ve got that pick in place, give it a little pry to lift up and disconnect the press connector!
Step 25
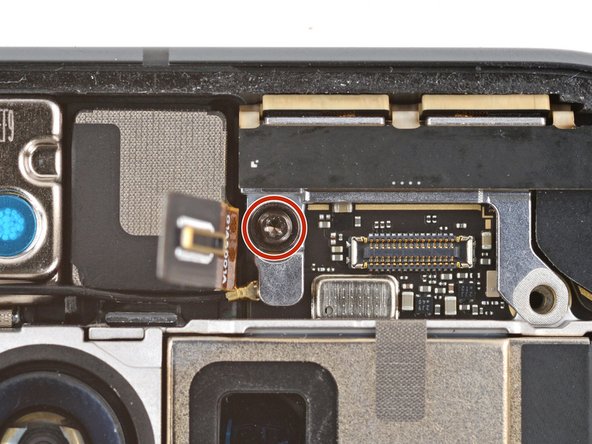
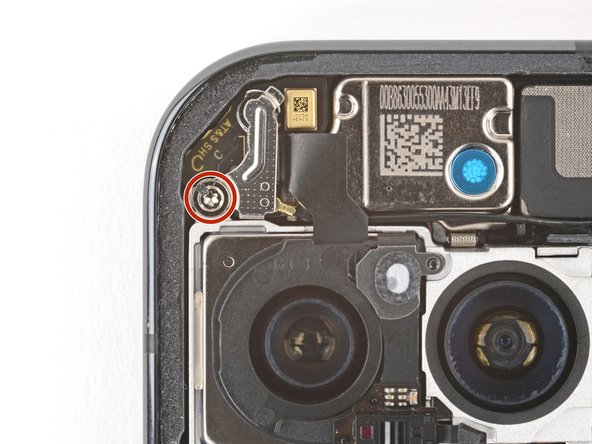
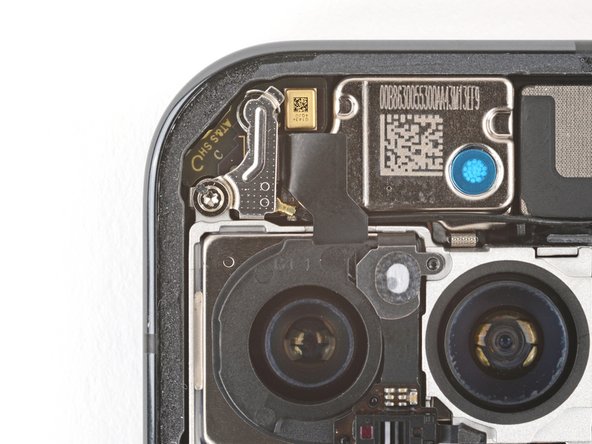
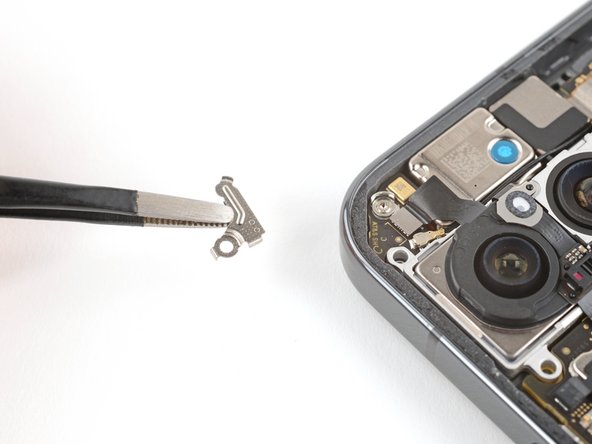
– Grab your Torx Plus 3IP screwdriver – it’s time to tackle that 5.4mm screw holding the antenna cover in the upper left corner. Let’s get that cover off with ease!
Step 27
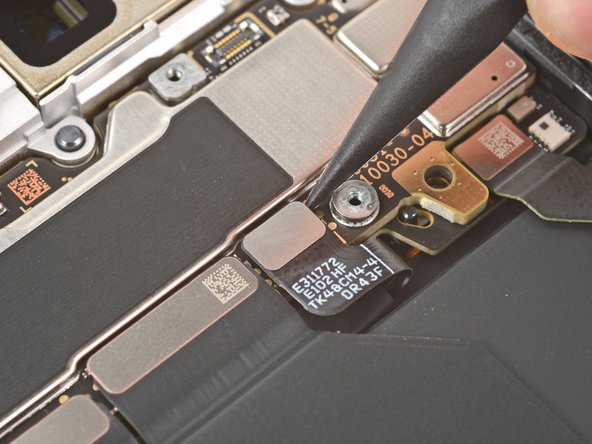
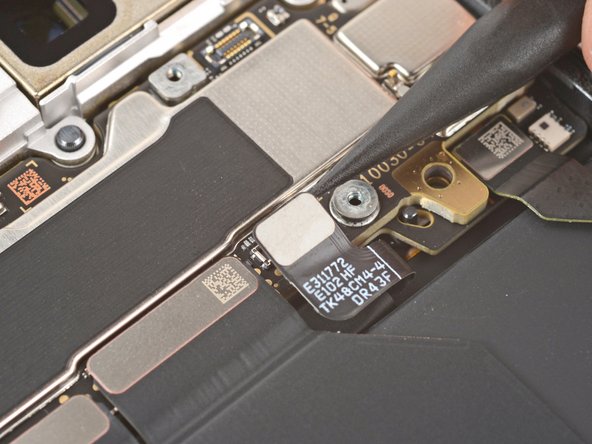
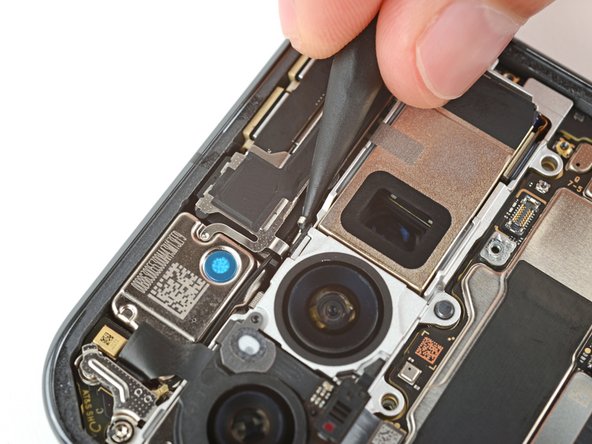
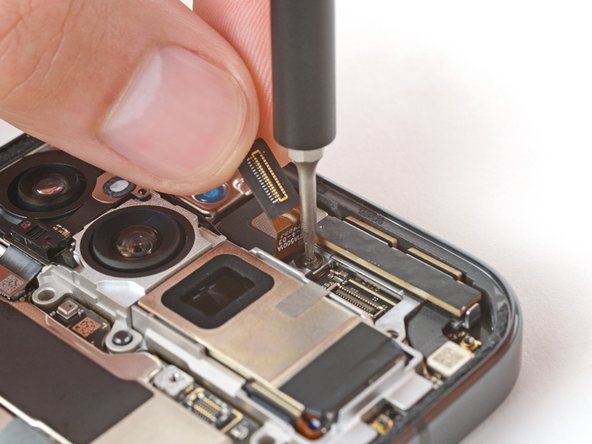
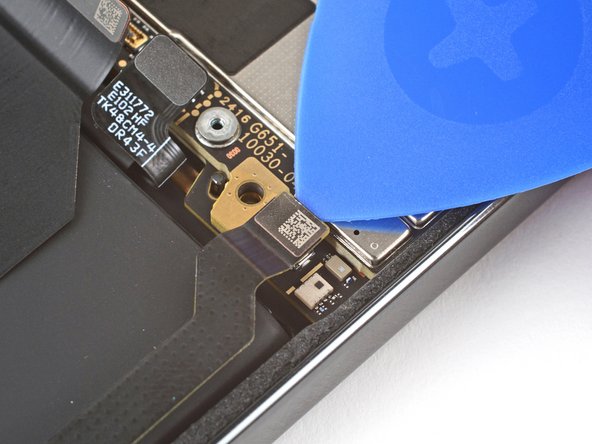
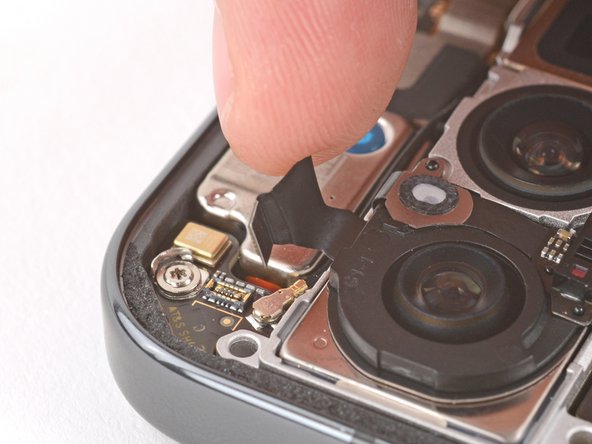
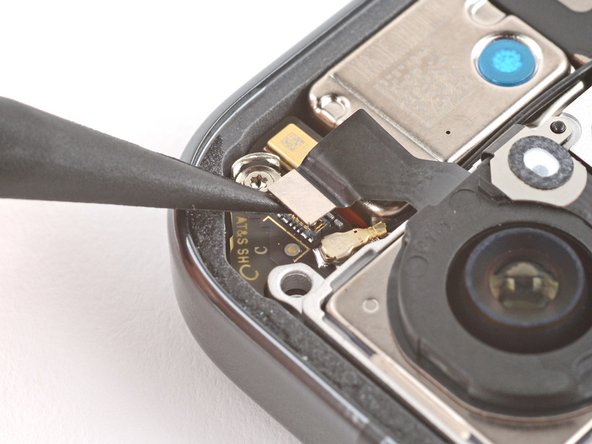
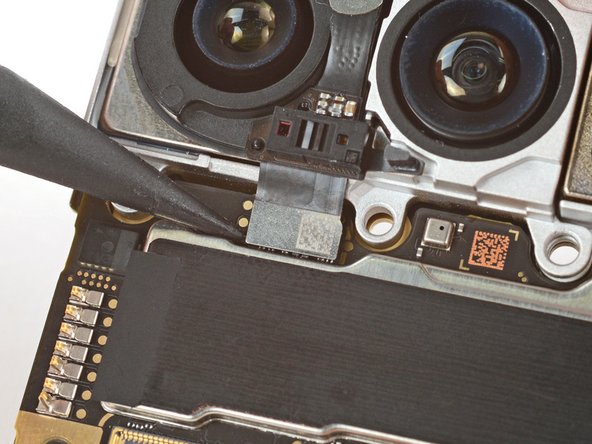
– Time to get a little jiggy with it! Use the tip of your spudger to carefully pop off that autofocus sensor connector up in the top left corner.
– Now, gently nudge that cable out of the way so you can see the metal antenna connector hiding underneath. You’re almost there!
Tools Used
Step 28
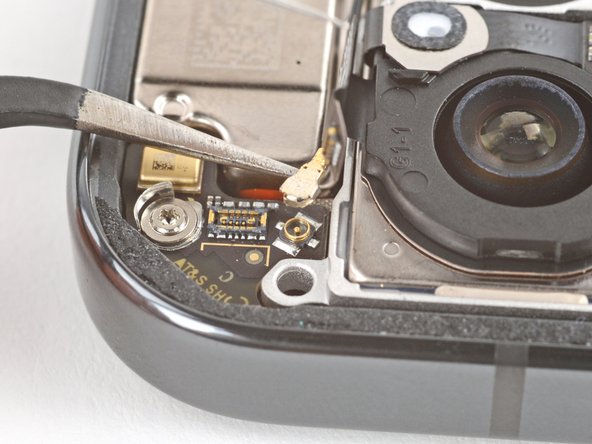
To reconnect, get that connector snuggled right back into its socket. Gently press down with your finger or a spudger—you’ll feel it click into place. If it’s being a bit stubborn, just reposition the head and try again. It’s all about finding the right fit!
– Gently slide one arm of your angled tweezers beneath the metal neck of the antenna connector and give it a careful lift straight up to disconnect it. You’ve got this!
Tools Used
Step 29
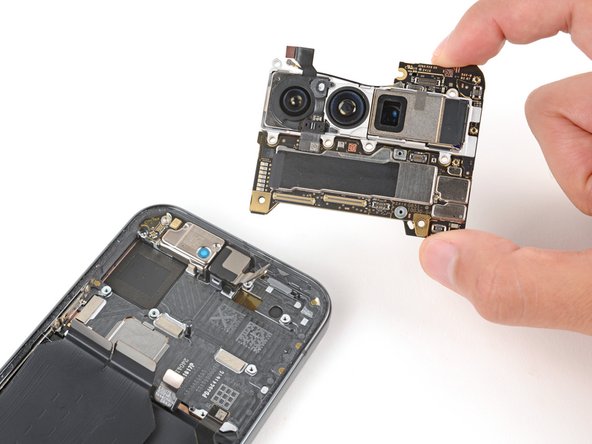
– Grab your trusty spudger and gently pry up the top edge of the logic board until you can comfortably grip it with your fingers. Easy peasy!
– Now, with a firm but gentle grip on the right side of the logic board, carefully lift it out, being cautious not to snag any cables (there’s one feisty front-facing camera cable and four along the bottom edge that need some tender love).
– When it’s time to put it all back together, keep that front-facing camera cable out of the way and lower the logic board into position, making sure those four bottom cables are cozy and not trapped underneath.
Tools Used
Step 30
– Alright, let’s get this reassembly party started!
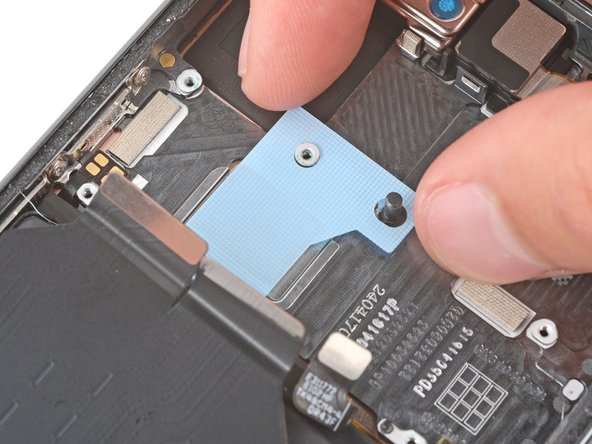
– First things first: take a look at the thermal pad on the logic board. You’ll find it either chilling on the bottom of the board or hanging out on the frame.
– If it looks all good and undamaged, you can skip this step like a pro!
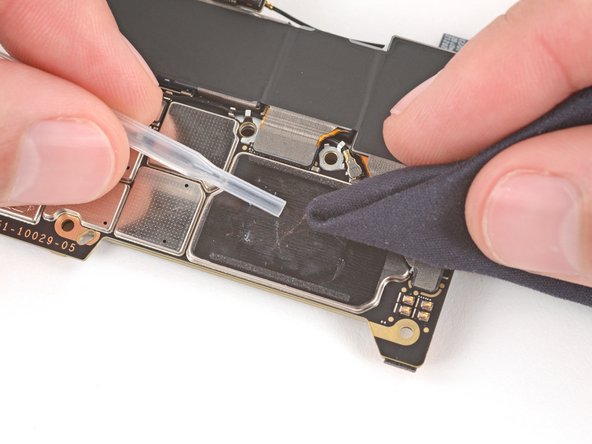
– But if it’s seen better days, grab the flat end of a spudger and gently scrape it off. Say goodbye to that damaged pad!
– Next up, let’s clean house! Use some isopropyl alcohol (90% or higher) and a microfiber cloth to wipe away any thermal pad leftovers from both the frame and the bottom of the logic board.
– Finally, it’s time to give it a fresh new look! Pop a new thermal pad right into its designated spot on the frame.
Tools Used
Step 31
Hey, those little surface-mounted components are pretty delicate! Be super careful when disconnecting the cameras in the next two steps, okay? We don’t want to cause any accidental damage. Take your time and be gentle, you got this!
– Gently prop up the logic board just above your workspace while you carefully disconnect the rear cameras—keep it raised to avoid any mishaps with those delicate components below.
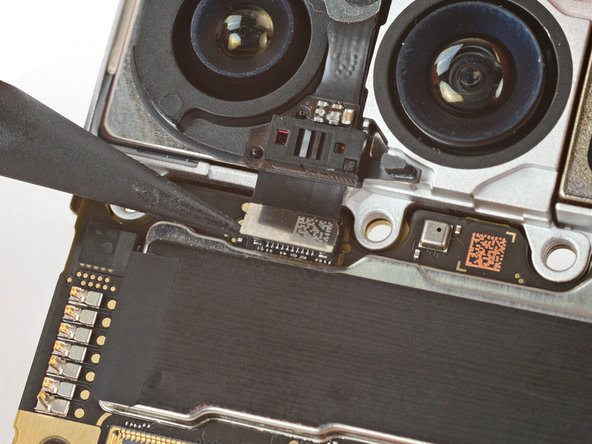
– Grab your trusty spudger and gently nudge up the autofocus sensor press connector located on the top of the logic board, just by the left edge. You’ve got this!
Tools Used
Step 32
– Gently turn the logic board upside down so the bottom side is showing its lovely face.
– Grab your trusty spudger and use its pointy end to carefully lift and detach the three camera press connectors.
Tools Used
Step 33
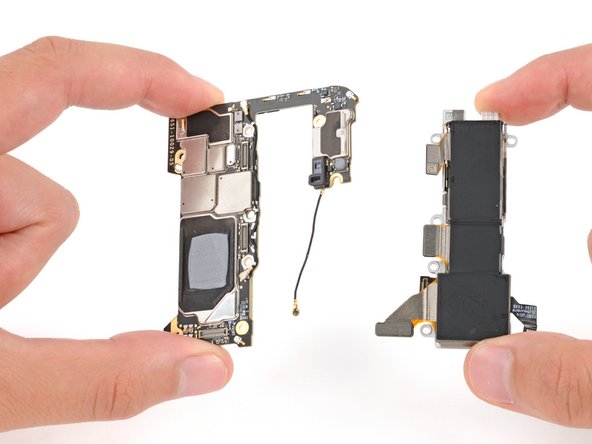
– Grab the logic board with one hand, and with your other hand, carefully pop out the rear cameras like you’re performing a delicate magic trick. Ta-da!
– When you’re putting everything back together, remember to tuck those three camera cables snugly under the logic board, and let the autofocus sensor cable sit on top like a cherry on a sundae.
Step 34
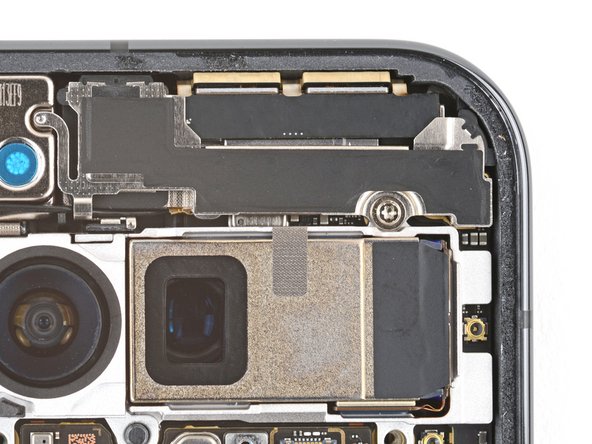
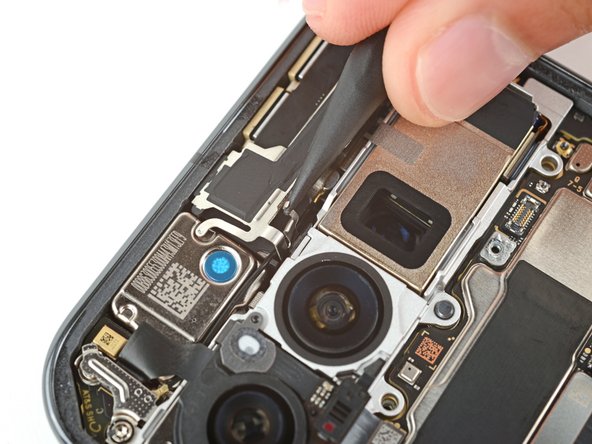
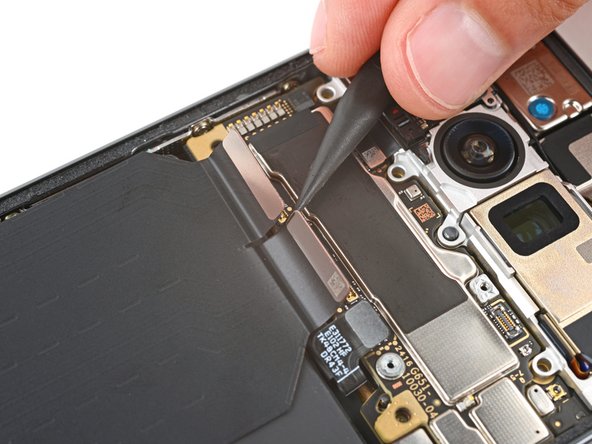
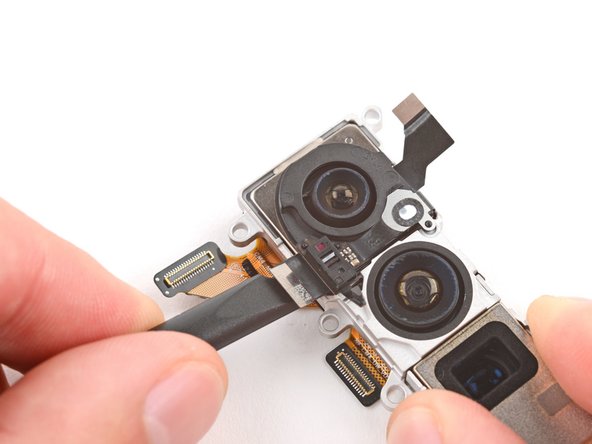
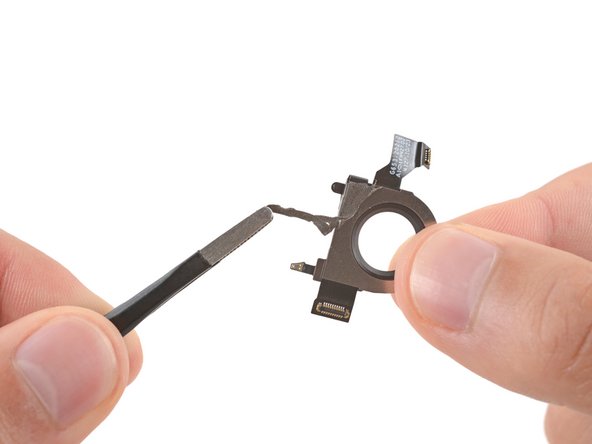
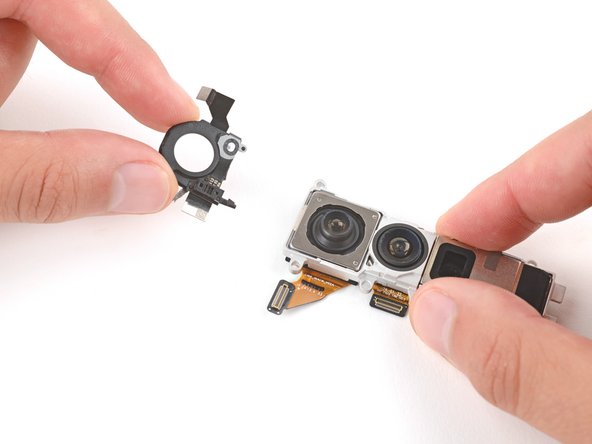
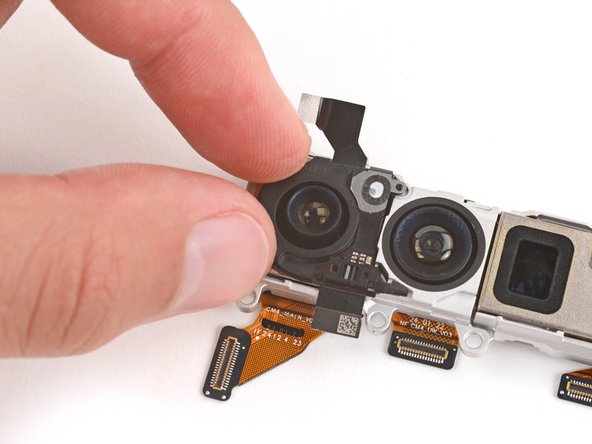
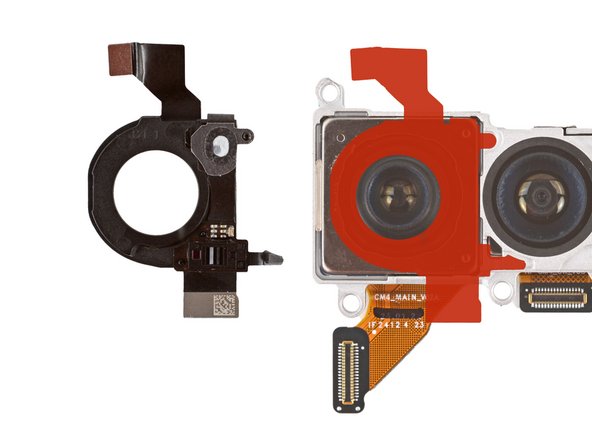
First things first, take a peek at your new rear cameras and see if there’s an autofocus sensor hanging out at the top. If it’s missing, no worries! Just follow the steps ahead to pluck that sensor from your old cameras and give it a new home.
If you’re feeling a bit adventurous, you can warm up the sensor gently with a hair dryer—just keep an eye on it! We wouldn’t want it to get too toasty and lose its shape.
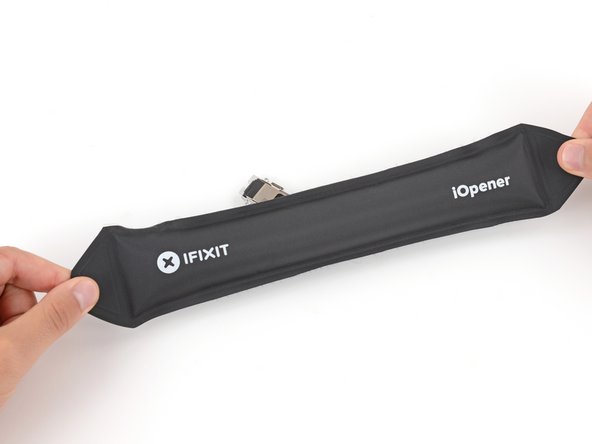
– Let’s warm up that autofocus sensor! Apply a heated iOpener to the top of the rear cameras to loosen the adhesive holding it in place.
Step 35
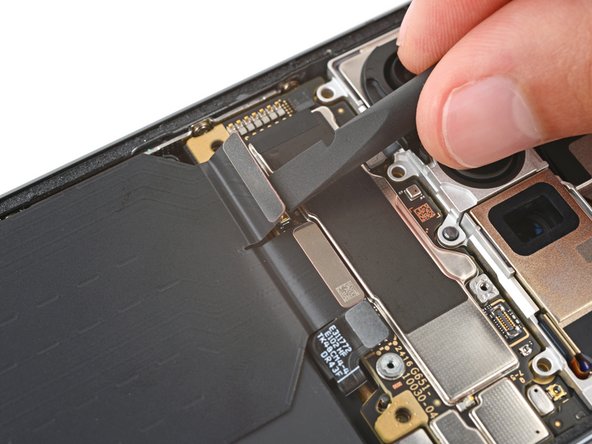
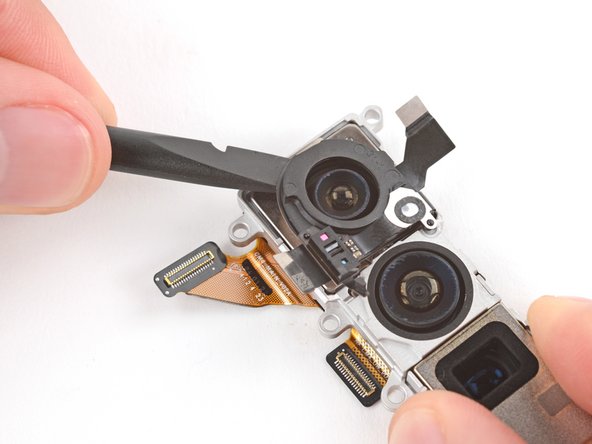
– With a gentle touch, slide the flat end of a spudger into the bottom right corner of the autofocus sensor (that little corner near the cable) and start to lift off that adhesive like a pro!
– Keep that spudger moving along the edges of the sensor to free up the rest of the adhesive. You’re doing great!
Tools Used
Step 37
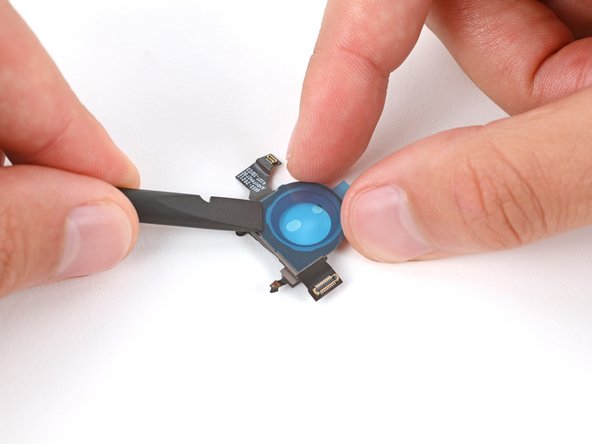
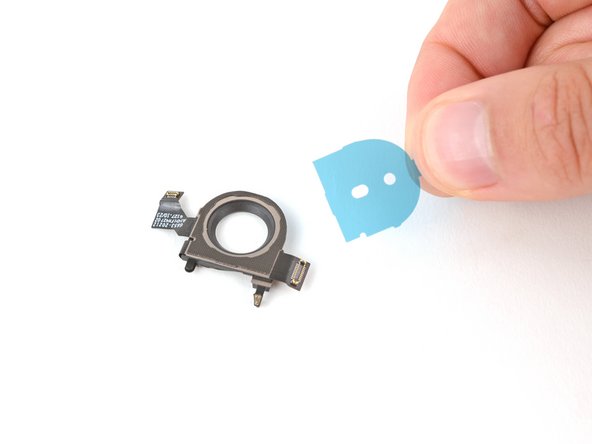
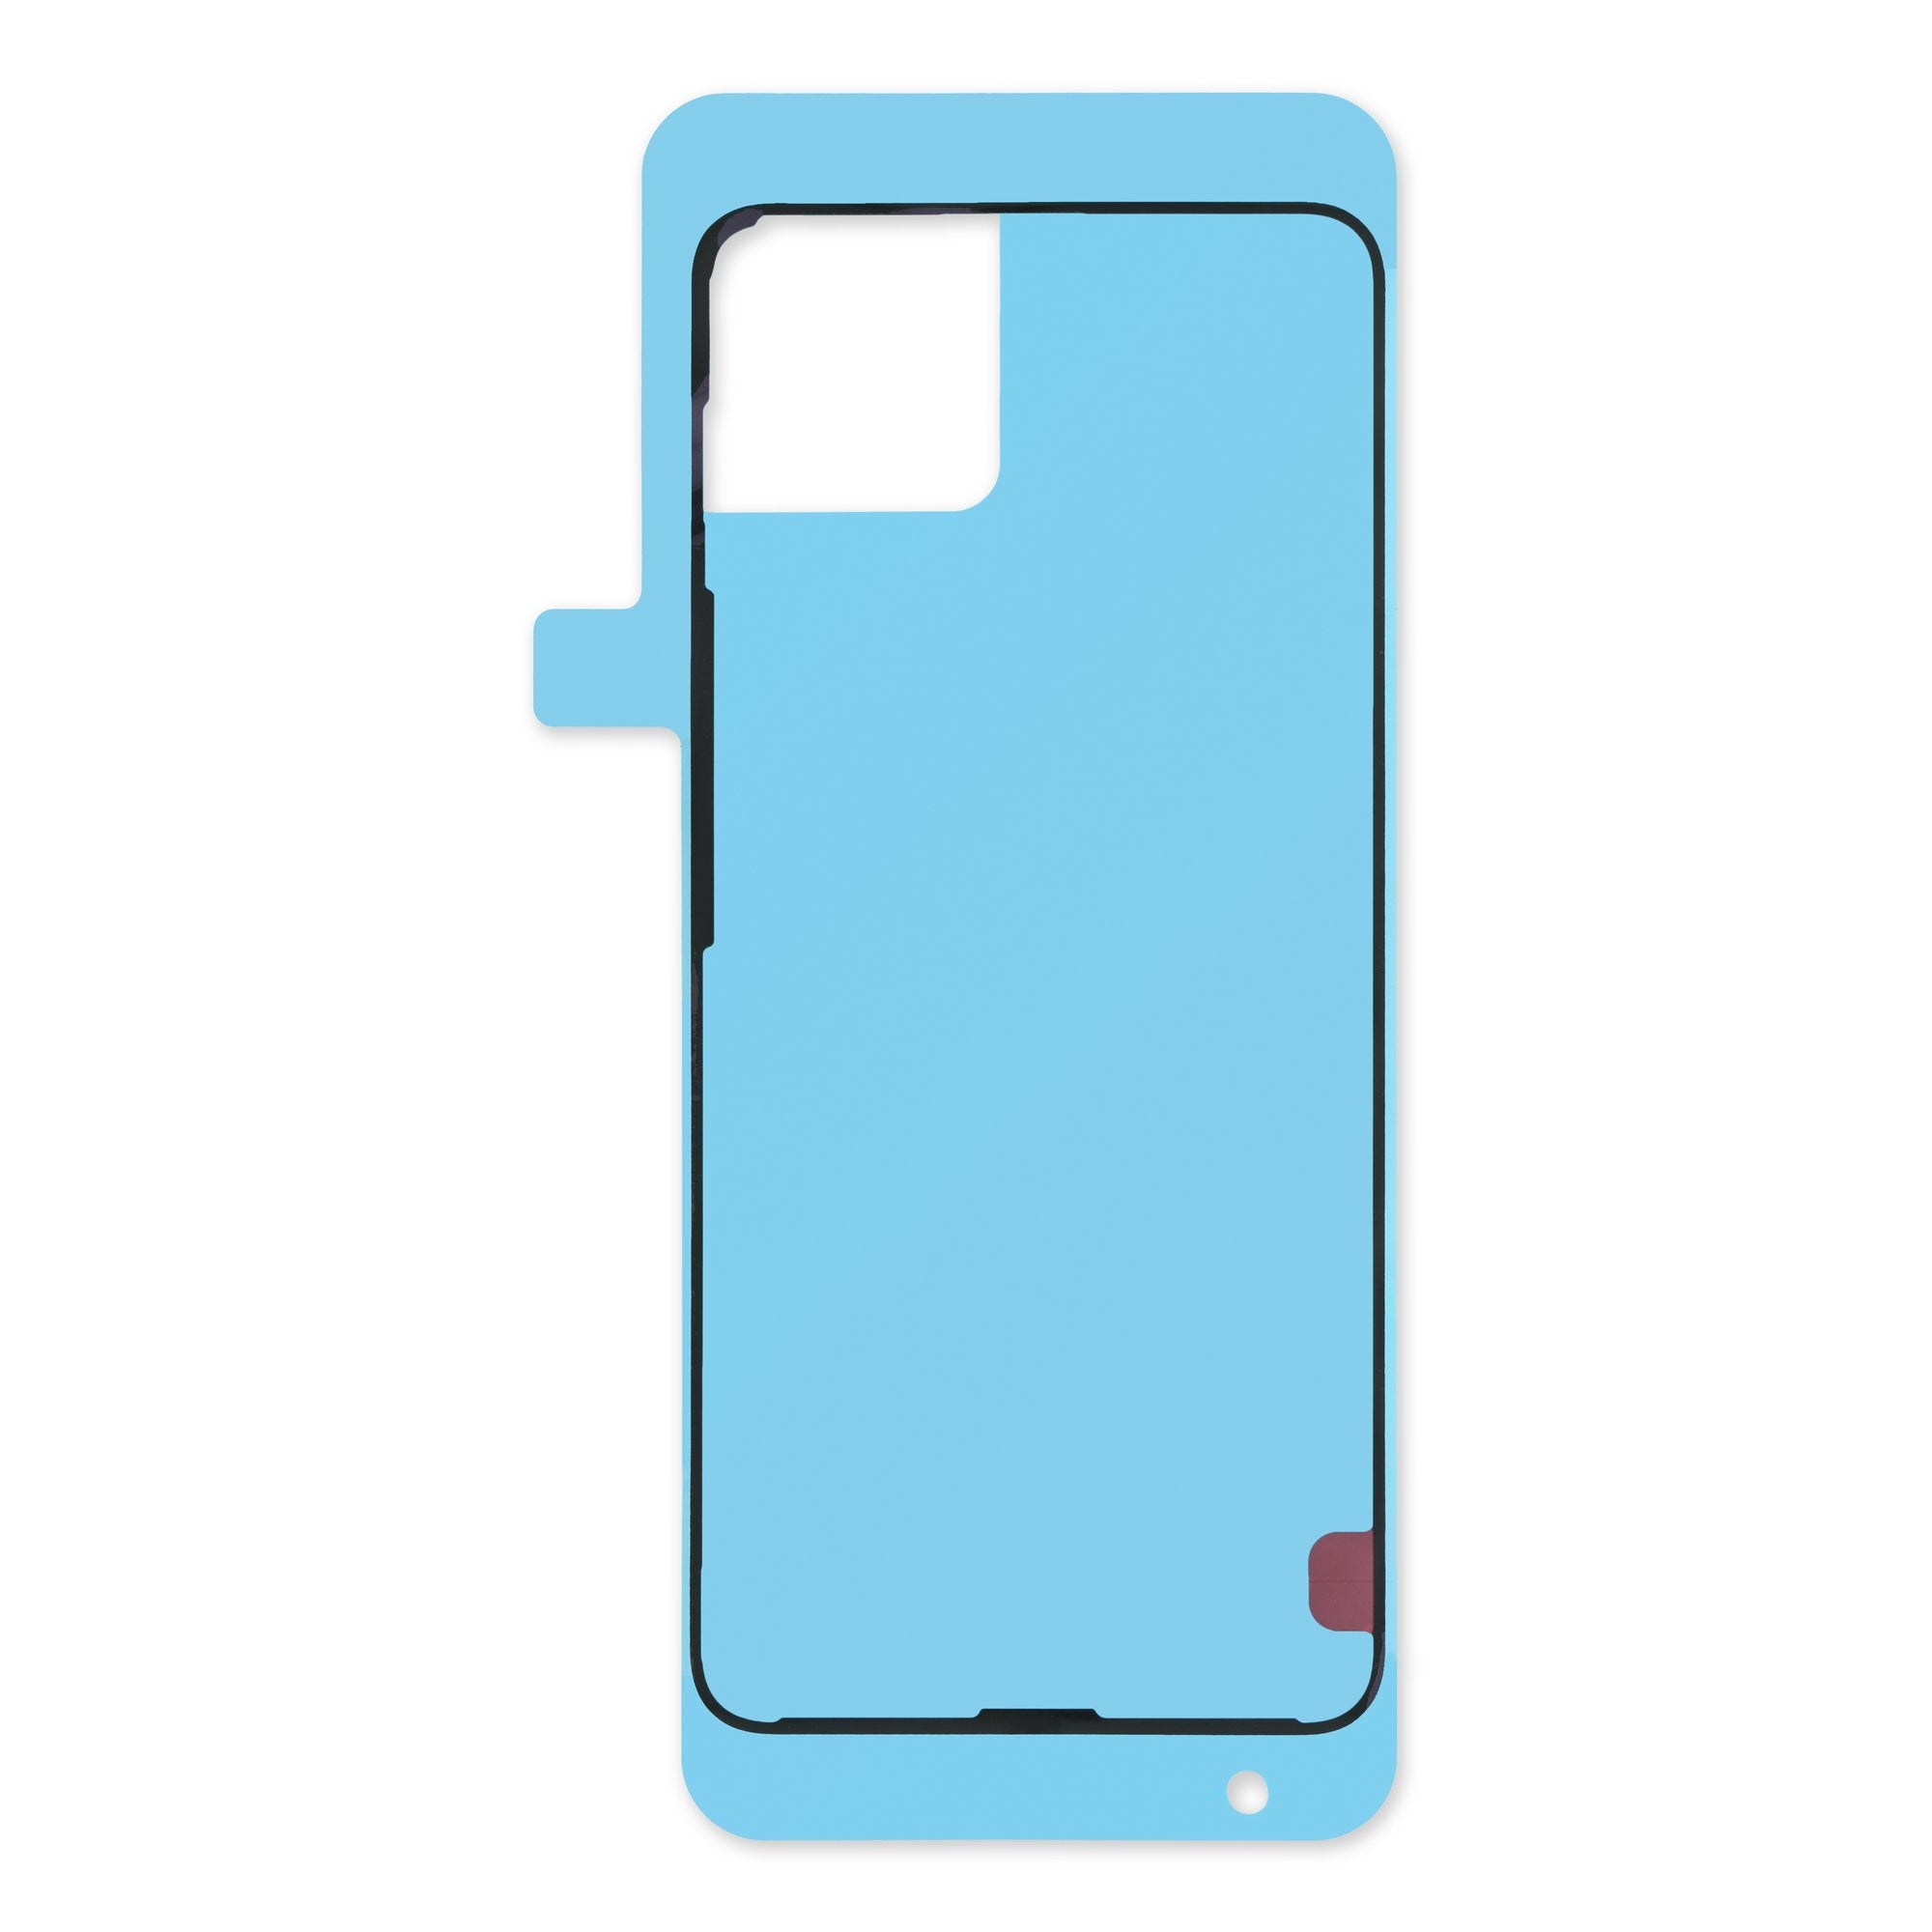
– Start by gently peeling away the larger, transparent plastic liner from your new autofocus sensor adhesive—easy as pie!
– Next, with a spudger in hand, carefully place the adhesive on the bottom of the sensor and give it a nice, firm press down to secure it in place. You’ve got this!
– Finally, peel back the last bit of the blue liner and voilà, you’re one step closer to a functioning device!
Tools Used
Step 38
Hey there! Just a friendly reminder to steer clear of the camera lenses during this step. If by chance you do get a little too close for comfort, no worries! Just give them a gentle wipe with a clean microfiber or lint-free cloth.
Hey, those cutouts on the left edge of the middle camera? They’re like little buddies for the short protrusions on the right edge of the sensor. Just line them up like a puzzle – it’s like they were made for each other!
– Ready to put your device back together? Just follow these steps in reverse order, starting from here.
– Want to check if everything’s working perfectly? Give the built-in Diagnostic tool a whirl by clicking here.
– When it’s time to say goodbye to your e-waste, be a hero and take it to an R2 or e-Stewards certified recycler.
– Things didn’t go as smoothly as you’d hoped? No worries! Try a bit of troubleshooting or check in with our awesome Answers community for some tips.
– If you need to backtrack, simply cancel this guide.
–
Success!


