How to Replace Google Pixel Watch Vibration Motor
Duration: 45 minutes
Steps: 13 Steps
For your own safety, make sure to drain that battery below 25% before diving into your device disassembly adventure!
Ready to swap out or replace your Pixel Watch’s vibration motor? Let’s get to it! Make sure to discharge the battery below 25% to minimize fire risk if the battery gets damaged during the repair. Got a swollen battery? Take necessary precautions! You’ll need some fresh adhesive for the screen when putting your watch back together. Water resistance depends on how precisely you reapply the adhesive, but keep in mind that your watch will lose its IP rating. Note: This guide is for the GBZ4S LTE model, but if you’ve got the non-LTE version, you can still follow along—there might just be a few visual differences.
Step 1
Before you start fixing things, make sure to power down your watch and take it off the charger.
– Pop off the watch band by giving that band release button a satisfying press, then slide the band over the button and away from the watch—smooth and easy!
– Now, do the same for the other band. You’ve got this!
Step 2
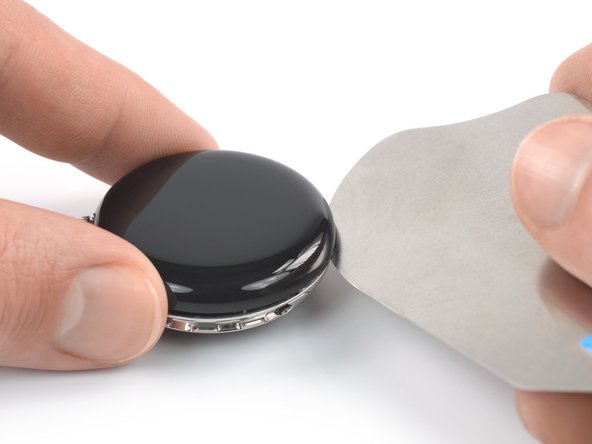
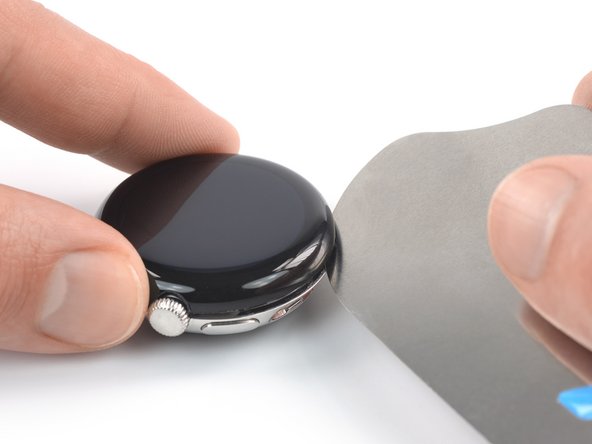
You can use a hair dryer, heat gun, or hot plate too—just be cautious not to overheat the watch. Both the screen and the internal battery are sensitive to heat damage.
Step 4
Step 5
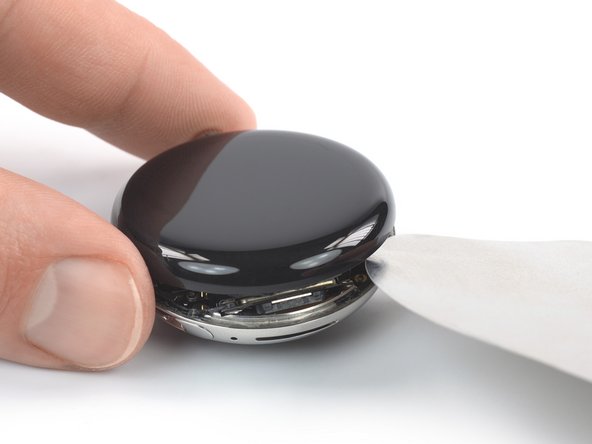
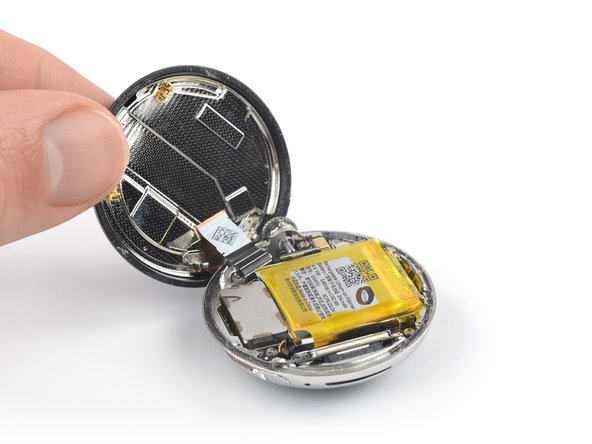
Hold your horses on removing that screen completely! It’s still hanging on by a fragile cable to the watch assembly.
– Time to get the iFlex back in its happy place! Carefully remove it, then slide it under the screen and tuck it in to the right of the speaker grille. That’s where it wants to be!
– Now, twist that iFlex to carefully pry the screen up. Easy does it, you’ve got this!
Step 6
– Open the screen and lift it up to a standing position. It’s like giving your device a little stretch before it gets to work!
– Before you finish sealing everything back up, why not power on your device to make sure all functions are running smoothly? Once you’ve given it a quick test, be sure to turn it off again before continuing the repair. It’s a quick check that can save you time later!
Step 7
As you progress through this repair guide, make sure to keep track of each screw and confirm it goes back to its original location on your device to ensure everything is properly secured and no damage occurs.
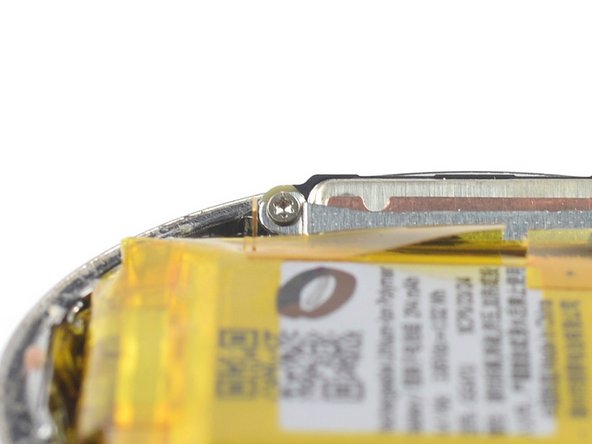
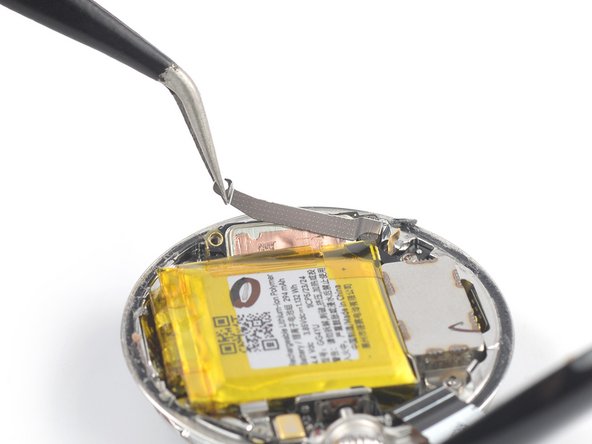
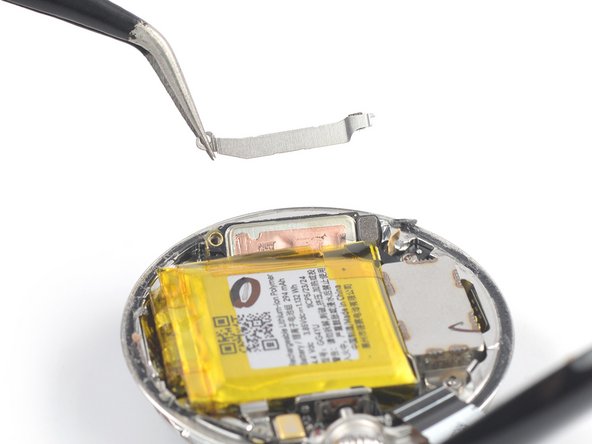
– Ready to get started? Use a trusty Torx T2 screwdriver to remove the 2.1 mm-long screw that’s holding the speaker bracket in place. Take a deep breath, it’s going be a breeze.
Step 9
To re-attach connectors like this one, simply line it up carefully and press down one side until you hear a satisfying click. Then, do the same on the other side. Avoid pressing the middle—it’s like a game of gentle pressure. If the connector’s off-center, those pins could bend and that’s a no-go. So, take it slow and steady for a smooth repair!
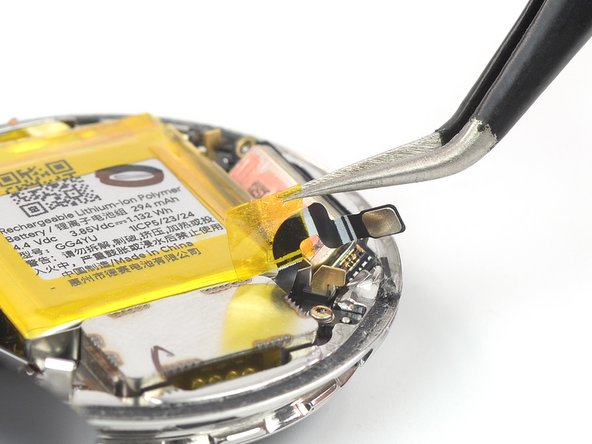
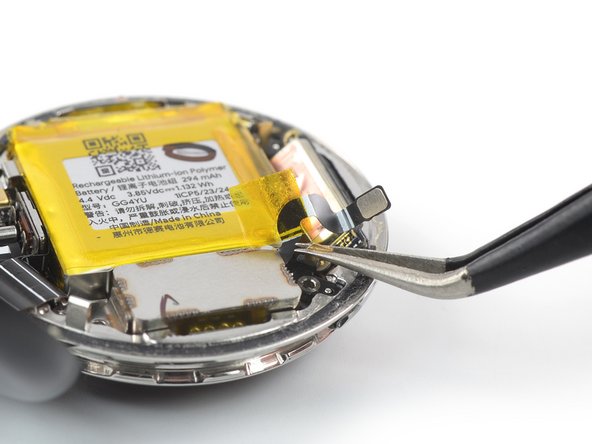
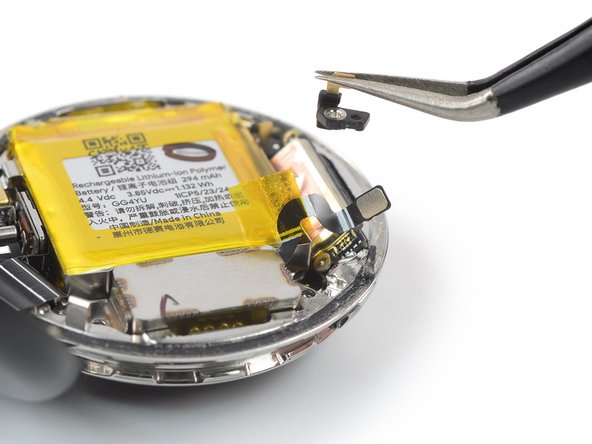
– Grab your trusty spudger and gently pop up the vibration motor’s press connector like a pro.
Tools Used
Step 11
– Grab yourself a trusty Torx T2 screwdriver and let’s get to work removing the two screws holding the vibration motor in place:
– One screw that’s 1.8 mm long
– And another that’s 2.8 mm long
Step 13
– You did it! To put everything back together, just reverse these steps.
– When you’re reassembling, don’t forget to add new adhesive where needed, and give those areas a good clean with isopropyl alcohol (>90%) first.
– Now, be kind to the planet and take your e-waste to an R2 or e-Stewards certified recycler.
– If things didn’t quite go as planned, try some basic troubleshooting or get help from our repair experts.
– If you need help or want to leave a note, you can always schedule a repair.
–
Success!


