How to Replace iPad 2 GSM Speaker Assembly Tutorial
Duration: 45 minutes
Steps: 65 Steps
Heads up! Before diving in, make sure you’re ready to tackle this repair. If you hit a snag or feel unsure, don’t hesitate to reach out for help. You can always schedule a repair with us, and we’ll get you sorted!
Follow this guide to swap out a broken speaker assembly. Some parts of this guide were filmed using a Wi-Fi model, so the insides might look a tad different from the cellular version. But don’t worry—the steps are pretty much the same for both models, except where we’ve made a note of it. If you need help, you can always schedule a repair.
Step 1
Before diving into the repair, we suggest giving your microwave a quick clean-up. Trust us, nobody wants any leftover gunk from the bottom sticking to your iOpener during this process!
– Pop that iOpener right in the middle of the microwave like it’s the star of the show.
Tools Used
Step 2
Keep an eye on that iOpener! We don’t want it getting too toasty—overheating can lead to a bit of a boom! So, let’s keep it under 100˚C (212˚F).
If your iOpener looks a little puffy, give it a break and don’t touch it.
Is your iOpener feeling a bit too hot in the middle? No worries! Just hang tight and let it cool down a bit before you give it another heat. A nicely warmed iOpener should stay cozy for about 10 minutes.
– Give your iOpener a warm-up in the microwave for thirty seconds. It’s like a cozy spa day for your tool!
– As you work through the repair, keep the good vibes going by reheating the iOpener in the microwave for another thirty seconds whenever it starts to cool down. You’ve got this!
Tools Used
Step 3
Caution! The iOpener is going to be quite toasty, so handle it with care. If it feels too hot to touch, just grab an oven mitt for some extra protection!
– Carefully take the iOpener out of the microwave, gripping one of the flat ends to steer clear of the hot center. You’ve got this!
Tools Used
Step 4
No microwave? No problem! Just pop your iOpener in some boiling water to warm it up.
– Grab a pot or pan and fill it with enough water to completely immerse your iOpener.
– Bring that water to a rolling boil and then turn off the heat like a pro.
– Now, gently drop the iOpener into the hot water for a cozy soak of 2-3 minutes. Just make sure it’s fully submerged!
– Using tongs (safety first!), carefully lift the warm iOpener out of the water.
– Give the iOpener a good dry with a towel – we want it nice and toasty, not dripping wet!
– And voilà! Your iOpener is all set for action! If it needs another warm-up, just repeat the water heating process for another 2-3 minutes.
Tools Used
Step 5
– Grab a SIM eject tool or a trusty uncoiled paperclip and gently pop that SIM card tray out. You’re almost there!
Step 6
– Gently slide the SIM tray out of its cozy little home and take it out of your iPad 2.
– If you’re swapping out the SIM card, just pop it out of its tray and slide in the shiny new one.
Step 7
Put on those stylish safety glasses to keep your peepers protected, and watch out for that LCD screen—let’s keep it in one piece!
– If your display glass has taken a hit, let’s keep it together and avoid any mishaps during your repair by sticking some tape on it.
– Lay down some overlapping strips of clear packing tape over the iPad’s display until it’s completely covered. It’s like giving it a protective shield!
– Try your best to stick to the guide from here on out. Just a heads up, once the glass is cracked, it may keep cracking while you work your magic. You might need to grab a metal prying tool to gently scoop the glass out. You’ve got this!
Step 8
Just a friendly reminder: while you’re getting your hands dirty with this repair, it’s a great idea to sport some safety glasses. They’ll keep those pesky glass shards from surprising you!
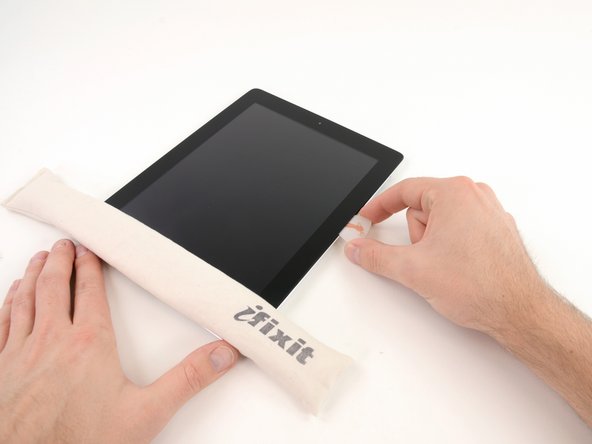
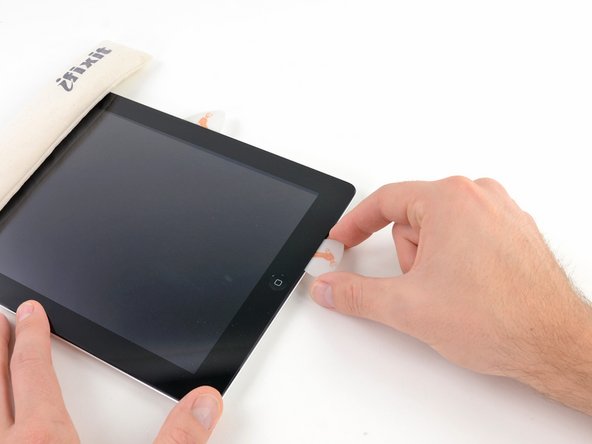
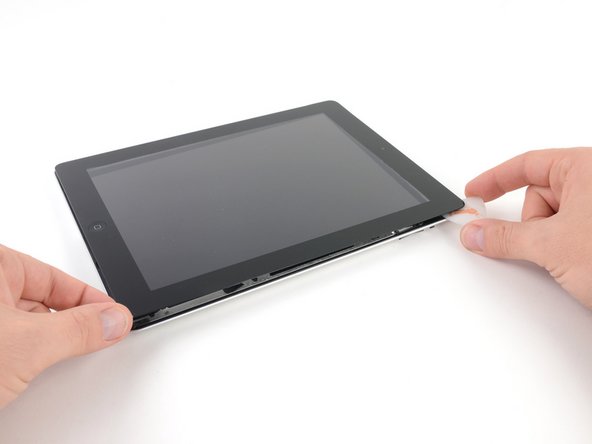
– Place the iOpener flat against the right edge of your iPad, making sure it’s smooth and snug for maximum contact.
– Give the bag a little time to work its magic on the iPad for about 90 seconds before you try to pop open the front panel.
Tools Used
Step 9
Getting that wedged tip of the opening tool between the glass and plastic might take a little muscle! Just take your time, be gentle, and give that plastic tool a little wiggle back and forth as needed. You’ve got this!
– Look closely at your iPad and you’ll notice a tiny gap in the adhesive ring at the upper right corner, about 2.0 inches (~5 cm) from the top. This is your ticket in!
– Now, let’s get that tool ready! Line it up with the mute button and gently slide the tip of a plastic opening tool into that little gap between the front glass and the plastic bezel. Just a little poke to widen the crack will do the trick!
Step 11
– With the plastic opening tool snugly positioned between the front glass and plastic bezel, gently slide a plastic opening pick into that cozy little gap right next to your trusty tool. You’re doing great!
Step 12
– Gently take out the plastic opening tool from your iPad and slide the opening pick a little deeper under the front glass, about half an inch down. You’re doing great!
Step 14
The adhesive is super strong, so you might need to put in a bit of muscle. Just take your time and be gentle with it!
If you can spot the tip of that trusty opening pick peeking out from beneath the front glass, give it a gentle tug. While it’s perfectly fine to use the pick this way, just a heads up—it might leave some sticky adhesive residue on the LCD. No biggie, though!
– While the iOpener warms up the bottom edge, start peeling back the adhesive from the right edge of your iPad.
– Gently slide the opening pick down the side of the iPad, freeing up that adhesive as you go along.
Tools Used
Step 15
As you peel away the adhesive, you might want to slide that warm iOpener back onto the right edge of the iPad. This little move is totally up to how long the iPad has been cooling off while you’ve been busy working your magic.
– If the opening pick finds itself stuck in the adhesive, just give it a little roll along the edge of the iPad to keep peeling away that sticky stuff. You’ve got this!
Tools Used
Step 16
– Before you whip out that first opening pick from the bottom corner of your iPad, pop a second pick under the right edge of the front glass. This little buddy will help keep the adhesive from getting too clingy.
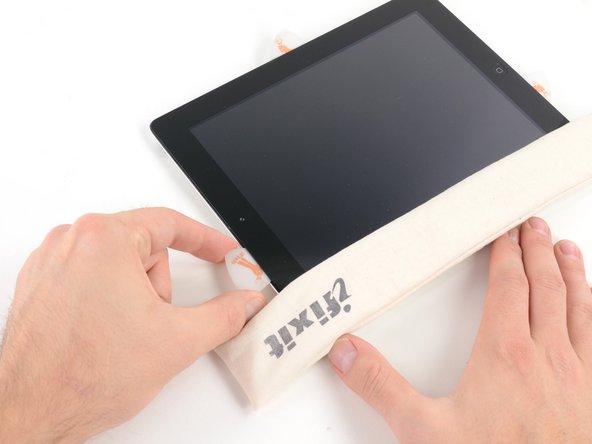
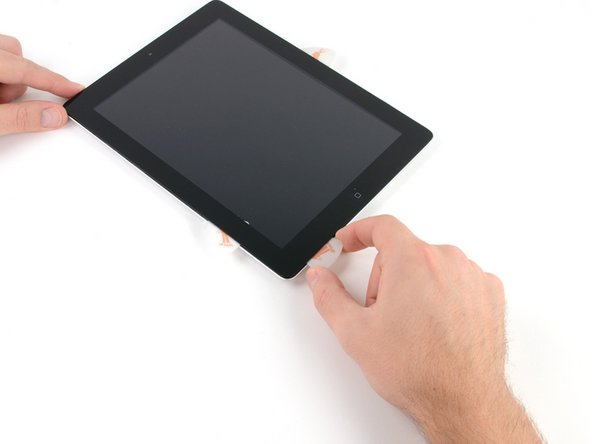
– Give your iOpener a little reheat love, then place it at the top edge of the iPad to keep things nice and cozy.
Tools Used
Step 17
The Wi-Fi antenna is snugly secured at the bottom right edge of the iPad’s rear case with screws and a cable. Given its unique position, it’s super important to handle it with care—one wrong move and you might end up causing some serious damage to that antenna. So, let’s be gentle and get it right!
– Alright, folks, it’s time to put on your superhero capes for the next few steps! Handle with care because we’re about to get a little tricky.
– We need to gently free the adhesive that’s keeping the antenna snug against the front panel. Just remember, the goal is to do this without causing any harm to those delicate parts connecting the antenna to the bottom of your iPad. Take your time and follow the upcoming steps closely.
Step 18
Be careful not to slide the pick beyond the bottom right corner! Doing so might just give the Wi-Fi antenna a bit of a rough time. Let’s keep it happy!
– Gently glide the opening pick around the bottom right corner of your iPad to free up that pesky adhesive. You’ve got this!
Step 19
As you glide the opening pick along the bottom right edge of the front panel, keep in mind that the Wi-Fi antenna is lurking nearby. It’s a delicate little thing that can easily get caught if you’re not careful with the adhesive. So, stay sharp and take your time!
Just a friendly tip: don’t yank that pick all the way out from under the front glass! Give it a gentle tug so that about 1/8″ (3 mm) of the tip stays cozy under there. Keep it chill and steady!
– Gently glide the tip of your trusty opening pick along the bottom edge of the iPad, letting it work its magic to free the adhesive around the Wi-Fi antenna.
Step 20
– After you’ve gracefully glided past the Wi-Fi antenna (that’s about 3 inches from the right edge, or just a hop away from the home button), gently slide the opening pick all the way back in.
– Now, give that pick a little nudge to the right to free the adhesive that’s holding the Wi-Fi antenna snug against the front glass.
Step 21
Keep the iOpener toasty for no more than a minute at a time, and give it a little breather of at least two minutes before giving it another round in the heat!
If the adhesive has cooled down too much along the bottom edge, give your iOpener a quick reheat to warm up that sticky goodness where you’re working.
– Keep on peeling that adhesive away from the bottom of your iPad! As you do, gently pull the opening pick out far enough to maneuver around the home button. Once you’re past the home button, pop that pick back in to a depth of about 1/2 inch (10 mm). You’re doing great!
Tools Used
Step 22
– Keep peeling back that adhesive all the way along the bottom edge of the iPad. You’re doing great!
– Once you’re in there, leave the opening pick snugly tucked under the front glass near the home button. It’s like giving it a cozy little spot to rest!
Step 24
If your adhesive has gotten a bit too cool, just pop the iOpener back along the top edge and keep at it! If the iOpener itself is feeling a little chilly, give it a reheat and you’re good to go!
– Gently slide the opening pick along the top edge of your iPad, giving it a little pull to navigate around the front-facing camera bracket.
– This part has some seriously sticky adhesive, so you might need to apply a bit of muscle. Just take it slow and steady to avoid any slips that could hurt you or your iPad.
– If the pick feels like it’s getting stuck in the adhesive, try ‘rolling’ it like we showed you in step 9.
Tools Used
Step 25
If the adhesive is feeling nice and toasty, go ahead and take that iOpener off the iPad for easier handling. But if it’s still a bit clingy, just give the iOpener another warm-up and rest it on the left edge while you get to work.
– Keep peeling away the adhesive at the top of the iPad, and gently slide the opening pick around the top left corner.
Tools Used
Step 26
The digitizer cable is hanging out around 2″ (50 mm) from the bottom of your iPad. When you reach about 2.25″ (60 mm) from the bottom, it’s time to pause that pick action!
– Gently slide the opening pick down the left edge of your iPad, letting it work its magic on the adhesive as you go. Don’t worry, this area is more forgiving thanks to the digitizer along that whole side. Just keep the pick at a cozy depth of no more than 1/2 inch (10 mm) to avoid any mishaps with the digitizer. You’re doing great!
Step 27
Be super careful! The digitizer cable is hanging out just about an inch (25 mm) from the bottom of the iPad. Take your time and tread lightly to avoid snipping this little guy!
– With the opening pick still nestled under the bottom edge of your iPad, gently work to free the adhesive at the bottom left corner. You’ve got this!
Step 28
– Take one of those nifty opening picks and gently lift up the bottom right corner of your iPad. Once it’s popped up, give it a little pinch with your fingers to hold it in place!
Step 29
Watch out for any sticky adhesive that might still be hanging around! Grab an opening pick and gently slice through any stubborn glue that’s keeping the front panel in place.
– Gently grab your iPad by the top and bottom right corners and give the front glass a little twist away from the device. It’s like giving it a friendly nudge!
– When putting everything back together, don’t forget to pamper that LCD! Use a microfiber cloth and some compressed air to whisk away any pesky dust or fingerprints before you seal the glass back on.
Step 30
– Unscrew those four 2.0 mm Phillips screws that are holding the LCD tight to the rear case. You’re almost there!
Step 31
– Gently lift the LCD from the edge closest to the volume buttons and swing it out from the rear case like a pro.
– Carefully lay the LCD down on the front panel, just like you see in the second picture.
Step 32
Make sure you’re gently lifting the hinged retaining flaps, not the sockets themselves. You’ve got this!
The retaining flaps are marked in red in the second image.
– Gently use the edge of a plastic opening tool to lift up the retaining flaps on those two digitizer ribbon cable ZIF sockets. You’ve got this!
Step 33
– Gently glide the edge of your trusty plastic opening tool to detach the digitizer cable from the shields on the logic board—just like peeling a sticker off a new gadget!
– Now, with a steady hand, carefully lift the digitizer cable away from the adhesive that has it snug against the rear case. You’ve got this!
Step 34
– Gently wiggle the digitizer ribbon cable and pull it straight out from its two cozy sockets on the logic board. You’ve got this!
Step 35
To get that front panel assembly off, you’ll want to gently slide the ribbon cable out from between the case and the LCD. A little nudge on the LCD will create some extra space to work with.
– Gently lift the LCD from the long edge that’s farthest from the digitizer cable and flip it back toward the rear case, just like you’re closing a book with a little flair.
– While you’re holding the LCD up, carefully slide the front panel away from the iPad. Just a friendly reminder: watch out for that digitizer cable—let’s keep it safe from getting snagged on the rear case or the LCD!
Step 36
To get into the heart of your iPad, we’ll need to gently lift the LCD out of its cozy case.
– Gently lift the LCD from the edge nearest to the volume buttons and flip it out of the rear case—think of it like turning a page in your favorite book.
– Now, place the LCD face down on a clean surface. A soft cloth underneath is a great idea to keep it scratch-free and happy.
Step 37
Be gentle when disconnecting the connector from its socket—pulling it upward could cause some unwanted drama!
– Gently place the LCD next to the rear panel like you’re setting down a delicate treasure.
– Grab a plastic opening tool and lift that display data cable lock upwards with a touch of finesse.
– Now, smoothly pull the display data cable out of its cozy socket.
Step 39
– If you’ve got it, grab a plastic opening tool to gently lift that pesky tape hiding the dock connector cable’s end.
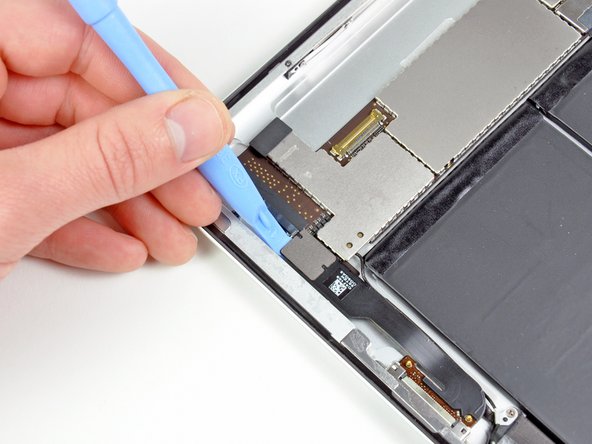
– Now, with the edge of your trusty plastic opening tool, carefully nudge the dock connector cable’s connector up and out of its cozy spot on the logic board.
– Time to peel back the dock connector ribbon cable from the rear panel. You’ve got this!
Step 40
– Gently lift the speaker cable connector straight up from its cozy spot on the logic board. You’ve got this!
Step 41
Just a friendly reminder: make sure you’re prying upwards on that nifty hinged retaining flap, not the socket itself. Let’s keep everything intact and happy!
– Grab your trusty plastic opening tool and gently lift the retaining flap on the headphone jack and front camera cable ZIF socket. You’ve got this!
– Carefully peel the headphone jack and front camera cable away from the rear case. Easy peasy!
Step 42
– Gently wiggle the headphone jack and front camera ribbon cable, then pull it straight out of its cozy spot on the logic board. You’ve got this!
Step 43
Avoid pulling the cable straight up when you’re disconnecting it. Keep it steady and gentle, just like a smooth dance move!
– Grab your trusty plastic opening tool and gently nudge the retainer that’s holding the upper component board cable connector snugly in its place on the logic board. Give it a little flip to set it free!
– Once it’s popped up, carefully pull the connector away from its cozy socket on the logic board. You’ve got this!
Step 44
– Unscrew the three 2 mm Phillips screws holding the SIM card slot snugly to the back panel. You’re doing great!
Step 45
– Let’s get started by unscrewing those two 2.9 mm Phillips screws that are keeping the headphone jack cozy at the top edge of the rear panel. You’ve got this!
Step 46
– Grab a plastic opening tool and gently coax the headphone jack out of its cozy spot at the top of the rear panel.
– Carefully peel the headphone jack/SIM slot assembly away from the top edge of the communications board, giving it a little wiggle if needed.
Step 47
– Time to unscrew! Grab your trusty Phillips screwdriver and carefully take out those two 2.1 mm screws that are holding the logic board bracket snugly against the rear case, right by the digitizer cable socket.
– Once those screws are out, gently lift the logic board bracket off the rear case and set it aside.
Step 48
– Unscrew the four 2.6 mm Phillips screws that are keeping the logic and communications boards snug against the rear panel. Time to set those boards free!
Step 49
– Gently slide the edge of a plastic opening tool underneath the logic board and carefully lift it away from the adhesive that’s keeping it stuck to the rear case. You’re doing great!
Step 50
Hold your horses! Don’t go yanking it out just yet. There are still three antenna cables hanging on for dear life.
– Gently lift the logic board out from the back case and give it a little twist towards the battery, like you’re showing it a fun new dance move!
Step 51
– Grab a trusty plastic opening tool and gently pry away those two antenna connectors from their cozy spots on the communications board. You’ve got this!
Step 52
– Time to get cozy with your device! Gently disconnect the Wi-Fi antenna connector from its socket on the logic board. You’ve got this!
Step 53
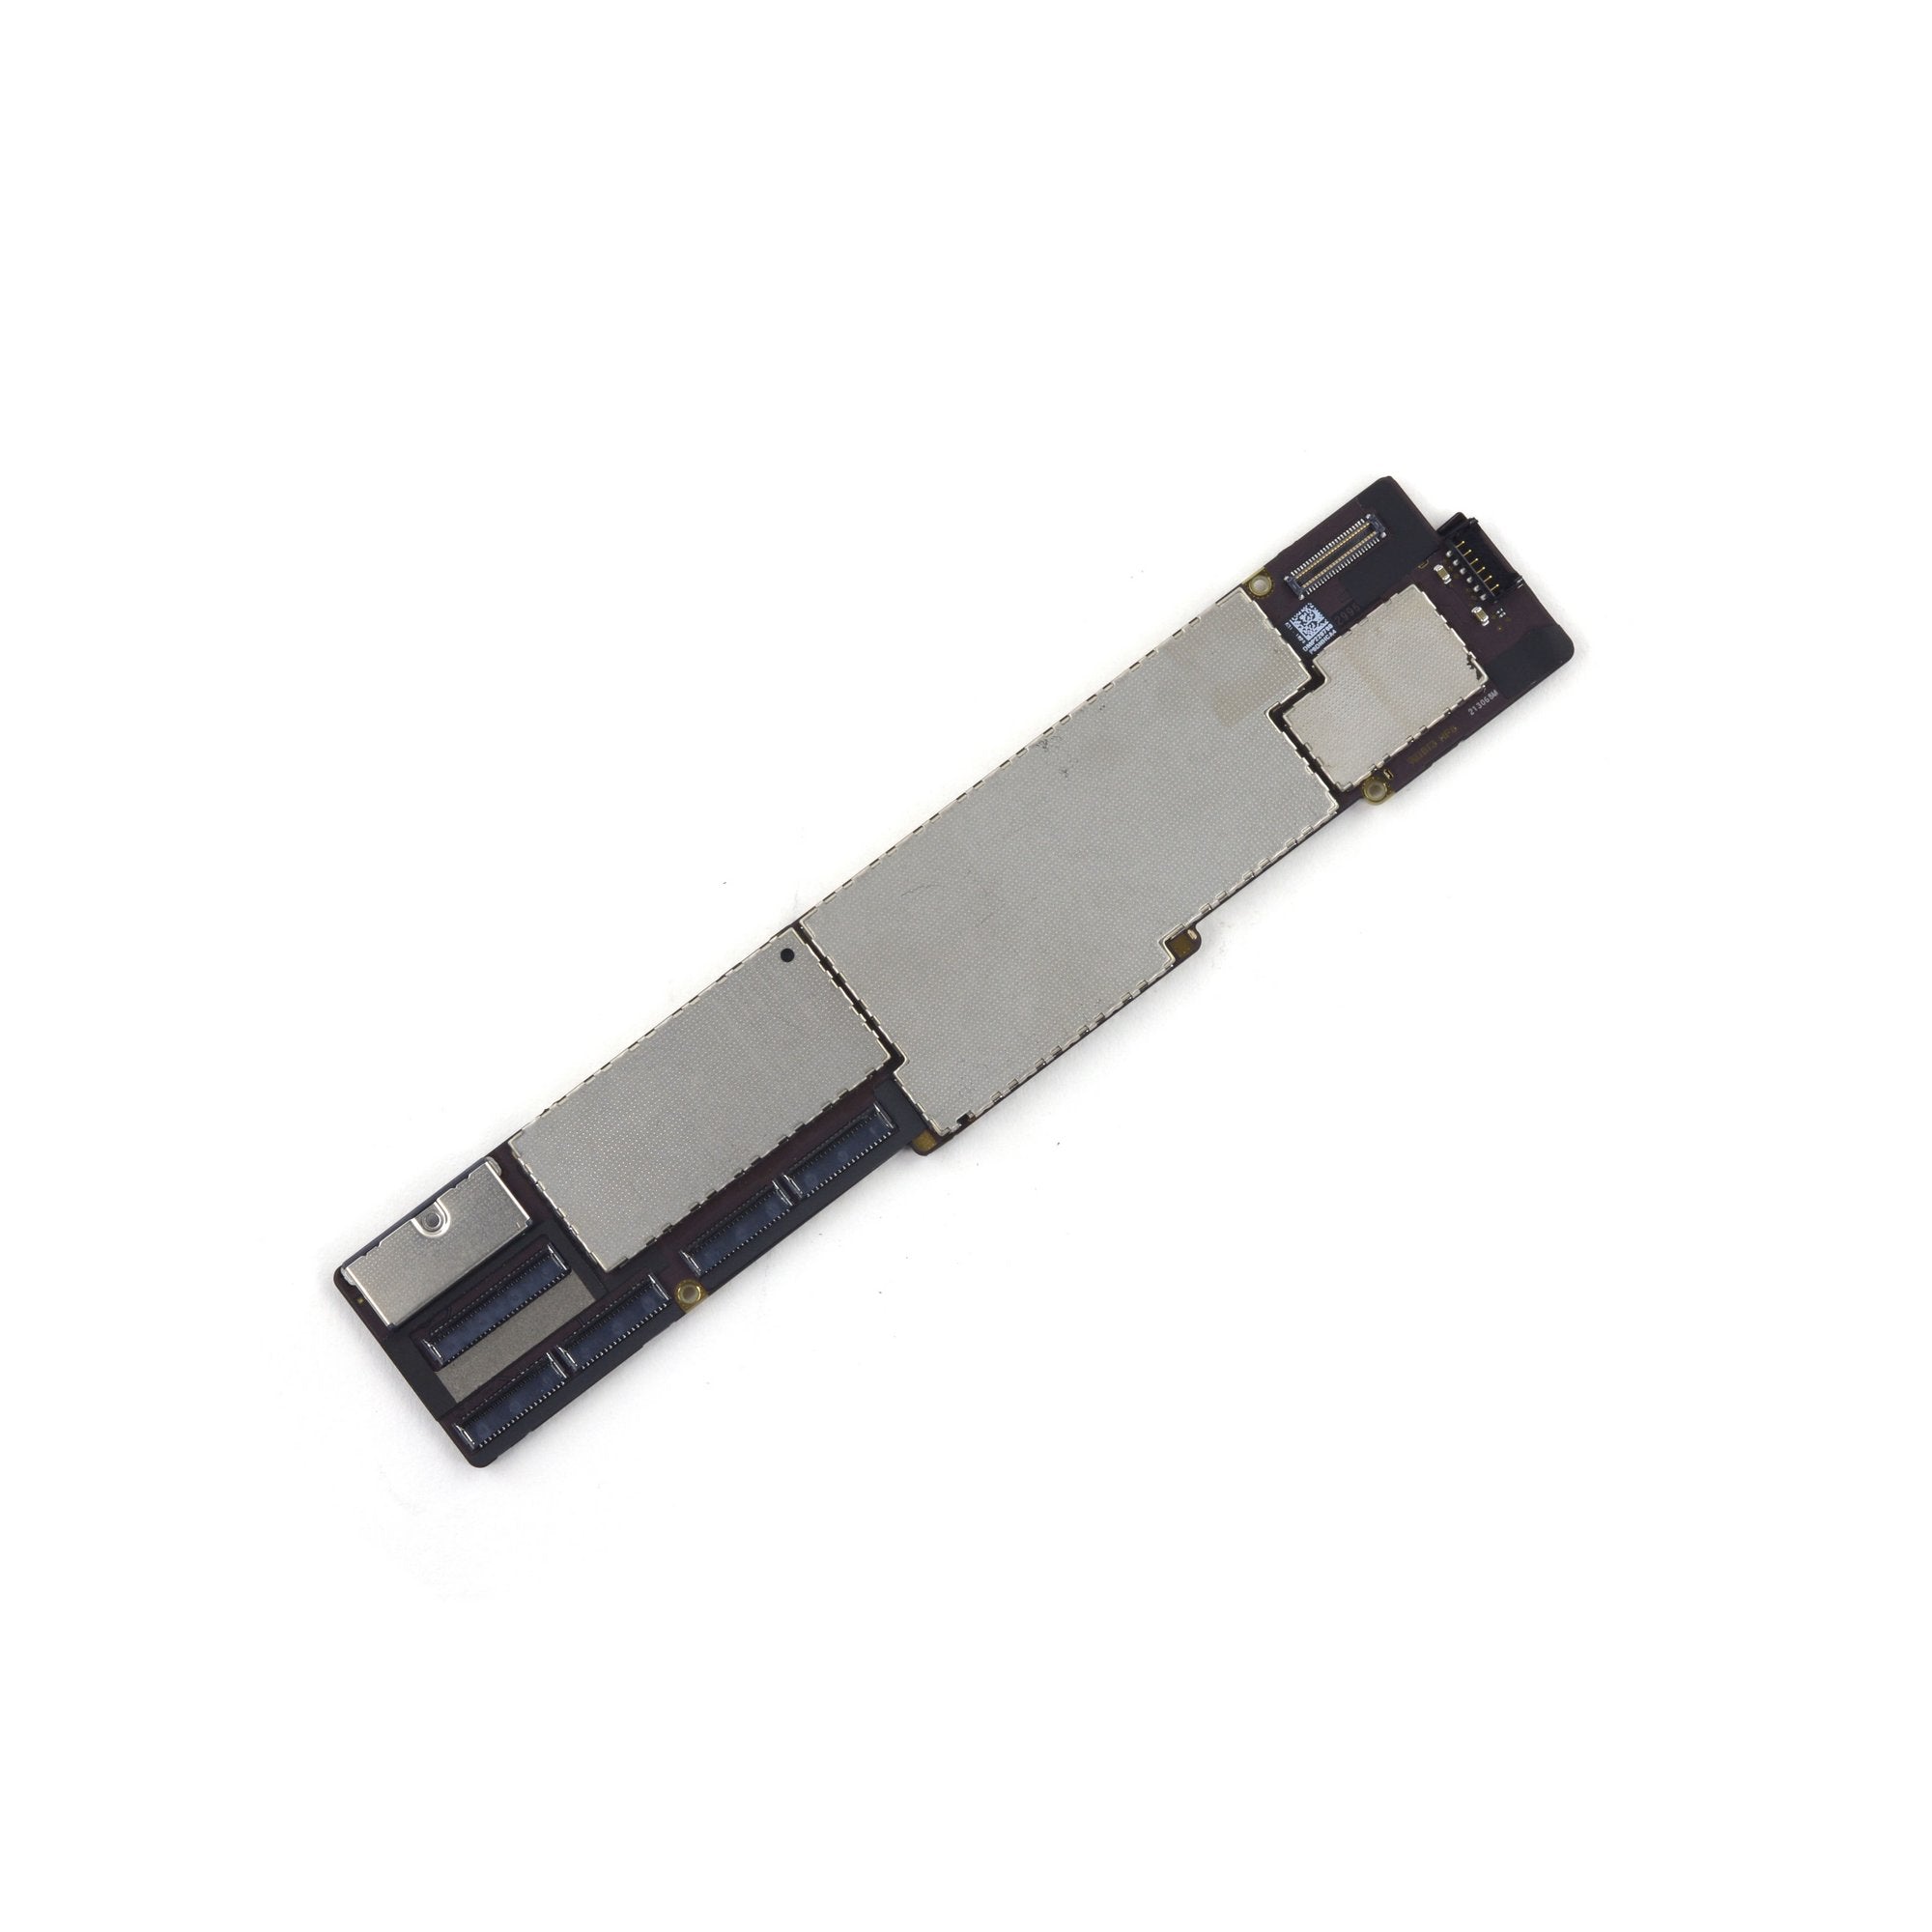
– Carefully take out the logic board from your iPad 2, like a magician pulling a rabbit out of a hat!
Step 54
– Give that iOpener a warm-up in the microwave for one minute to get it nice and toasty.
– Now, place the warm iOpener on the back of your iPad, just to the right of center (that’s the side opposite the rear-facing camera). Let it chill there for 90 seconds to loosen up that pesky battery adhesive.
– Next, shift the iOpener to the center of the back of the iPad and let it hang out for another 90 seconds.
– Finally, move the iOpener to the left edge (the side with the rear-facing camera) of the back of the iPad and let it sit there for another 90 seconds.
Tools Used
Step 55
If the adhesive is putting up a tough fight, give that rear panel a little heat boost and try peeling it off again!
– Begin by locating the battery cell that’s nearest to the dock connector. Grab your trusty plastic opening tool and gently slide it under the edge of the battery that’s closest to the logic board. You’re just making a little space for the flat end of your spudger to sneak in!
– Now, take that spudger and glide its flat end along the two long sides of each battery cell. You’re on a mission to free them from the adhesive that’s holding them tight against the rear case. Keep it steady, and soon enough, they’ll be free!
Tools Used
Step 56
Handle that battery connector board with care, folks! Give it some love and avoid bending it too much. And when you’re gently lifting around that little post poking out from the aluminum rear case, take it slow and steady!
– Before you start gently lifting the middle battery cell, grab your trusty plastic opening tool and carefully nudge the battery connector board away from the rear panel. You’ve got this!
Step 57
– Now grab your trusty spudger and carefully work your way along the long sides of the middle battery cell to break that adhesive seal. You’ve got this!
– Once you’ve tackled the middle cell, it’s time to show some love to the last battery cell. If things are feeling a bit stubborn, just give the case a gentle reheating and keep going!
Tools Used
Step 58
– Gently lift the battery out of the back panel and take it away from your iPad 2. You’re doing great!
Step 59
– Gently lift the dock connector and speaker cables to uncover the hidden Wi-Fi antenna cable.
– Carefully detach the Wi-Fi antenna cable from the back panel.
Step 60
– Time to tackle those pesky screws! Go ahead and unscrew the four screws listed below:
Step 61
– Gently peel the Wi-Fi antenna away from the speaker enclosure and take it out of the iPad 2.
Step 62
Make sure those little rings of EMI foam are still happily attached to the dock connector cable.
– Gently peel the dock connector cable away from the speaker cable.
Step 63
– Grab your trusty plastic opening tool and gently lift the edge of that hefty tape holding the speaker assembly to the rear panel. It’s like unwrapping a present!
– Now, with a little finesse, use your fingers to peel that tape right off the speaker assembly. You’ve got this!
Step 64
– Unscrew those two little guys right here:
Step 65
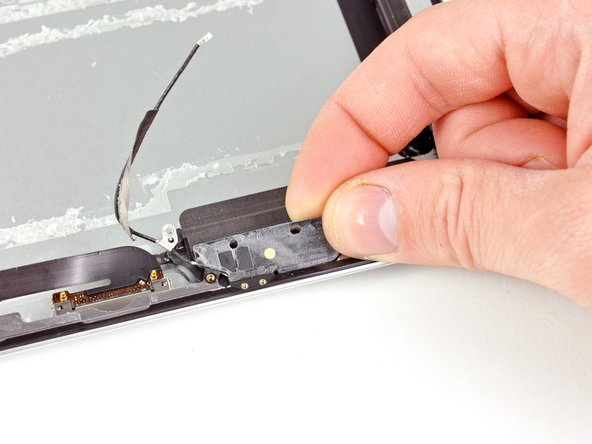
– Grab a plastic opening tool and gently nudge the speaker assembly out from its cozy spot beneath the right side of the rear panel. It’s like giving it a little nudge to say, ‘Time to come out!’
– Now, carefully lift the speaker assembly out of the iPad 2. You’ve got this!


