How to Replace iPad 4 Wi-Fi Adhesive Strips Tutorial
Duration: 45 minutes
Steps: 12 Steps
This is just for NEW front panel assemblies, folks!
Get ready to stick it to your replacement front panel with this guide! These adhesive strips are just what you need, but remember, they’re only for shiny new front panel assemblies. Let’s make that repair happen!
Step 1
These two nifty little trapezoidal strips with notches are your best buddies for attaching the home button bracket to the front panel.
Just make sure to align the profile of the strip with the edge of the mounting bracket for a perfect fit!
– Gently peel away the first trapezoidal adhesive strip using your trusty tweezers.
– With your tweezers in hand, position the first trapezoidal adhesive strip (making sure it’s facing the right way) onto the corresponding side of the home button mounting bracket.
– Now, just rinse and repeat for the second trapezoidal adhesive strip!
Tools Used
Step 2
– Grab a trusty pair of tweezers and gently snag the corner of one of those adhesive strips on the mounting bracket.
– Carefully lift and peel away the clear backing from the adhesive strip to unveil the sticky black goodness beneath.
– Now, just repeat those steps for the second adhesive strip. You’ve got this!
Tools Used
Step 3
Ensure that the home button mounting bracket is perfectly aligned with the bottom of the digitizer. You’re doing great!
– Carefully set the home button mounting bracket right on top of the home button, just like placing the cherry on top of a sundae!
Step 4
– Alright, it’s time to get those last bits of adhesive on the front panel! Let’s do this!
– Hold your horses! Don’t peel off that clear backing just yet.
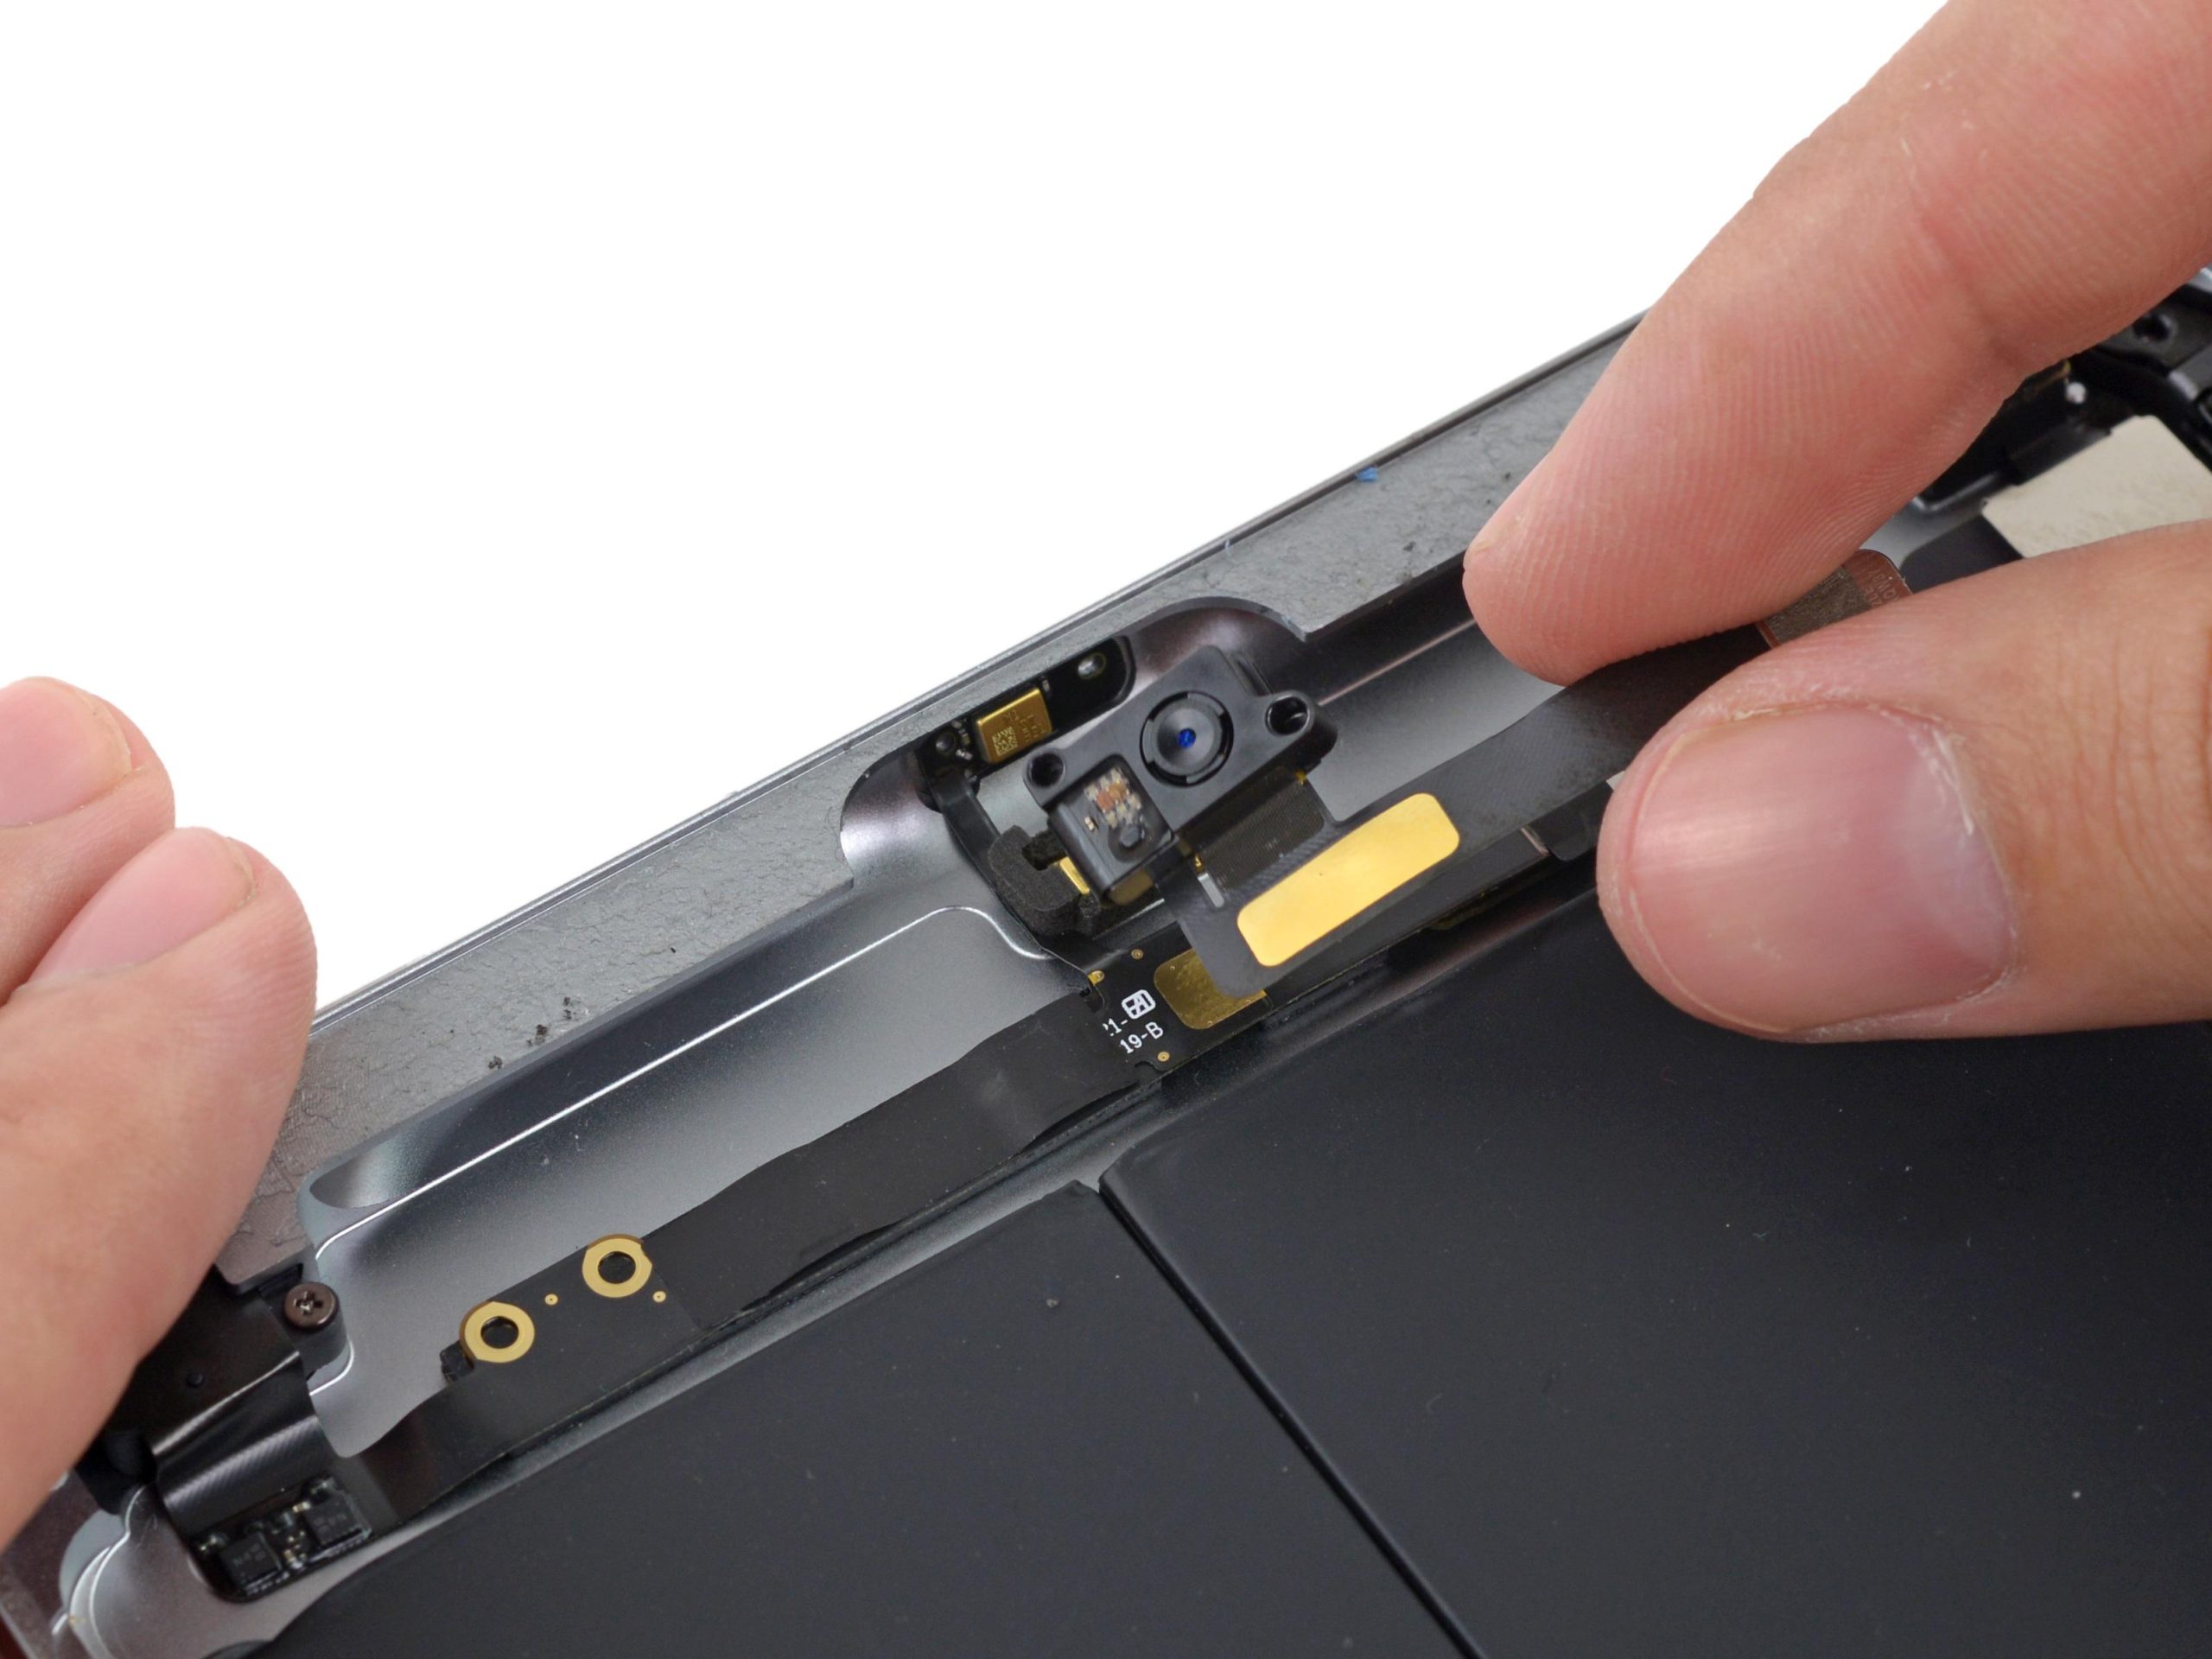
– Carefully position the bridge-shaped adhesive strip between the top edge of the inner frame of the front panel and the camera mounting bracket.
– Gently smooth the strip from the center outwards, making sure to keep any pesky air bubbles at bay. We want a nice, clean seal!
Step 5
– Stick that long C-shaped adhesive strip right onto the right side of the front panel like it’s meant to be there!
Step 6
It’s a good idea to gently move the home button ribbon cable out of the way while you get that next adhesive strip in place. You’ve got this!
– Grab that straight adhesive strip, medium length, and set it down on the bottom right corner of the front panel, right under the home button ribbon cable. You’ve got this!
Step 7
– Stick that tabbed rectangular adhesive strip right on the bottom right corner of the front panel. You’ve got this!
Step 8
– Grab that long L-shaped adhesive strip and stick it right on the bottom left corner of the front panel. You’re doing great!
Step 9
– Stick that snazzy little adhesive strip right on the top left corner of the front panel. You’ve got this!
Step 10
– Stick that final, short L-shaped adhesive strip right on the top left corner of the front panel. You’ve got this!
Step 11
Hold off on peeling the clear backing off those strips for now!
– Grab a trusty pair of tweezers and gently lift the clear backing off the adhesive strip sitting snugly beneath the home button ribbon cable.
– Carefully place the home button ribbon cable onto the adhesive strip and smooth it down from the center outward, making sure not to trap any pesky air bubbles between the strip and the front panel.
Tools Used
Step 12
Gently lower the front panel onto your iPad, making sure it fits snugly within the plastic bezel. Keep an eye out for any sneaky dirt or fingerprints trying to sneak between the glass and LCD!
To create a solid seal, flip the iPad face down on a cozy padded envelope or cloth, and stack a couple of books on top to give it a little weight. Let it chill like this for a few hours before you dive back in.
– Grab a dry microfiber cloth and give that LCD and the inside of the front panel glass a gentle wipe. If you’ve got some pesky dust hanging around, a quick blast from canned air or an air compressor will do the trick!
– Take a pair of tweezers and carefully peel back the clear backing from each adhesive strip. You’ve got this!


