How to Replace iPad Wi-Fi Metal Display Clips
Duration: 45 minutes
Steps: 11 Steps
Hey there, repair enthusiast! Just a friendly reminder to keep your workspace clean and organized while you tackle this project. A tidy space makes for a smooth repair experience. And if you ever feel stuck or need a hand, don’t hesitate to schedule a repair with us!
Grab this guide to swap out any clips that might’ve taken a hit during the display assembly removal. Let’s get those clips back in action!
Step 1


Pop on some safety glasses to keep your peepers safe, and watch out for that LCD screen – it’s delicate!
– If your display glass is cracked, let’s keep the situation from getting worse and protect yourself while you work by sticking some tape on it.
– Grab some clear packing tape and lay down overlapping strips over the iPad’s display until it’s completely covered.
– Now, follow the rest of the guide as best as you can! Just a heads up: once the glass starts cracking, it might keep on doing its thing while you’re working. You might need to bring in a metal prying tool to help scoop out the glass.
Step 2


– There are 14 metal clips keeping the display assembly snug and secure, as shown on the left. When you start prying in the next steps, try your best to work around these clips instead of slicing through them with your opening tool. You’ve got this!
Step 3


– Slide a metal spudger into the gap between the top edge of the display assembly and the rear panel assembly.
– Gently twist the spudger away from you to pop those tabs loose along the top edge of the display.
– Grab a second metal spudger and slide it in between the top edge of the display assembly and the rear panel assembly to keep those tabs from snapping back into place.
Tools Used

Step 4


Pry with care and a gentle touch—if you hit a snag, take a breath and try another spot.
– Grab your trusty spudger and gently glide it along the right edge of the iPad. You’re doing great!
– The front panel is snugly held in place by metal clips on the top, bottom, and left sides. Over on the right, those clever plastic tabs are just waiting to slide into their cozy recesses in the backplate.
– Once those clips are set free, carefully lift the left side of the front panel and slide it to the left, allowing those tabs to gracefully escape from the aluminum backplate. You’ve got this!

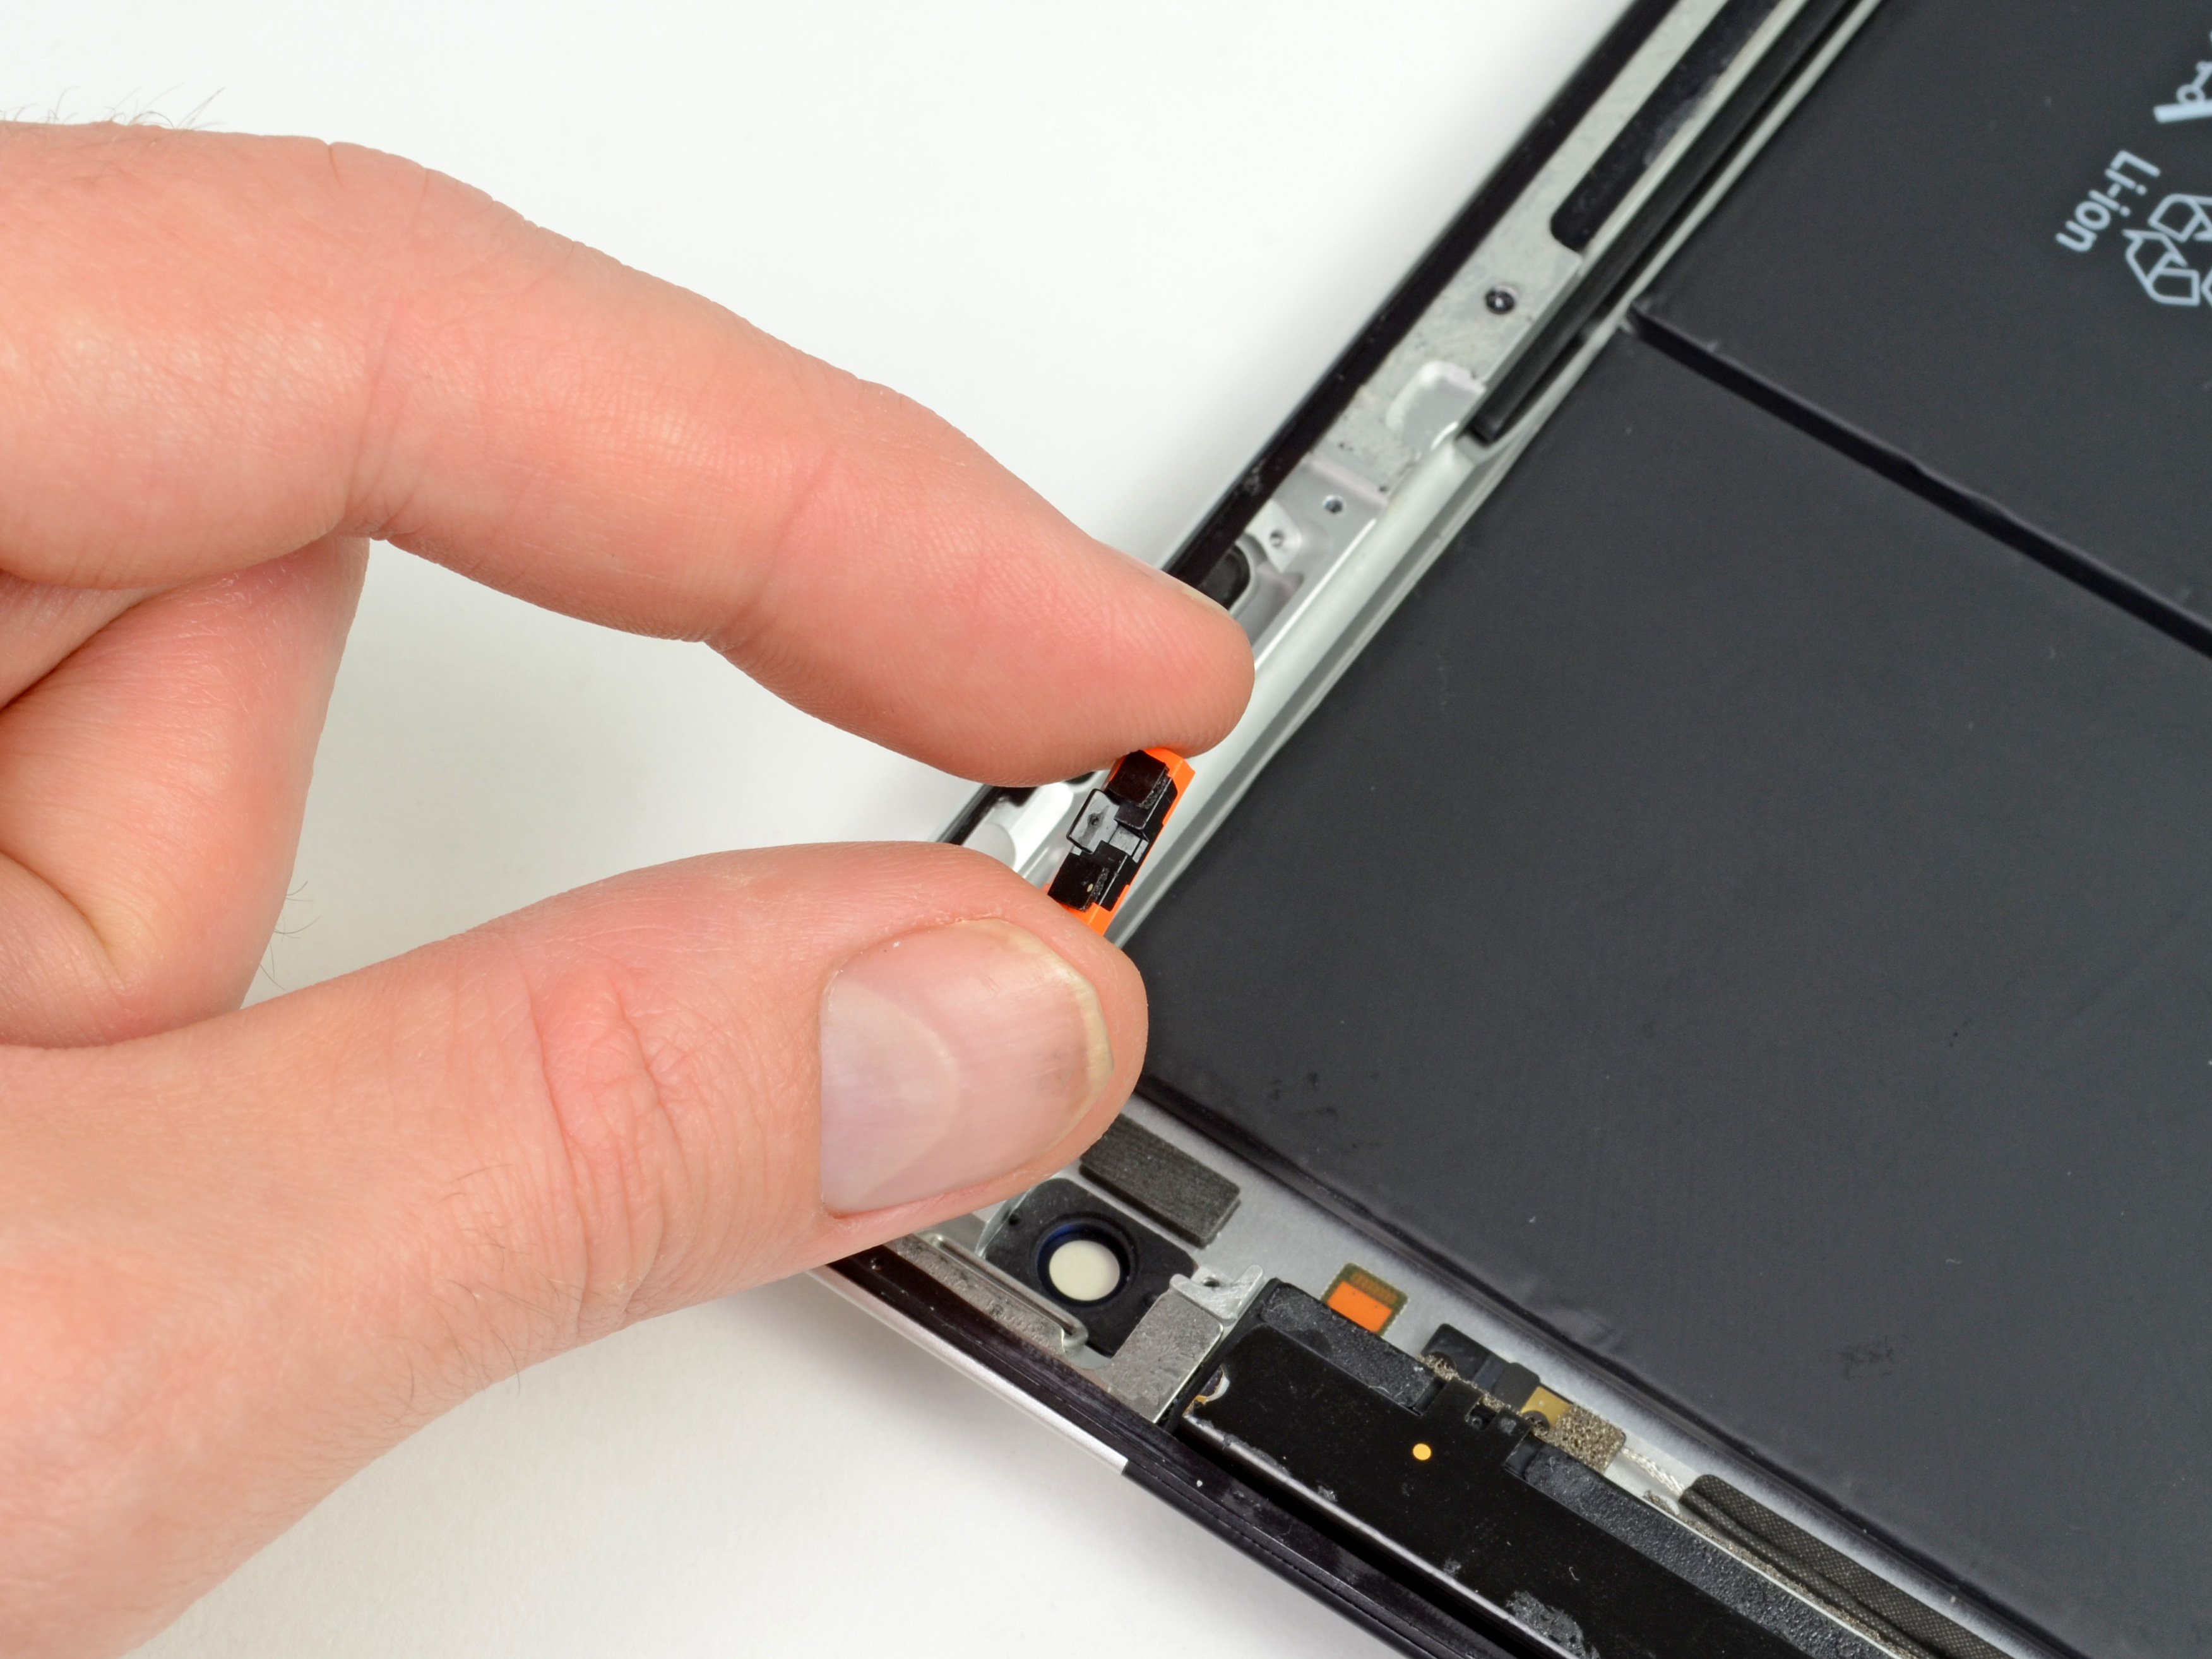
Step 6

– Alright, let’s get down to business! In the next few steps, we’re going to gently disconnect the three cables that link the display assembly to the logic board. These cables are responsible for some pretty important components, so let’s handle them with care!
Step 7


Remember to lift the retaining flap, not the socket itself! You’ve got this!
– Grab a plastic opening tool and gently nudge those little retaining flaps up—it’s like giving them a friendly little high-five! This will free the digitizer ribbon cables from their snug spots on the logic board.
– Once those cables are free, just pull them straight out. Easy peasy!
Step 8

– Grab your trusty plastic opening tool and gently nudge the ambient light sensor connector upward to pop it out of its cozy socket. You’ve got this!
Step 9


Gently slide the connector out while keeping it parallel to the face of the logic board.
– Gently detach the display data cable from the main board by lifting the metal retainer using its black plastic pull tab. You’ve got this!
– Now, smoothly pull the cable connector away from its socket. Easy peasy!
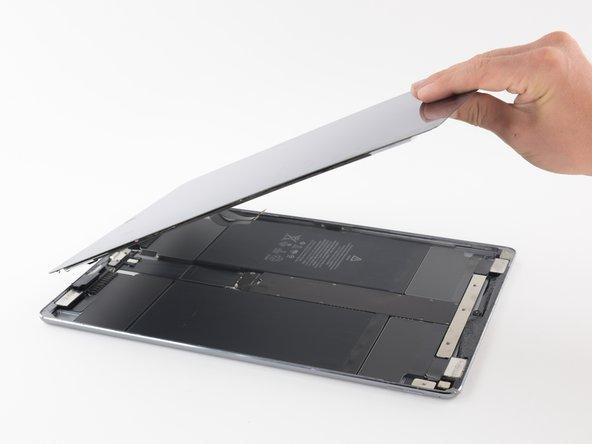
Step 10

– Gently detach the display assembly from the rear panel assembly. It’s like giving your device a little hug before moving on to the next step!
Step 11

As you embark on the journey of removing the display assembly, keep in mind that those sneaky metal clips around the edges might just decide to break loose. No worries, though! It’s all part of the adventure!
– Ready to swap out that broken clip? Start by unscrewing the T5 Torx screw that’s holding the damaged part to the display assembly. Easy peasy!
– Now, grab your shiny new clip and position it onto the pins molded into the display frame. Once it’s in place, just reinstall that T5 Torx screw to keep everything snug and secure.
– If you’ve got more broken clips in your display assembly, just rinse and repeat this process. You’ve got this!