
How to Replace iPhone 13 Screen: Step-by-Step Guide
Duration: 45 min.
Steps: 20 Steps
If your screen’s glass looks like it just survived a rock concert, grab some parcel tape and give it a good wrap before you dive into the repair. It’ll keep you safe from any sharp surprises!
Now it’s time to swap out that screen! In this super clear photo guide, we’ll walk you through each step to make it a breeze. Good luck with your repair adventure! If you need a hand, don’t hesitate to schedule a repair.
Step 1
Before you get your hands dirty with repairs, why not take a moment to use our handy checklist to check the basic features of your iPhone 13? This way, you’ll know exactly what to look for after your repair to see if everything’s working like a charm!
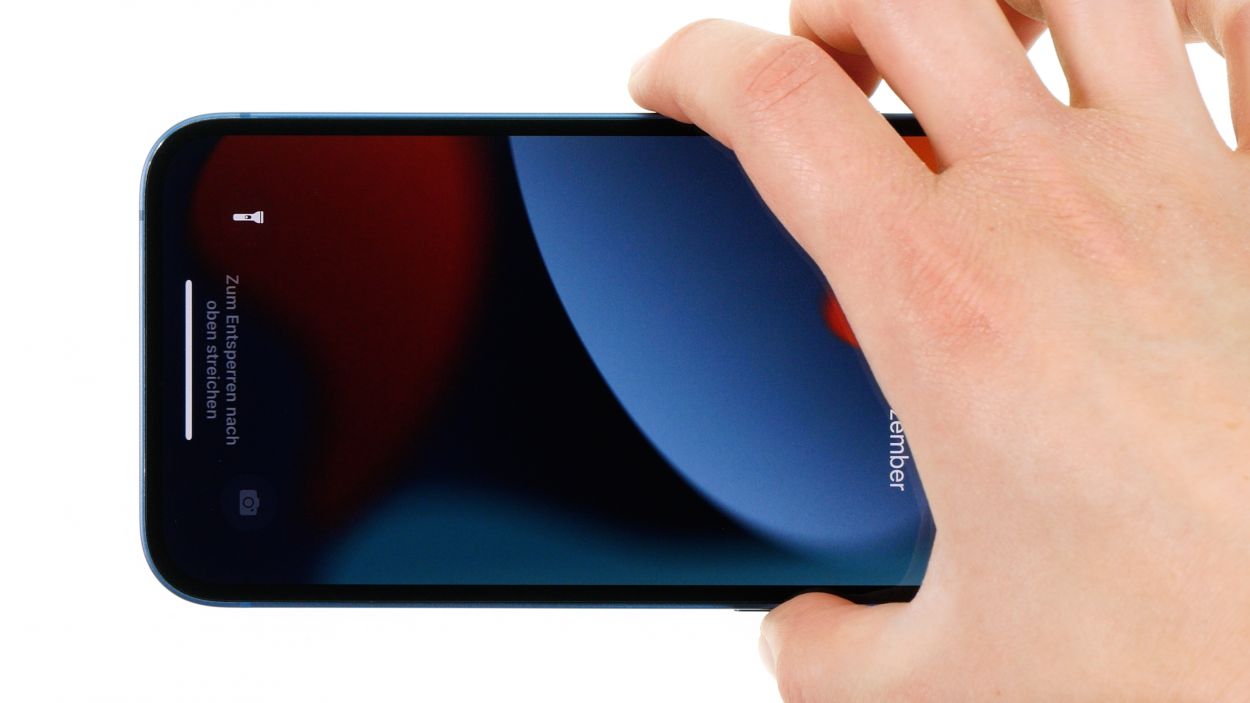
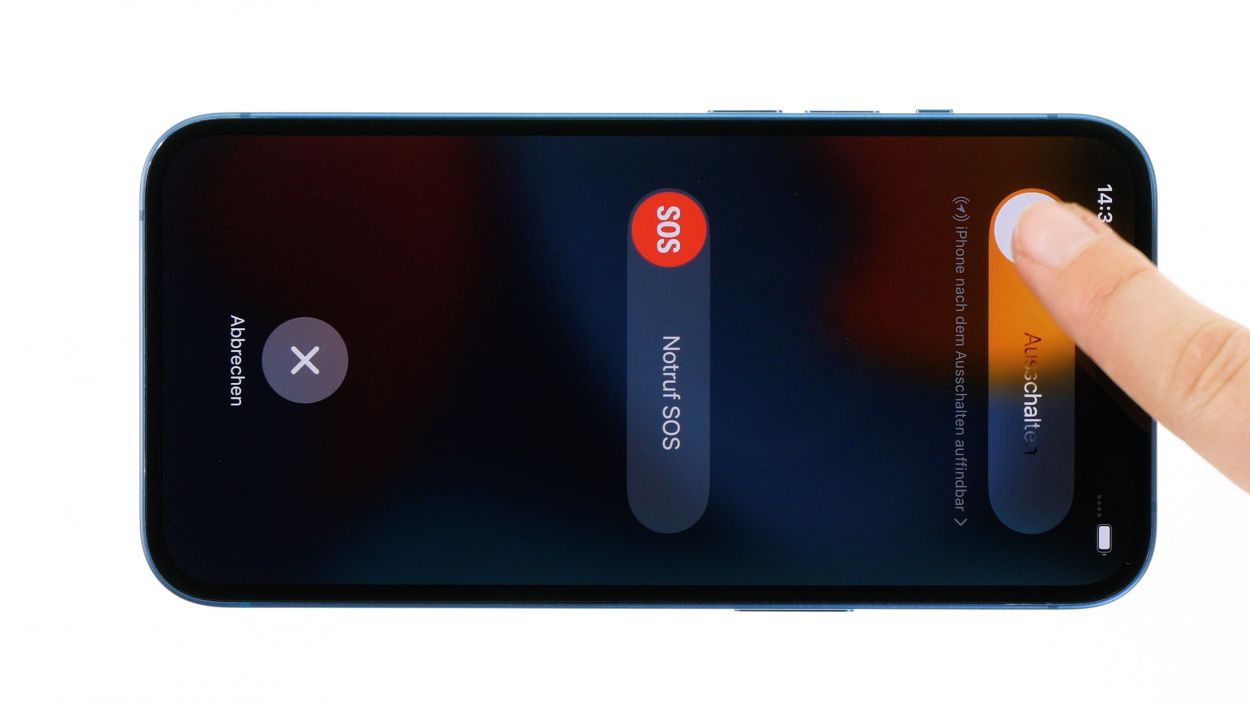
– Press and hold both the side button and the volume down button together for a few seconds. You’ve got this!
– Swipe that slider from left to right like you’re on a fun ride!
Step 2
2 × 6.8 mm Pentalobe
Opening up your iPhone means waving goodbye to its IP68 certification. So, let’s keep it safe and sound while we work our magic!
To keep all those tiny screws and parts from playing hide and seek, we suggest using a screw storage. Our magnetic pad is a real game changer, keeping everything in place while you work your magic!
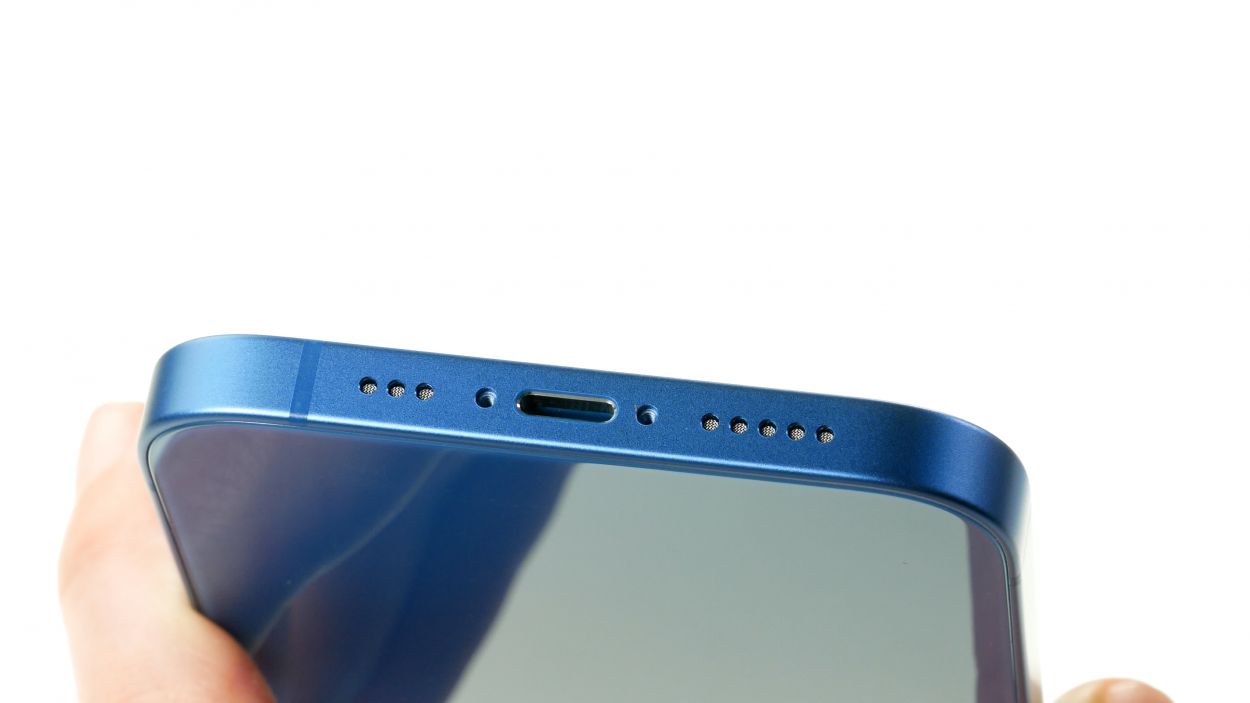
– Take out those two Pentalobe screws flanking the Lightning connector like a pro!
– Once you’ve got them out, toss them into your handy screw storage so they don’t wander off!
Step 3
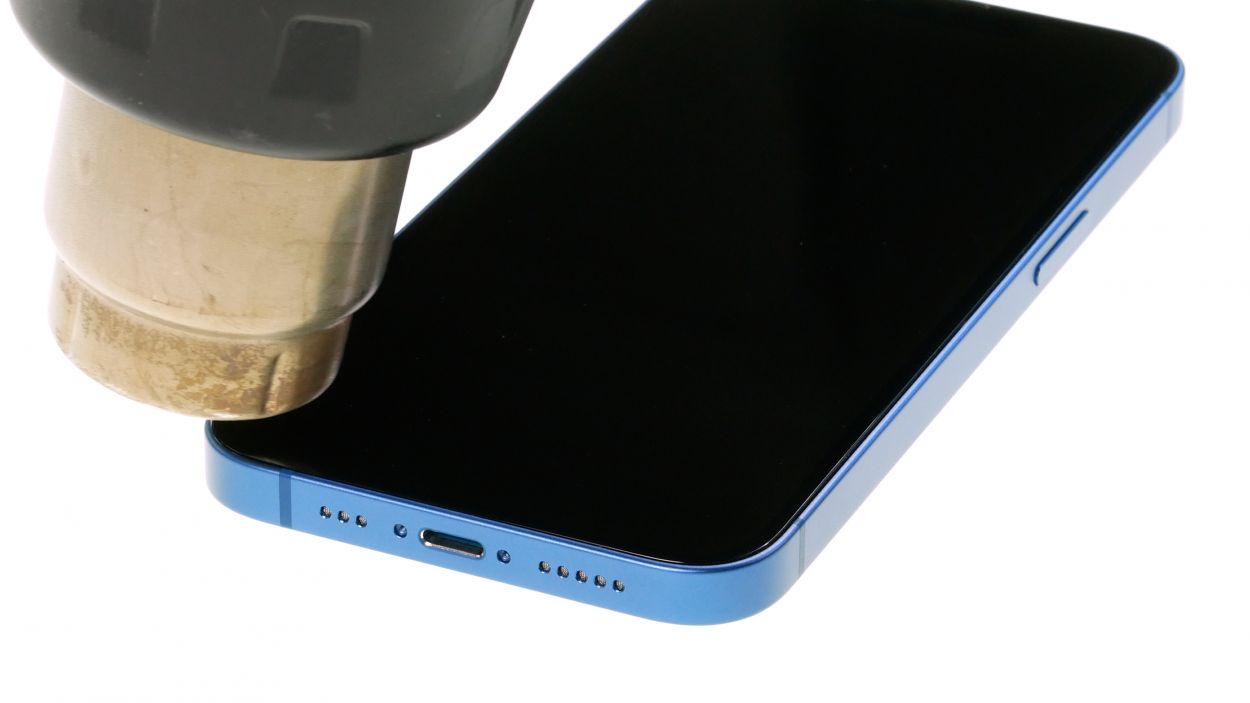
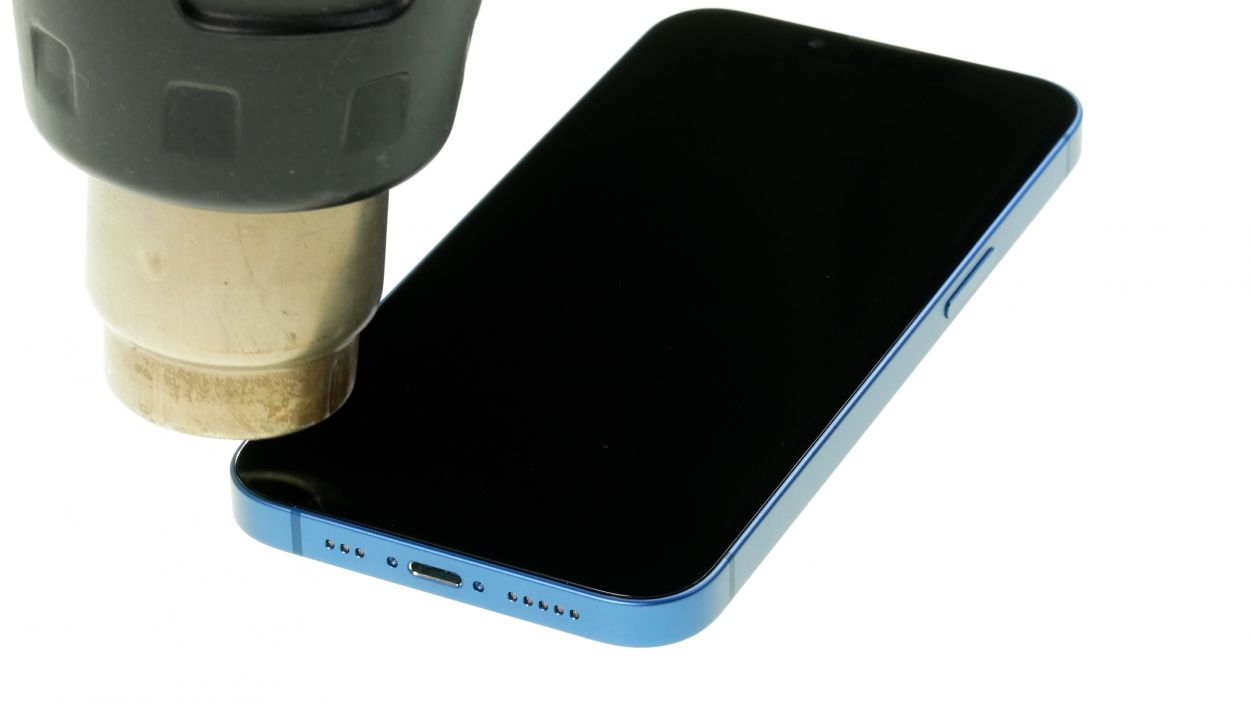
The iPhone 13 screen is stuck on there pretty well! To get it off, you’ll need to give the adhesive a good blast of heat. Grab yourself a hot air tool, whether it’s a heat gun or a trusty hair dryer, and warm up that sticky stuff. You’ll be on your way to a screen swap in no time!
– Wave your hot air tool over the edge of the screen like you’re giving it a warm hug!
Tools Used
- heat gun to heat parts that are glued on so they’re easier to remove.
In most cases, you can also use a hairdryer.” rel=”noopener”>Heat gun
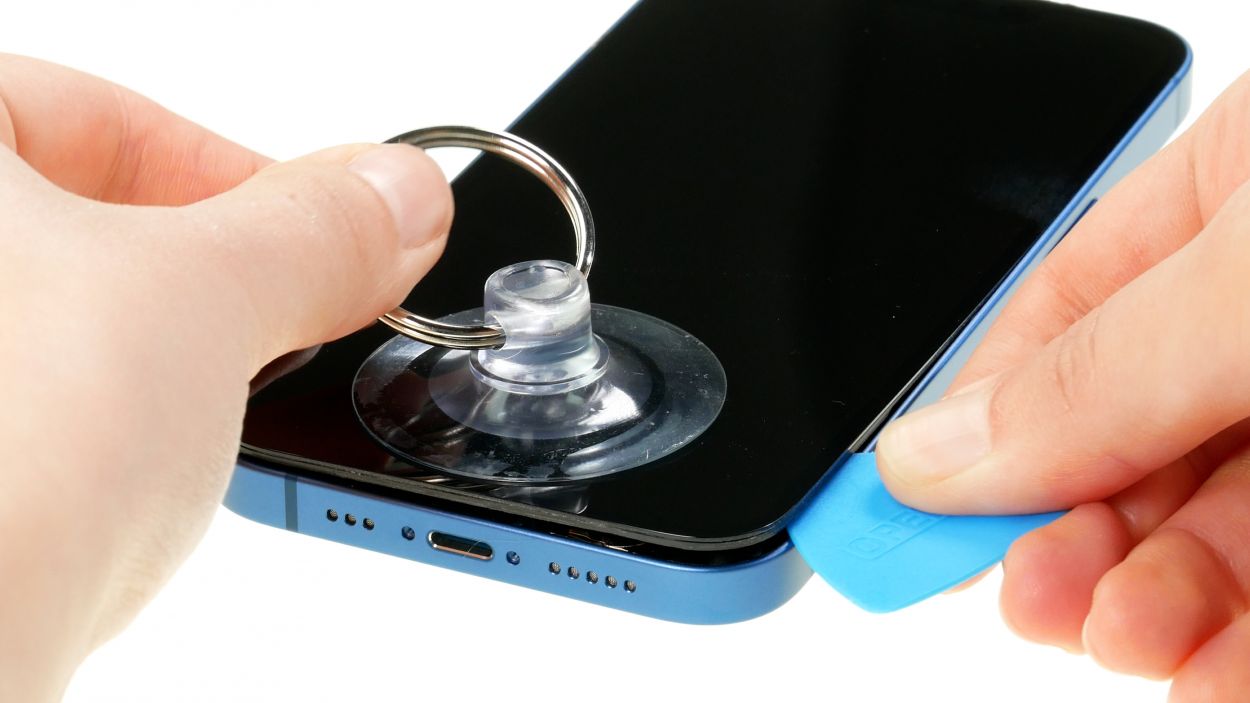
Step 4
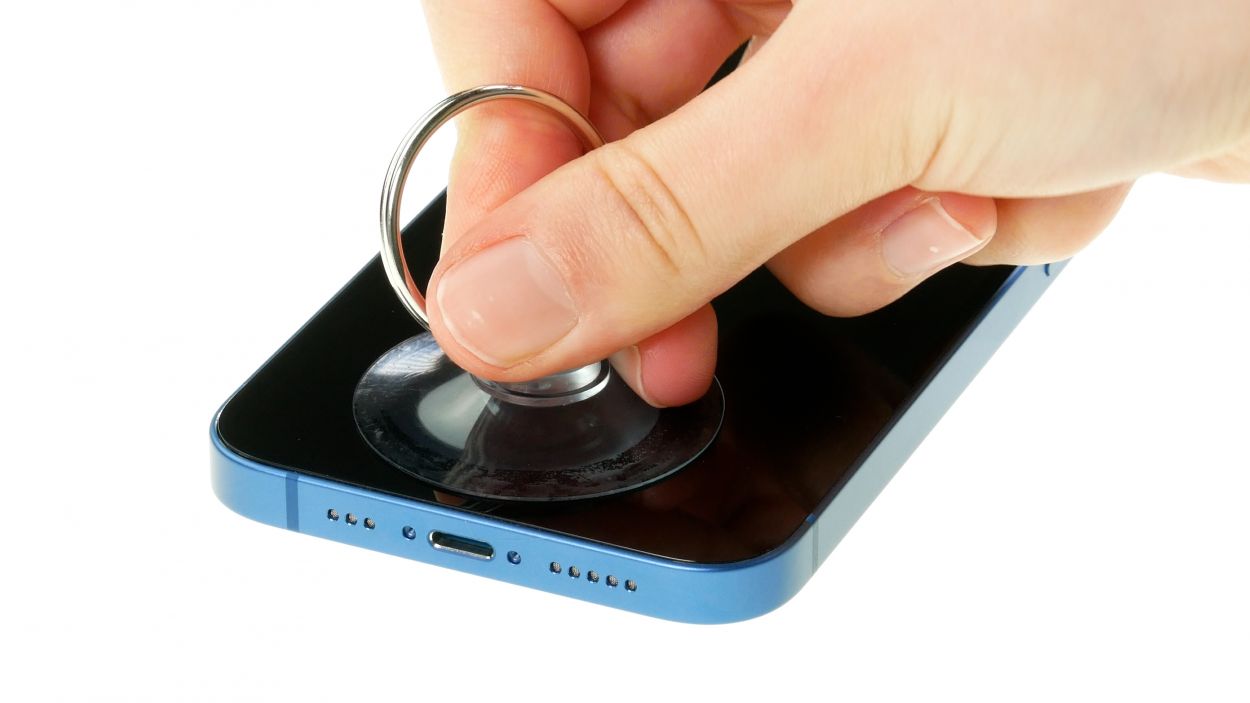
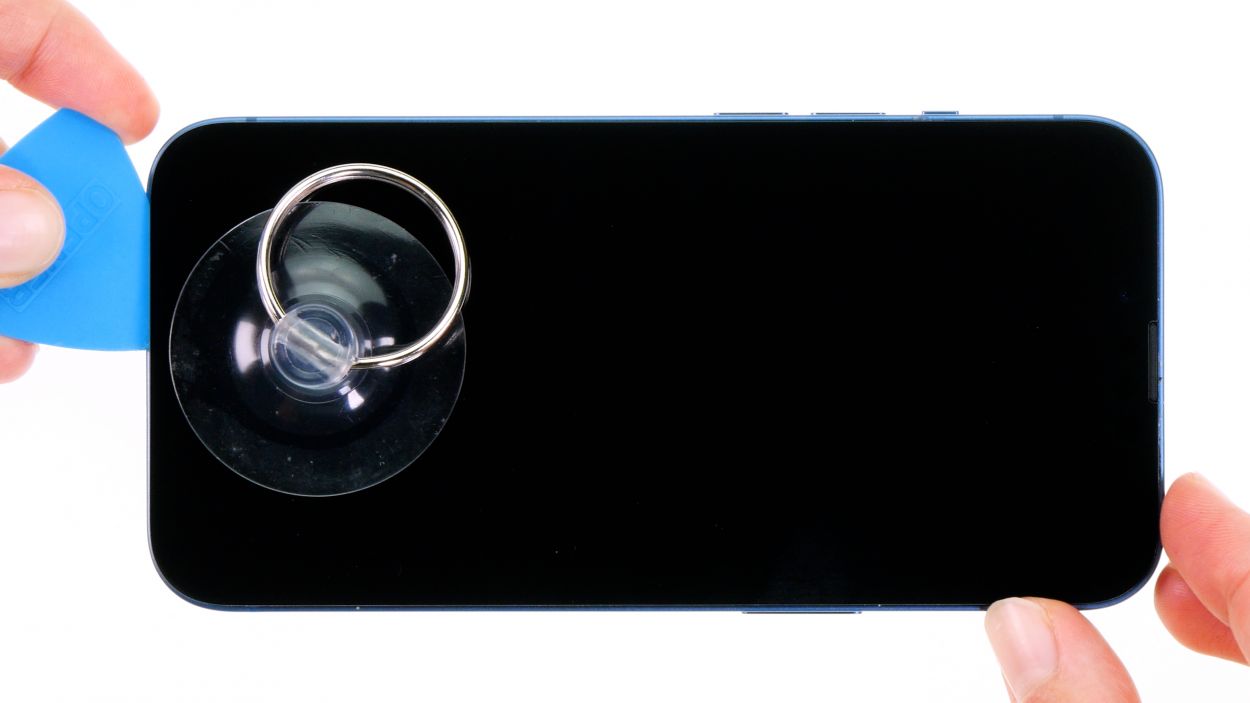
– Stick a suction cup on the lower edge of the screen and give it a good pull upwards to open up a little gap between the screen and the case. You’re doing great!
– Slide a flat, sturdy tool into that gap to widen it a bit more. Keep going, you’re almost there!
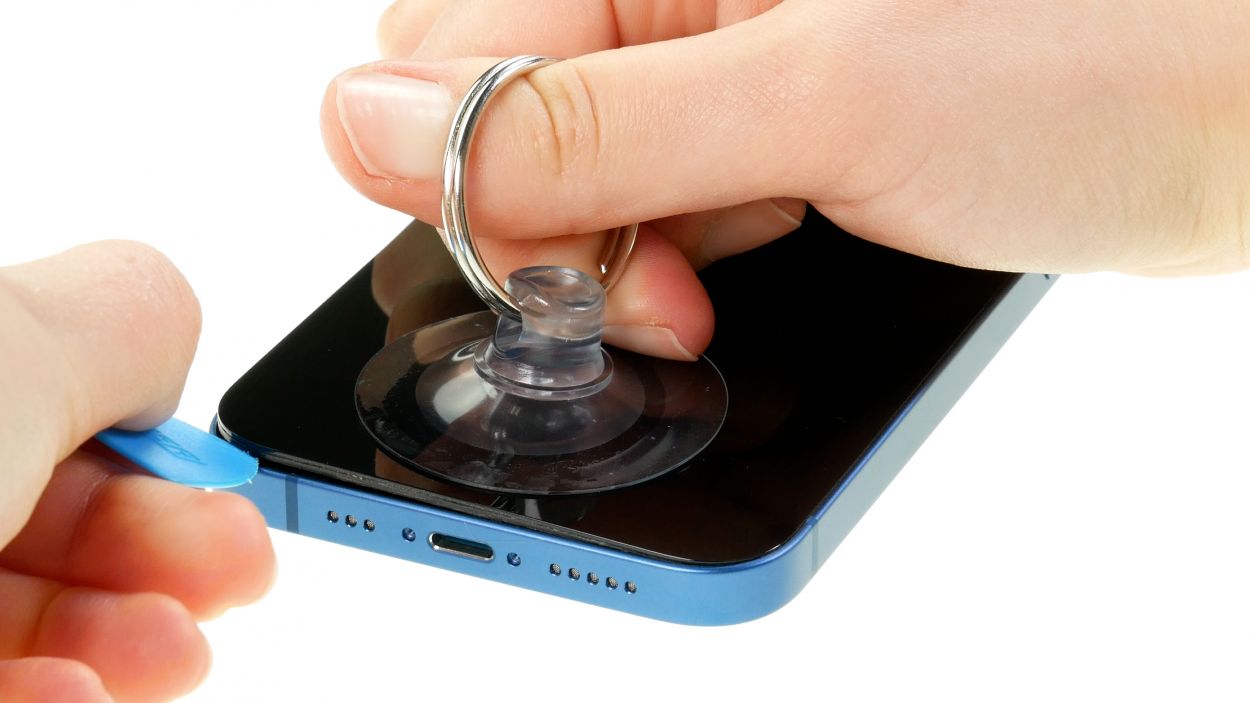
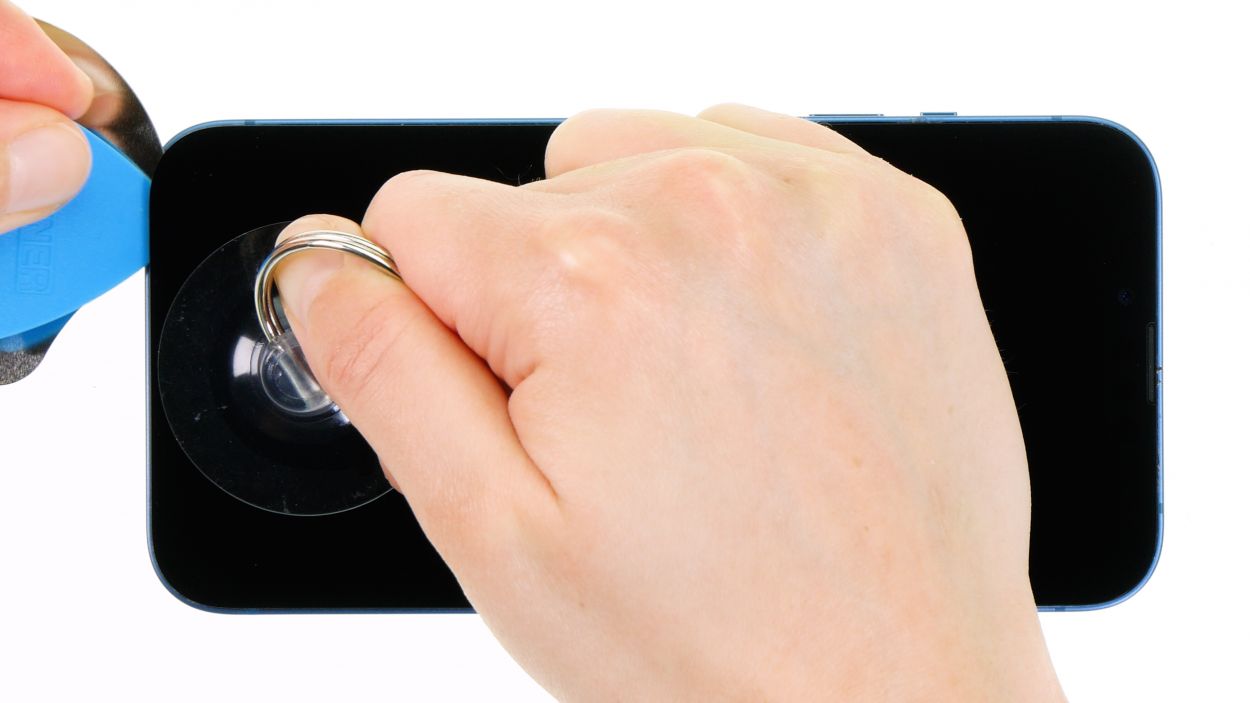
Step 5

When using your tool near the volume buttons, be gentle! You don’t want to accidentally poke any hidden cables inside your device. Take it easy and keep everything safe!
– Gently glide that plastic tool around the edge of the screen like you’re giving it a little dance! Press it upwards at the same time to set those hooked lugs free from their cozy case unit.
– Once the screen is fully free, unfold it gently towards the volume buttons. Lean it against something sturdy, like a friend or a table, while you continue your repair journey!
Tools Used
Step 6
4 × 1.2 mm Phillips
1 × 1.7 mm Y-Type
1 × 1.6 mm Phillips
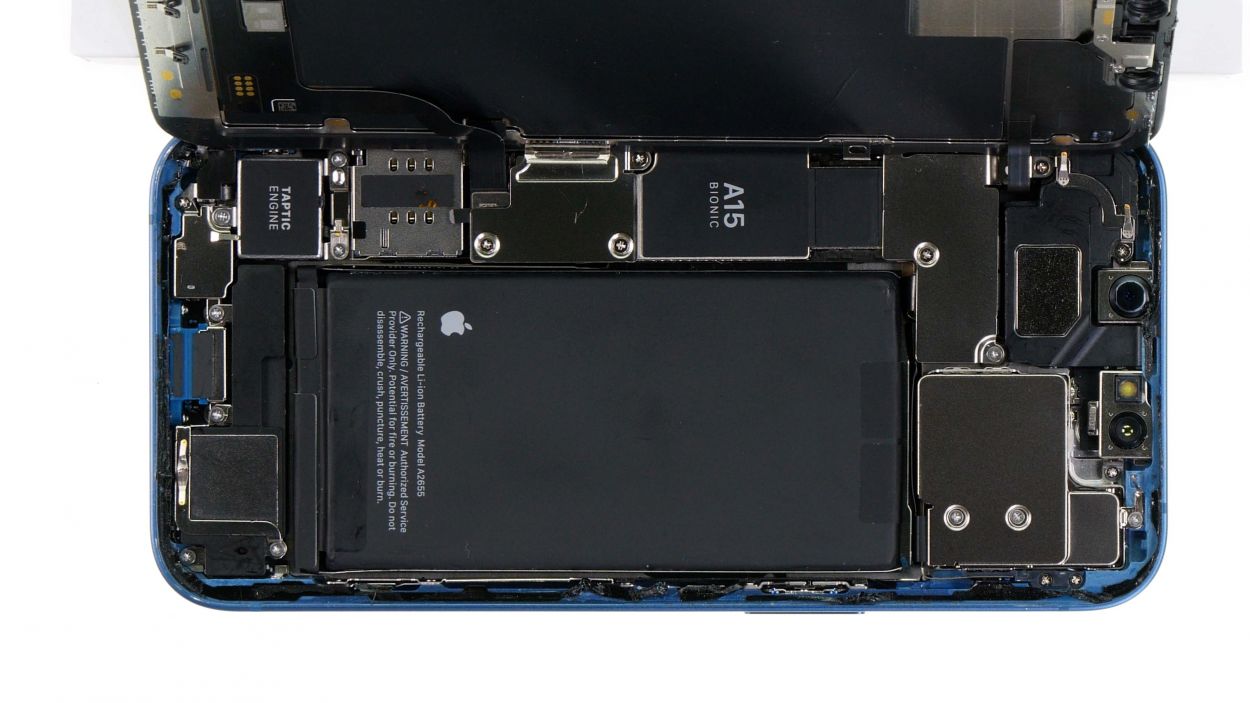
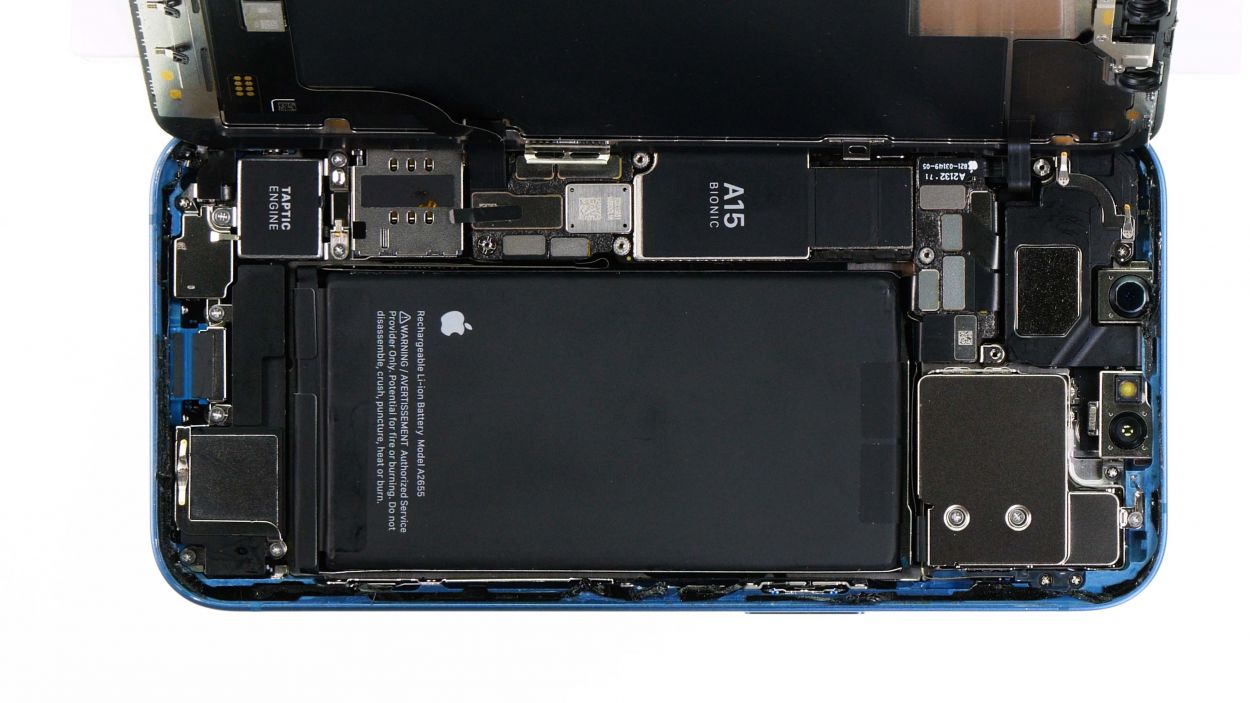
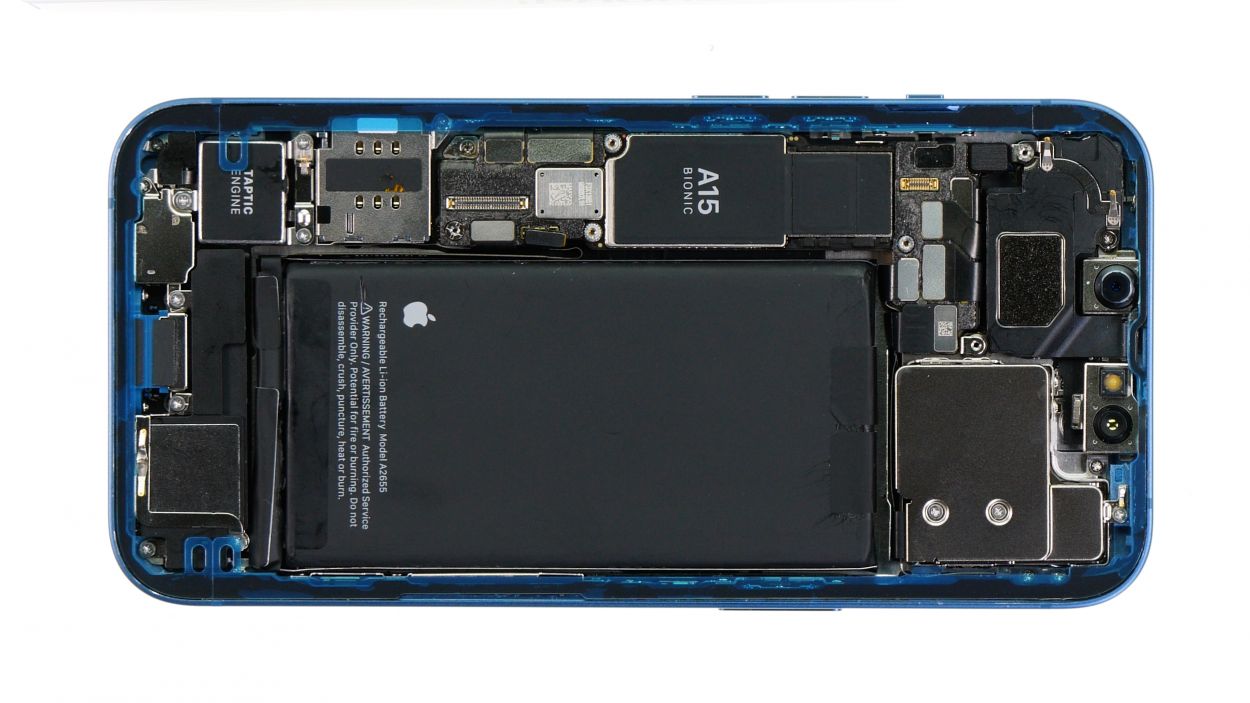
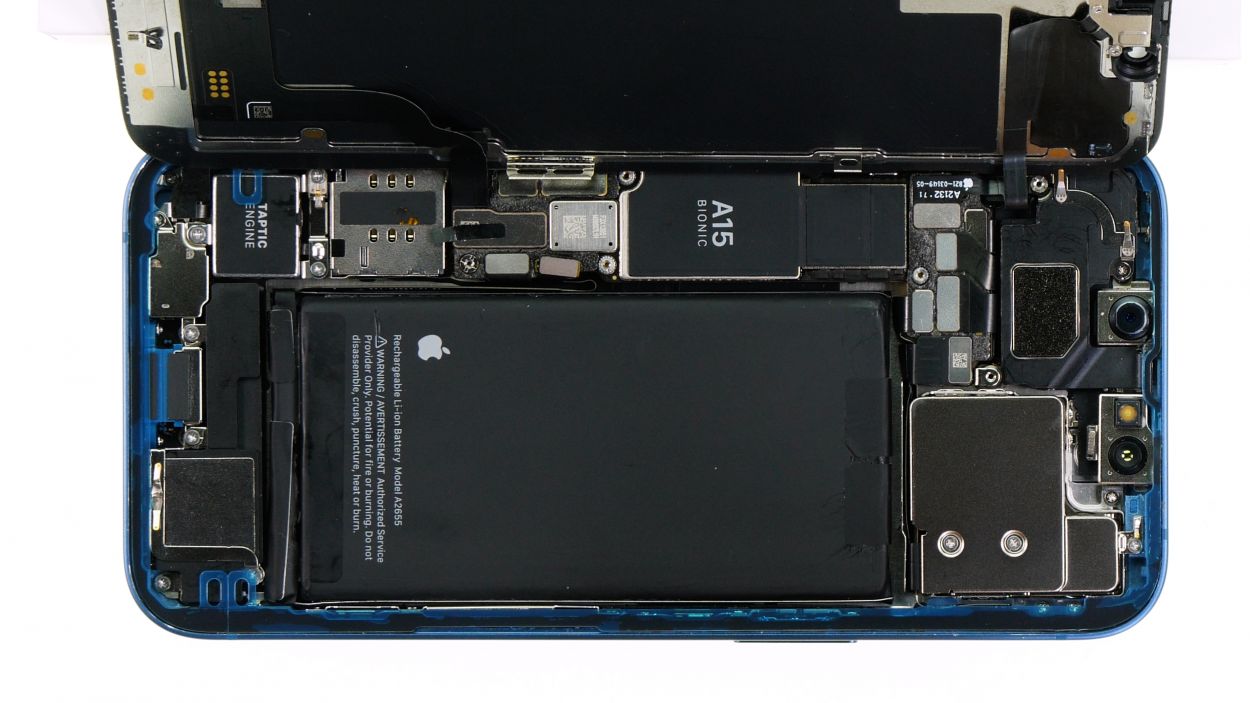
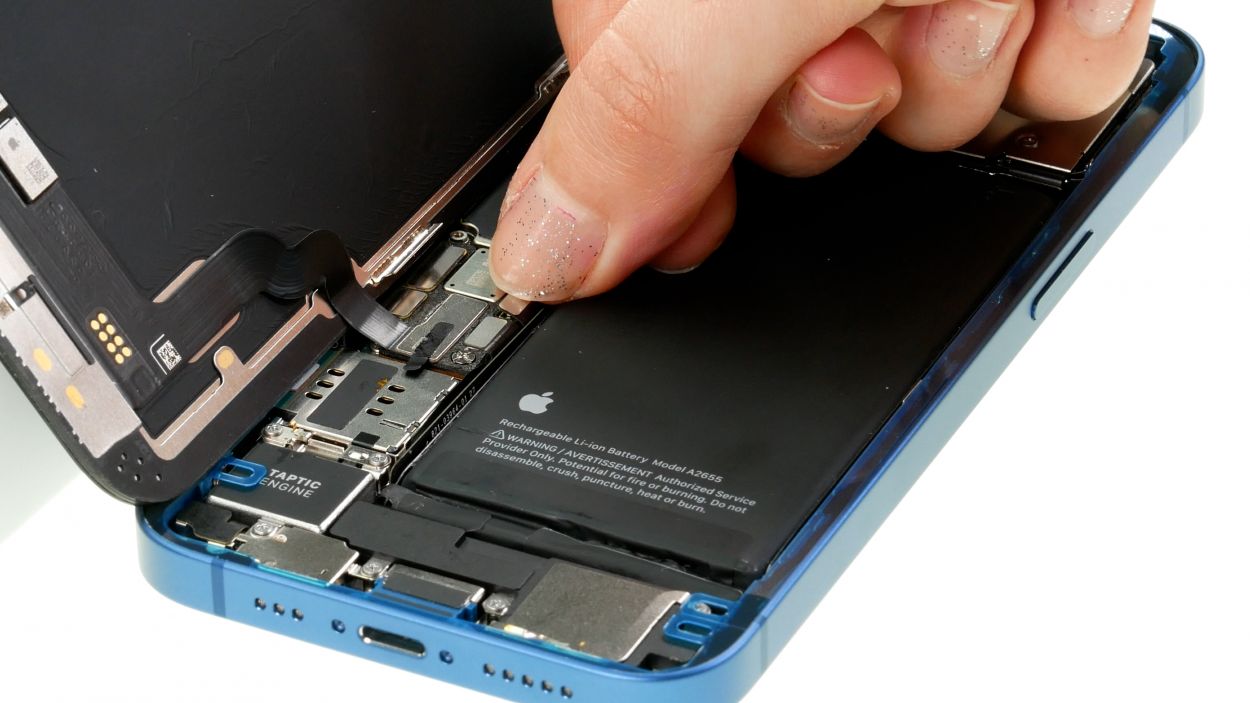
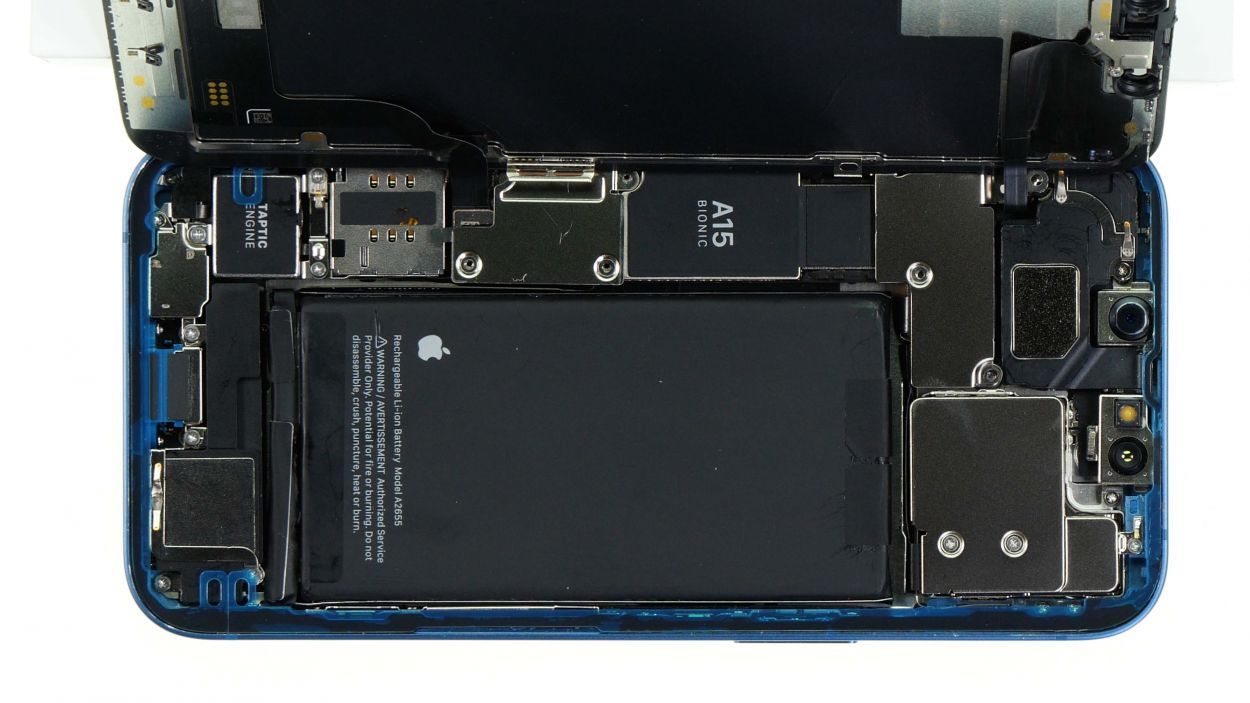
To remove the screen completely, you have to detach the battery connector as well as the two screen connectors. These are located under two cover plates.
– Unscrew the six screws from the two cover plates and stash them safely in your screw storage – you don’t want them going on an adventure!
– Now, gently lift those plates off your device using a pair of tweezers. You’re doing awesome!
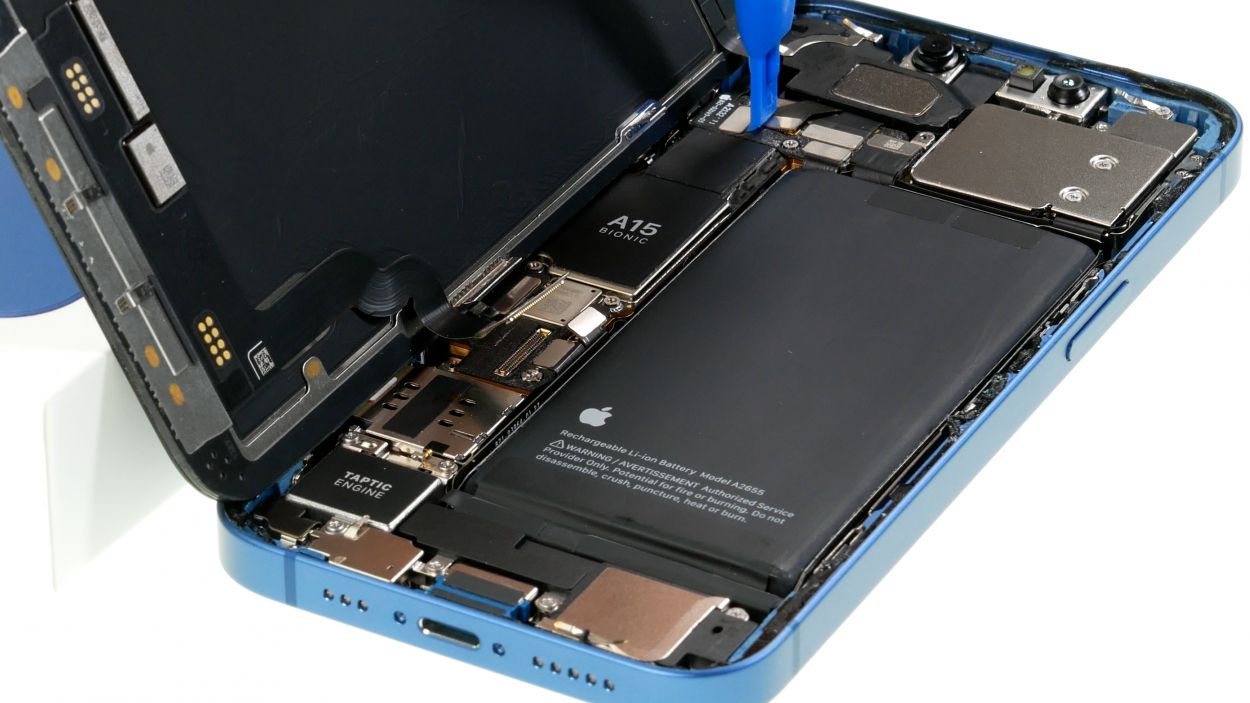
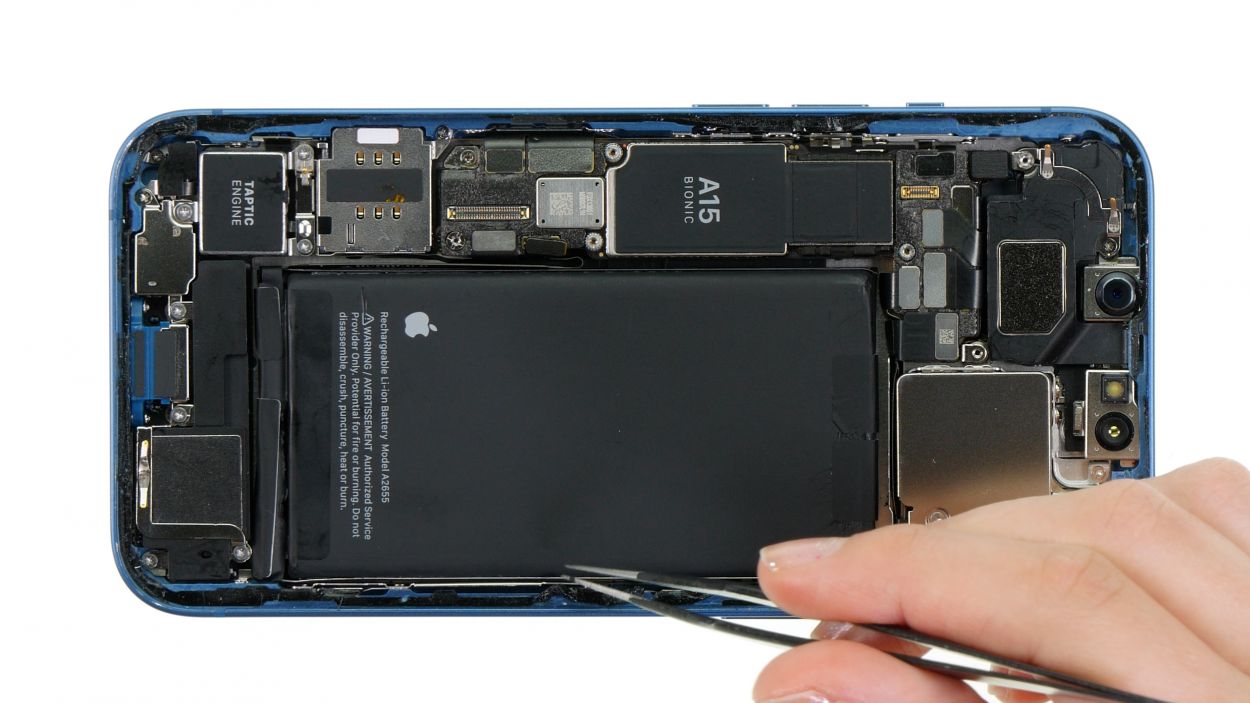
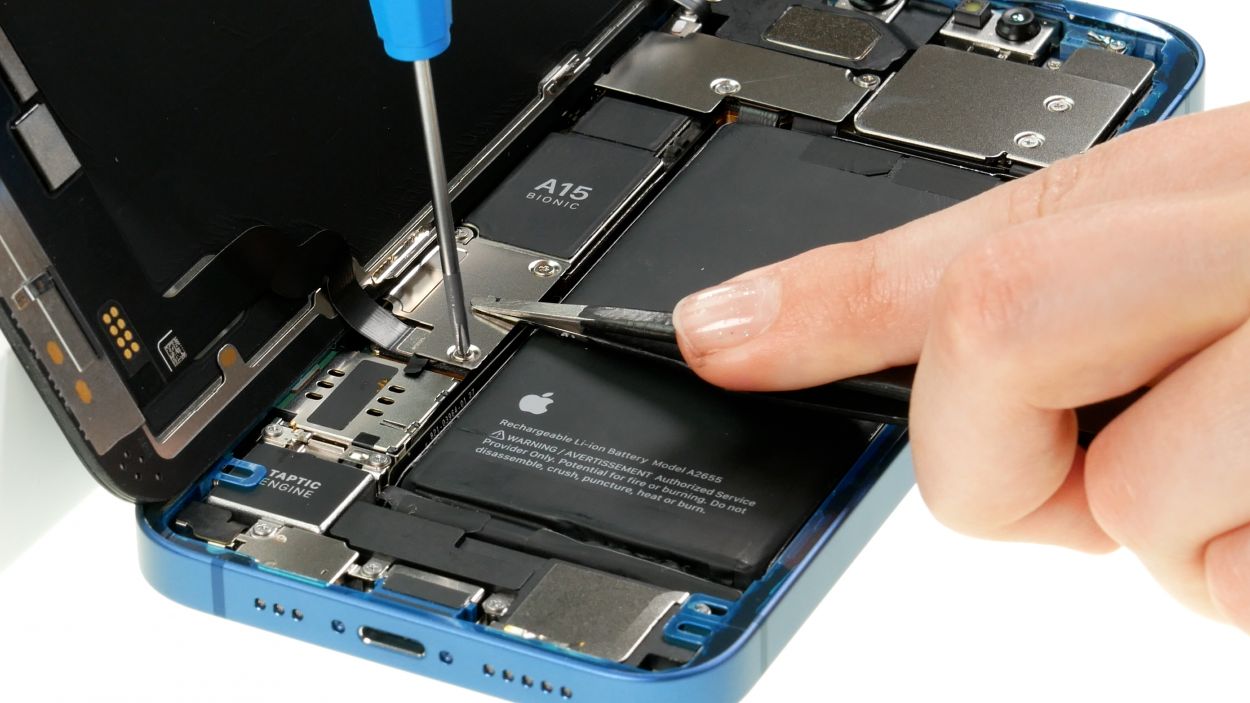
Step 7
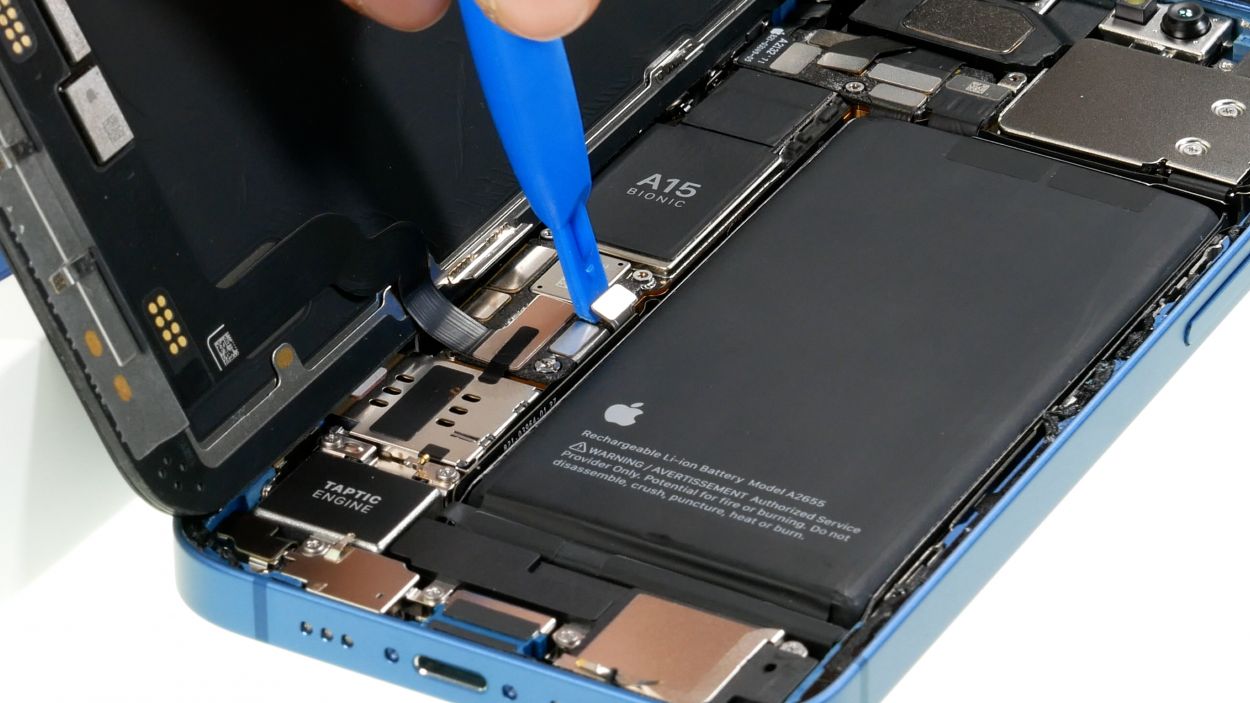
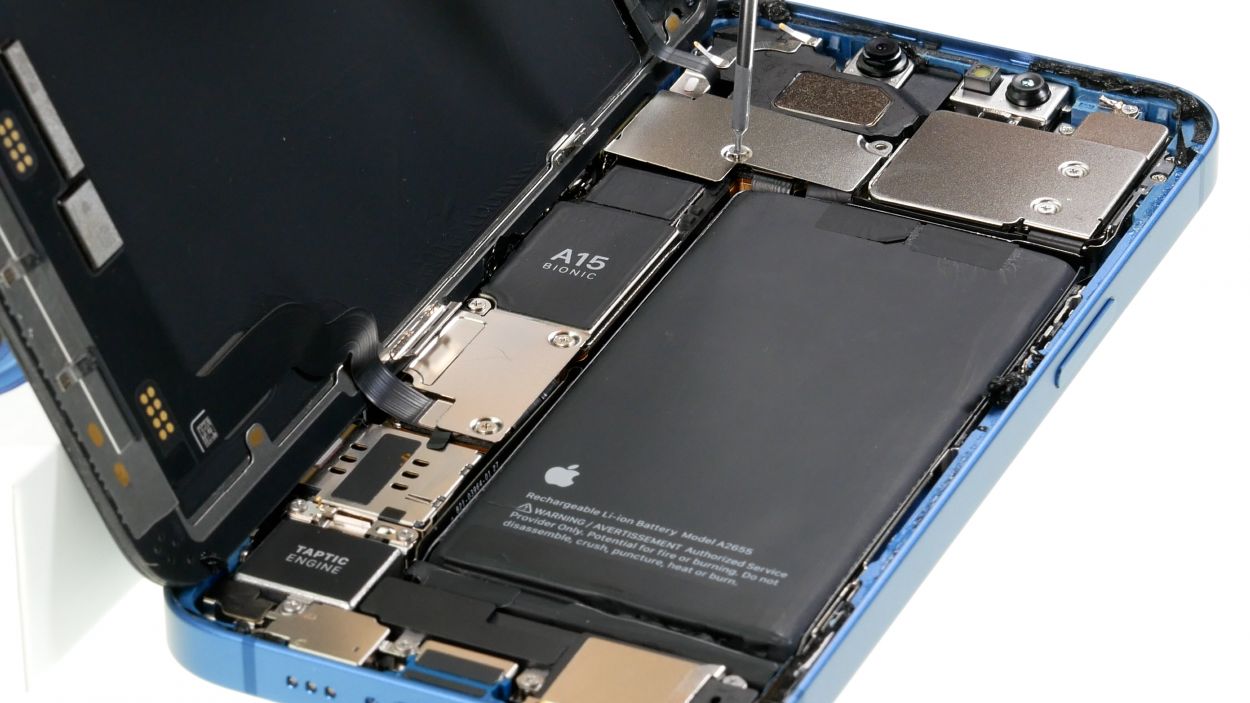
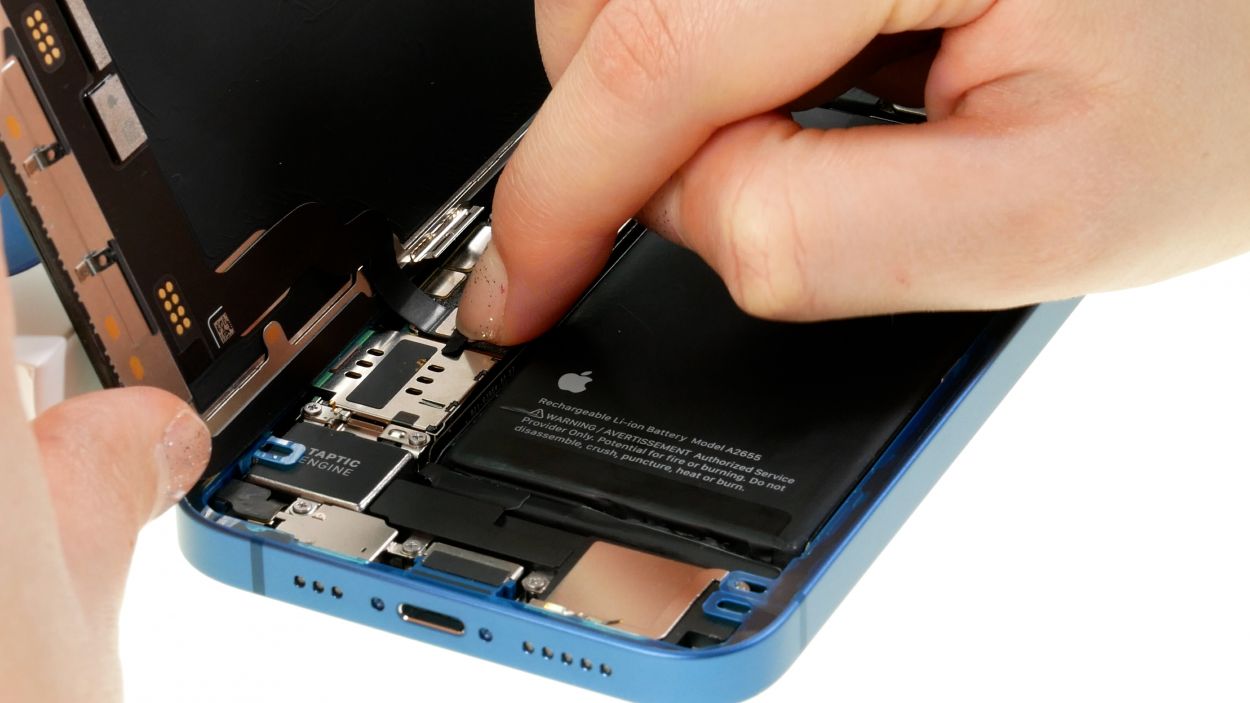
Kick off your repair adventure by disconnecting the battery first! It’s the best way to dodge any potential short circuits while you work your magic.
– Slide a plastic lever tool gently underneath the connector and ease it away from the board. A plastic spudger works wonders for this task!
Tools Used
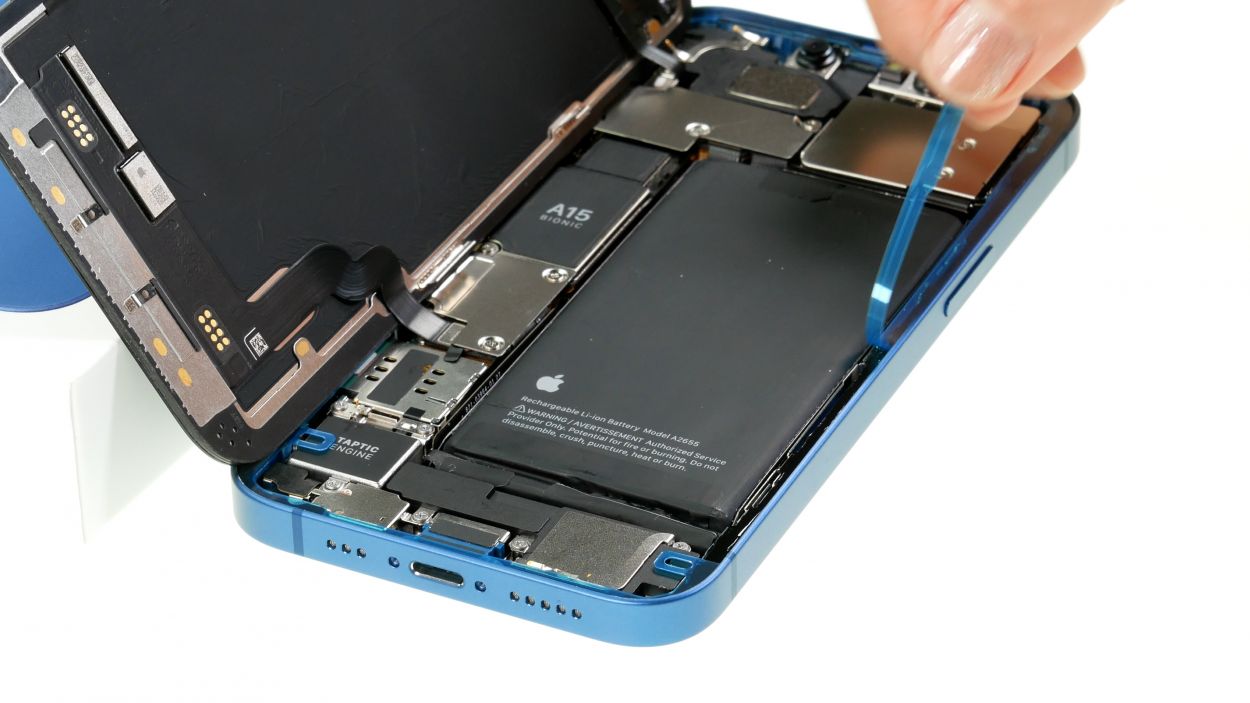
Step 8
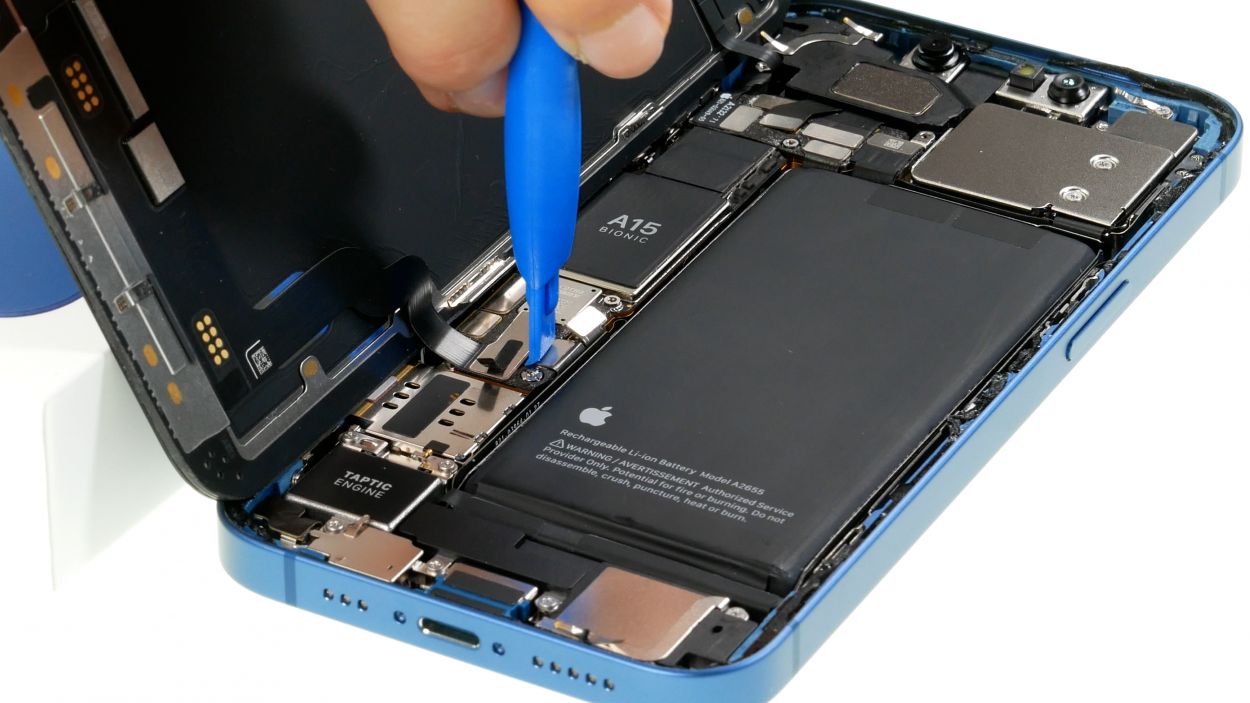

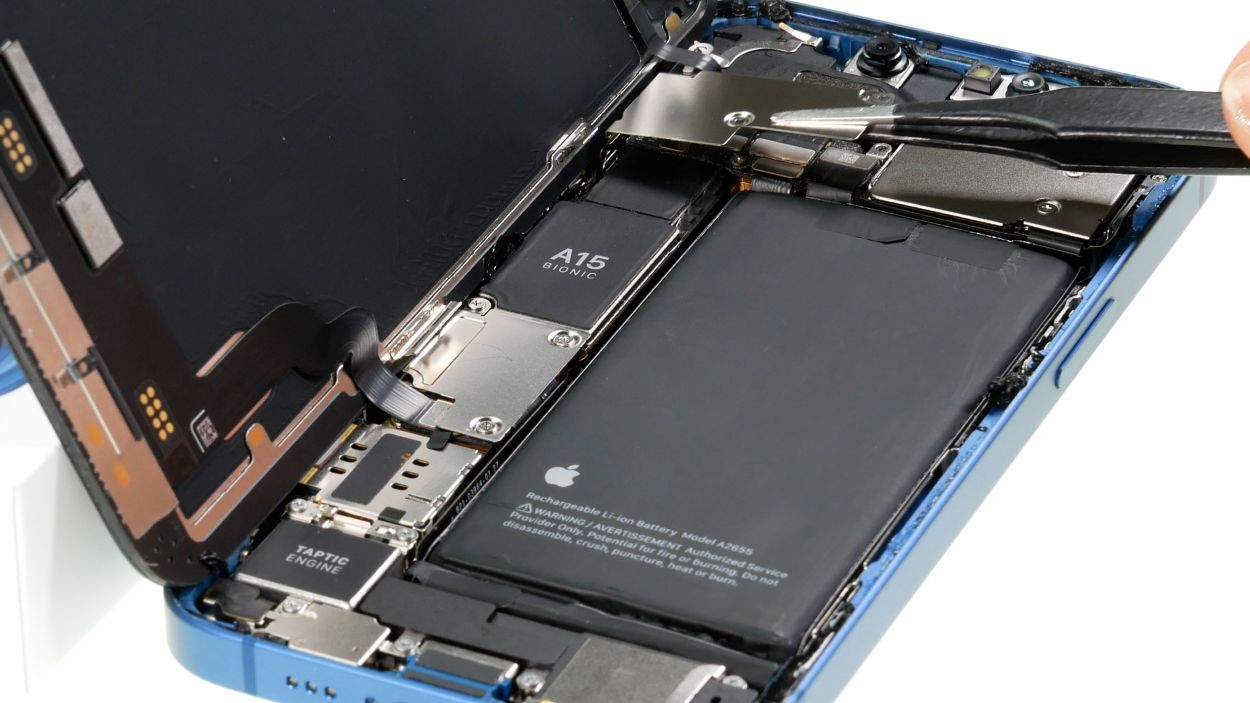
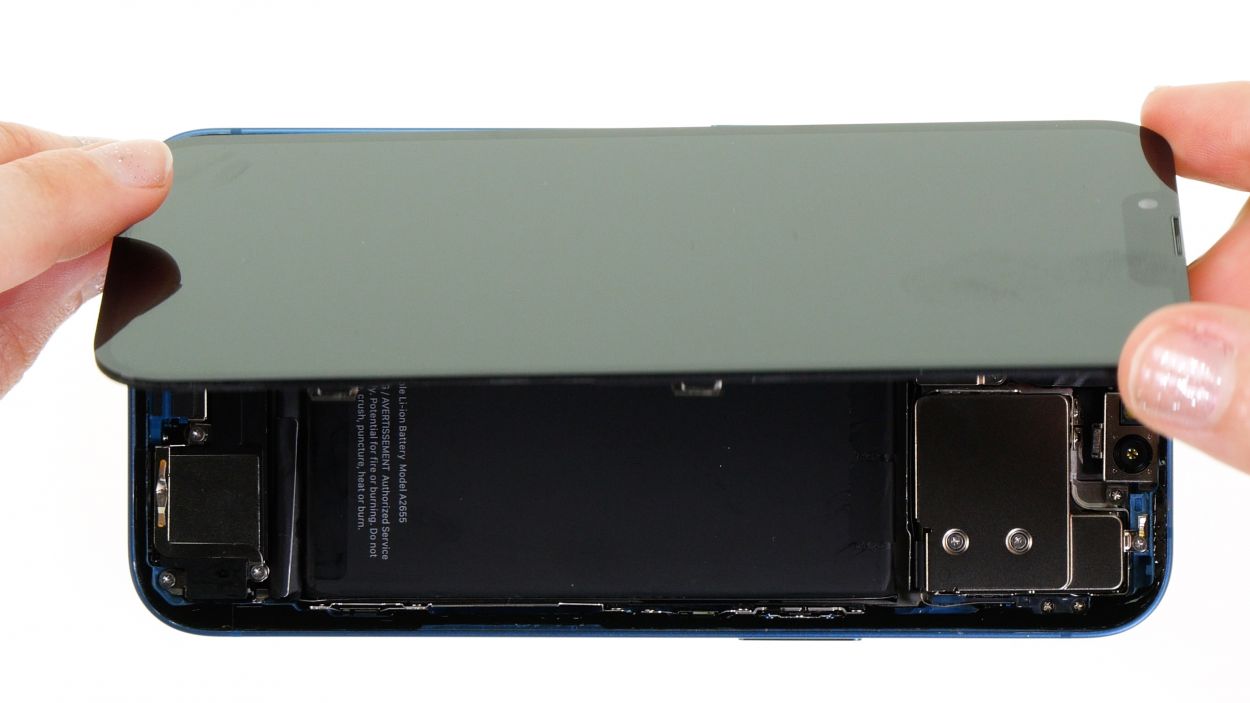
– Gently coax the two screen connectors off the logic board using your trusty spudger – you’re doing great!
– Once they’re free, set the screen aside like a pro and get ready for the next step!
Tools Used
Step 9
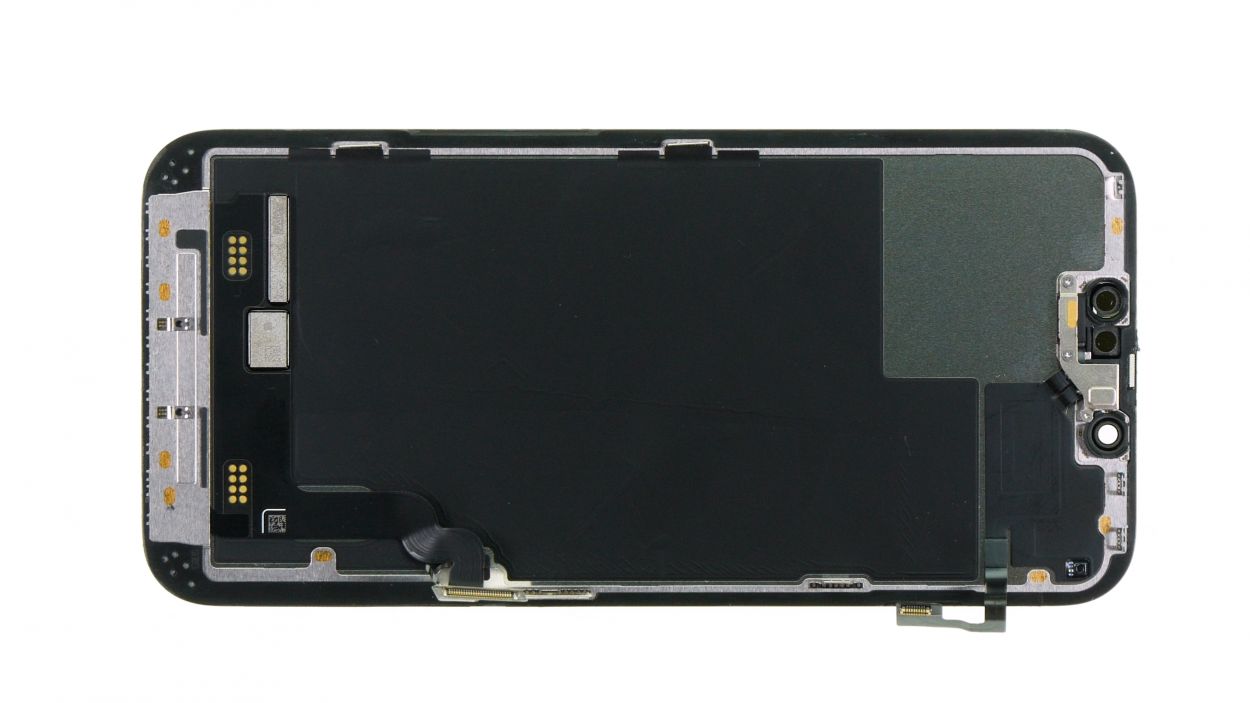
3 × 1.4 mm Y-Type
– Remove the three Y-type screws holding the cover plate above the sensor cable. You’re on a roll!
– Carefully set that cover plate aside, giving yourself some space to work. Nice job!
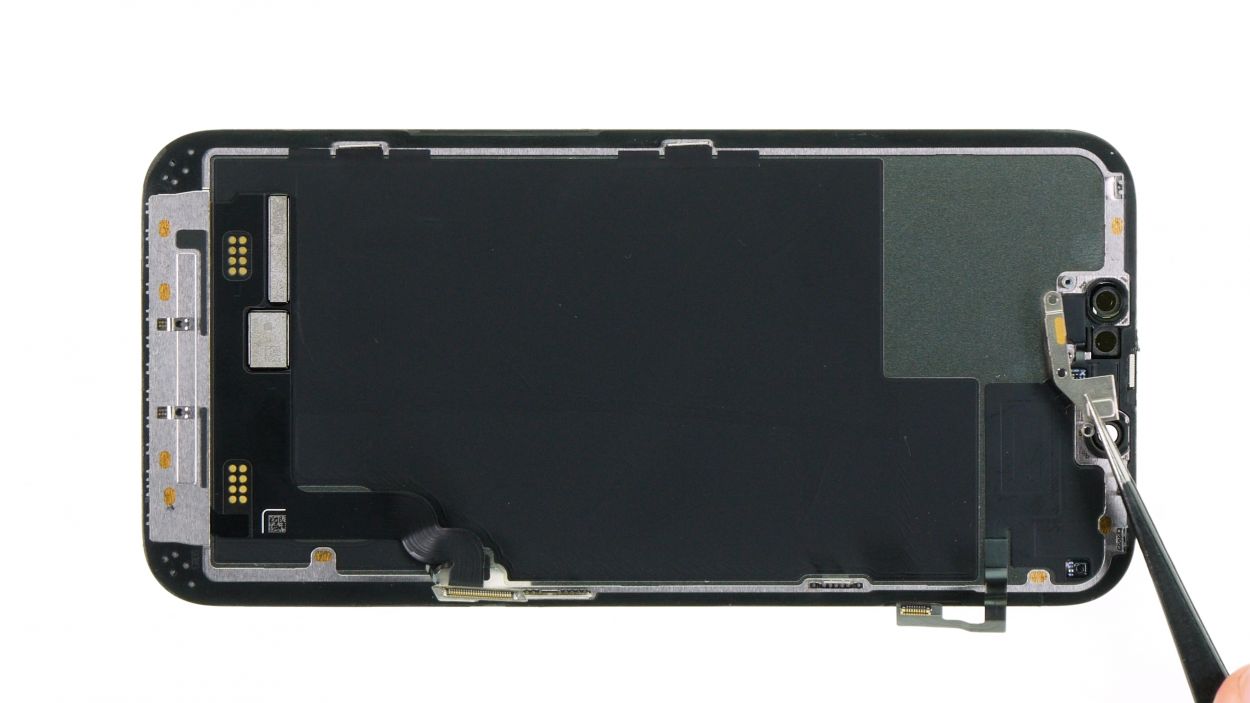
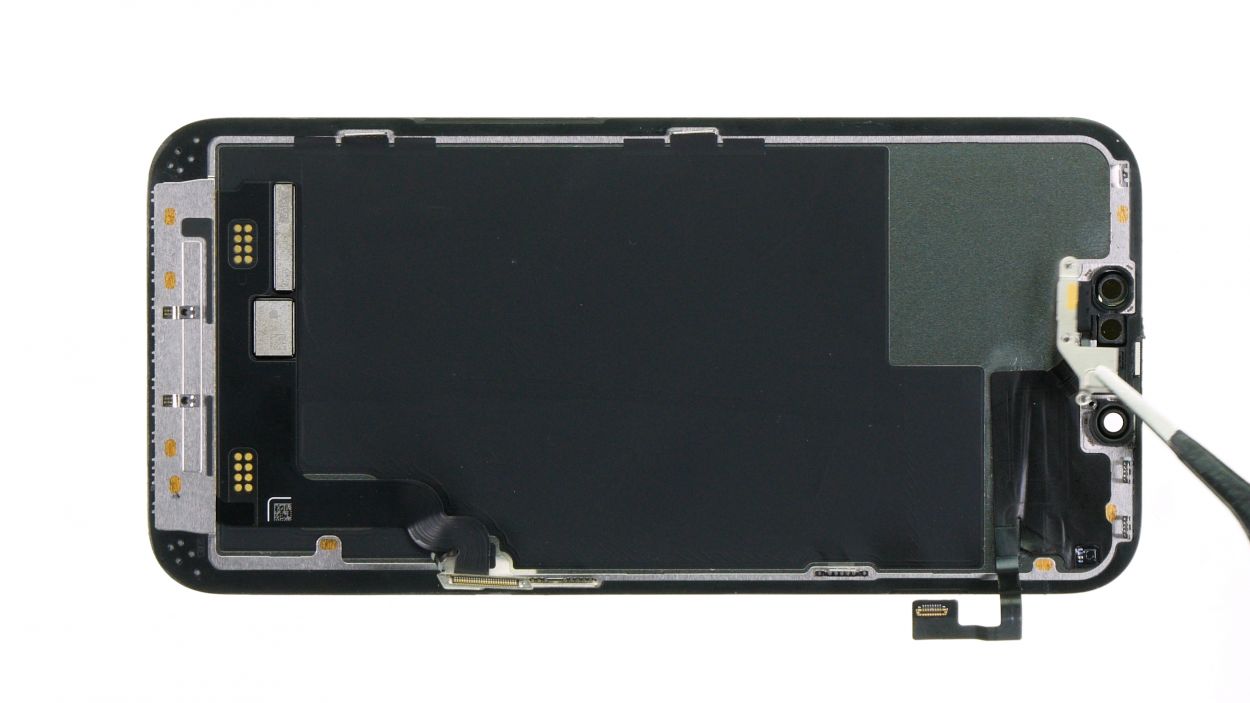
Step 10
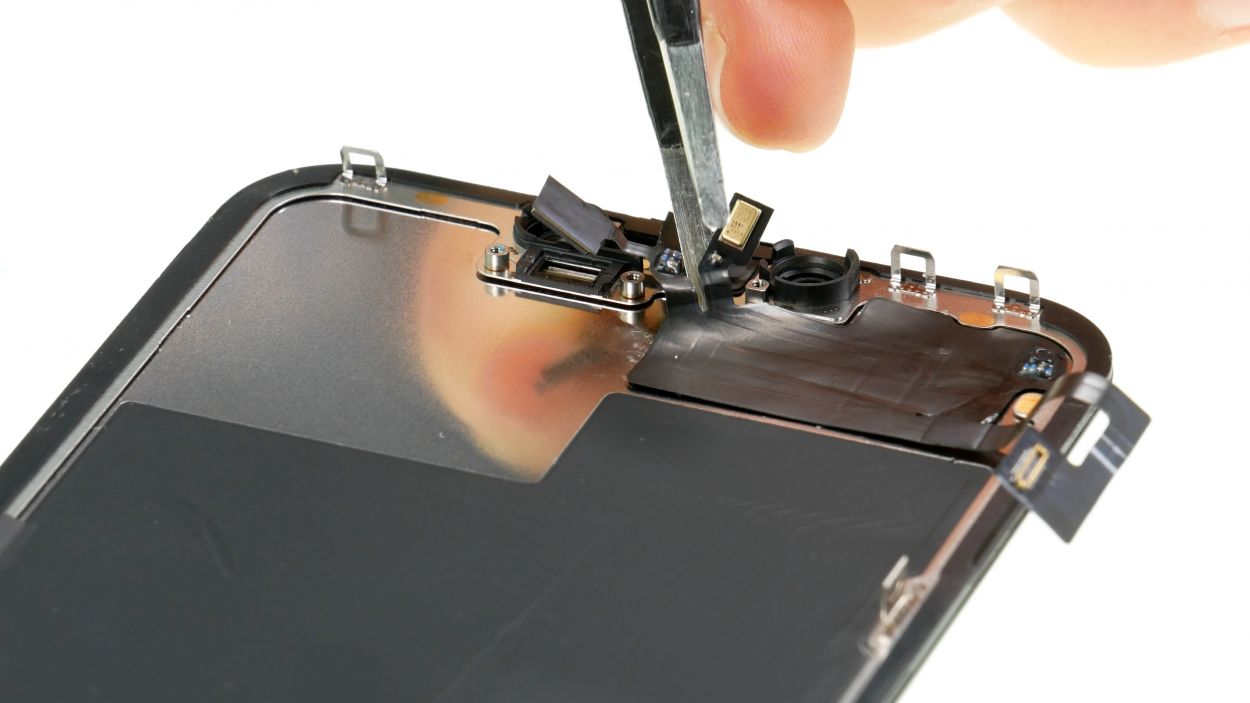
Hey there, watch out for those cable sensors! They’re a bit delicate, so be super gentle when you’re prying them out of their cozy spots. You’ve got this!
– Warm up that glued sensor cable with a hot air gun, giving it a little TLC.
– Slide a flat tool underneath the cable to gently free it from the screen unit.
– Carefully pop the sensors integrated on the cable out of their snug guides.
Tools Used
- heat gun to heat parts that are glued on so they’re easier to remove.
In most cases, you can also use a hairdryer.” rel=”noopener”>Heat gun - Steel Laboratory Spatula
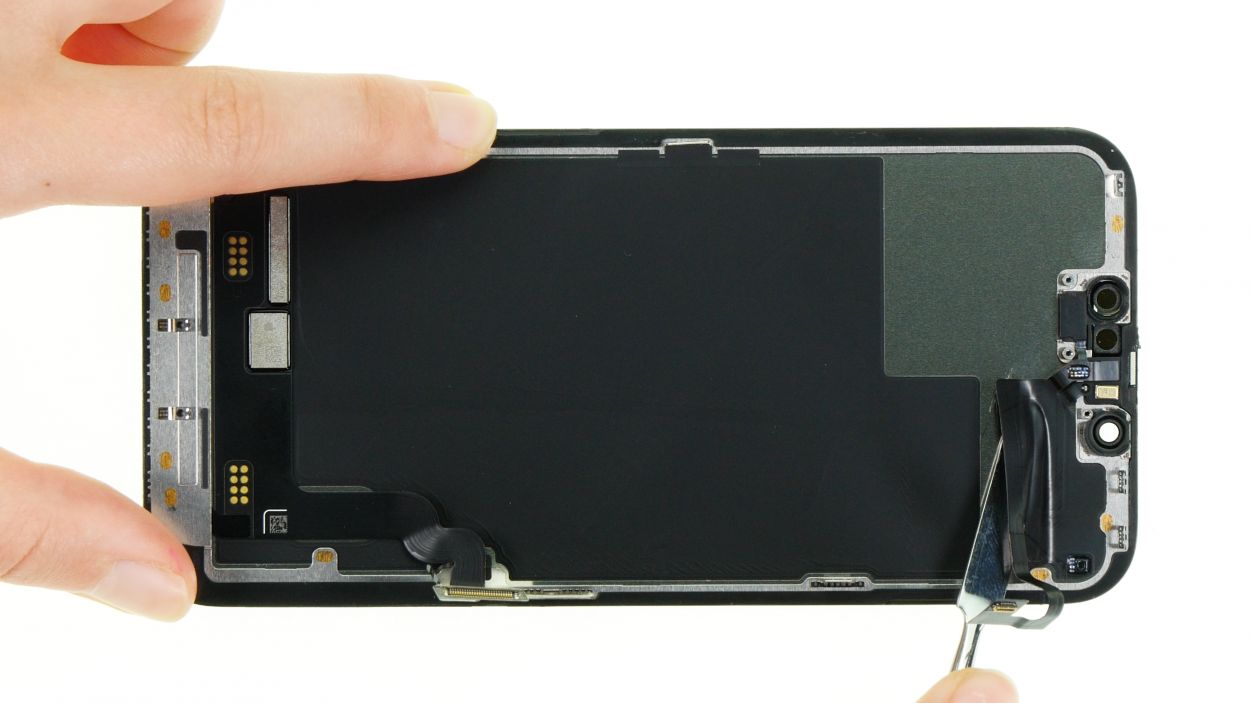
Step 11

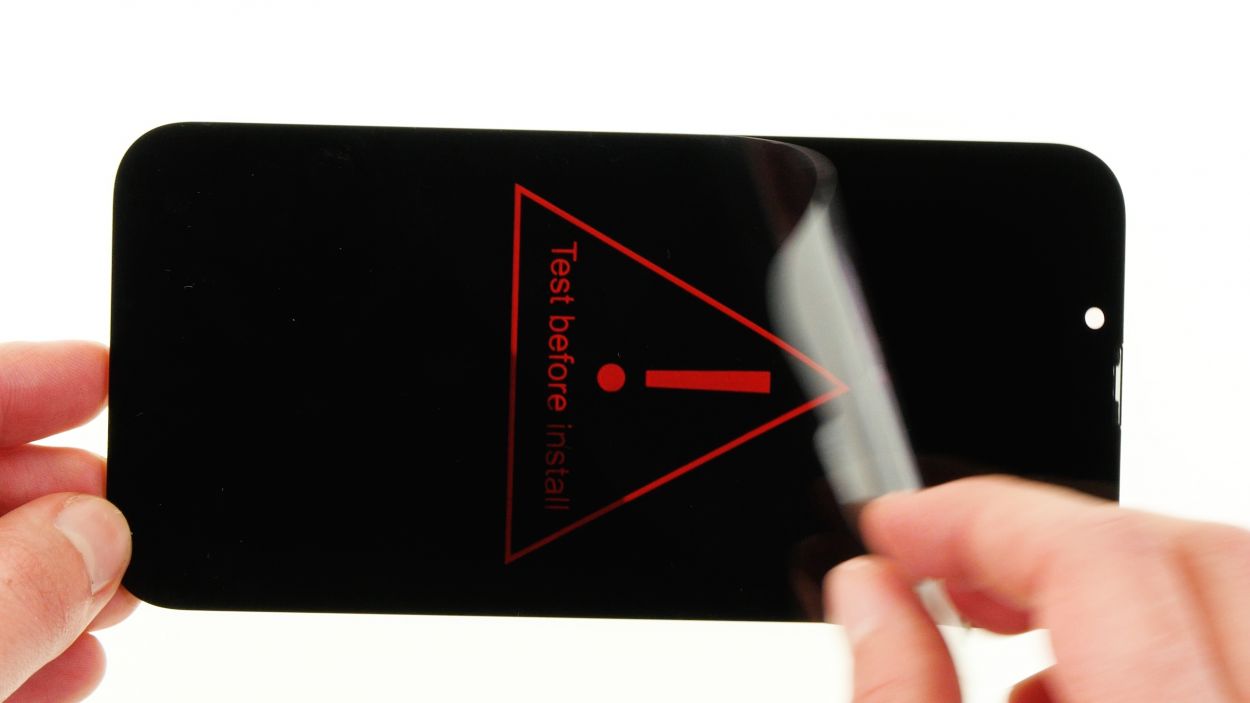
– Get your replacement screen ready by peeling off all those protective films from the inside. It’s like giving your new screen a little spa day!
– To keep your screen safe from scratches, feel free to keep the film on the glass until you’re all done with the repair. Better safe than sorry!
Tools Used
Step 12
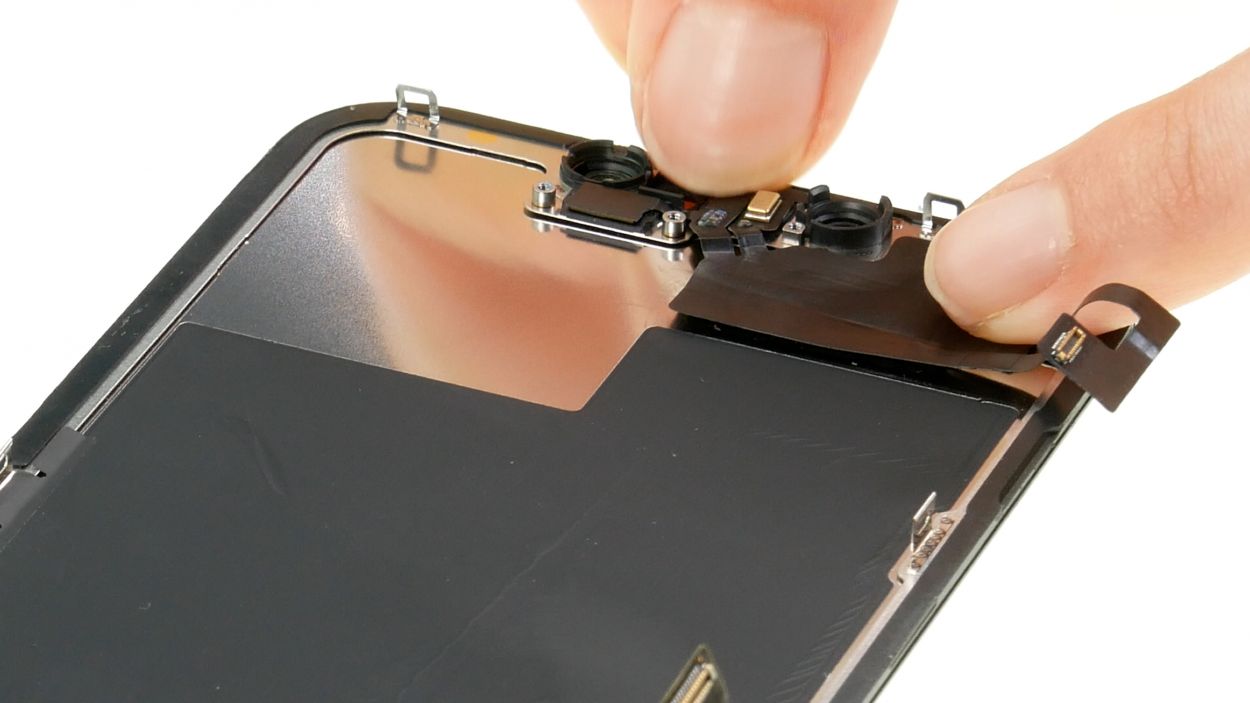
Be gentle with those delicate sensors! They’re easily startled, so take your time when pressing them back into their snug little homes.
Step 13

3 × 1.4 mm Phillips
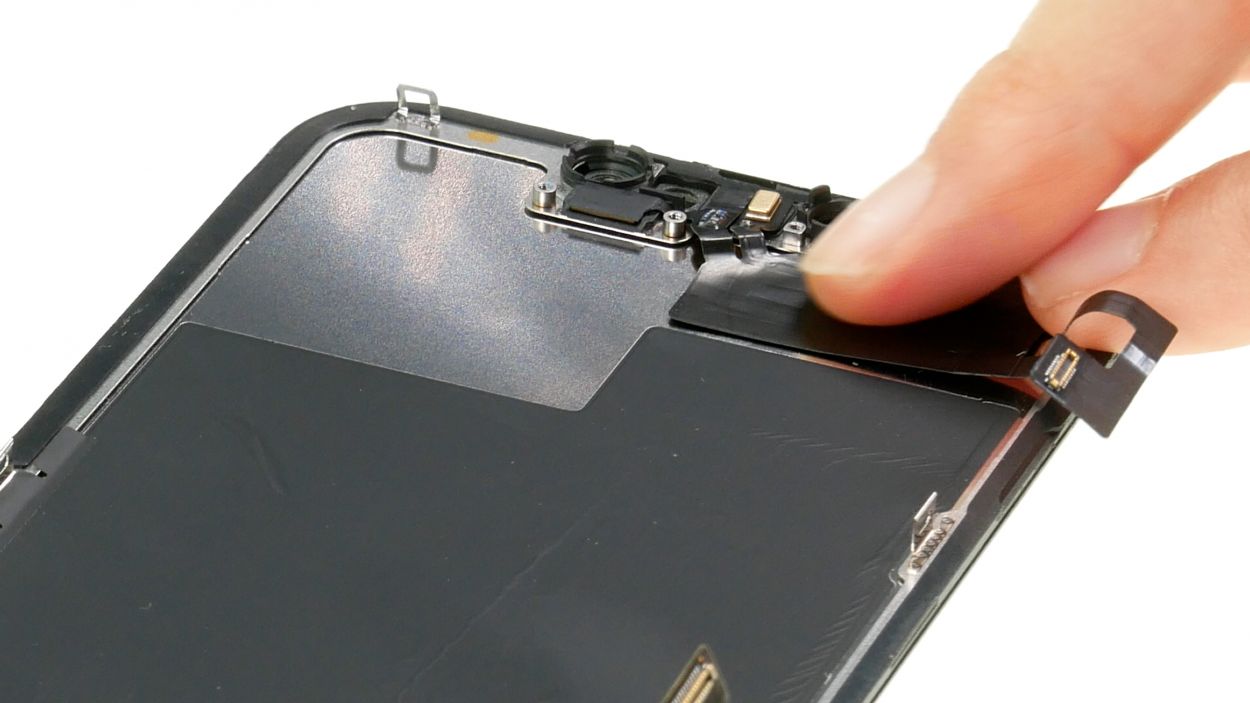
– Get that cover plate lined up just right over the sensor cable, like a perfect puzzle piece!
– Secure the plate in place with those three Y-type screws. You’re nailing this!
Step 14
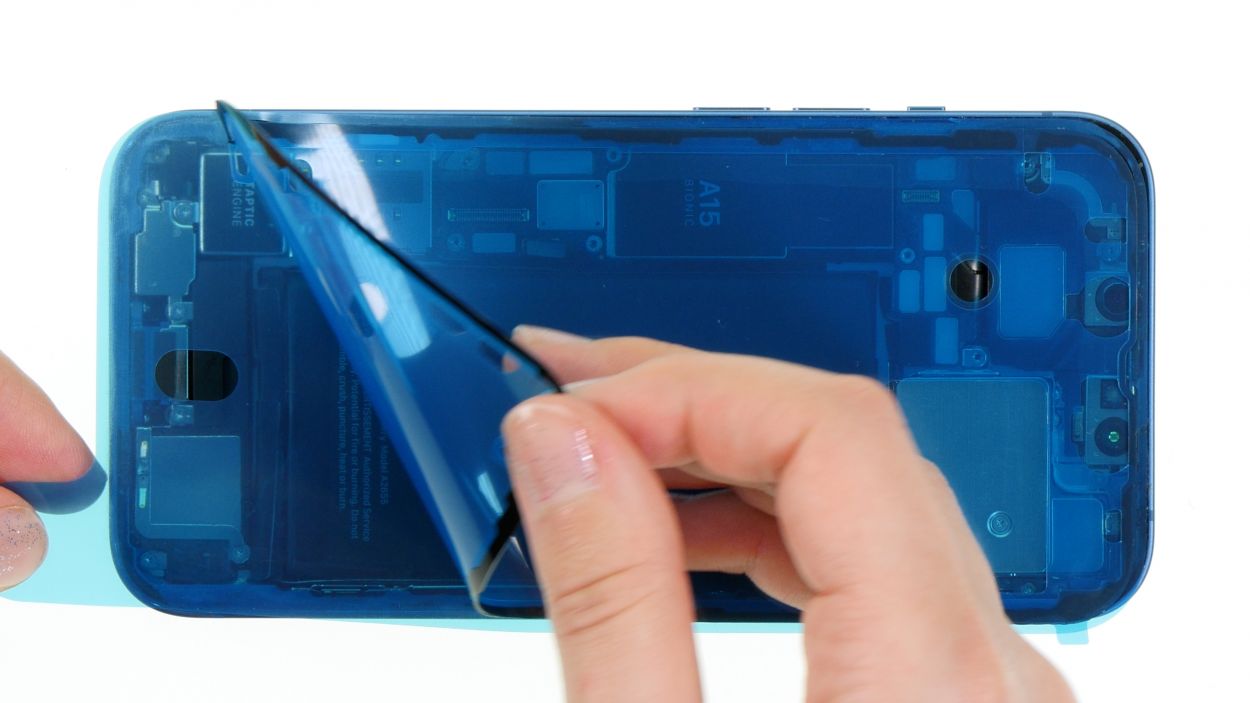
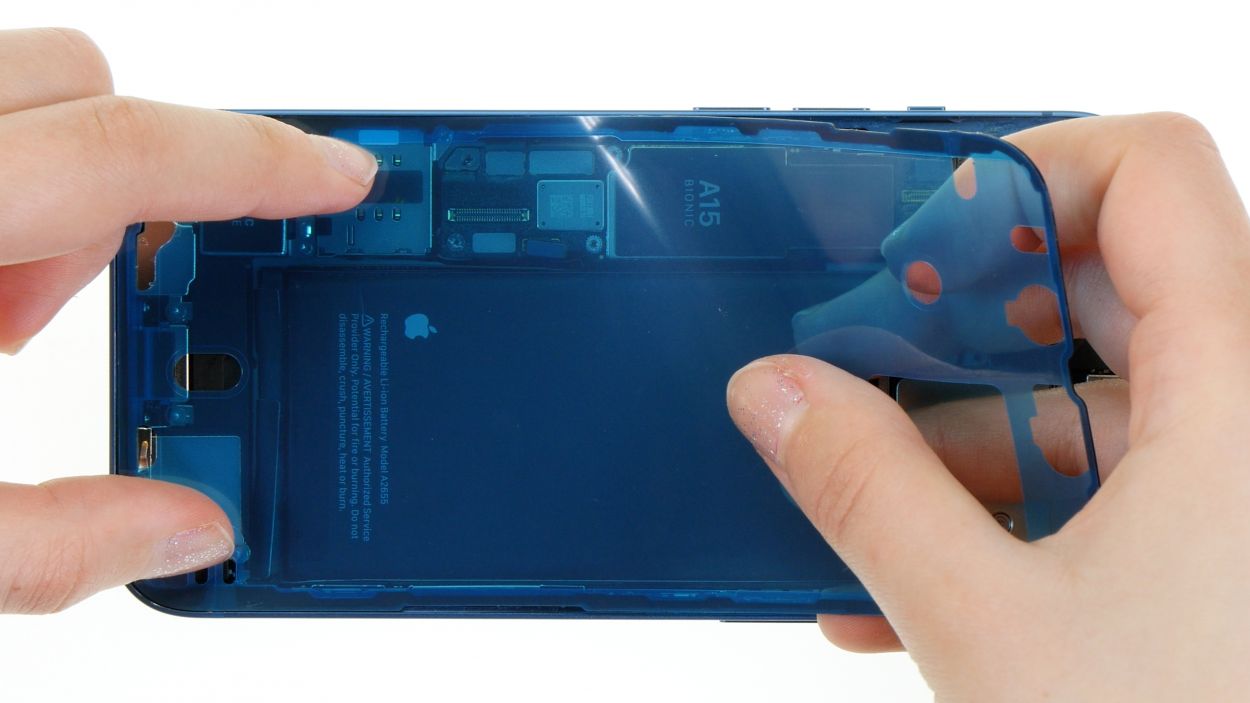
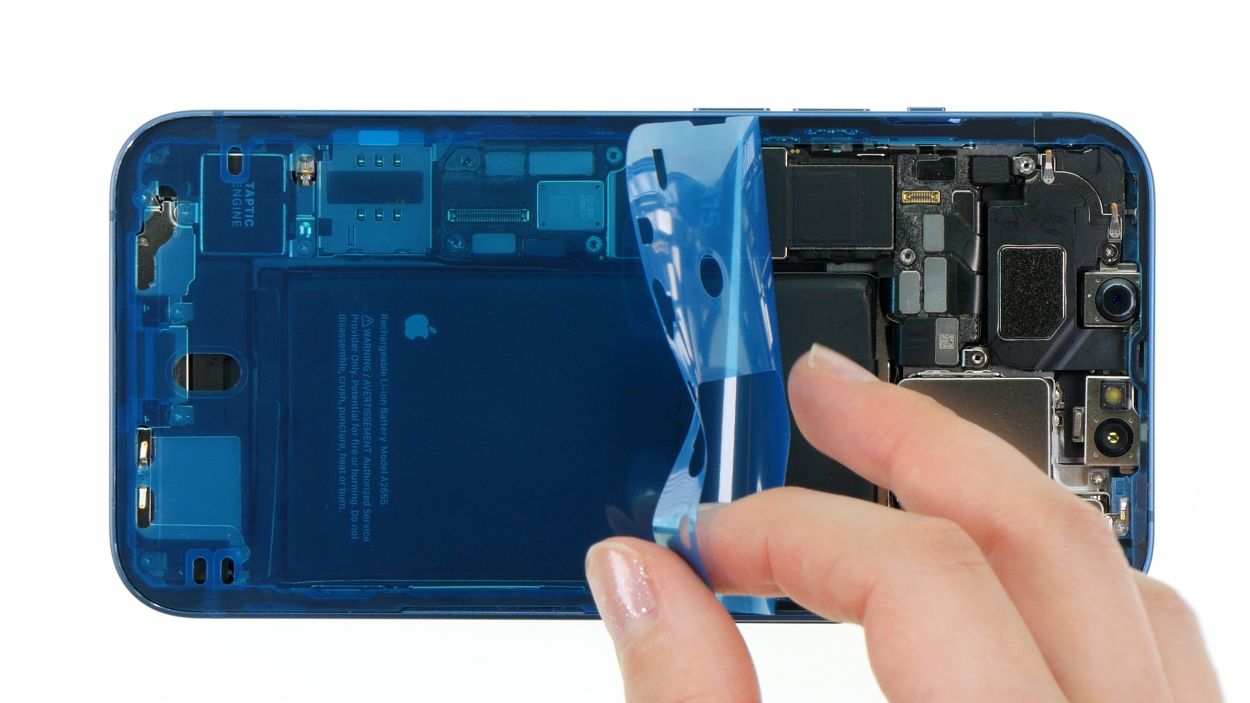
– Warm up that adhesive frame and gently peel it off, piece by piece, using your trusty tweezers.
– Next, take off the carrier film from the adhesive frame and press it onto the edge of the case like a pro.
– Now, remove the protective film from the top of the adhesive frame. Just a heads-up: save the last bit of protective film on the edge of the case until you’re almost done with the repair!
Tools Used
- heat gun to heat parts that are glued on so they’re easier to remove.
In most cases, you can also use a hairdryer.” rel=”noopener”>Heat gun - Piergiacomi Tweezers 2a SA ESD
Step 15

Take it easy when you’re pressing down on those connectors! A little too much enthusiasm can lead to a component throwing in the towel. Let’s keep everything in tip-top shape!
– Tilt the screen back against something sturdy to make that connection happen.
– Gently press each of the two screen connectors onto the logic board, one after the other. You’ll hear and feel them click right into place!
Step 16
Always plug in that battery at the end of your repair journey to keep any sneaky short circuits at bay!
– Gently press that connector onto the logic board, and listen for that satisfying click as it locks into place. You’re nailing this!
Step 17
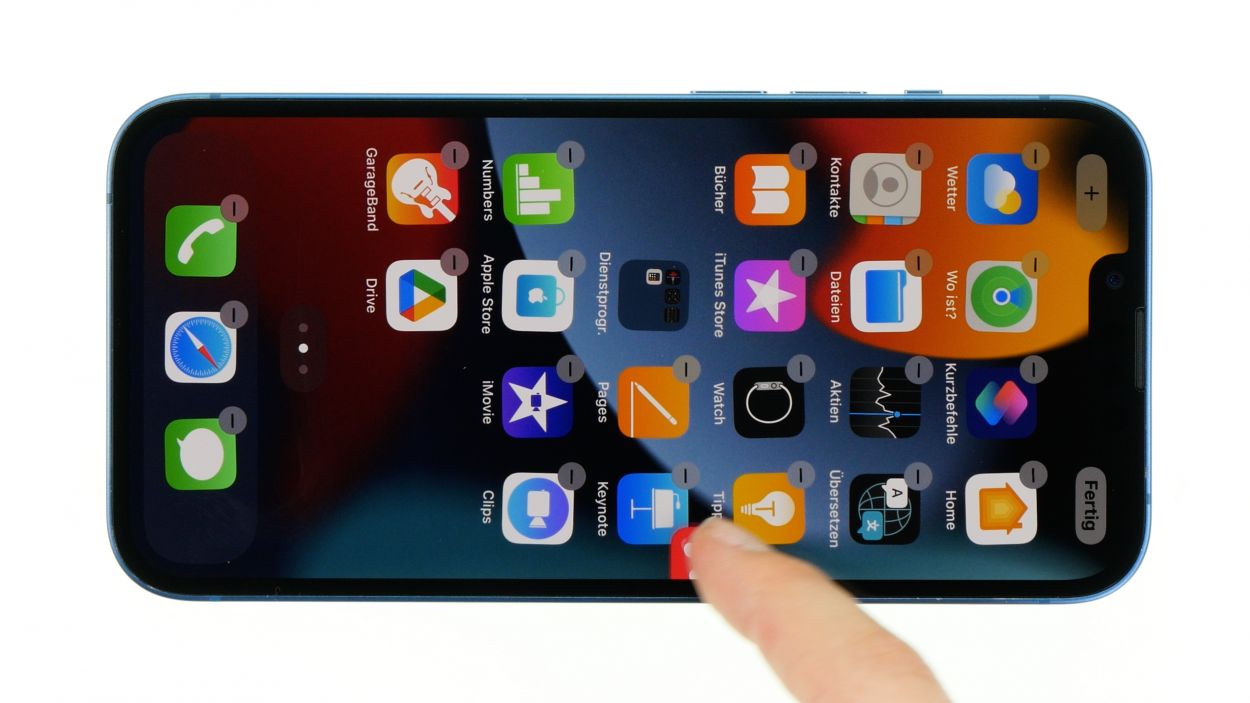
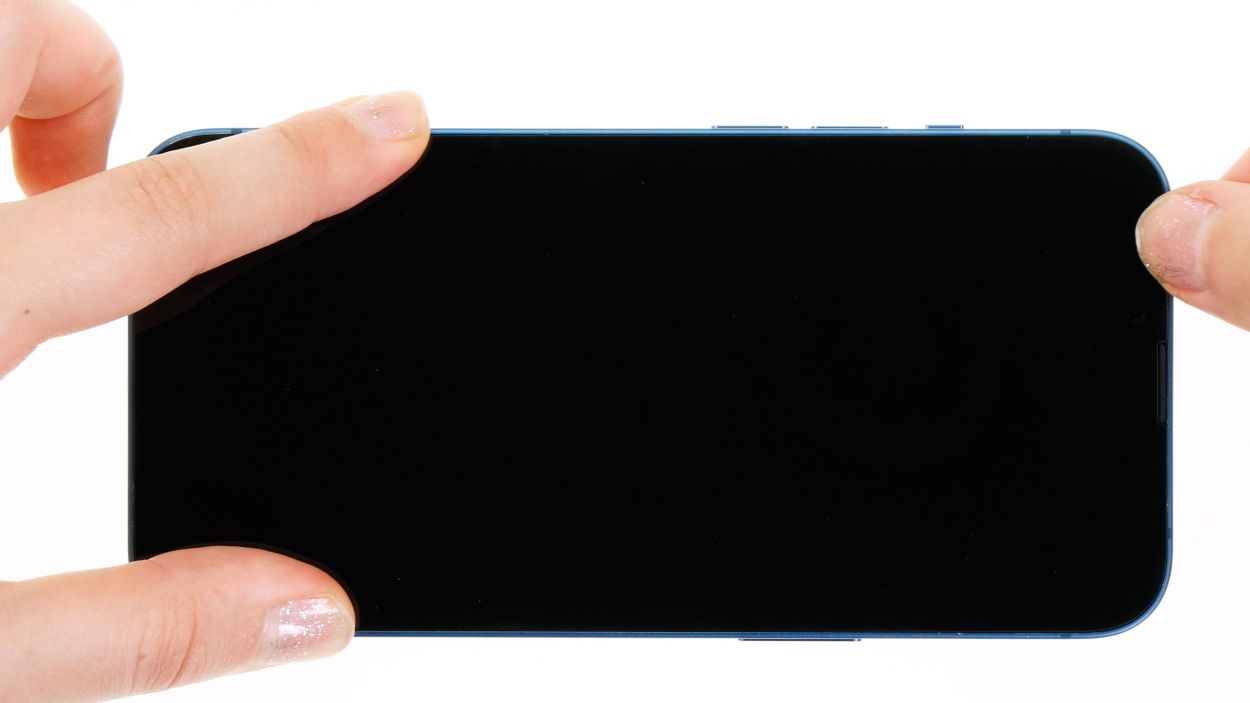
Before sealing the deal on your iPhone 13, it’s a smart move to give that shiny new screen and other essential features a quick test run. This way, you’ll know for sure that your repair went off without a hitch! Don’t forget to check our handy checklist for guidance.
– Gently wrap the screen around, but hold off on pressing it into the case just yet. You’re doing great!
– Power up your iPhone and swipe an app across the screen. This is your chance to see if the touch is working smoothly everywhere.
– If something seems off, double-check that everything is installed and connected properly. You’ve got this!
Step 18

– Align those two cover plates over the connectors like a pro! The screw holes are your trusty guides for a perfect fit.
– Secure the cover plates in place with a few screws. Use tweezers to keep them steady while you work your magic!
4 × 1.2 mm Phillips
1 × 1.7 mm Y-Type
1 × 1.6 mm Phillips
Watch out for those screw lengths! Mixing them up can lead to a screw that’s too long getting cozy in the wrong spot, and that could spell trouble for your device. Let’s keep everything in check!
The upper cover plate has a sneaky little hook on one side. Make sure to give it a gentle nudge to unhook it when you’re ready to proceed!
Step 19
When you’re folding that screen down, be a buddy and watch out for those flex cables! We don’t want any pinching drama happening here.
– If you’ve just added a fresh adhesive frame, now’s the time to peel away that pesky protective film and let your screen shine!
– Gently flip the screen over and press it down into the case frame with a firm touch. It should settle in nicely, and you might even hear a satisfying click!
– To wrap things up, give the edge of the screen a little warmth with your hot air tool. This will help the adhesive bond like a champ!
Tools Used
- heat gun to heat parts that are glued on so they’re easier to remove.
In most cases, you can also use a hairdryer.” rel=”noopener”>Heat gun - Piergiacomi Tweezers 2a SA ESD
Step 20
2 × 6.8 mm Pentalobe
– Tighten those two rear case screws to secure that screen back in place like a champ!
Tools Used