How to Replace iPhone 6 Battery Step-by-Step Guide
Duration: 45 minutes
Steps: 23 Steps
To ensure top-notch performance post-repair, don’t forget to fine-tune your shiny new battery:
Feel free to utilize this guide to trade out the parts listed below:
Give your iPhone 6 a fresh start with a new battery – it’s a piece of cake and will seriously up its game! If it’s like a bloated sponge, be cautious. This guide’s all about taking out the front panel to keep your screen safe. If you’re a pro at holding things up, you can skip that part and jump straight into battery world. Give your new battery a high-five by calibrating it – charge it to full and keep it charged for a few more hours. Then put it through its paces until it runs out of juice. Lastly, give it a full charge again. Heck, you can even change these components while you’re at it: Battery Connector Bracket, Front Panel Assembly, and Cable Bracket. Need help? No worries, you can always schedule a repair!
Step 1

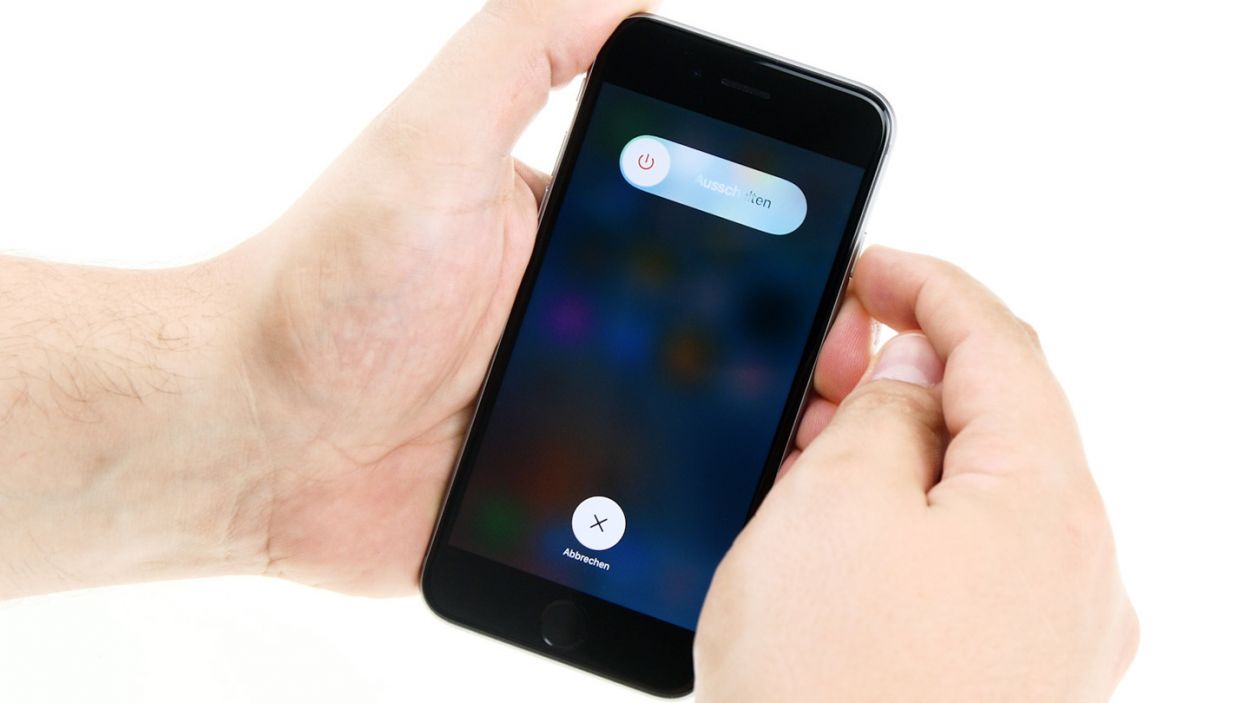
– First things first, let’s power down that iPhone before we dive into the inner workings. Safety first, right?
– Next up, grab your trusty P2 Pentalobe screwdriver and remove those two 3.6 mm-long screws hanging out next to the Lightning connector. They’re just waiting to be set free!
Step 2


Hey there! Get ready to meet the Anti-Clamp, our handy tool that makes opening up your device a breeze. If you’re not using the Anti-Clamp, no worries! Just hop three steps ahead for a different method. And remember, if you need a hand, you can always schedule a repair.
– Give that blue handle a gentle tug backward to let the Anti-Clamp’s arms stretch out.
– Slide those arms over either side of your iPhone, left or right—your call!
– Place the suction cups right near the bottom edge of your iPhone, just above the home button—one on the front, and one on the back.
– Squeeze those cups together to create a snug suction fit where you need it.
Step 3


– Give the blue handle a friendly nudge forward to securely lock the arms in place.
– Give the handle a cool twist in a full 360-degree motion or until the cups are feeling stretched out.
– When the Anti-Clamp creates a nice big gap, slide an opening pick under the screen to start working your magic.
– Feel free to take a little breather and skip past the next trio of steps.
Step 4

– No Anti-Clamp? No problem. Just use a single suction cup to carefully lift that front panel and you’re on your way. If you need help, you can always schedule a repair
Step 5

There are a few sneaky clips that keep the front panel assembly snugly attached to the rear case. Grab your trusty suction cup and plastic opening tool to gently coax the front panel free. You’ve got this!
– With one hand firmly holding down your iPhone, give that suction cup a little tug to help loosen the front panel assembly from the rear case. You’re doing great!
– Now, grab your trusty plastic opening tool and gently pry the rear case away from the display assembly while you keep pulling up with the suction cup. You’ve got this!
Step 6


– Give that plastic nub a gentle tug to break the vacuum seal on the suction cup. You’ve got this!
– Carefully detach the suction cup from the display assembly and keep it safe for later!
Step 7


– Gently open the iPhone by swinging the home button end of the front panel assembly away from the rear case, using the top of the phone as a nifty hinge.
Step 8


– Alrighty, let’s get that display opened up to about a 90º angle and lean it against something. We don’t want any mishaps while we work our magic, do we? Now, add a rubber band to keep everything in place. This way, your display stays safe and sound while you’re affectionately taking care of it. If you need a little extra help, no worries! You can always schedule a repair with us. We’re here for you!
Step 9

As you dive into your repair adventure, keep a close eye on each screw and remember its special spot. This way, your phone stays happy and healthy, and you avoid any accidental damage. You’ve got this!
– Take out those Phillips screws from the battery connector bracket with a smile!
Step 10

– Alright, tech enthusiasts! Time to kick it into high gear and take off that pesky metal battery connector bracket from your iPhone. It’s just like removing a sticker – almost as satisfying when it comes off, right? If you need help, you can always schedule a repair.
Step 11

Be gentle when lifting the battery connector—focus on that little guy and not the socket on the logic board. If you accidentally pry on the socket, you might just break the connector, and nobody wants that!
– Gently persuade the battery connector up from its cozy socket on the logic board using a colorful plastic opening tool.
Step 12

If these screws aren’t put back in the right spots during reassembly, your iPhone’s logic board might just throw a tantrum and get permanently damaged. Let’s keep things happy and secure!
– Get ready to bust a move: remove the ‘fab five’ Phillips screws holding down the front panel assembly cable bracket.
Step 13

– Get ready to party by removing the front panel assembly cable bracket from the logic board!
Step 14


As you jump into the next four steps, remember to gently lift only the cable connectors, steering clear of their sockets on the logic board. You’re doing great!
– Grab a spudger or use your trusty fingernail to carefully disconnect the front-facing camera and sensor cable connector. It’s a snap!
Tools Used

Step 15


– Grab your spudger or just use your trusty fingernail to pop off that home button cable connector like a pro!
Tools Used
Step 16


Hey there! Just a heads up, make sure to disconnect the battery before you unplug or plug back in the cable during this step. Safety first, rockstar!
– Grab a spudger or your trusty fingernail to gently disconnect that display data cable connector. You’ve got this!
– As you put your phone back together, keep an eye on that display data cable – it might just decide to jump off its connector for a little adventure. If you end up with white lines or a blank screen after powering your phone back on, no sweat! Just reconnect that cable and give your phone a nice power cycle. The easiest way to do this? Simply disconnect and reconnect the battery connector. Easy peasy!
Tools Used
Step 17


– Grab the flat end of your trusty spudger and gently pop off that digitizer cable connector.
– When it’s time to reconnect, remember: no squishing the middle! Start pressing down on one end of the connector, then move to the other end. Squishing the middle might bend things out of shape and mess up your digitizer. If you need help, you can always schedule a repair.
Tools Used
Step 18

– Detach the front panel assembly from the rear case with flair!
Step 19


Grab your fingers or some blunt tweezers, and let’s be super careful around the battery—no one wants to unleash those pesky lithium-ion gremlins and start a fire!
If you’re feeling adventurous, you can unscrew the two Phillips screws holding down the vibrator. Pop it out to give yourself some extra room to smoothly yank those battery strips out!
– Let’s get started – gently peel back the first battery adhesive tab from the bottom right edge of the battery. If you need help, you can always schedule a repair
Tools Used

Step 20


To make this step a breeze, keep those strips flat and smooth – wrinkles can cause them to stick together and break, so let’s keep it clean and easy. If you need help, you can always schedule a repair