How to Replace Lenovo Vibe Z2 Pro Motherboard: Step-by-Step Guide
Duration: 45 minutes
Steps: 17 Steps
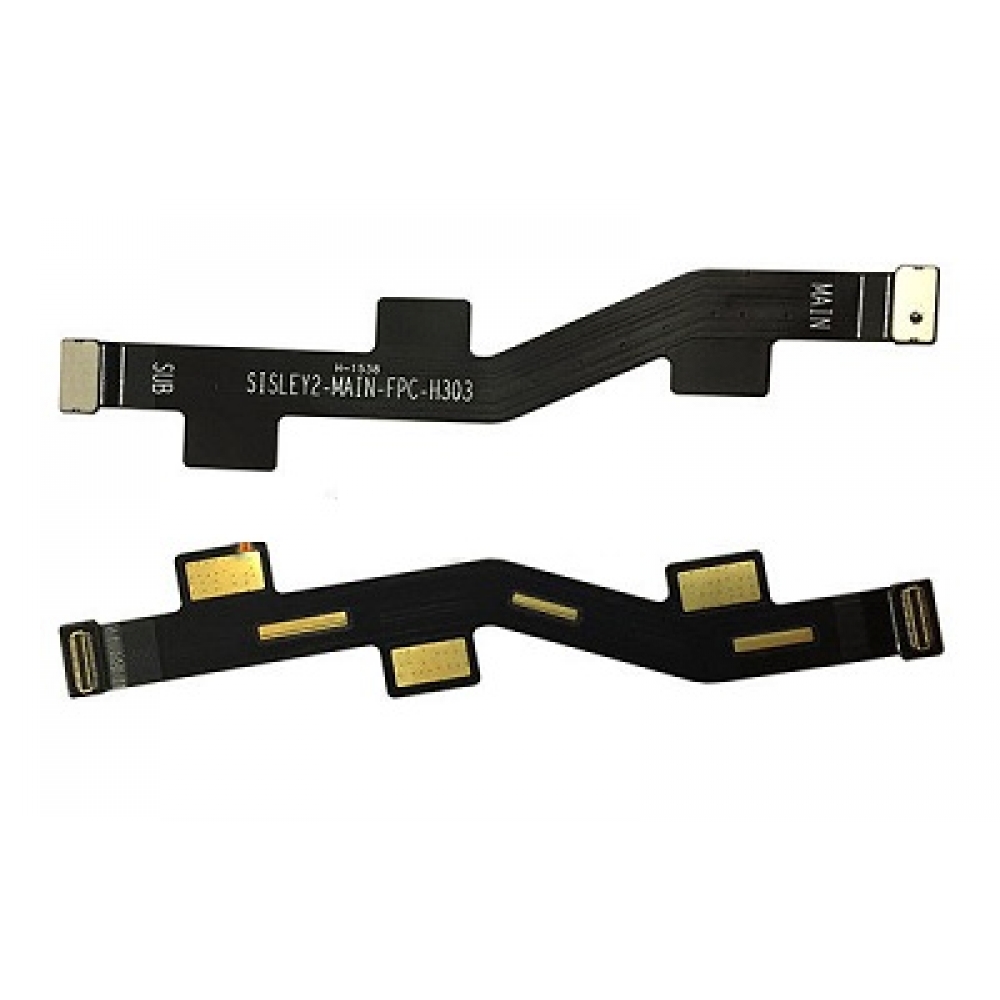
If your phone’s not turning on even after that fresh new battery, we’ve got a hunch the motherboard might be on the fritz. Fear not, though! We’ve got a guide that’ll help you replace that flaky motherboard and have you back in action before you know it. If you need help, you can always schedule a repair.
Step 1
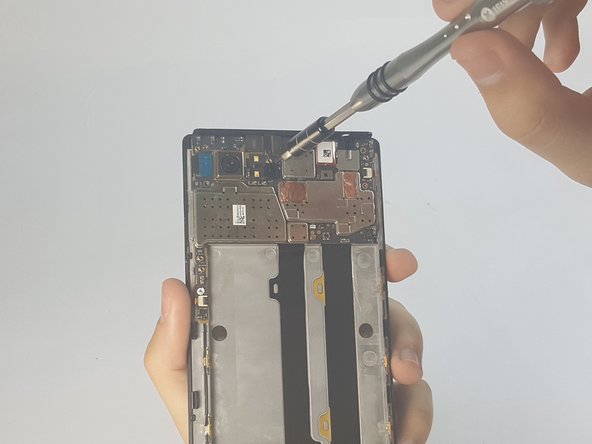
– Let’s loosen those screws! There are four 4.9 mm torx head screws holding down the camera plate on the back of the phone. Give them a gentle turn, and we’ll be on our way!
Step 2
– Time to get those 3.65 mm Torx head screws out from the bottom of your phone! Grab your trusty tool and let’s get to work!
Step 3
– Gently pop out the SIM card tray by using a pin to press into the tiny hole on the side of your phone. You’ve got this!
Step 4
– Gently slide the Spudger into the little crevice between the phone and the backplate, creating a friendly separation between the two!
Tools Used
Step 5
– Gently pry the backplate away from the phone, like opening a treasure chest – just be careful not to spill the goodies inside!
Step 6
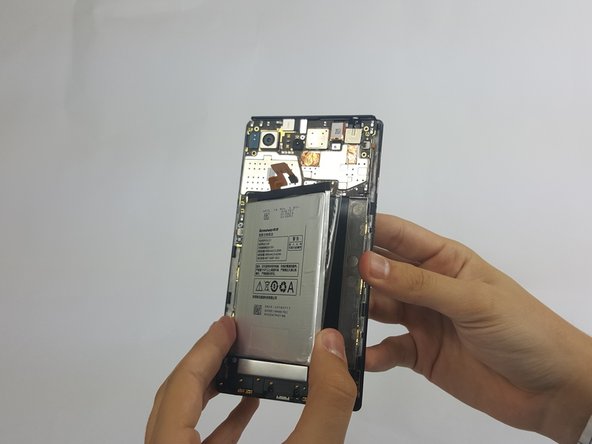
– Gently peel off that protective film with your fingers—it’s like a mini magic trick!
Step 8
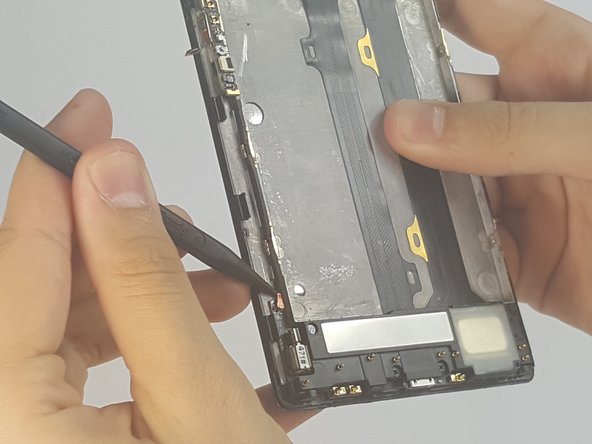
– Let’s loosen up that orange battery ribbon cable! Gently lift it with a spudger to disconnect it. You’re doing great!
Tools Used
Step 10
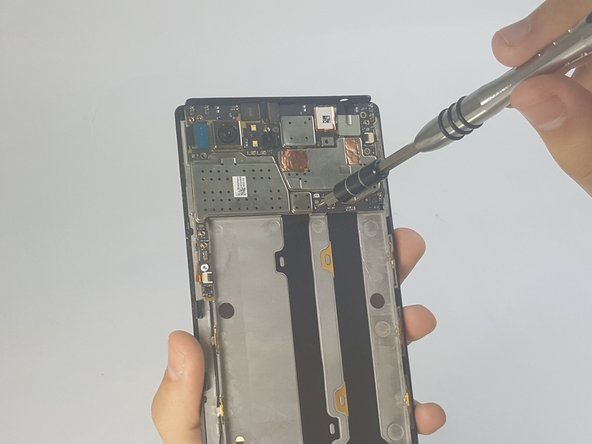
– Time to get those 3.15mm Phillips Head #000 screws off the motherboard! Grab your trusty screwdriver and let’s make it happen.
Step 11
– Carefully pop off the two ribbon cables by lifting the black hinges with a gentle touch, and then pull them away using tweezers. You’ve got this!
Tools Used
Step 12
– Carefully disconnect the connector for the rear camera, taking your time to avoid any mishaps.
Step 14
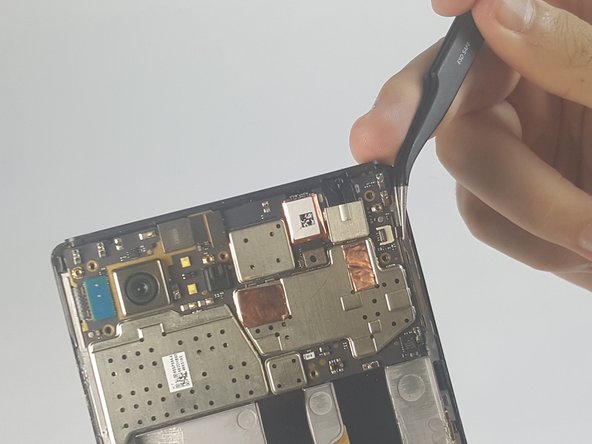
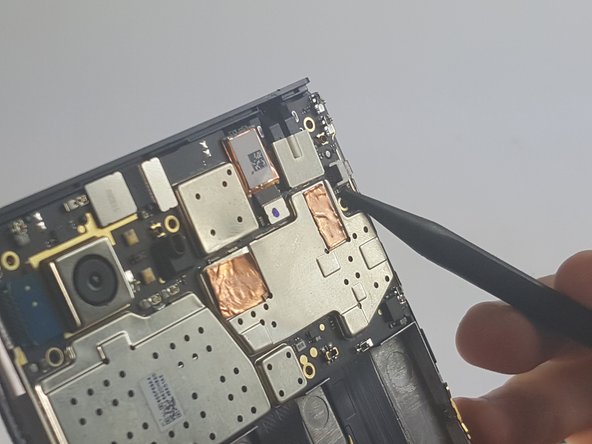
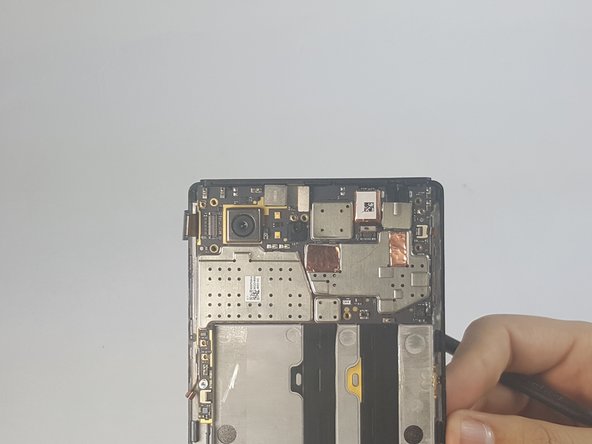
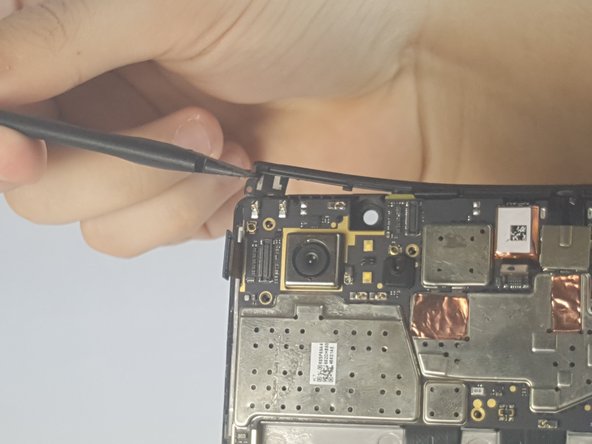
– Gently pop off the plastic cover along the top edge of your phone
Step 15
– Alright, now it’s time to disconnect that antenna hooked up to the bottom part of the screen plate. It’s just a little wiggle and it’ll come right off.
Step 16
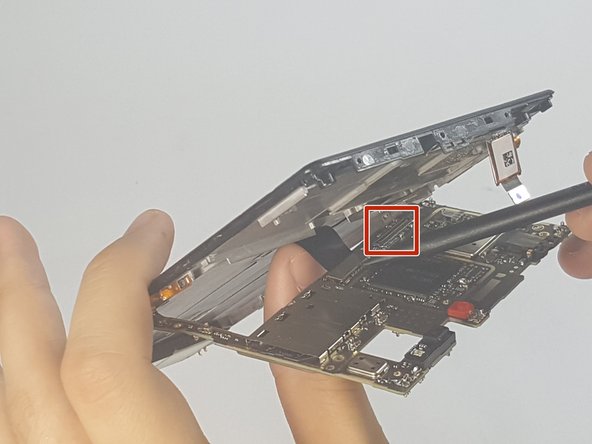
– Alrighty, let’s get our groove on and lift that motherboard off the frame gently, like a delicate dance. Next, extend that camera like it’s showing off, pullin’ it out from behind the motherboard. Now, you’re a repair rockstar! Keep it up, and if you need help, you can always schedule a repair.
Step 17
– Alright, it’s time to put your device back together! Just retrace your steps and reverse the order of disassembly. You’ve got this!
– If you decide to take a break from this guide, no worries at all!
– Remember, if you run into any tricky spots, you can always schedule a repair.
Tools Used
Success!
