How to Replace LG G6 Audio Jack – DIY Guide
Duration: 30 min.
Steps: 13 Steps
In this guide, we’ll walk you through the process of swapping out that faulty headphone jack on your LG G6. If your headphones have gone silent and you’re missing your tunes, this repair is just what you need! Let’s get started and bring the sound back to your life. If you need help, you can always schedule a repair.
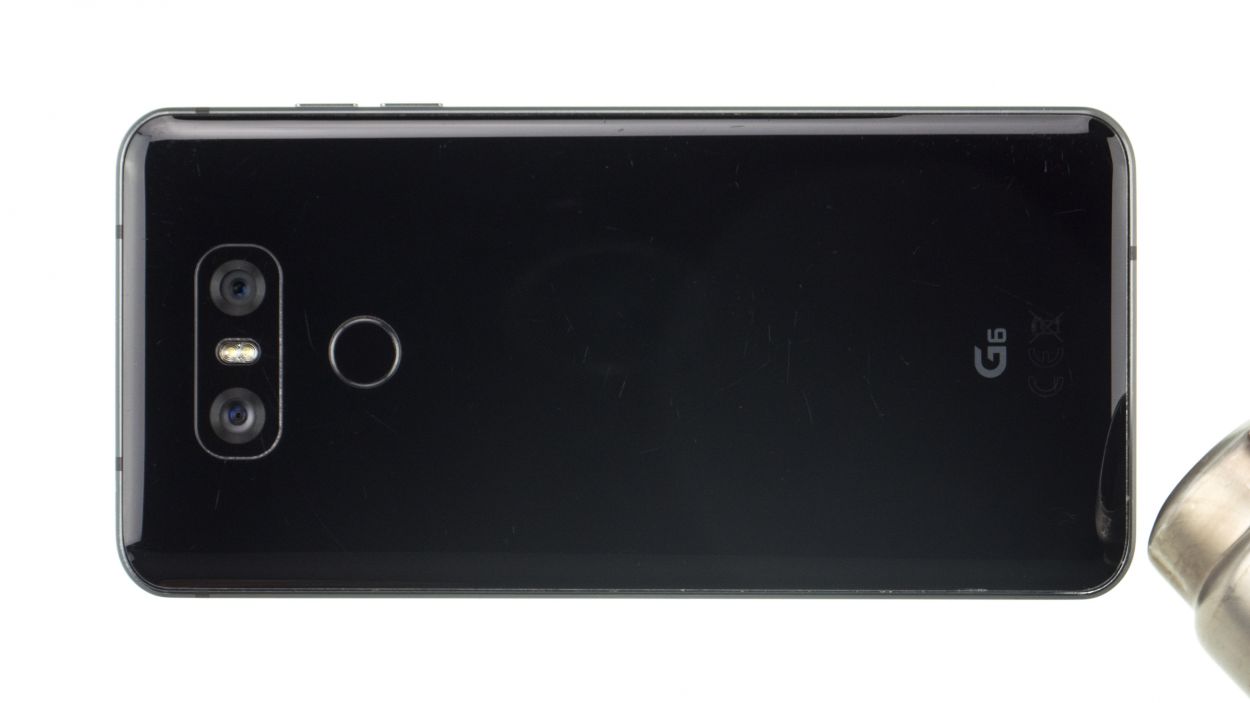
Step 1
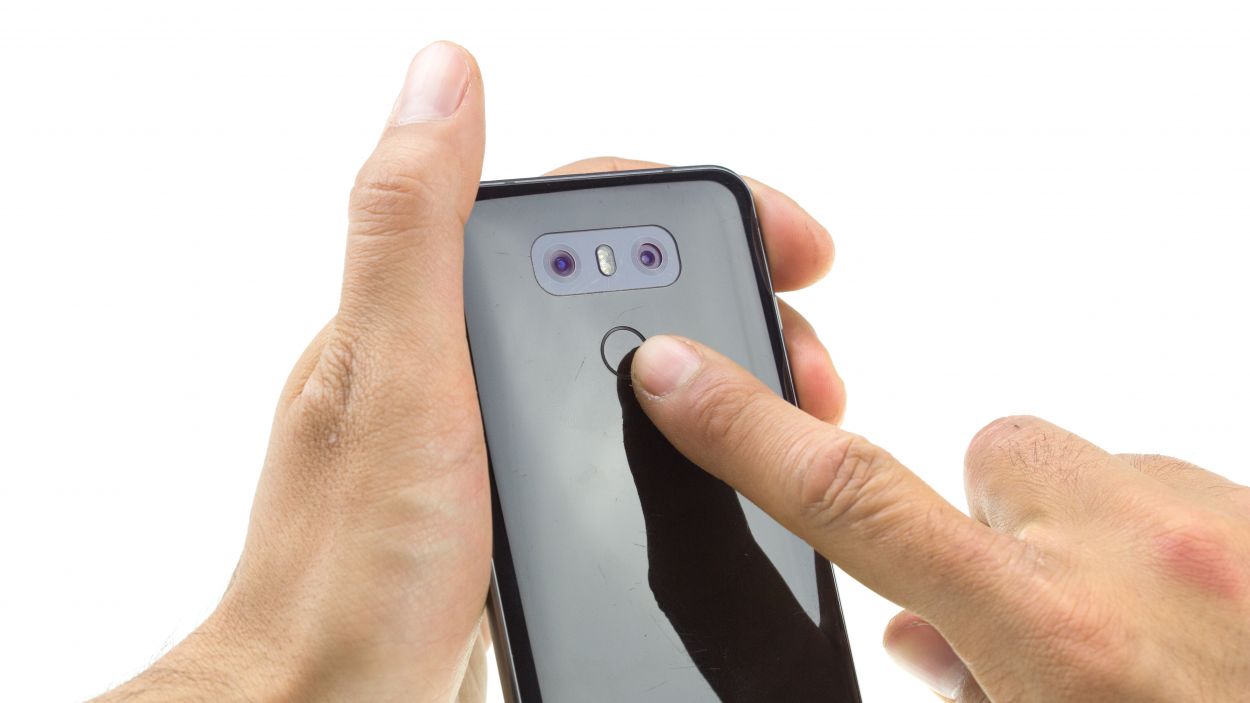
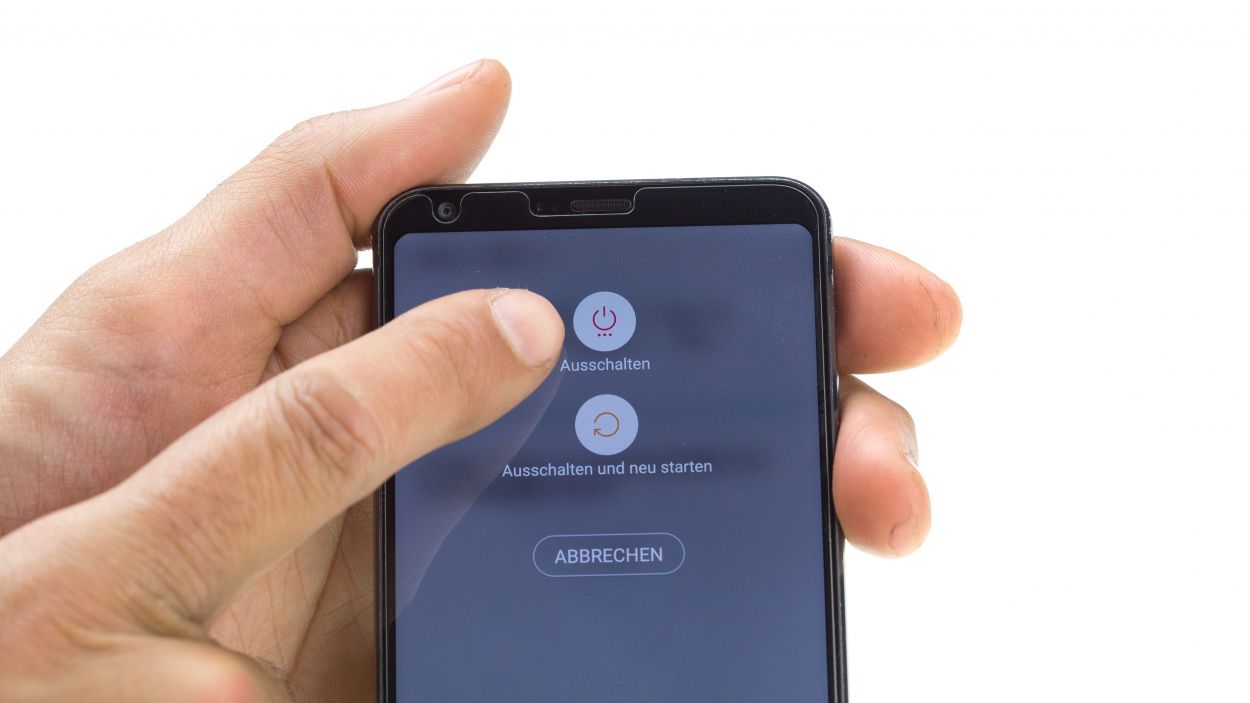
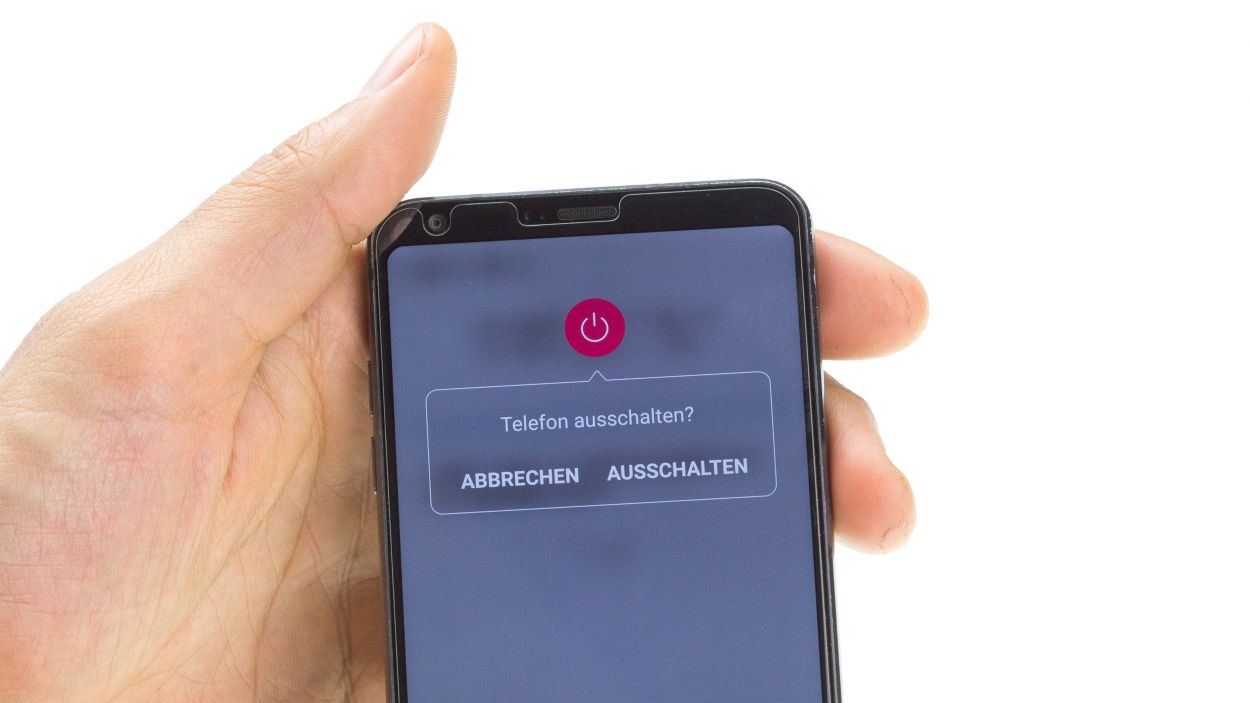
– First things first, let’s power down your device! Just press and hold that power button on the back until you see the ‘Power off’ option pop up.
– Give it a tap to confirm and hang tight while the screen fades to black. You’re doing great!
Step 2
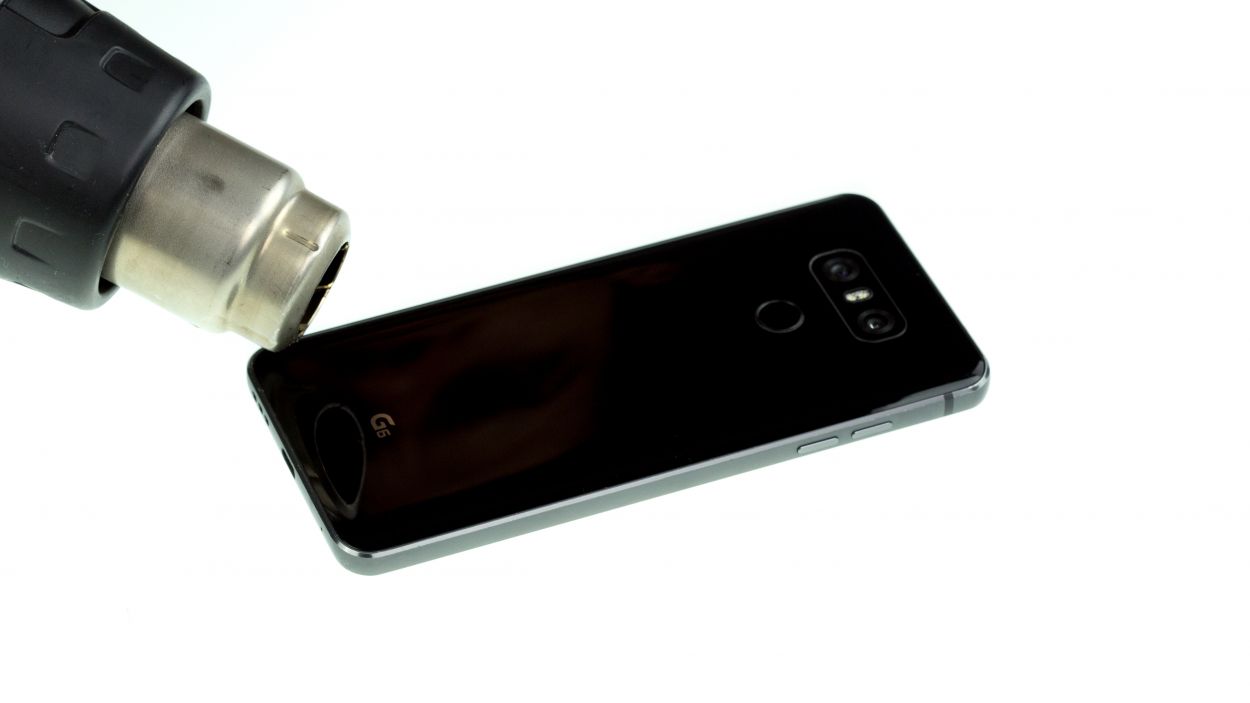
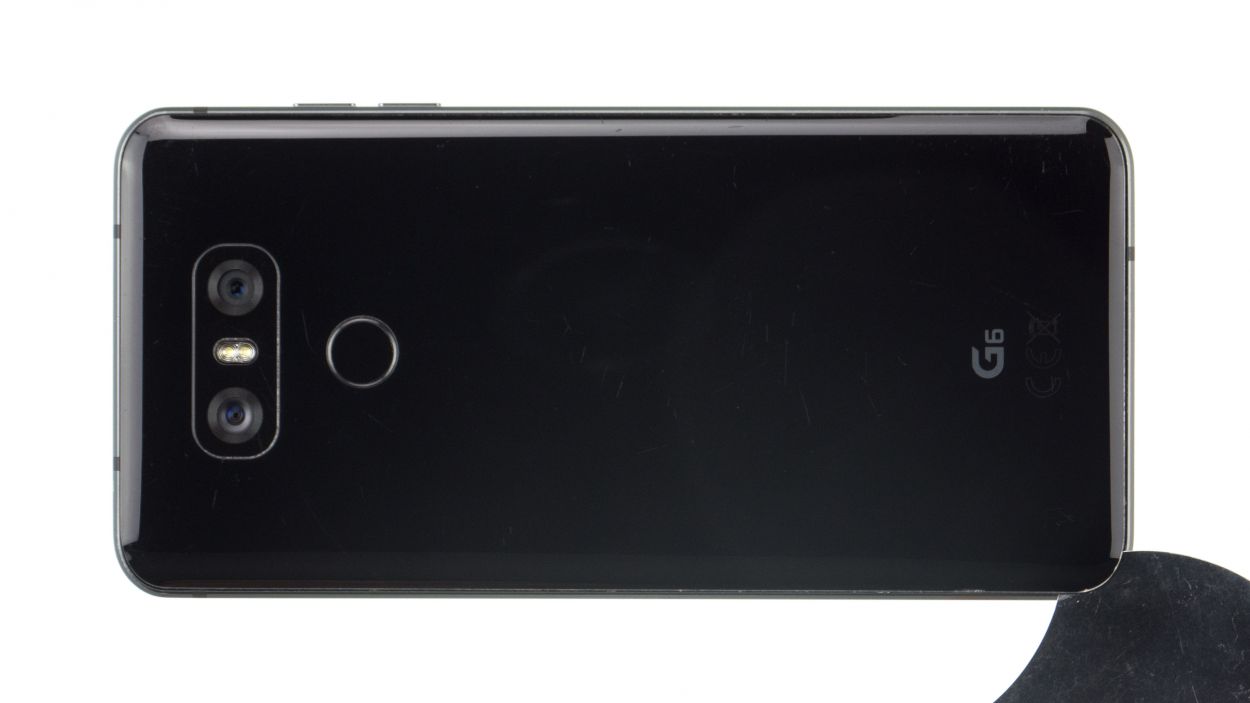
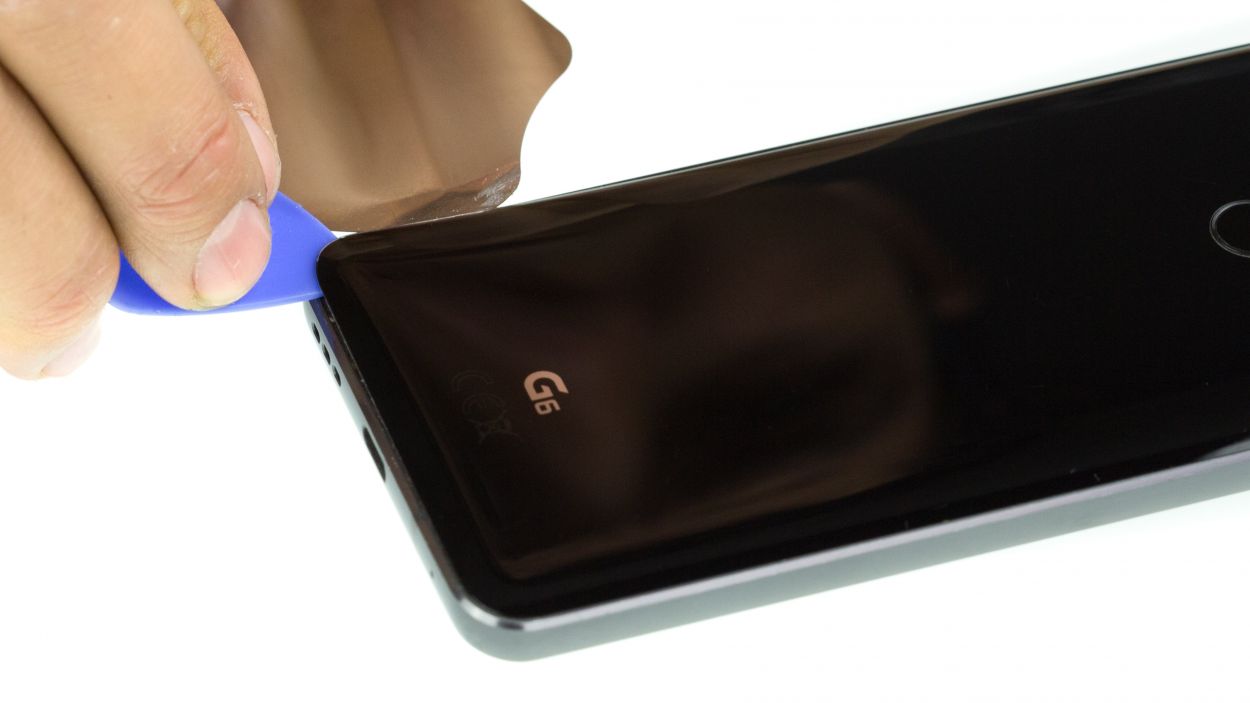
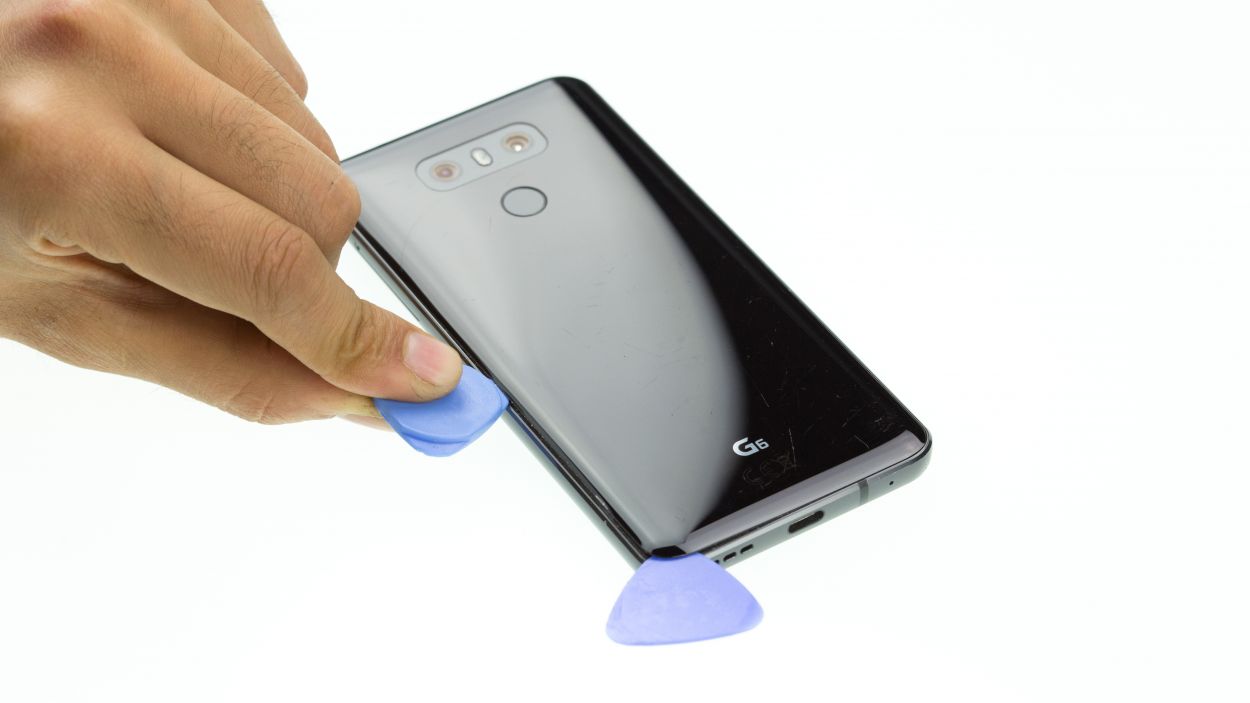

– Warm up the entire back glass to loosen that stubborn adhesive around the edges, including the area near the home button and the USB port.
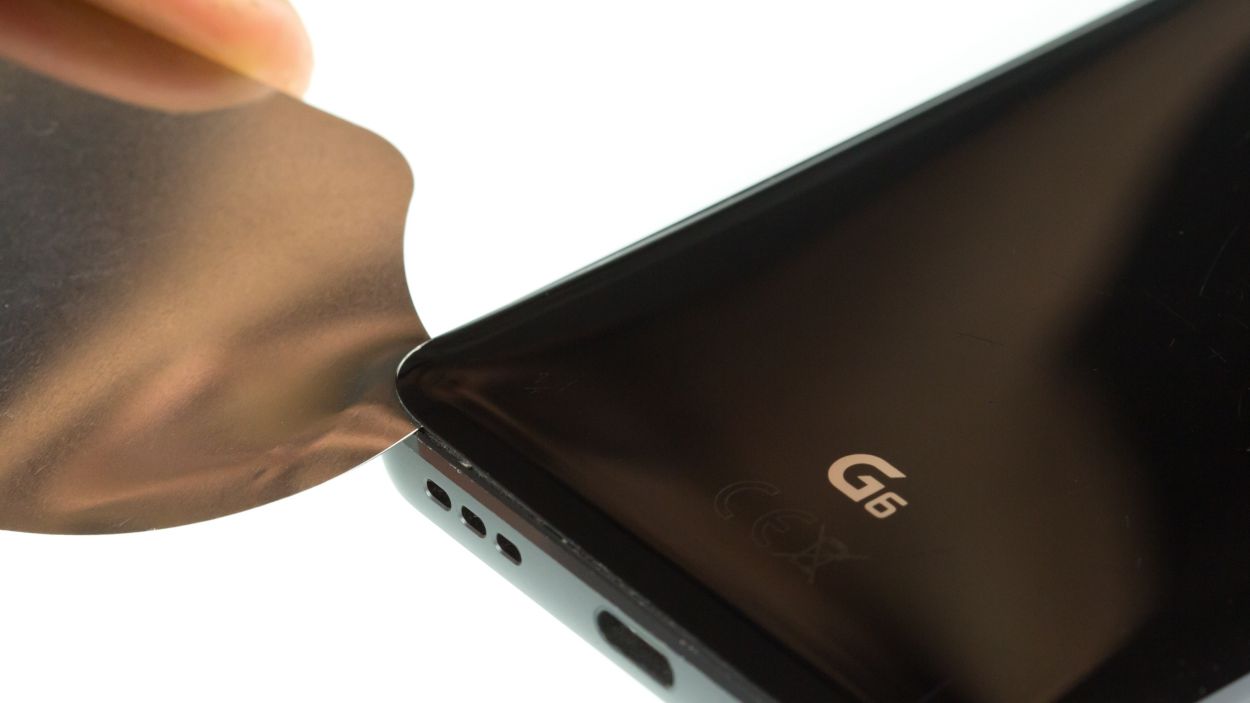
– Slide the iFlex gently between the rear glass and the frame, but keep it no deeper than 5 mm to avoid any mishaps.
Hey there! Just a friendly reminder to handle that back cover with care—it’s a bit fragile! Instead of prying, gently slide your tool around the edges. If it’s being stubborn, don’t hesitate to warm it up a bit and give it another go. Patience is key here; taking your time will help you avoid any mishaps. Remember, if you need help, you can always schedule a repair!
Step 3


4 × 2.7 mm Phillips
The LG G6 keeps it simple with just one screw length, and only the midframe and speaker are held in place with screws. Easy peasy, right? If you need help, you can always schedule a repair!
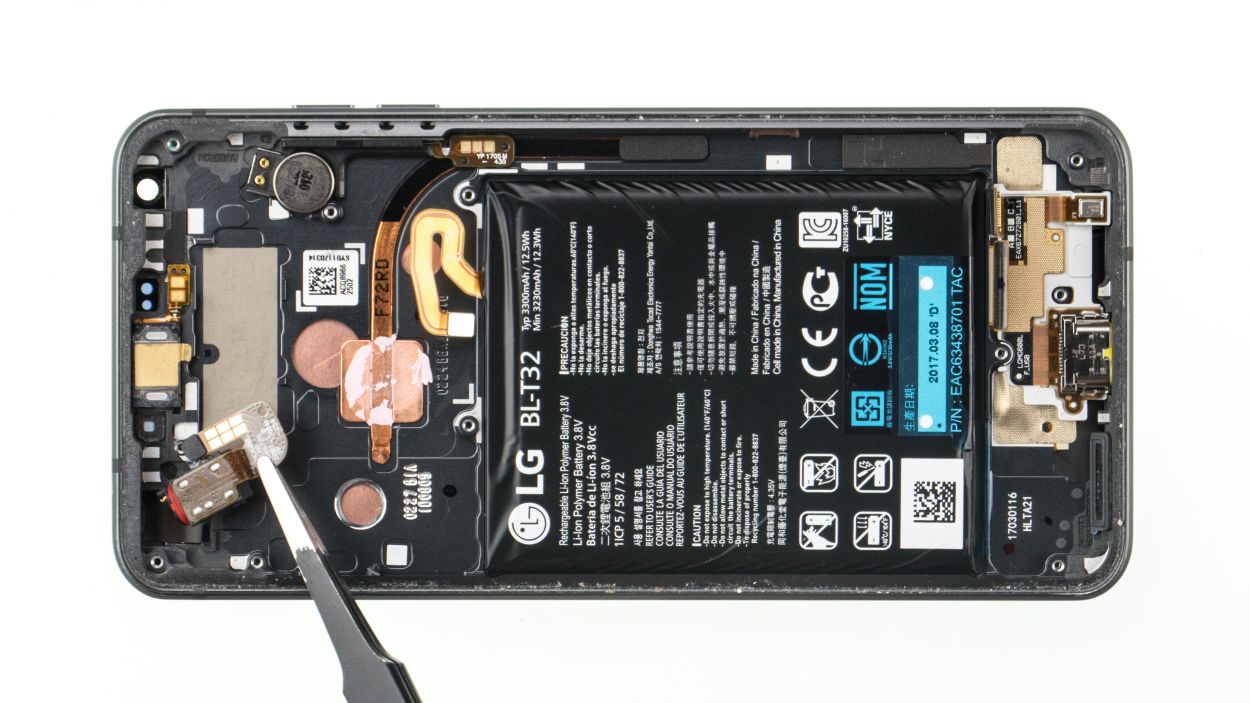
– Remove the equal-length Phillips screws from the speaker and store them for later.
– Then pry out the speaker from the side of the battery and take it out of the device.
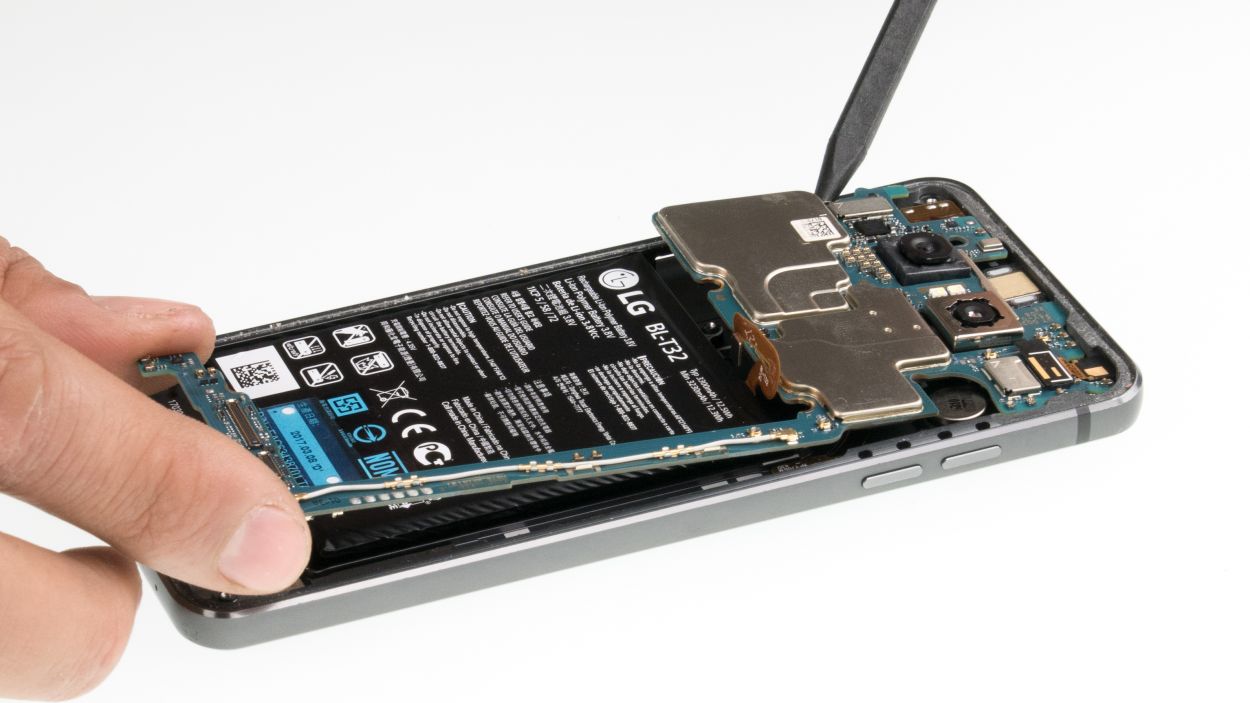
Step 4
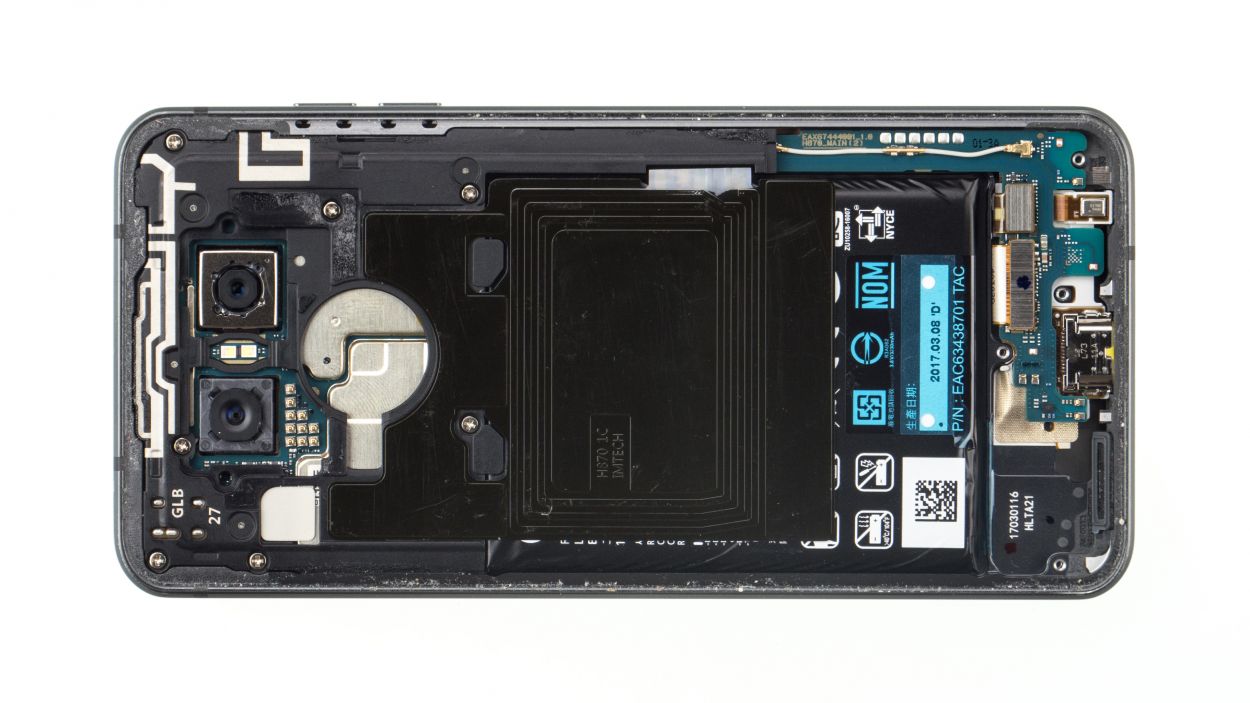
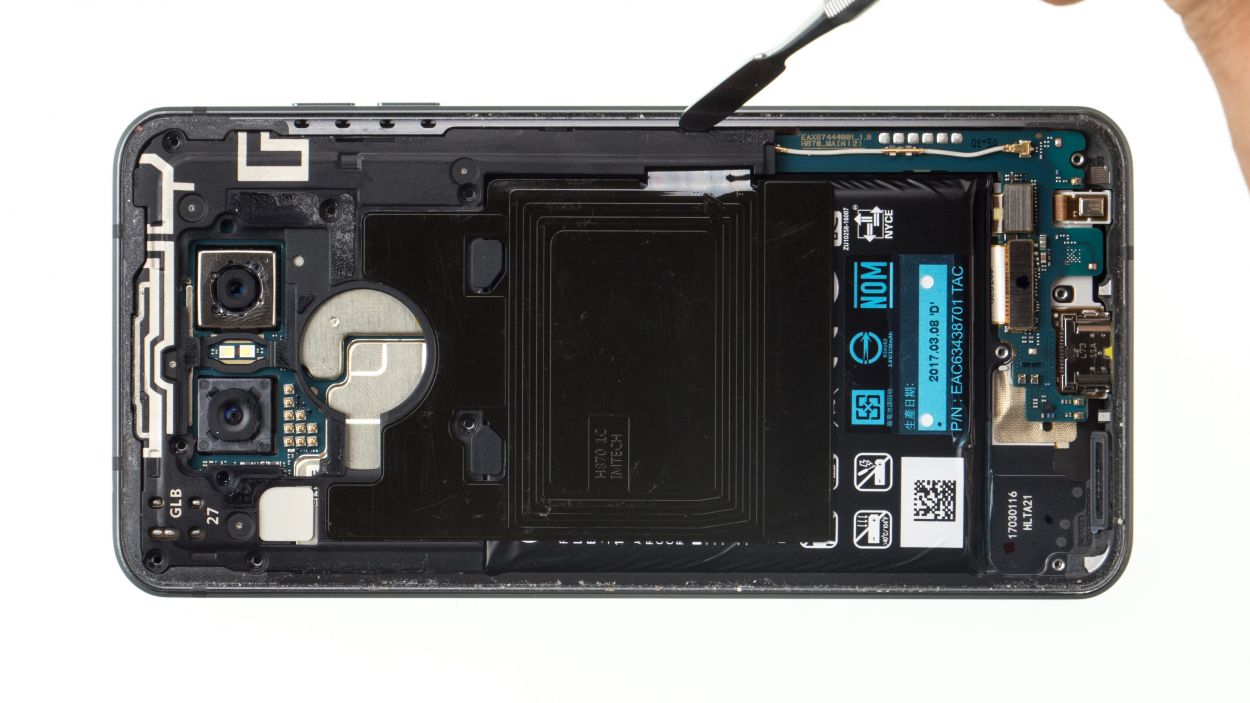
7 × Phillips
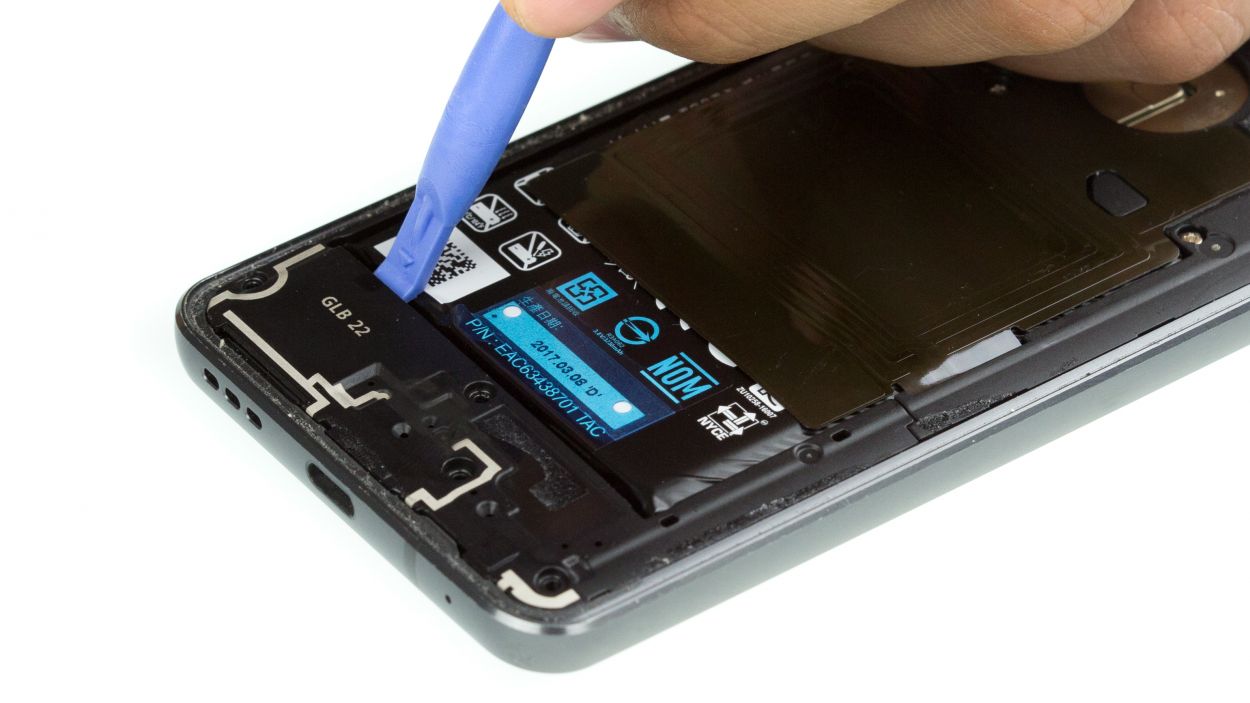
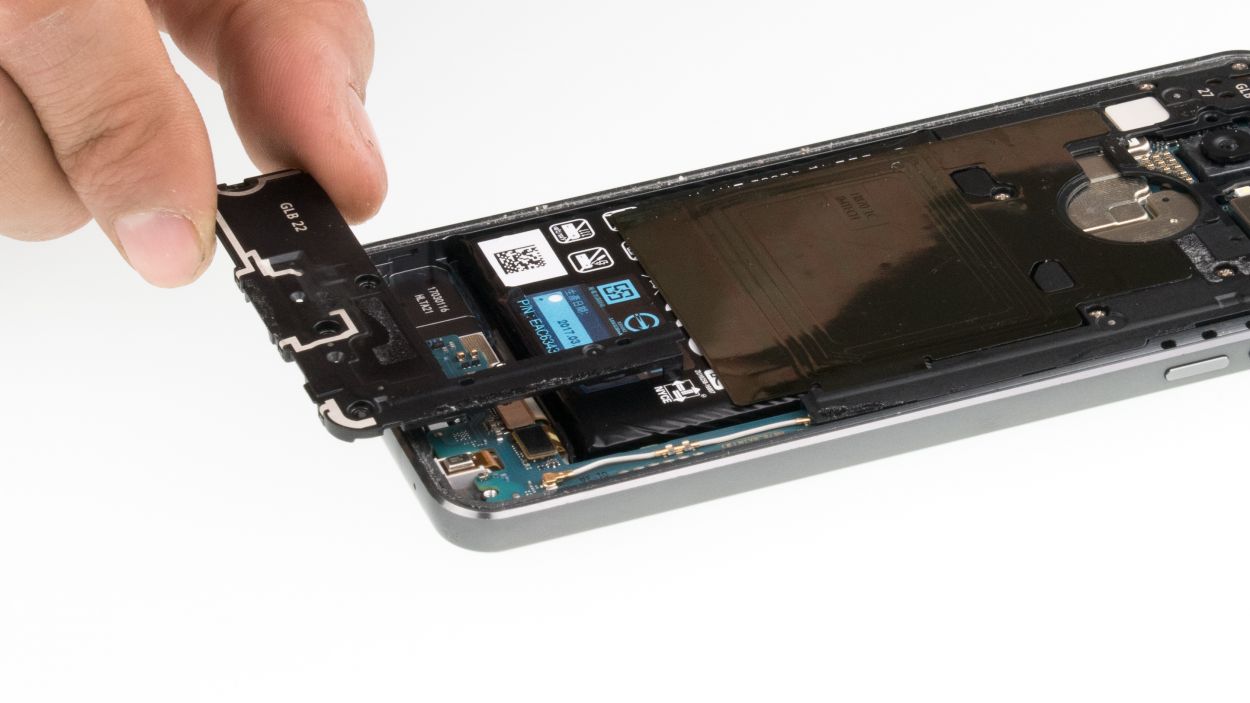
– First things first, grab those equal-length Phillips screws from the midframe and keep them safe for later use.
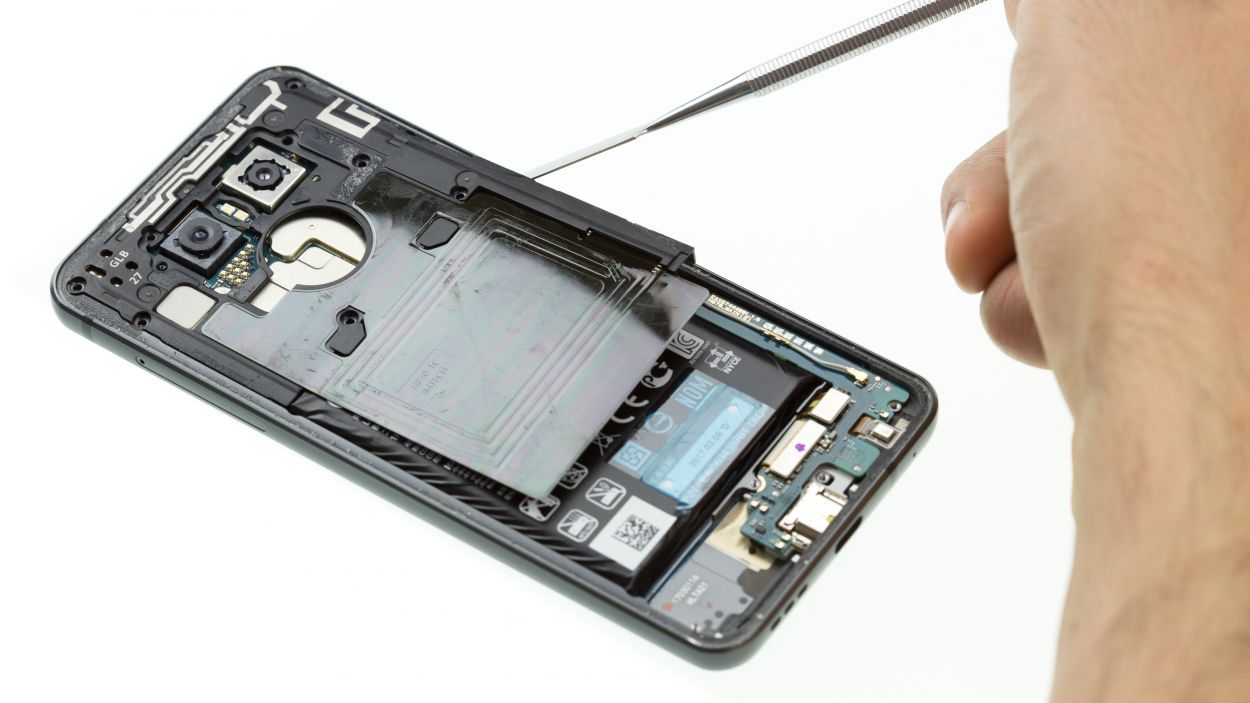
– Next, take a flat, thin tool and gently slide it into the opening to pop out the midframe.
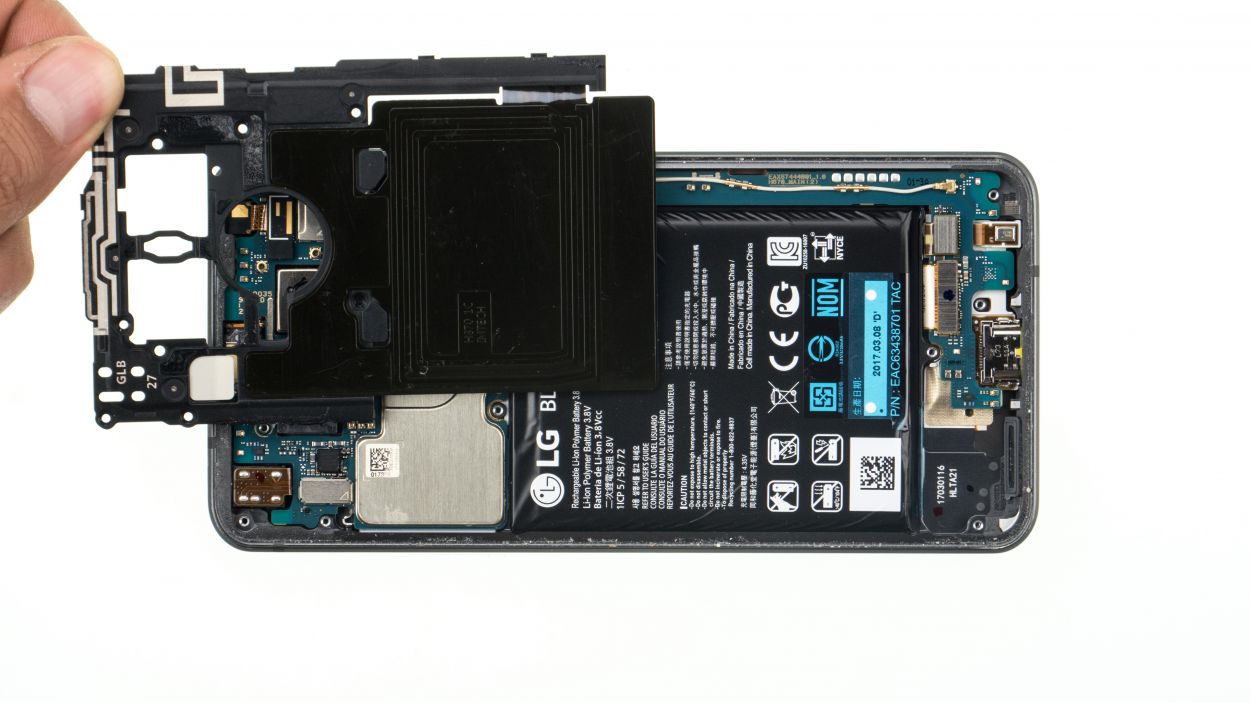
– Remember, the midframe is held in place at four points. So, with a little care, release it and pull it out once it starts to budge.
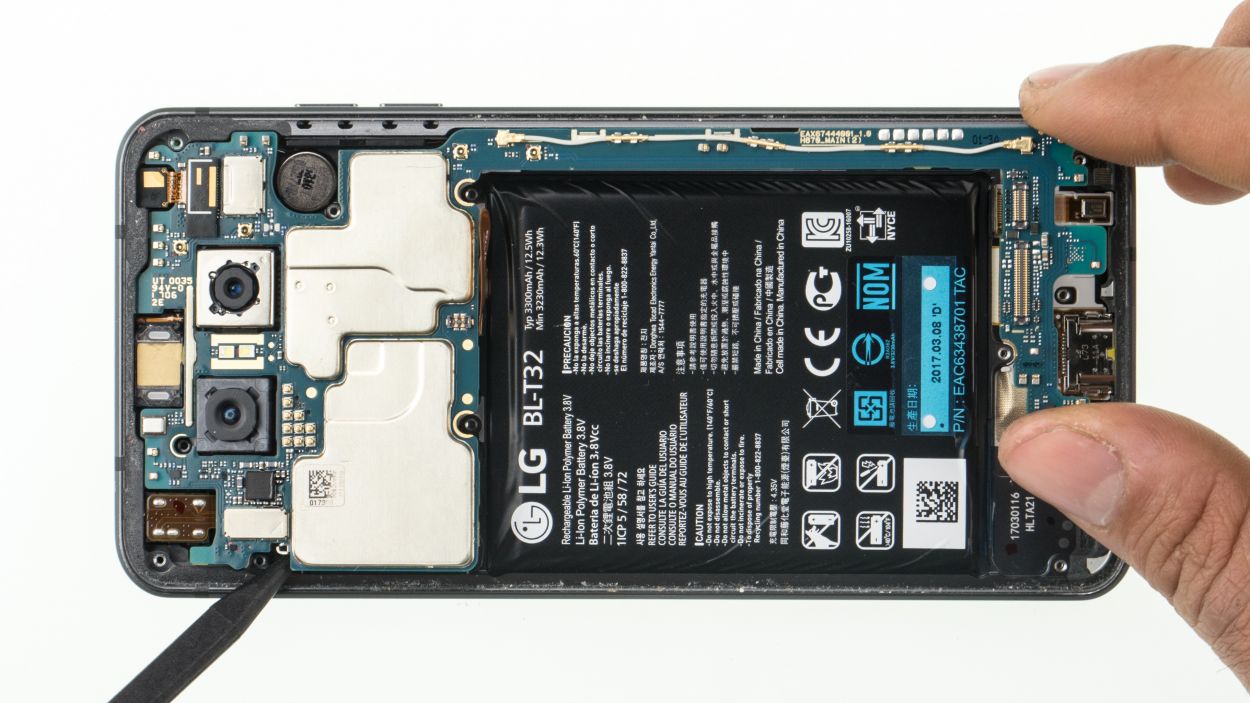
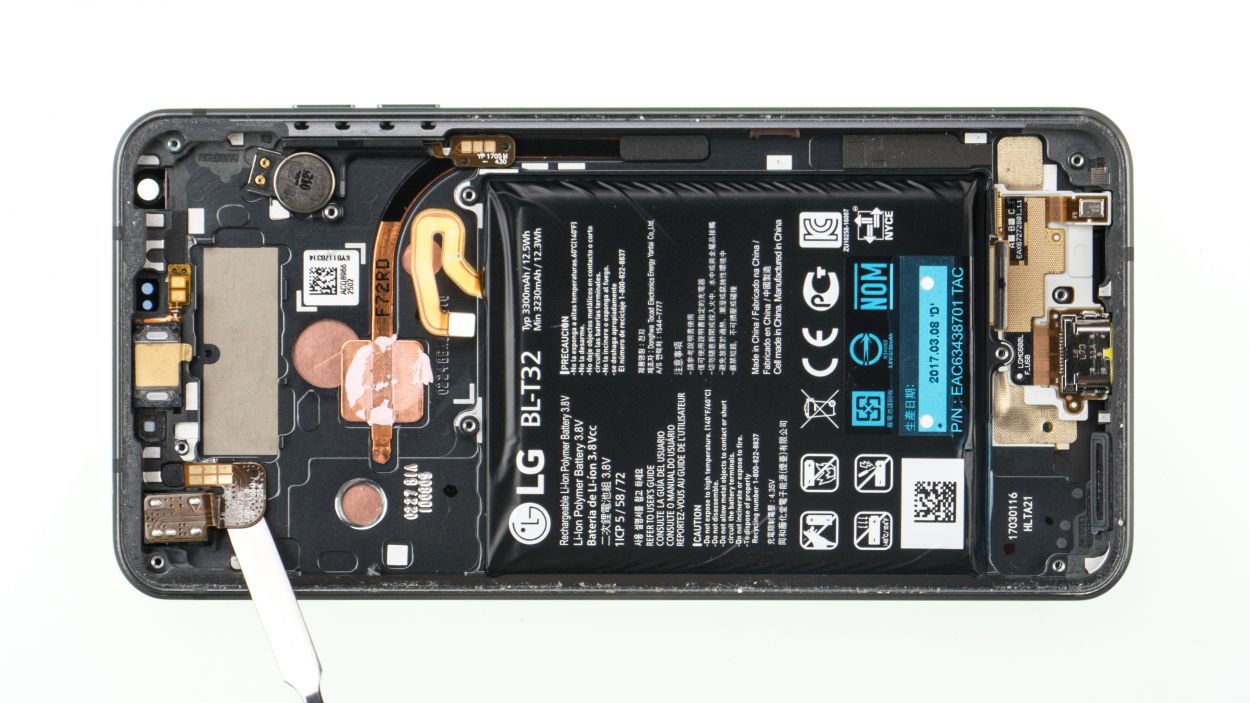
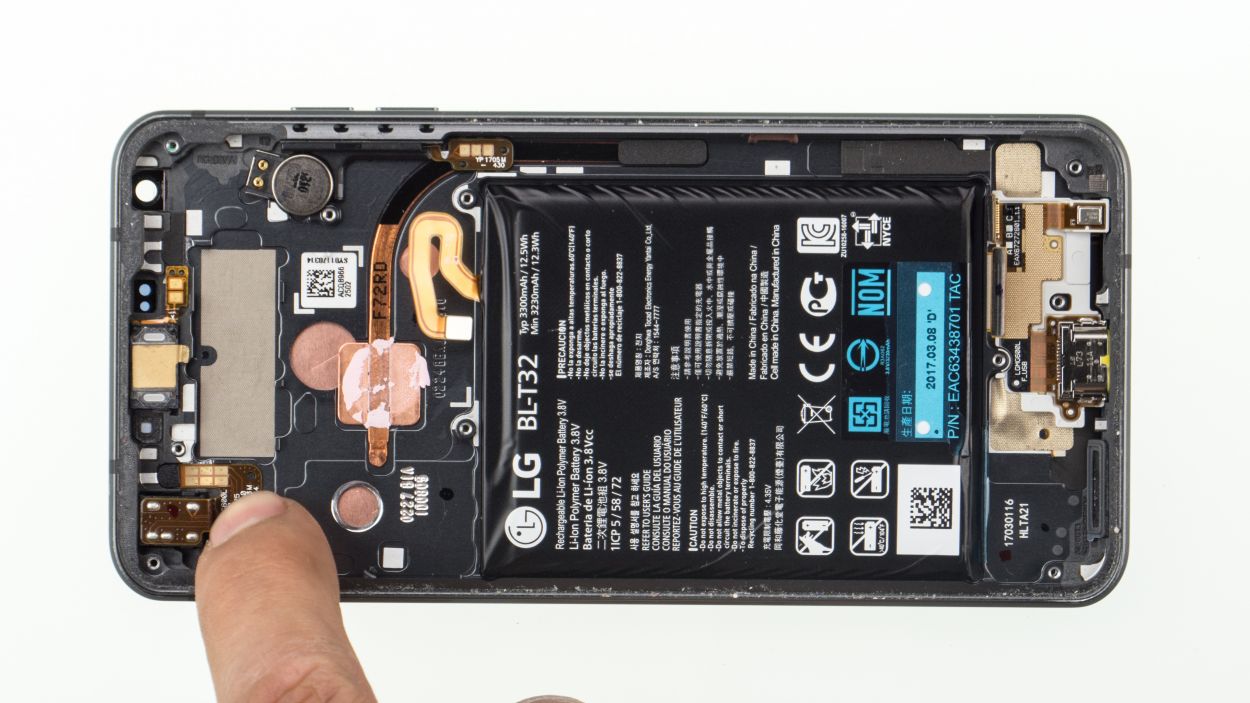
Step 5
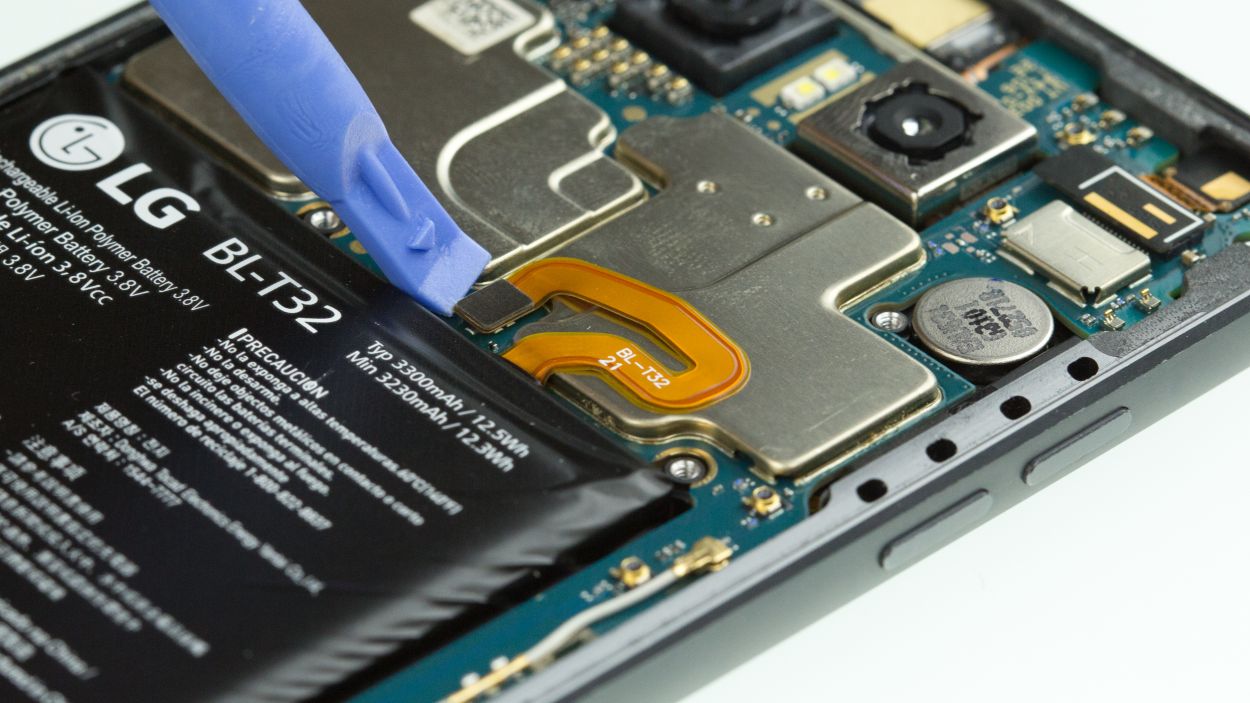
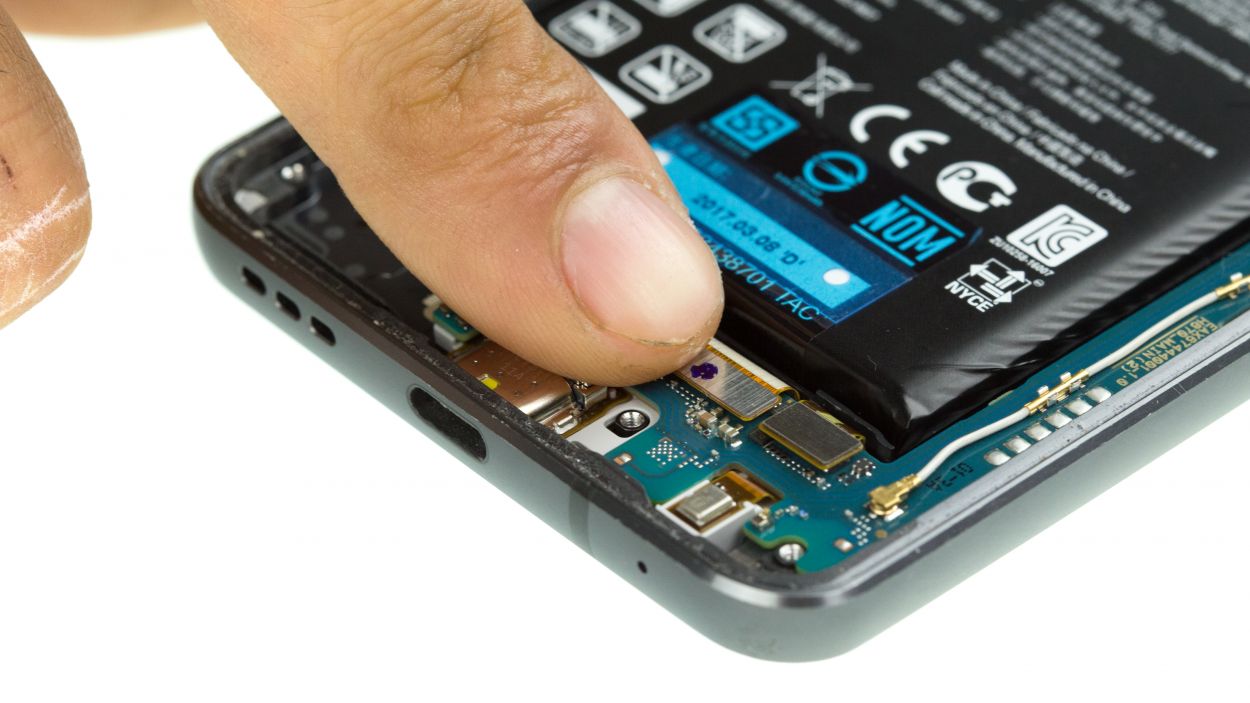
Battery Connector
– Using a plastic tool, gently disconnect the battery to keep any short circuits at bay. You’ve got this!
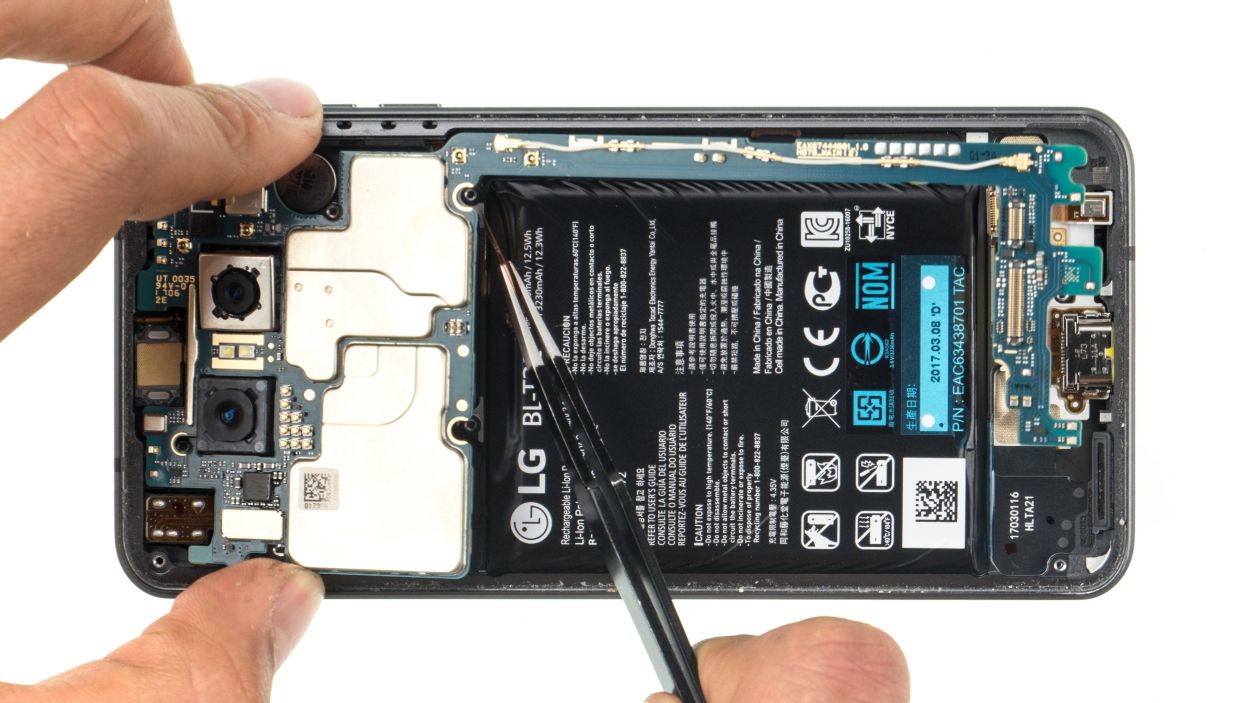
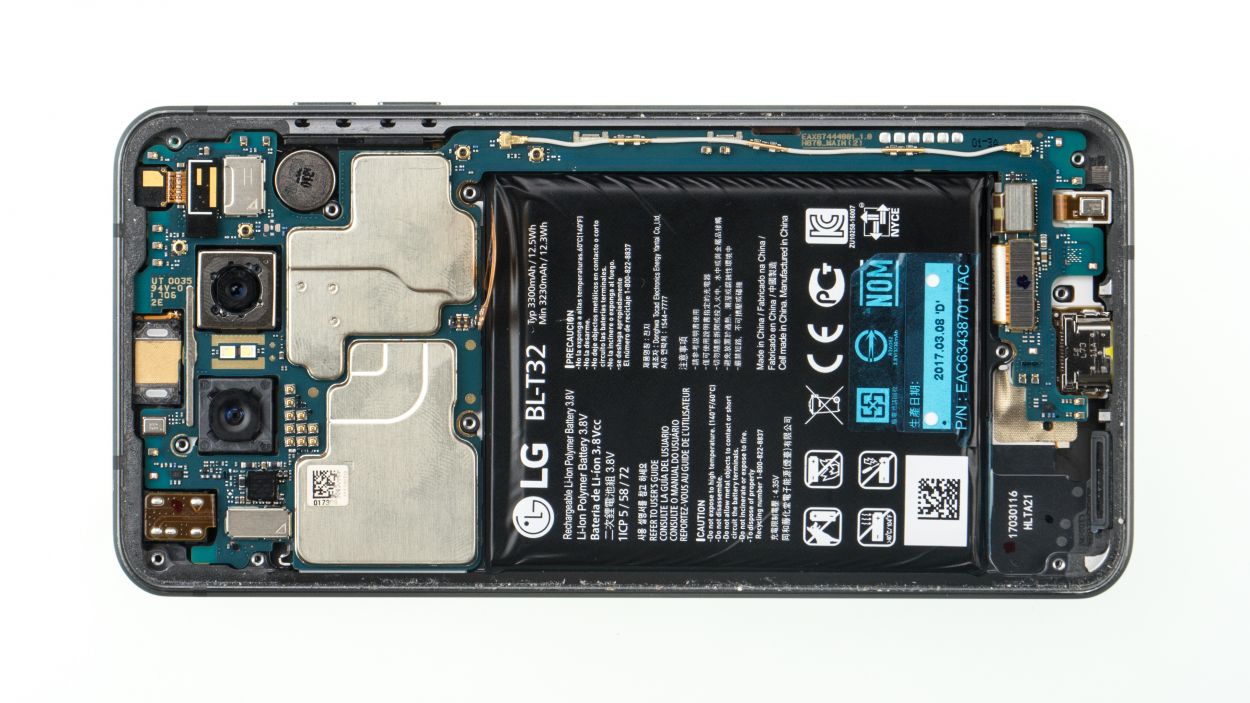
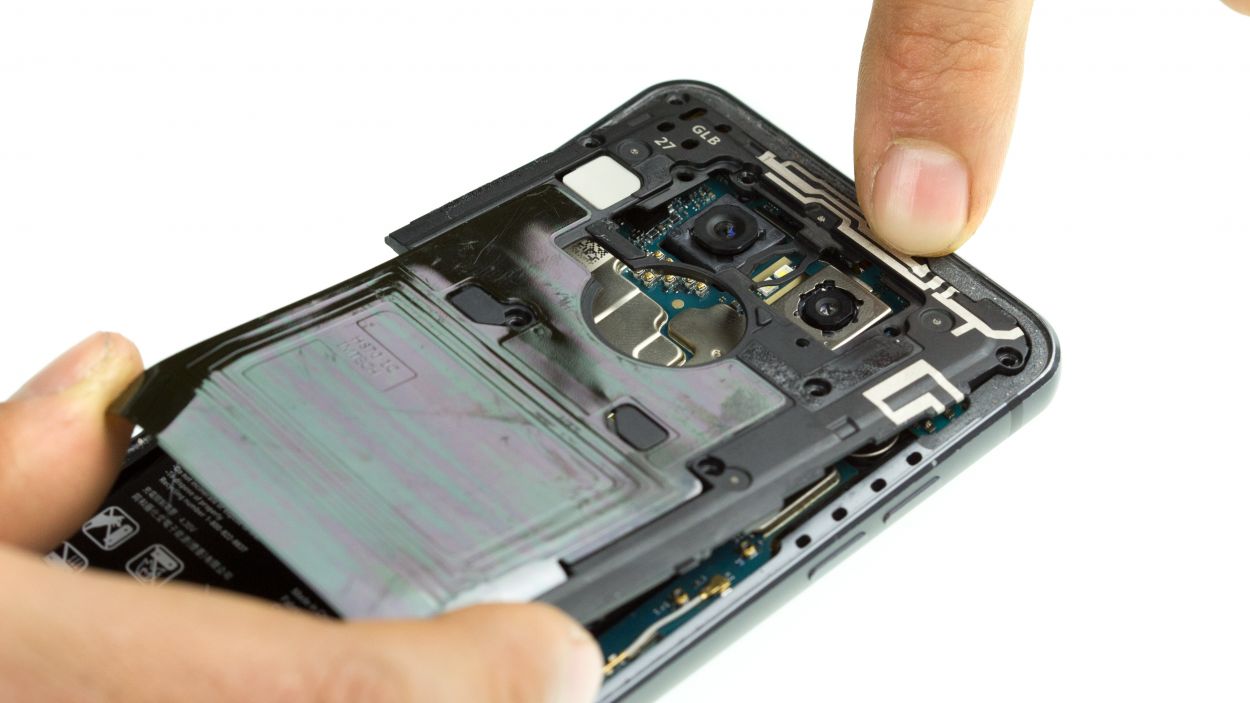
Step 6

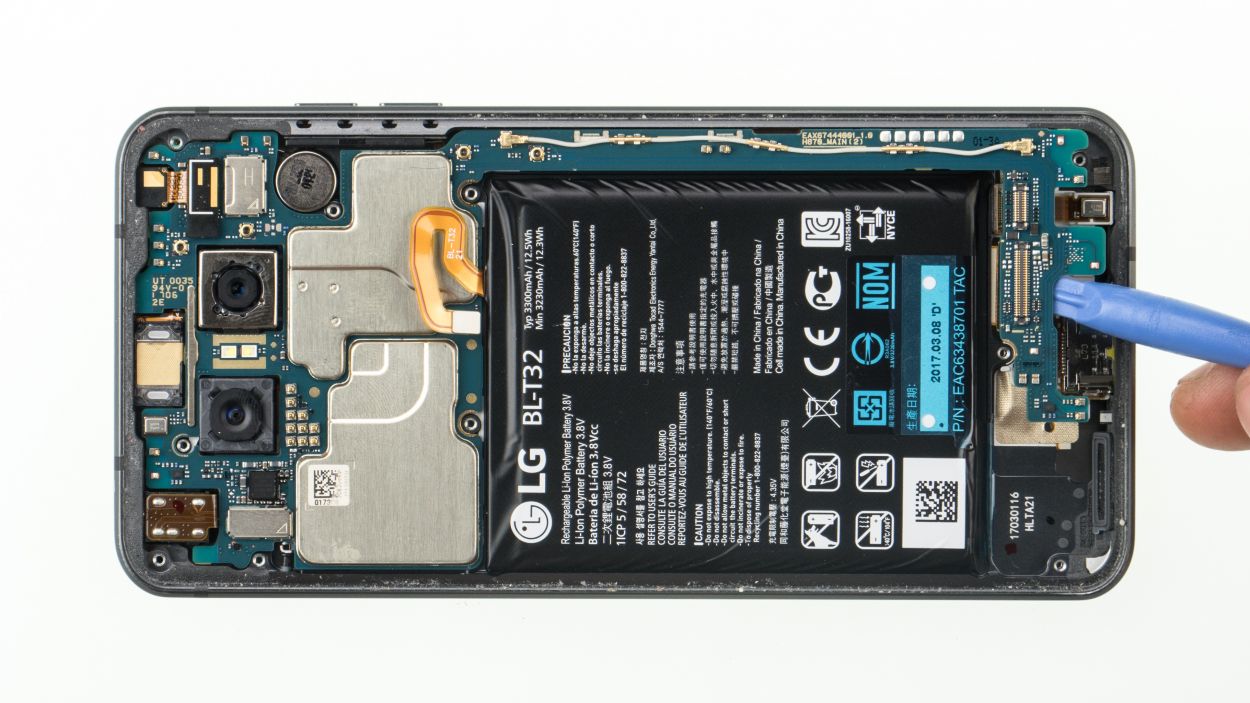
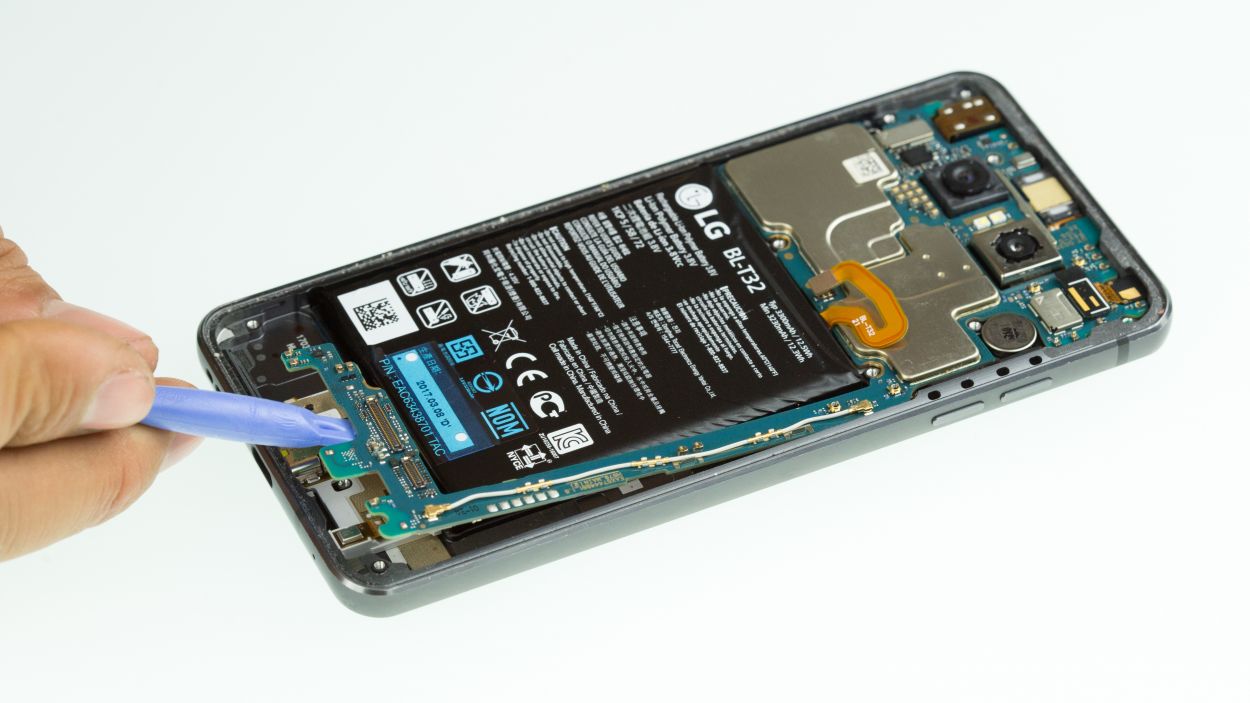
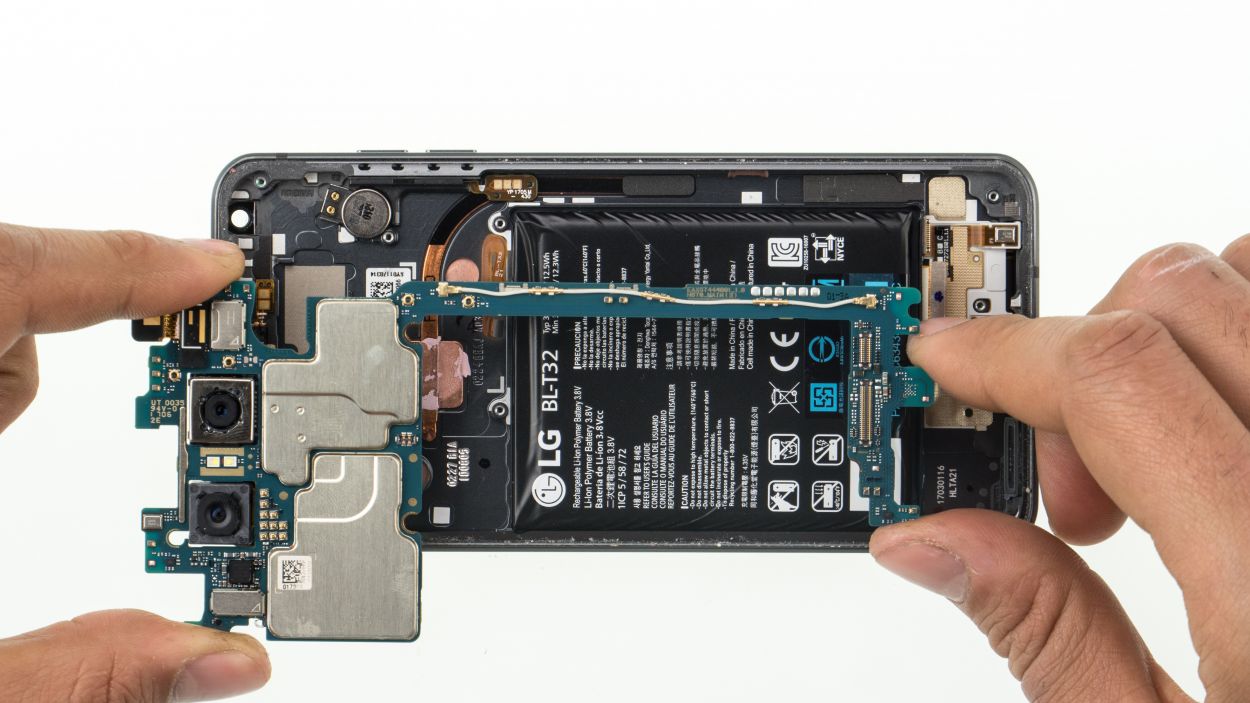
Handle that logic board with care—it’s as delicate as a butterfly! A little bend can lead to big trouble.
– First things first, unplug those two connectors chilling on the lower side of the logic board.
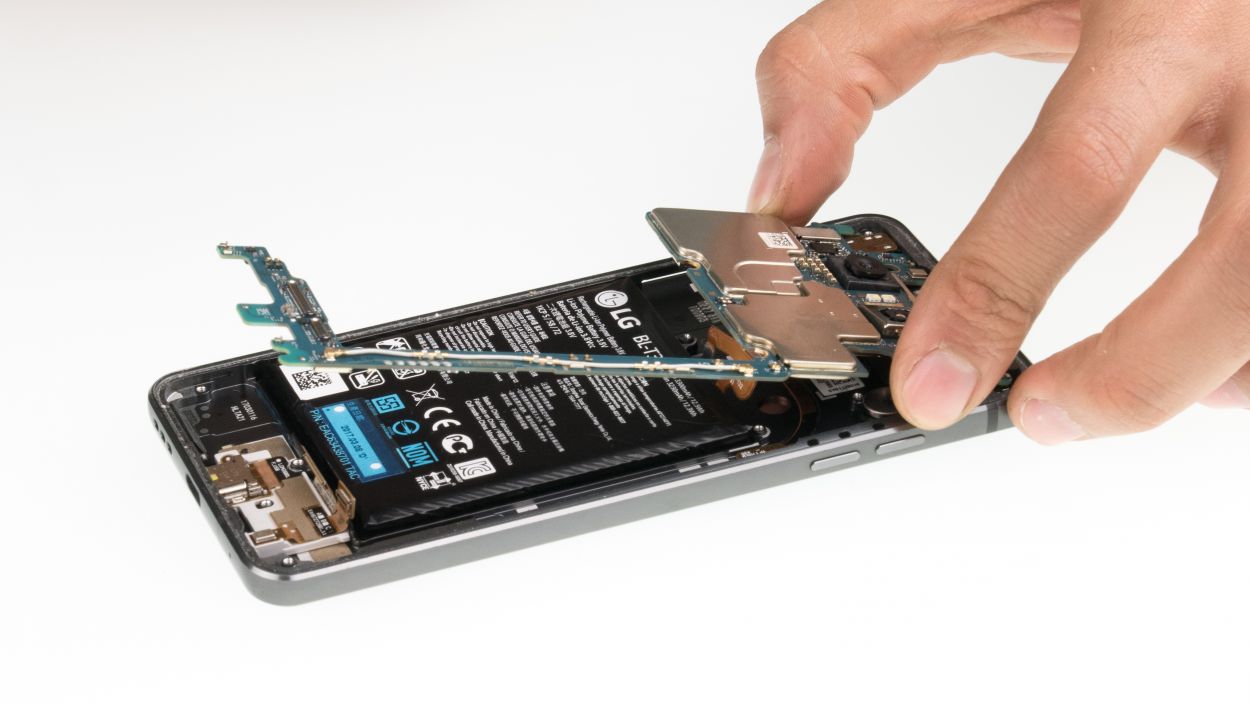
– Next, give the lower edge of the logic board a gentle pry to pop it out. Don’t forget to unclip it from all the other spots where it’s snugly held in place!
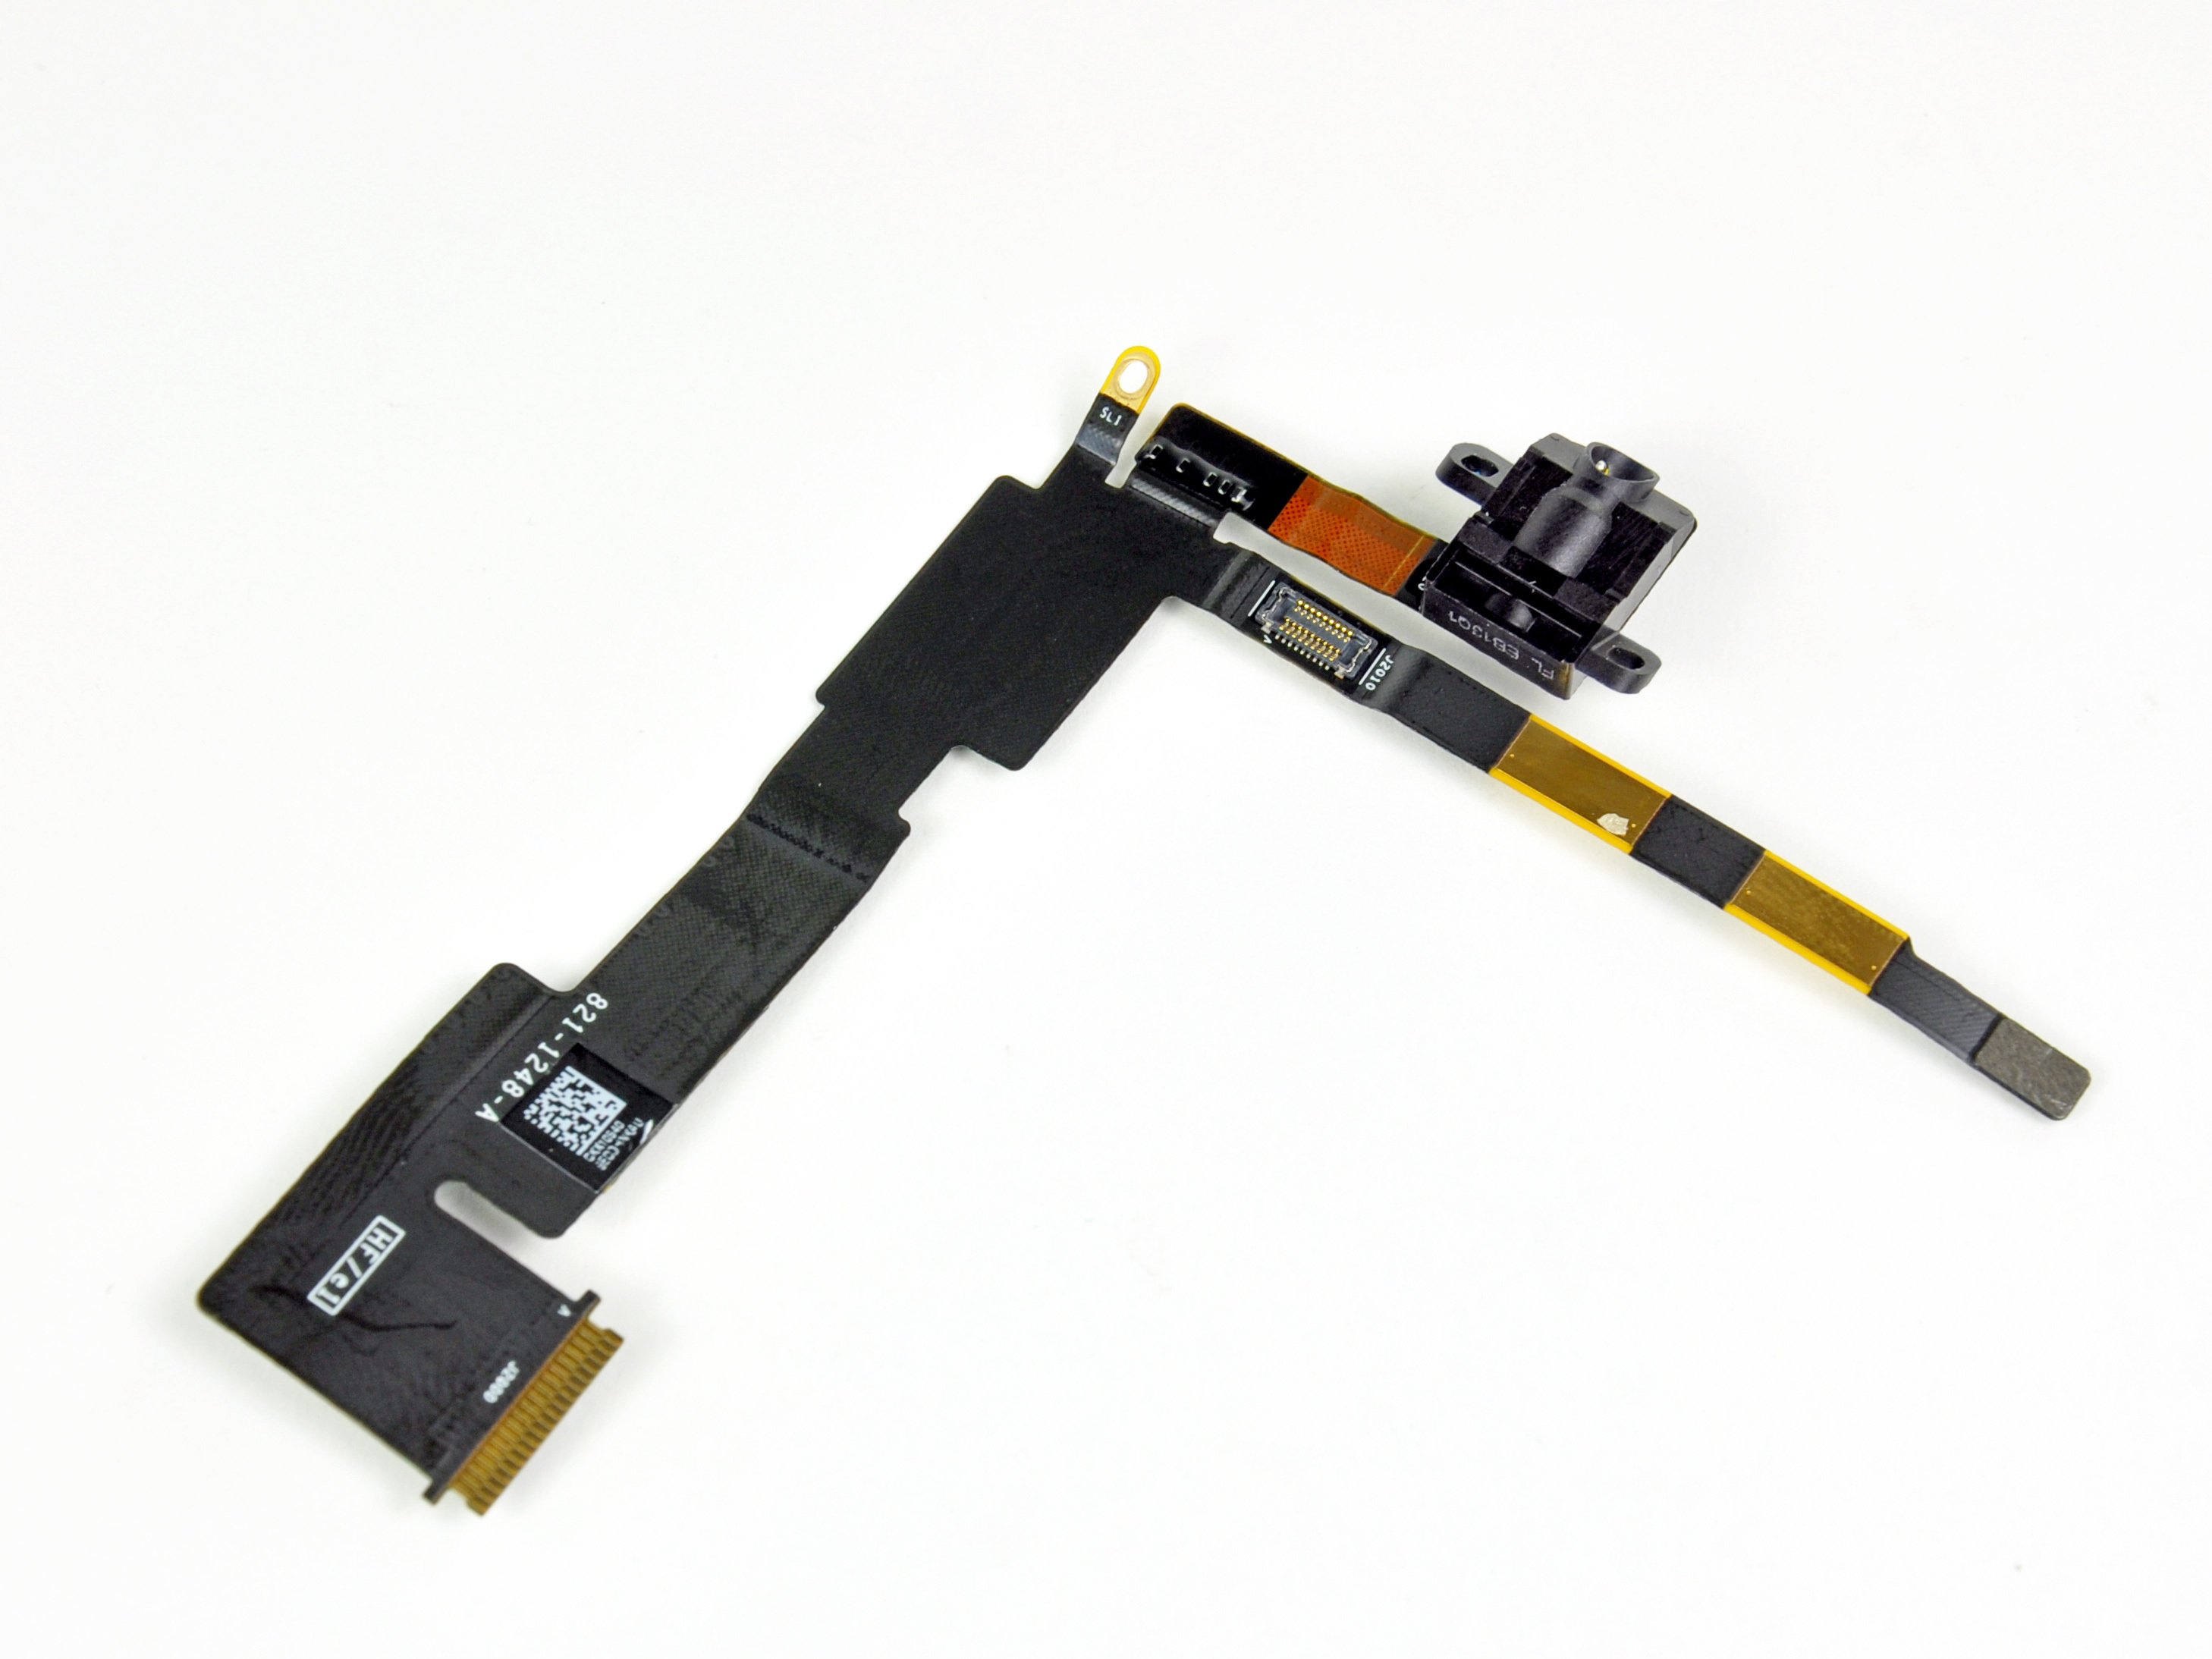
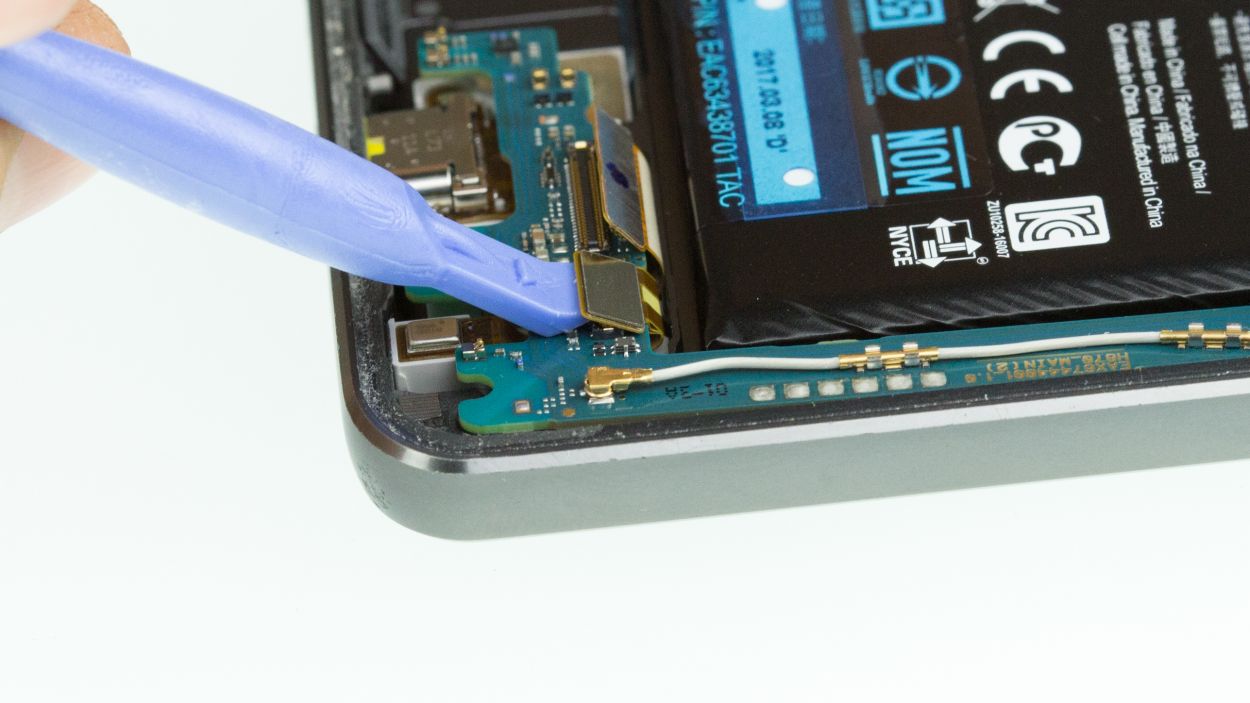
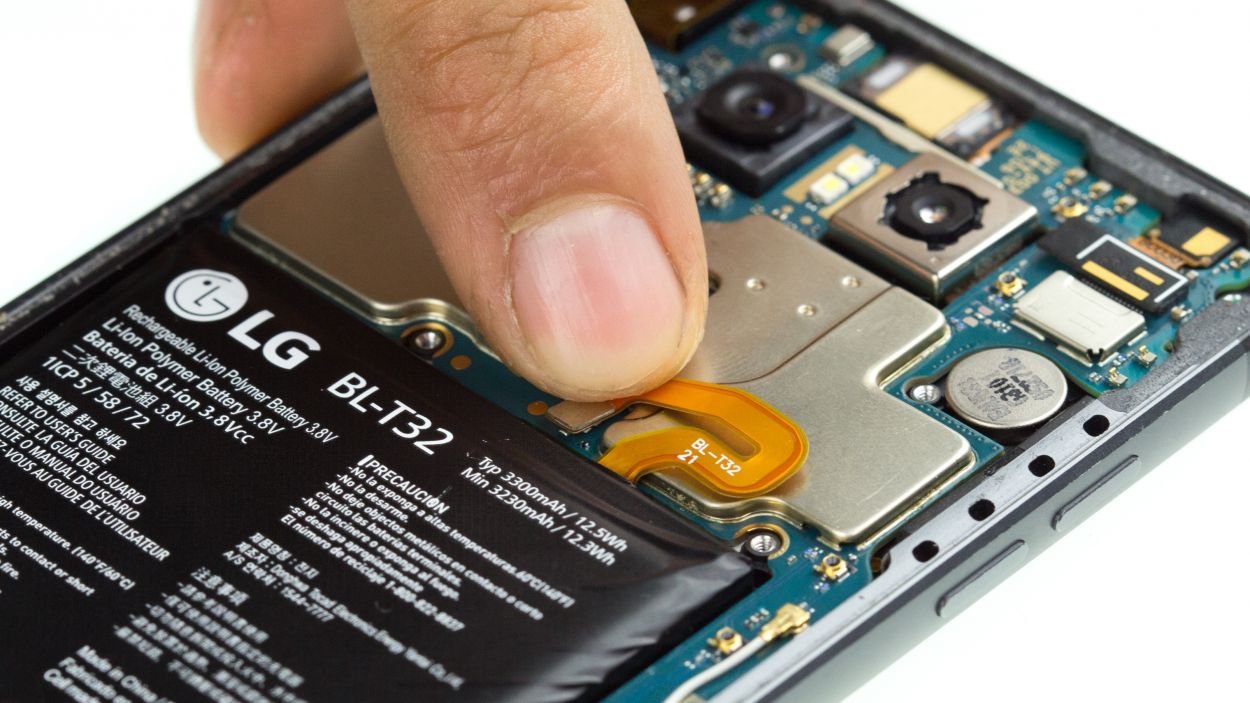
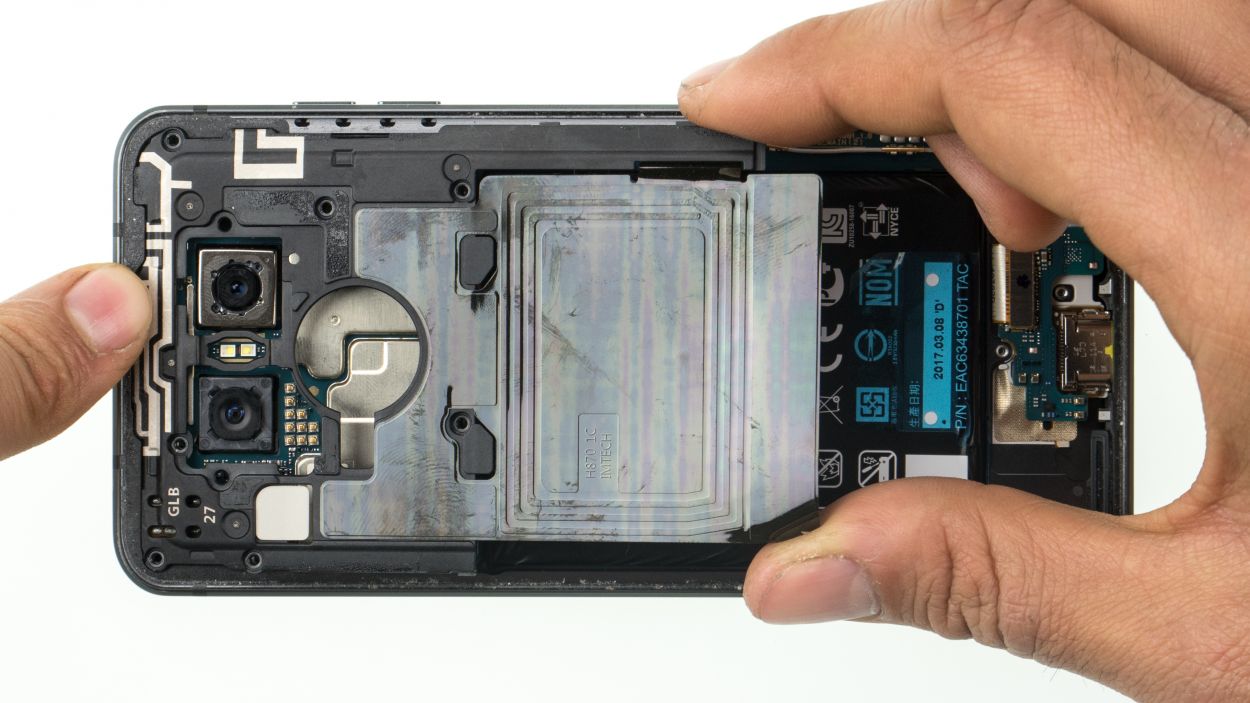
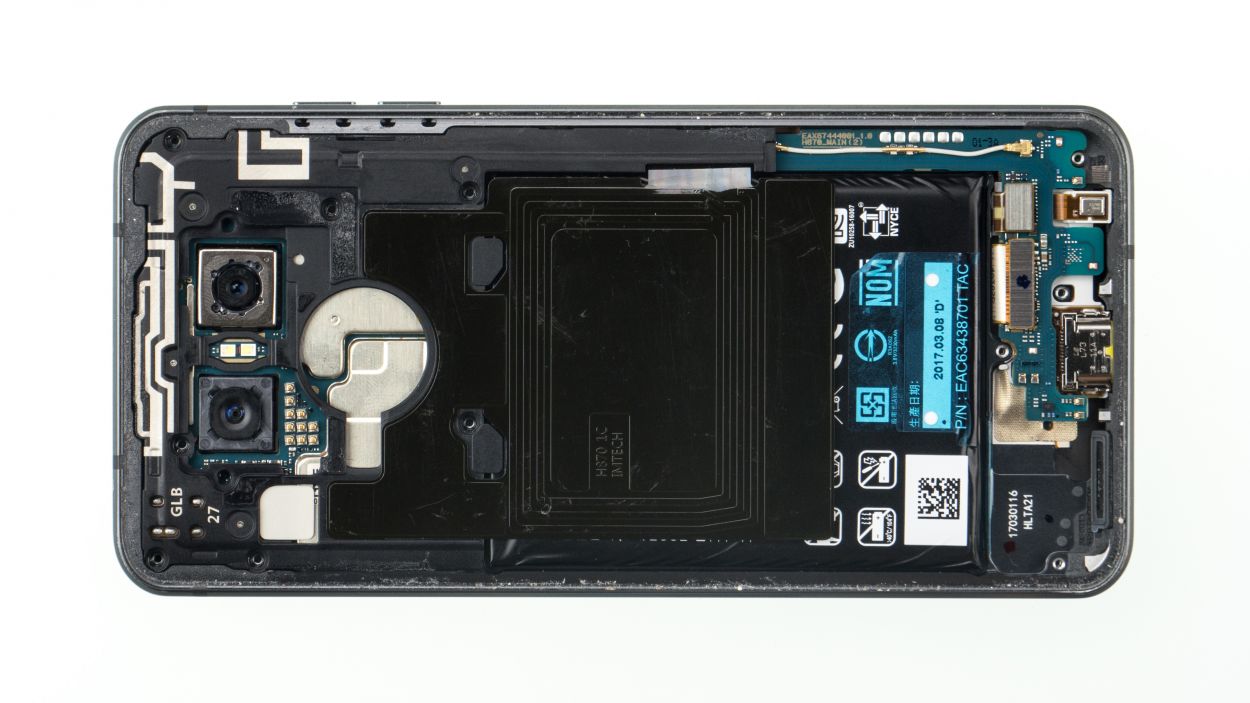
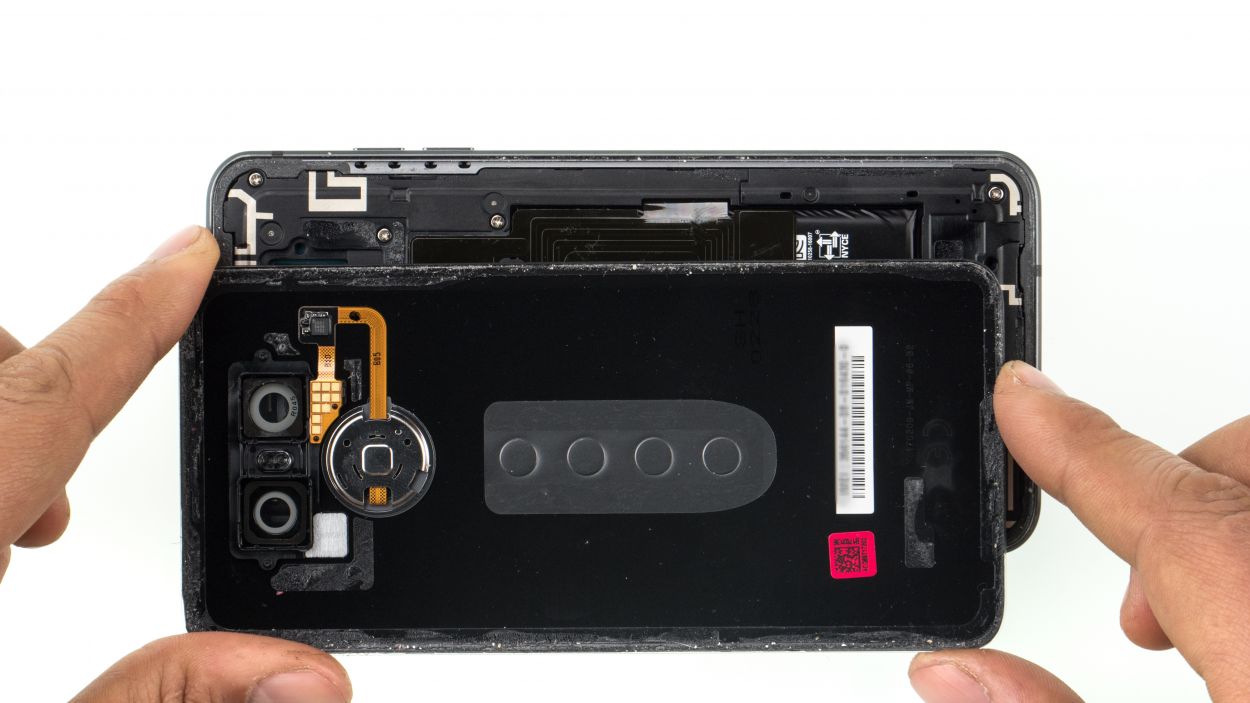
Step 7
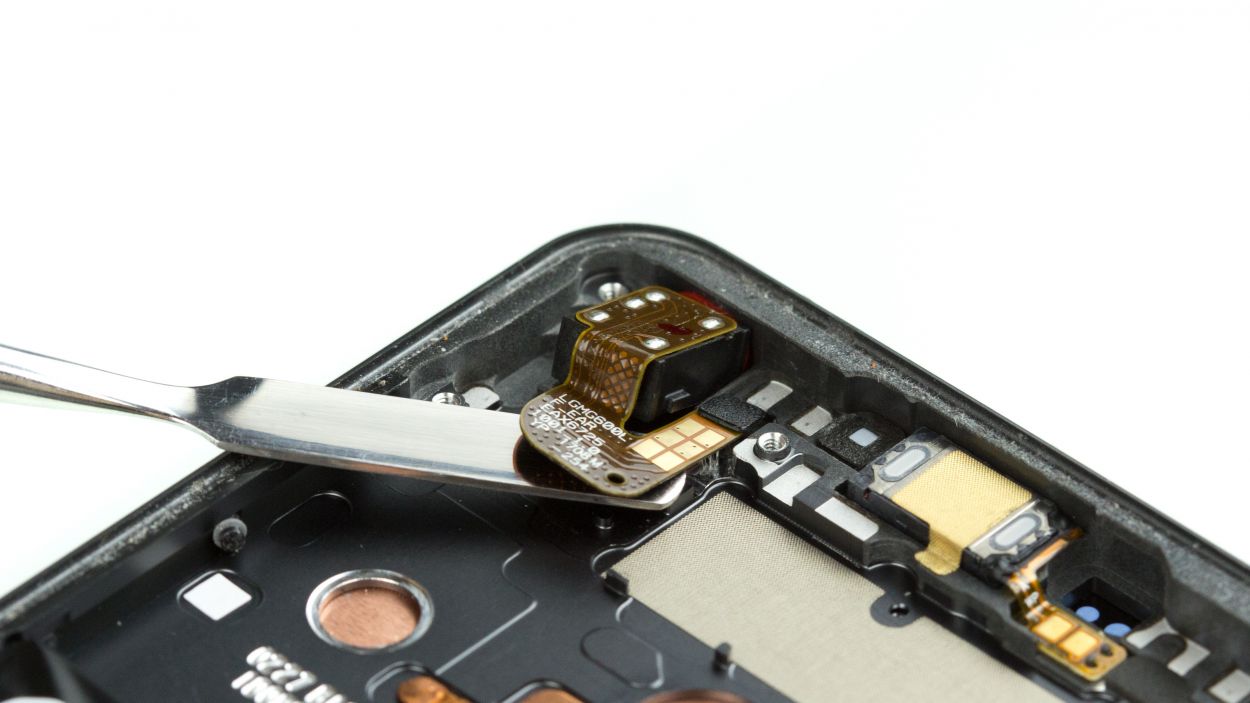
– First, gently detach the flex cable from the audio port. You’ve got this!
– Next, carefully pry out the audio port and lift it out of the device. Easy peasy!
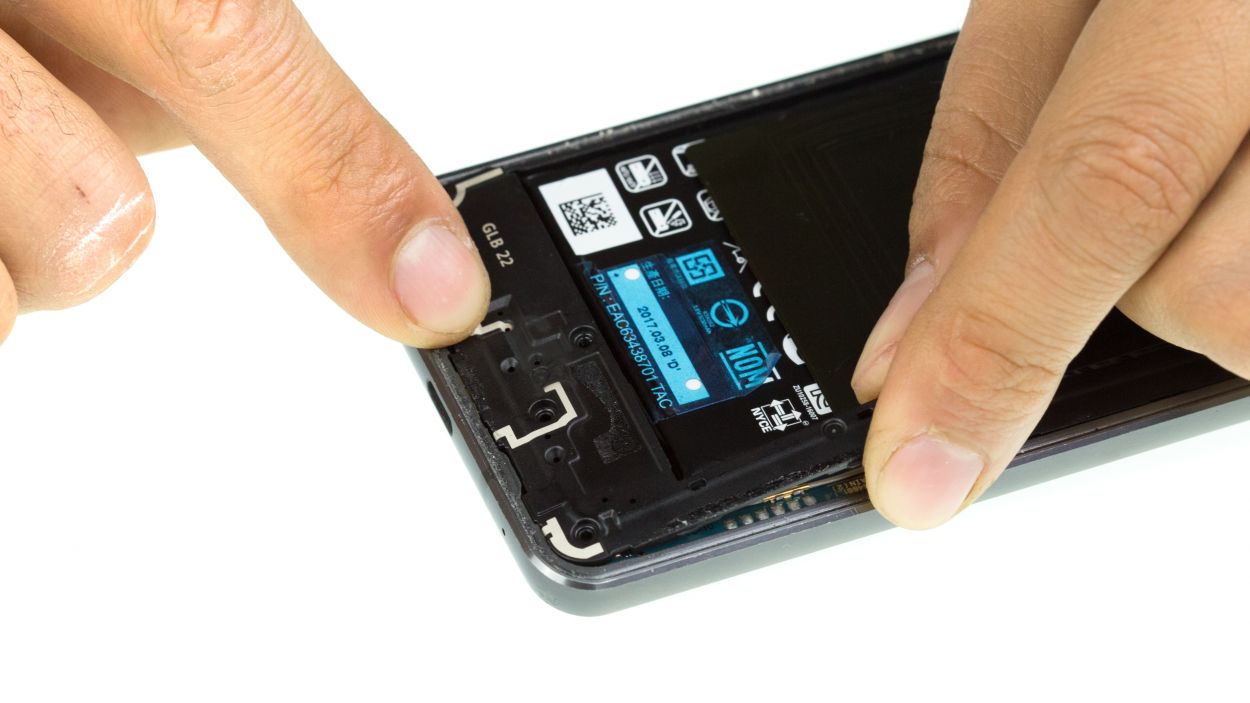
Step 8

– Slide your audio port back in the slot and give it a good ol’ press. Now it wont budge!
– Get your flex cable in its spot and give it a little press. Its got a teeny hole thatll fit right over the pin waiting for it!
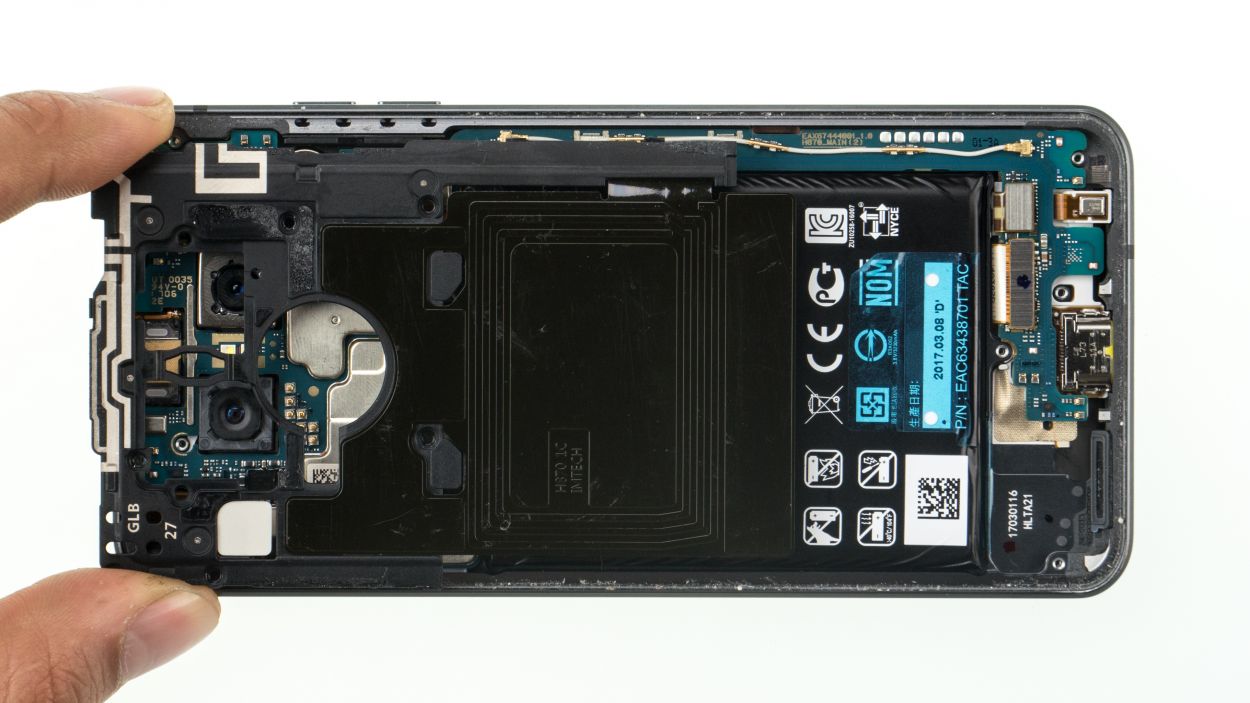
Step 9

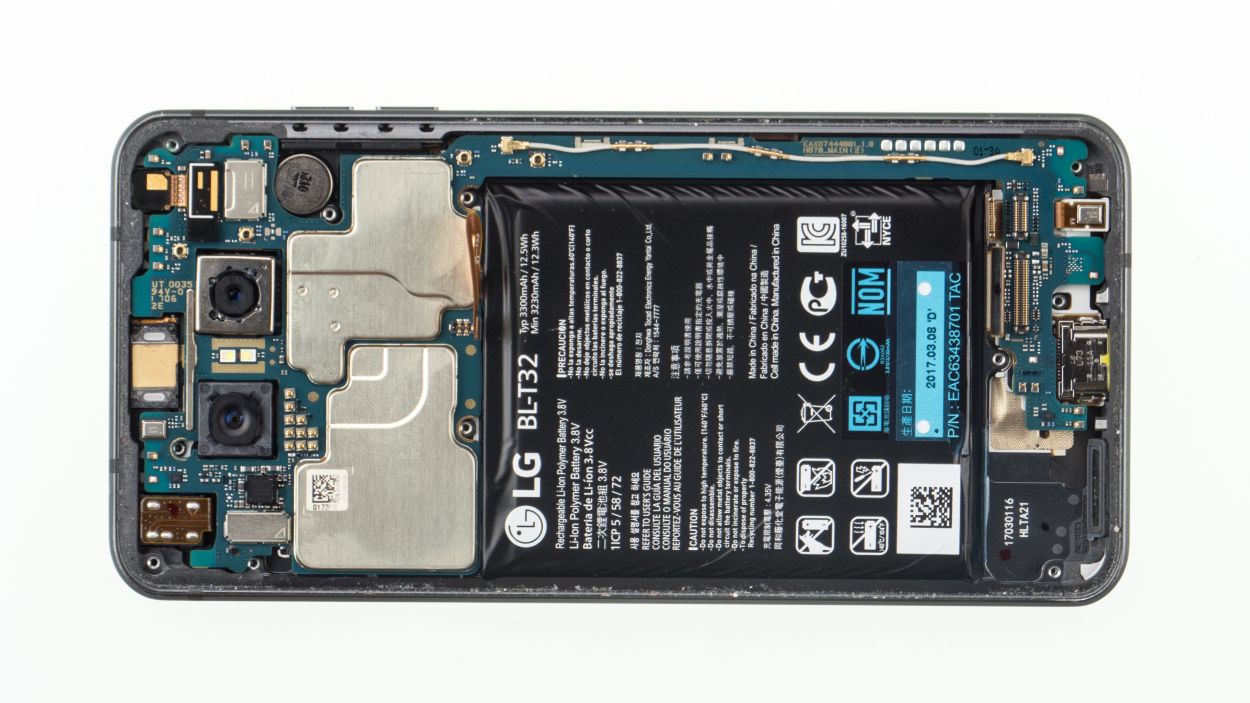

Hey there! Just a quick reminder to keep that battery cable and the two connectors at the bottom free and clear. We don’t want them getting cozy under the board!
– First check if the pin for the SIM tray is in place. If not, put it back in its opening.
– Place the logic board back into the device.
Step 10
Battery Connector
– Gently pop the battery connector into its socket and give it a little press to secure it in place. You’ve got this!
Step 11
7 × 2.7 mm Phillips
– Slide the midframe back into the device and give it a gentle press to secure it in place.
– Tighten it up with those trusty Phillips screws to keep everything nicely held together.
Step 12


4 × 2.7 mm Phillips
– Gently tuck the speaker into the device, giving it a little nudge to settle in just right.
– Secure those Phillips screws snugly in place, and you’re golden!
Step 13
Give that rear glass a little warming hug again to help that glue make some solid friends!
– Place the rear glass back on the device and press it on.